Plant Profile & Key Characteristics
Overview: An evergreen epiphytic orchid 10-70 cm (4-28 in) tall, growing from a short stem of fleshy leaves rather than a bulb. It is one of the most popular ornamental houseplants, grown for its arching sprays of long-lasting, colourful moth-like flowers.
Quick Specifications
| Specification | Attribute |
|---|---|
| Plant Type / Life Cycle | Perennial (epiphytic orchid) |
| Foliage Type | Evergreen |
| Mature Size | 10-70 cm (4-28 in) tall including flower spike |
| Growth Rate | Slow |
| Root System | Epiphytic, thick silvery aerial roots |
| Toxicity | Non-toxic |
| Hardiness | USDA zones 10-12; grown as a houseplant elsewhere |
Growth Form & Structure
- Height & Spread: A compact rosette with an arching flower spike, the whole plant 10-70 cm (4-28 in) tall; grown almost exclusively in pots of bark as an indoor plant.
- Growth Habit & Form: Monopodial epiphyte — a short central stem carries a fan of broad fleshy leaves, while thick aerial roots grip and absorb moisture from the air and bark.
- Lifespan & Maturity: A slow-growing, long-lived perennial; mature plants rebloom for many years, often from the same or a branched spike.
Anatomy & Physical Features
- Leaves & Foliage: A few thick, fleshy, oval green leaves arranged in a low fan.
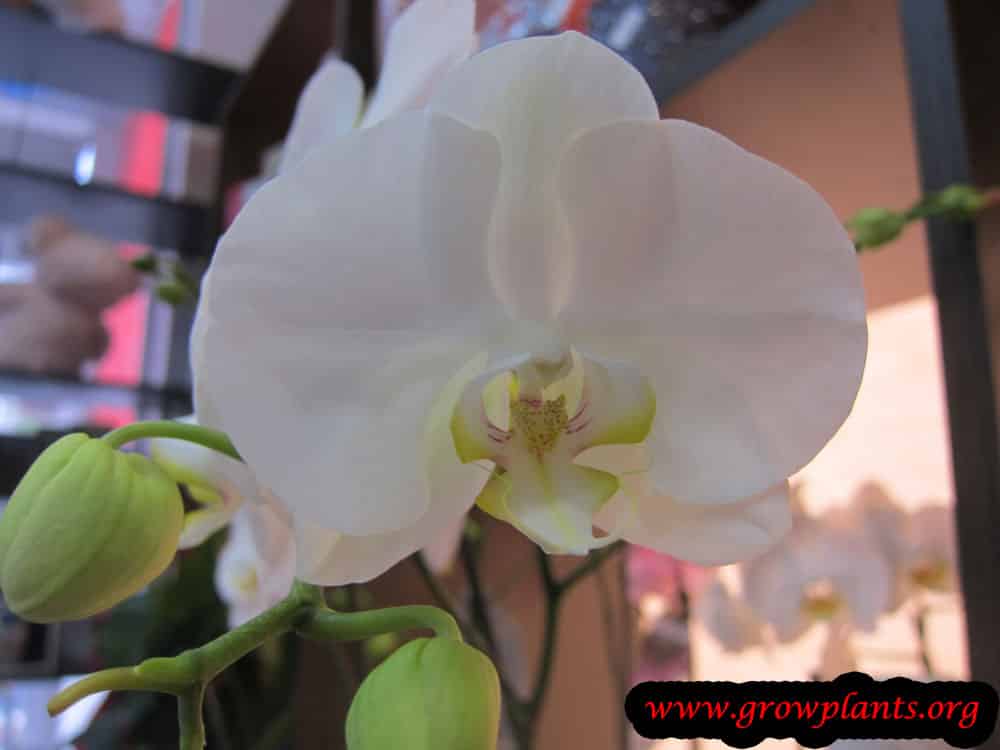
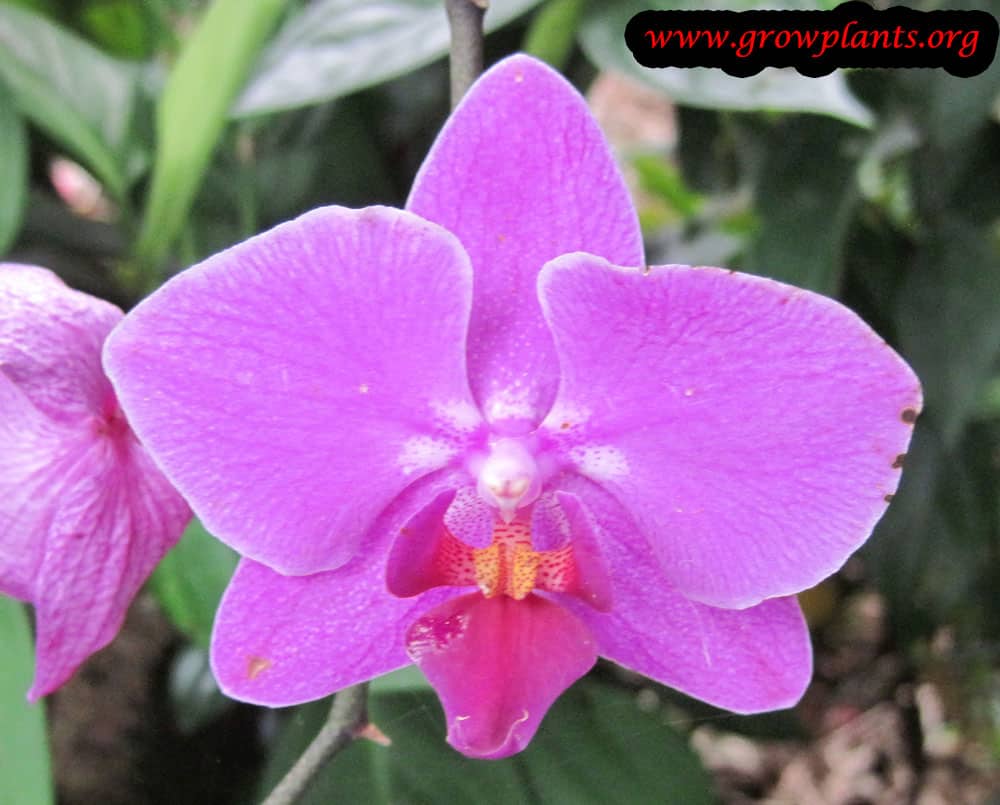
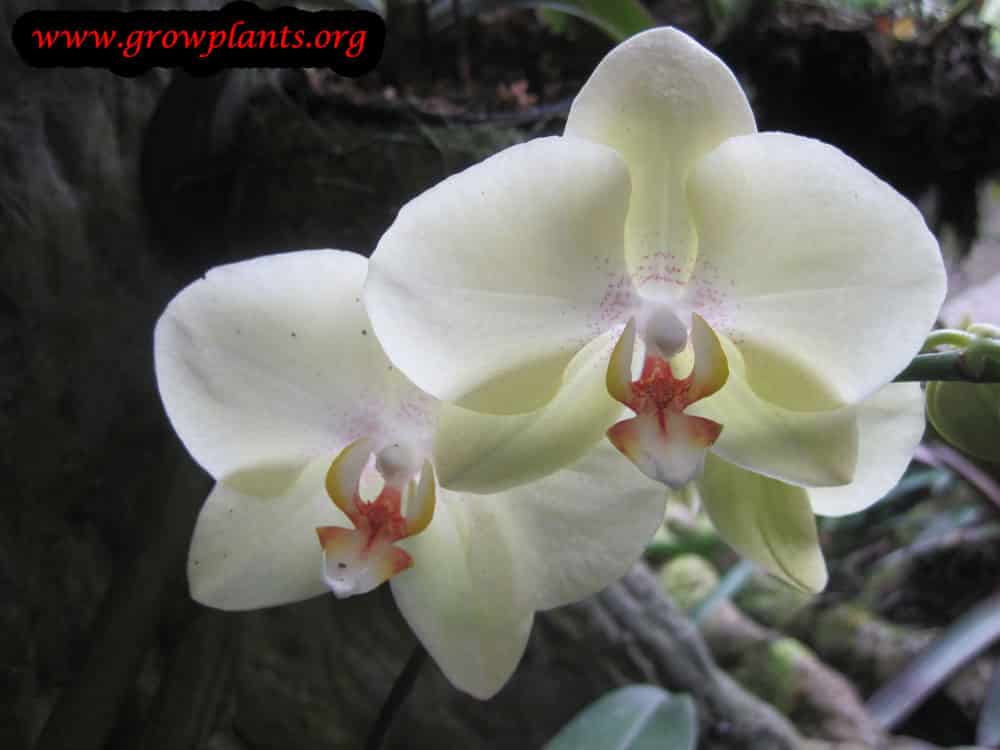
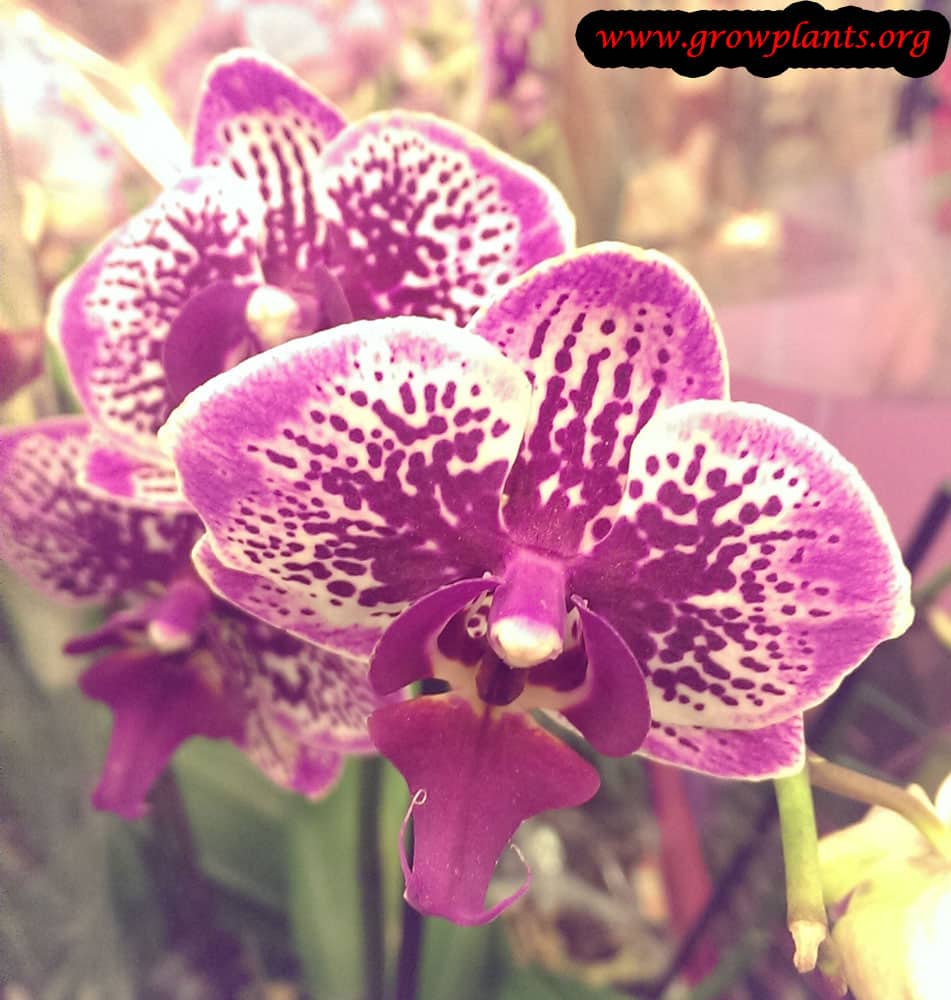
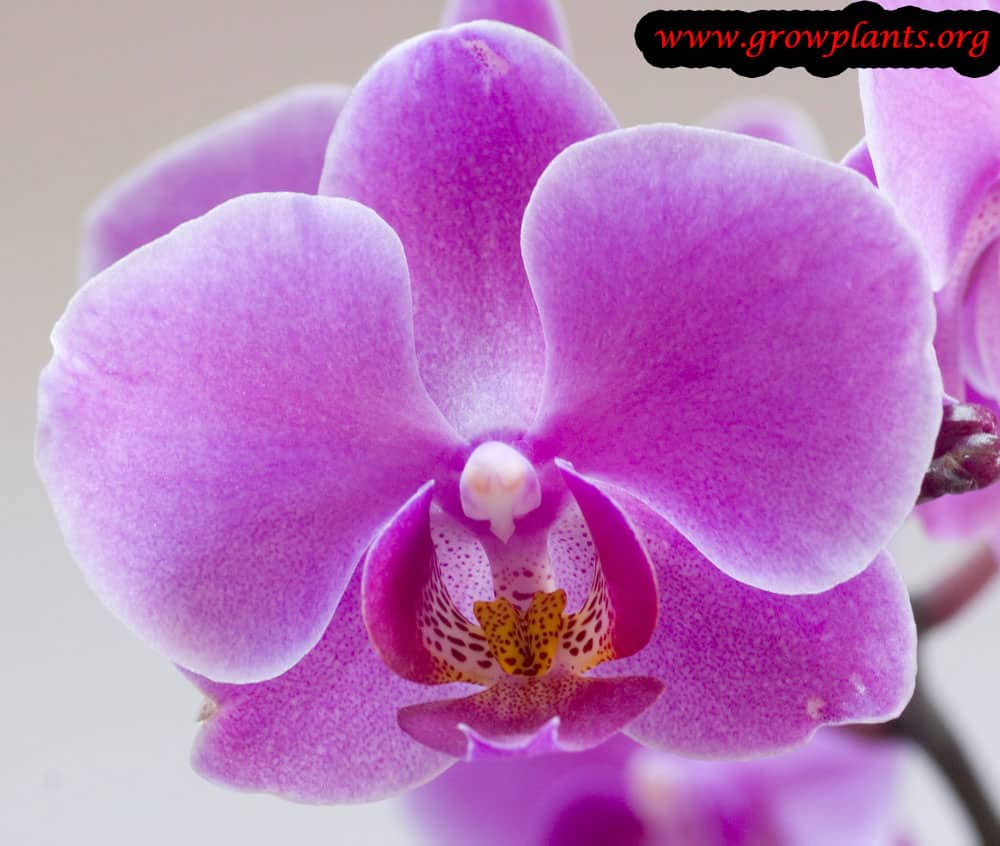
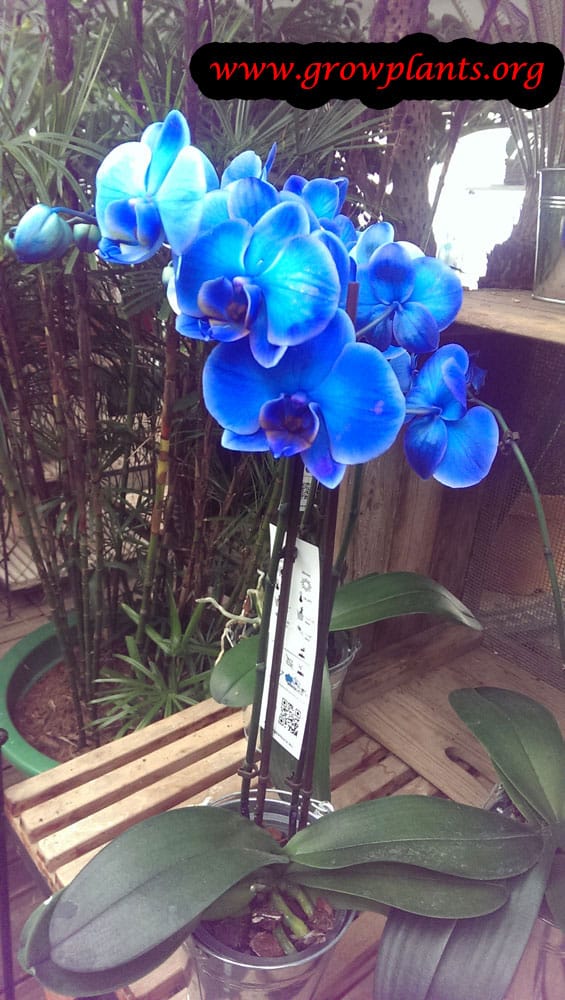
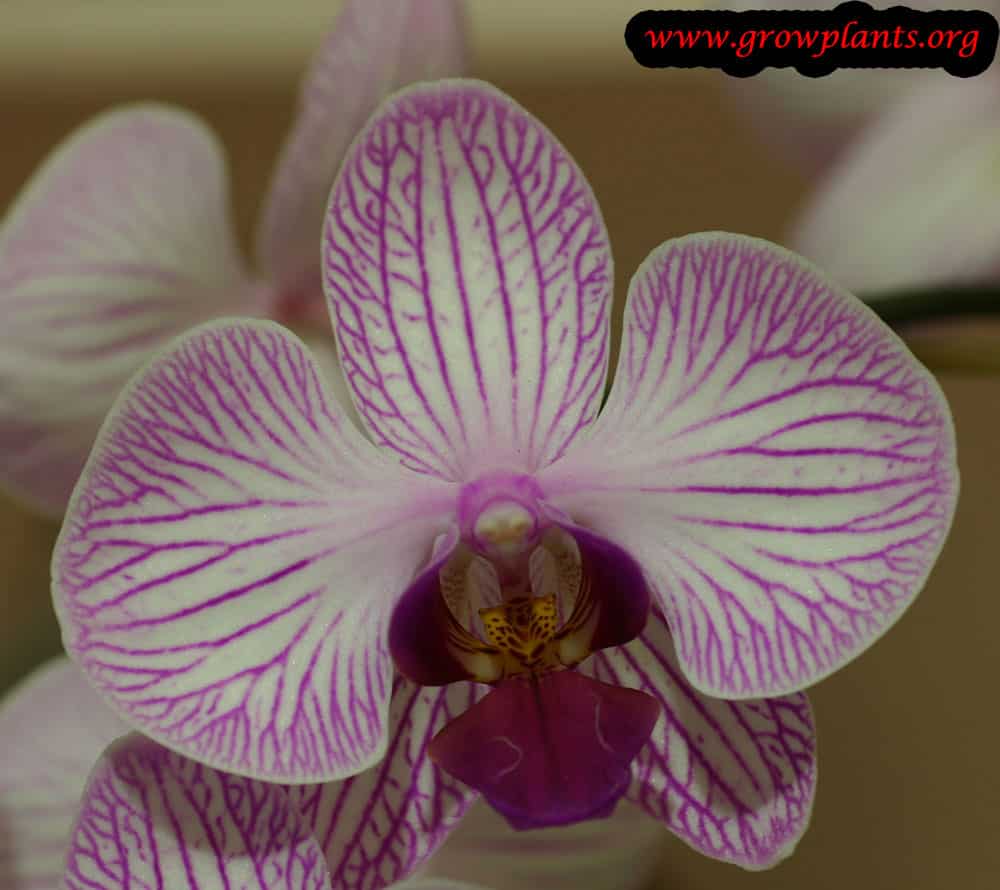
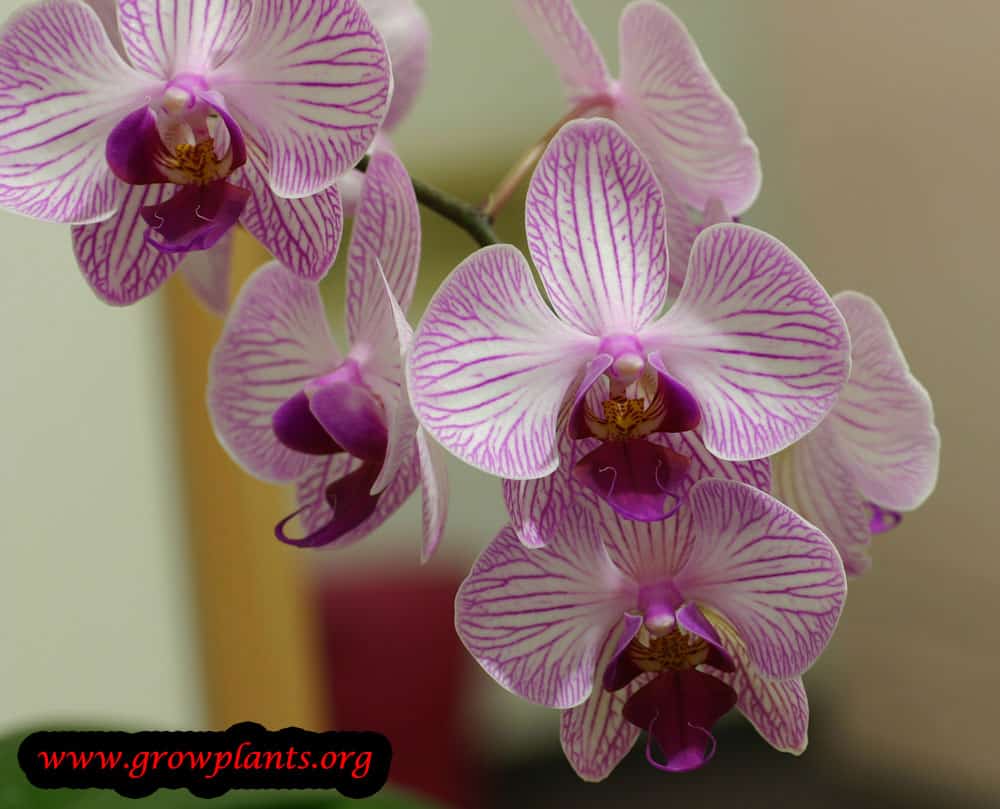
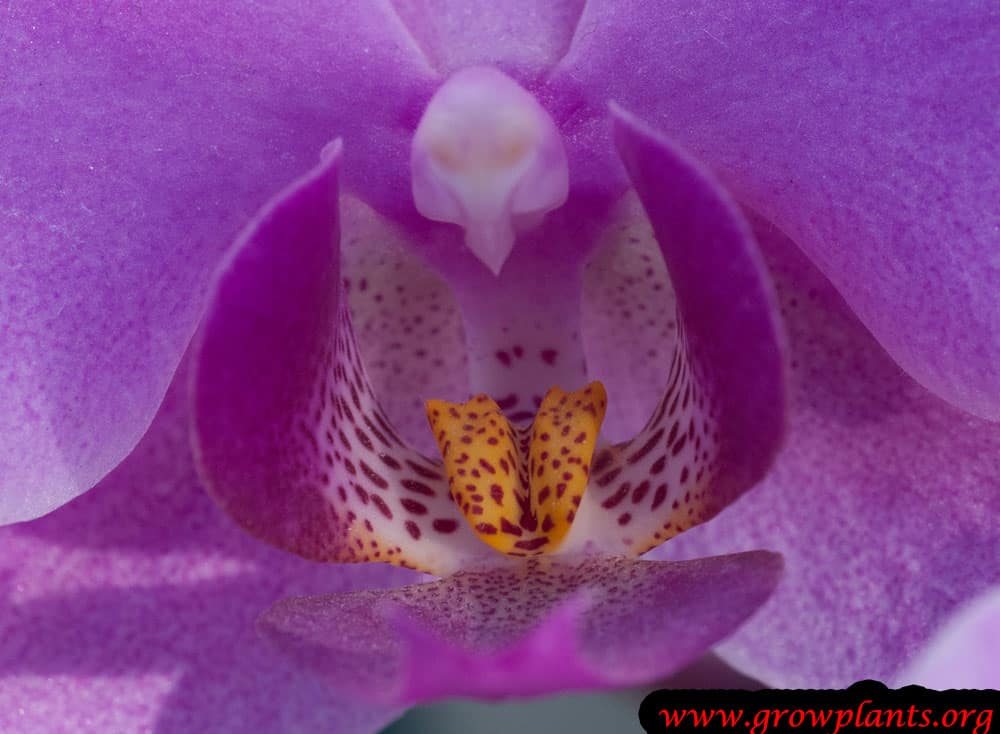
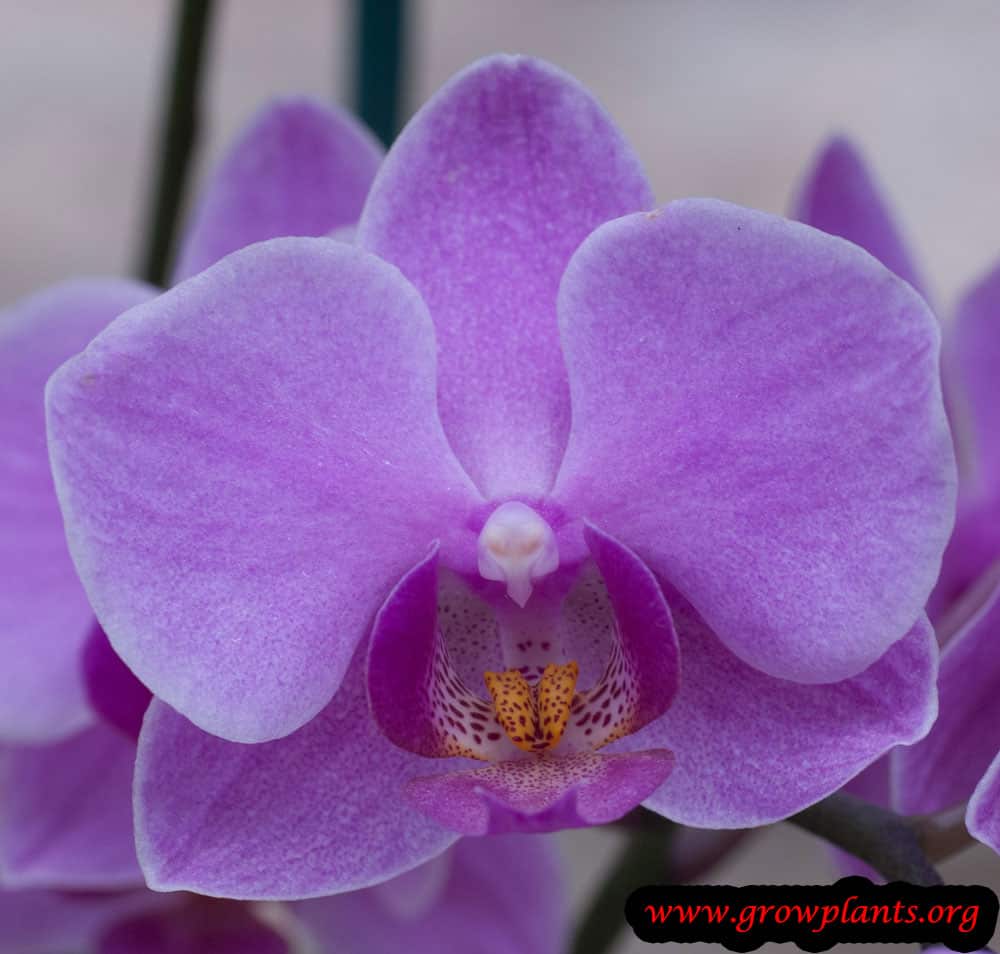
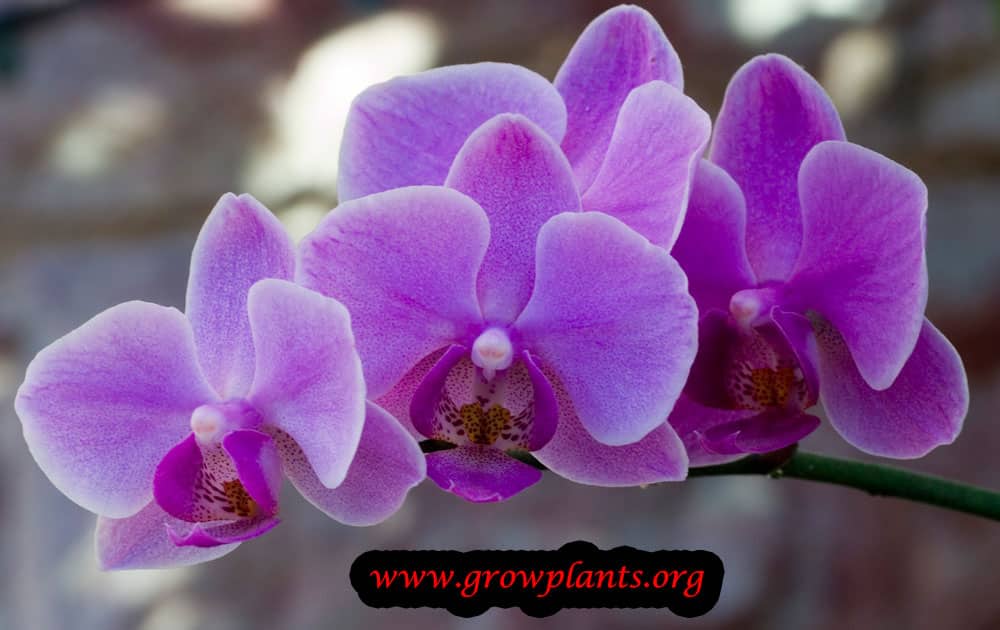
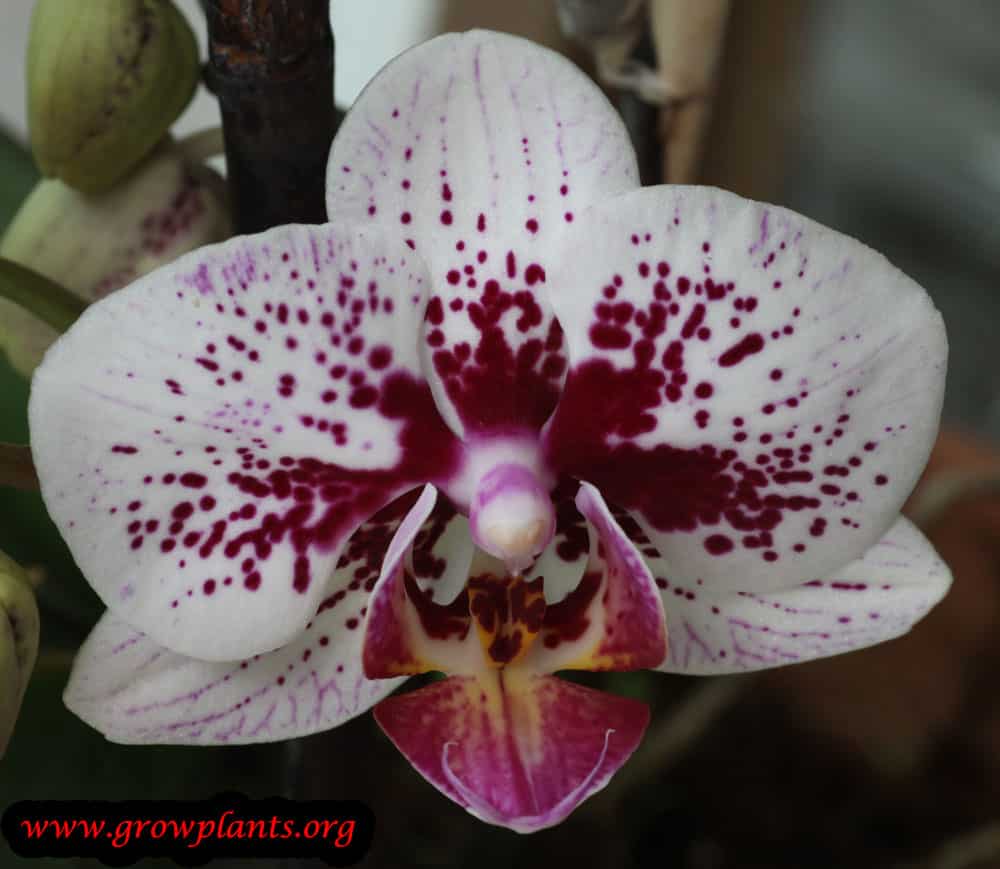
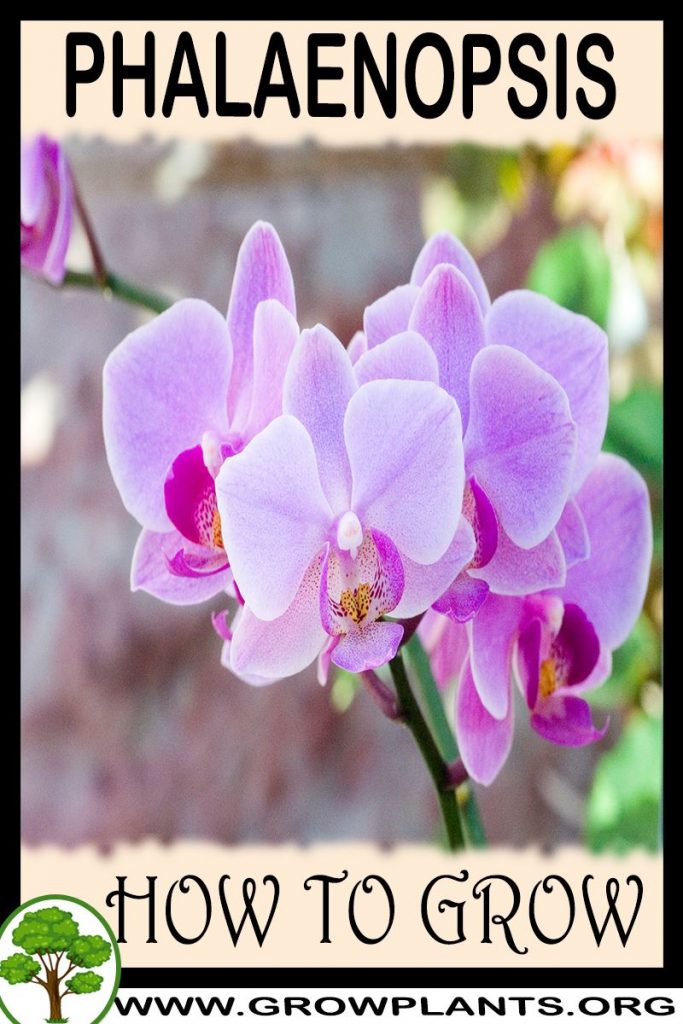
- Flower Characteristics: Flat, moth-like flowers in almost every colour — often striped, spotted or bicoloured — on arching sprays that can last up to three months.
Primary Uses & Landscape Value
- Functional & Ornamental Roles: A leading ornamental flowering houseplant, valued for its exceptionally long-lasting, showy blooms.
Care Guide: Planting, Soil & Watering
Overview: The moth orchid is an epiphyte that grows on a loose bark or cork medium rather than in soil, in bright shade and warmth of roughly 15–28°C. It likes an evenly moist but airy root zone and clean, room-temperature water.
Quick Care Requirements
| Requirement | Ideal Condition |
|---|---|
| Planting Season | Year-round in a warm, stable indoor climate |
| Growth Rate | Slow |
| Soil Type | Coarse, airy bark or cork orchid medium (never garden soil) |
| Water Need | Low to moderate — water thoroughly, then let the bark dry before watering again |
Planting & Establishment
- Best Planting Season: Plant or repot year-round in a stable, warm indoor spot, ideally just after flowering.
- How to Plant:
- Hole Preparation: Use a transparent pot only slightly larger than the roots so the medium can breathe and dry out; avoid placing it straight into an oversized pot.
- Soil Amendments: Pot into coarse bark or cork chips that hold a little moisture while draining fast and keeping the roots aerated.
- Planting Depth: Set the crown at the surface with the aerial roots partly exposed; never bury the crown, which invites rot.
- Growth Speed & Expectations: Expect slow growth; plants range from about 10–70 cm depending on variety.
Soil, Watering & Drainage Care
- Soil Mix & Drainage Needs: The thick roots need air and rot in dense, wet media, so keep the bark open and sharply drained; refresh it and cut away dead roots when it breaks down.
- Watering Schedule & Technique:
- Young / Newly Planted: After potting, water with clean, room-temperature water (rainwater is best) and keep humidity up.
- Established: Water thoroughly, then let the bark approach dryness before watering again rather than keeping it constantly wet.
- Seasonal Adjustments: Water a little more often in warm active growth and less in cool conditions.
Climate, Light & Hardiness
The moth orchid is a warm-growing, evergreen tropical epiphyte usually kept as an indoor plant in bright, indirect light rather than direct sun. It is comfortable in ordinary warm room temperatures, has essentially no frost tolerance, and outdoors is limited to frost-free subtropical and Mediterranean climates around USDA zones 10–12.
Quick Climate Specifications
| Climate Zones | Subtropical to Mediterranean; grown indoors in cooler regions |
|---|---|
| USDA Hardiness Zones | Approximately 10–12 (outdoor cold limit) |
| Optimal Temp Range | Warm room conditions, roughly 15–28 °C (59–82 °F) |
| Cold Damage Begins | Chilling stress as temperatures drop below about 15 °C (59 °F) |
| Approx. Survival Minimum | Keep above roughly 12 °C (54 °F); cold below this risks damage, and frost is lethal |
| Frost Tolerance | None |
| Light Conditions | Bright, indirect light / shade from direct sun |
Sunlight & Light Exposure
Optimal Light Setup
Provide bright but indirect light - the kind found near an east-facing window or filtered behind a sheer curtain. As a shade-adapted epiphyte, it does not want harsh, direct midday sun on its leaves.
Shade & Heat Management
Strong direct sun scorches the fleshy leaves and can overheat the plant, so diffuse or lightly shaded light is safest. Too little light, however, prevents flowering, so aim for bright shade rather than deep gloom.
Best Exposure / Orientation
An east- or gently filtered north/bright-indirect exposure indoors suits it well; keep it off scorching south- or west-facing glass unless the light is diffused.
Temperature Extremes & Hardiness
USDA Hardiness & Regional Limits
Outdoors it is confined to frost-free subtropical and Mediterranean areas, roughly zones 10–12, where it can be grown in shade year-round. In all cooler regions it is an indoor plant, because it cannot tolerate winter cold.
Cold Damage & Winter Protection
It is happiest in warm room temperatures of about 15–28 °C (59–82 °F). Sustained temperatures below roughly 15 °C (59 °F) cause stress, and it should be kept above about 12 °C (54 °F); a mild dip in night temperature (around 5 °C cooler than day) is, however, a common natural cue that helps trigger blooming.
Frost Sensitivity
Frost tolerance is none - any frost or freezing draught is lethal, so it must never be left in cold outdoor conditions.
Wind, Humidity & Microclimate
Humidity Preferences
As a tropical epiphyte it prefers moderate to high humidity, which keeps the leaves and aerial roots in good condition; typical living-room air is often on the dry side for it.
Dry-Air Tolerance
It copes with average indoor humidity but does noticeably better with a little extra moisture in the air, especially during heating seasons when indoor air turns very dry.
Microclimate Recommendations
Keep it away from cold draughts, chilly window glass in winter, and the drying blast of heaters or air-conditioning; a stable, warm, humid, brightly shaded spot indoors is ideal.
Growing in Pots, Balconies & Indoors
Phalaenopsis (moth orchid) (Phalaenopsis) is a compact orchid (about 10-70 cm) and a genuine houseplant – the grower confirms it grows well indoors, and orchids are almost always grown in a pot rather than open ground. Give it bright, indirect light near a window and it makes a rewarding, long-flowering indoor plant.
Quick Details
- Container Size: A pot only about 20-40% larger than the root ball – orchids like to be snug
- Indoor Suitability: Yes – a true houseplant in bright, indirect light
- Best Spot: Bright, indirect light near a window – out of direct sun
- Soil & Drainage: Never ordinary potting soil – use a coarse, open orchid medium (bark or cork chips) with lots of drainage holes
- Watering in Pots: Water sparingly – let the bark approach dryness between waterings; let excess drain away and never leave the pot standing in water
Indoors & On the Windowsill
- A true houseplant: The grower confirms it thrives indoors – keep it near a bright window but out of harsh, direct midday sun.
- Windowsill growing: An east or shaded-south window is ideal; a clear pot lets you watch the roots and see when to water.
- Overwintering: As a tropical plant it is happiest indoors year round in cool climates – keep it warm, bright and away from cold draughts and frost.
On a Balcony or Patio
- Summering outdoors: It can spend warm spells on a shaded, sheltered balcony or patio in bright but indirect light – protect it from direct sun, drying wind and any chill. Pots and open orchid media dry quickly, so check moisture often.
Choosing the Pot, Soil & Long-Term Care
- Pot & drainage: A snug pot with many holes; a transparent pot is useful for watching the roots. Never let it sit in standing water – the fastest route to rot.
- Medium: A coarse, free-draining orchid mix of bark or cork chips (some more terrestrial types appreciate a little added coir or humus), not garden soil.
- Feeding & water quality: Feed with a dilute orchid fertiliser a few times a year; where possible use rain or distilled water, which orchids prefer.
- Repotting: Refresh the medium about every two years – bark breaks down and loses structure over time – and pot on when roots fill the container.
Growing this plant in a greenhouse
A greenhouse can give phalaenopsis frost protection, cold protection, humidity control and extra warmth. Under warm enough conditions it can keep growing well beyond the normal outdoor season and potentially be maintained year-round - though continuous cropping is not guaranteed and depends on temperature and light. Active growth needs a minimum of around 15°C, so a dedicated greenhouse thermometer/hygrometer helps confirm that minimum is actually being met.
Greenhouse at a glance
| Greenhouse suitability | Excellent - a major practical advantage |
|---|---|
| Main benefits | frost protection, cold protection, humidity control, extra warmth |
| Outdoor protection advisable below | about 15°C |
| Maintain greenhouse minimum | around 15°C for active growth |
| Suitable types | heated greenhouse, glass greenhouse, mini greenhouse |
| Heating | Heating is recommended in cold climates for continuous growth. |
Related greenhouse guides
- Greenhouses: How to Choose the Right Greenhouse
- Best Greenhouse Heaters
- Greenhouse Climate Control: Temperature, Ventilation and Humidity
- Best Mini Greenhouses
Fertilizing & Feeding
A light, steady feeder: as a monopodial orchid with no pseudobulb reserve, it does best on frequent, well-diluted balanced feeding year-round rather than infrequent heavy applications.
Quick Fertilizing Specs
| Feeding Level | Light feeder |
|---|---|
| Main Nutrient Priority | A dilute, balanced complete orchid fertilizer rather than a high-phosphorus bloom formula |
| Best Feeding Period | Year-round while new leaves and roots are actively growing, with a flowering peak in autumn and winter |
| Micronutrients | A complete orchid fertilizer generally covers routine needs; correct only a diagnosed deficiency |
| Reduce/Stop Feeding | Not a hard stop – feeding is scaled back, not withheld, whenever growth slows in lower light |
Feeding by Growth Stage
Active leaf and root growth
Support the broad, fleshy leaves and thick roots this single-stemmed orchid steadily adds, since it has no pseudobulb to fall back on between growth pushes.
| Nutrient direction | A dilute, nitrogen-leaning balanced fertilizer supports steady new leaf and root development. |
|---|---|
| Timing | Whenever new leaf or root growth is visibly underway, which can occur across much of the year in a warm indoor or greenhouse setting. |
| Frequency | Regular light feedings suit this continuously growing species better than infrequent heavy ones. |
| Fertilizer types | A balanced, complete orchid fertilizer diluted well below label strength for regular container feeding, An occasional plain-water flush through the bark mix to prevent salt buildup |
| Routine trace nutrients | iron, manganese |
| Precautions | Flush the bark mix with plain water periodically to prevent salt buildup, and keep the amount of water modest between feedings for this species. |
Bloom spike development and flowering
Support the long-lasting flower spike this species is prized for, which forms most reliably when day and night temperatures differ, typically bringing on a heavier bloom in autumn and winter.
| Nutrient direction | Keep to the same balanced fertilizer used during growth, with adequate potassium; a high-phosphorus ‘bloom booster’ is not needed to trigger flowering. |
|---|---|
| Timing | As a flower spike emerges and while it remains in bloom, which can last for an extended period. |
| Frequency | Continue the same light, regular feeding used for growth through spike development and bloom. |
| Fertilizer types | A balanced, complete orchid fertilizer at the same dilute strength used during active growth |
| Routine trace nutrients | iron, manganese |
| Precautions | Avoid switching to a high-phosphorus ‘bloom booster’ product; balanced feeding and a day-night temperature difference are what drive spiking. |
Reduced feeding in lower light or slower growth
Match feeding to a slower growth rate rather than force growth when indoor light or conditions are less favorable.
| Nutrient direction | A weaker, low-nitrogen balanced fertilizer applied less often is usually enough while growth is slow; feed sparingly rather than at the full rate used in active growth. |
|---|---|
| Timing | During periods when no new leaf or root growth is visibly developing. |
| Frequency | Minimal feeding – a light application only occasionally until active growth resumes. |
| Fertilizer types | A balanced, complete orchid fertilizer diluted further than during active growth, applied sparingly |
| Precautions | Return to regular light feeding once new leaf or root growth resumes. |
Nutrient Deficiency Signs & Corrections
New leaves emerge pale yellow-green and smaller than expected, and overall growth is slow.
| Possible causes | insufficient nitrogen during active growth, fertilizer diluted too far or applied too infrequently, roots reduced by an old, broken-down bark mix |
|---|---|
| Appears first on | newest leaves |
| What to check | feeding routine and dilution during active growth, condition and age of the bark mix, root health |
| Possible correction | Resume regular light feeding with a balanced fertilizer while growth is active, and repot into fresh bark if the mix has broken down. |
Older, lower leaves show yellowing between the veins while the veins themselves remain green.
| Possible causes | magnesium depleted from the bark mix over time, fertilizer salt buildup interfering with nutrient uptake, an old, compacted mix restricting root function |
|---|---|
| Appears first on | older, lower leaves |
| What to check | age and condition of the potting mix, fertilizer and flushing routine, overall root health |
| Possible correction | Flush the mix with plain water to clear built-up salts, consider a fertilizer that includes magnesium, and repot into fresh bark if needed. |
Root tips and leaf tips brown or blacken, and roots stop elongating despite otherwise reasonable care.
| Possible causes | fertilizer salts accumulating in the bark mix from regular feeding without flushing, irrigation water high in dissolved minerals, an old, broken-down bark mix holding salts against the roots |
|---|---|
| Appears first on | root tips and leaf tips |
| What to check | frequency of plain-water flushing between feedings, water source used for irrigation, age of the bark mix |
| Possible correction | Flush the mix thoroughly with plain water between feedings and repot into fresh bark if buildup is heavy. |
Pruning, Training & Seasonal Maintenance
Phalaenopsis is a monopodial orchid — it grows from a single unbranched stem with no pseudobulbs and only one permanent growing point, so pruning here means grooming and flower-spike management rather than shaping. Overall tolerance for cutting is low: routine care removes spent flower spikes and naturally yellowing leaves, but the crown itself must never be cut. The single most consequential decision is where (or whether) to cut the flower spike once its last flower fades, since that choice — not a seasonal calendar — determines whether and how soon the plant reflowers.
Quick Pruning & Maintenance Specs
| Pruning Tolerance | Low – grooming and spike management only; the crown is never cut |
| Primary Pruning Window | Immediately after the last flower on a spike fades |
| Secondary Maintenance Window | Ongoing – dead leaf and root removal any time |
| Typical Frequency | Once or twice per bloom cycle, plus as-needed grooming |
| Main Objective | Manage the spent flower spike and remove dead or yellowing tissue |
| Mature Plant Priority | Choose base-cut (stronger, slower rebloom) vs node-cut (faster, smaller rebloom) |
| Best Tool Type | Small precision snips or a single-edge blade, disinfected |
| Avoid Heavy Pruning During | Active budding or flowering; the crown is never a pruning target |
Pruning by Plant Age & Size
Newly Established
A recently potted or young plant should only have obviously dead or rotten tissue removed; let it build leaf and root mass rather than trimming or forcing a premature spike.
Young / Formative
No structural training applies — Phalaenopsis is monopodial and does not branch, so there is nothing to select or frame. The only support needed is a loose tie for a leaning leaf or an elongating spike.
Mature / Established
Management is almost entirely about the flower spike: cut it back to the base for a stronger, fuller spray next time (the plant must build an entirely new spike from a leaf axil), or cut it about 2 cm above a healthy green node a few nodes below the lowest spent flower to try for a quicker secondary bloom, which is usually smaller and draws on the plant’s reserves.
Seasonal Pruning Schedule
| Post-Flowering | Objective: decide the spent spike’s fate. Remove: fully spent, yellowing or brittle spikes, cut near the base. Do not remove: a spike that is still green and firm – it may still push a node into growth. Expected response: a new spike from a leaf axil in 2–4 months, or a side-break lower on the same spike if node-cut. Flowering impact: base-cut delays but strengthens the next bloom; node-cut is faster but usually gives a smaller spray. |
| Ongoing Sanitary | Objective: keep the plant clean between bloom cycles. Remove: lower leaves once fully yellow or collapsed, dead roots at repotting. Do not remove: green leaves or plump aerial roots. Flowering impact: none directly, but retained healthy leaves preserve the reserves needed for the next spike. |
Structural Pruning & Training
There is no branch or shape training to do. The only structural task is supporting an elongating flower spike with a soft tie or slim stake once it reaches 15–20 cm, since the multi-flowered spray becomes top-heavy and can snap at the base under its own weight or in a draft.
Special Growth to Remove
Aerial roots are a normal, healthy feature — do not cut silvery-green aerial roots even if they look untidy, since they photosynthesize and absorb humidity. Remove only roots that are clearly brown, hollow or mushy, and only at repotting. Lower leaves that yellow and detach easily with age can be removed; do not strip green leaves, since each one feeds the plant and its next spike.
Container & Small-Space Pruning
Phalaenopsis is grown exclusively in a small, snug pot (its own care notes specify avoiding a pot that is “too big”) in an open bark or moss mix, so there is no in-ground practice to scale down from. At repotting, trim only dead or mushy roots with a disinfected blade and leave firm white or green roots intact; let cut ends air-dry briefly before rewetting the fresh medium to reduce rot risk.
Tools
Small precision snips or a fresh single-edge razor blade cover every cut this plant needs — spike removal, leaf trimming and root grooming. Loppers, saws and shears have no place on a single-stemmed houseplant orchid.
Tool Hygiene & Disease Risk
High-risk. Orchids, Phalaenopsis included, are susceptible to mechanically transmitted viruses such as Cymbidium mosaic virus and Odontoglossum ringspot virus, which spread on unclean blades from plant to plant. Disinfect (flame, diluted bleach or isopropyl alcohol) before moving between plants, not only between different species.
Cut Placement & Technique
For a node-cut spike, cut cleanly about 2 cm above a firm green node (never a dried brown one), sloping the cut slightly away from the node. For a base-cut, remove the spike close to, but not into, the crown tissue. Trim dead leaves close to the stem, leaving a small collar rather than tearing them away.
Heavy Pruning & Rejuvenation
Not tolerated. Phalaenopsis has a single permanent growing point and cannot be cut back hard or “rejuvenated” the way a branching plant can — there is no dormant bud lower down to regrow from. If the crown itself rots or is damaged, the plant generally cannot be pruned back to recover, unlike sympodial orchids that can be divided.
Post-Pruning Care
After spike removal, keep watering and humidity steady rather than pushing extra fertilizer — there is no flush of hard-pruned regrowth to feed here. Watch the cut end of the spike for browning or softening, which signals rot moving back toward the stem and may call for a further cut. After root trimming at repotting, let cuts callus briefly before watering.
Common Pruning Mistakes
Cutting into the crown or growing tip; stripping healthy aerial roots because they look messy; removing green lower leaves too early and losing the reserves stored in them; using unsterilized scissors across multiple orchids; and cutting a still-green, viable spike at the base out of impatience when a node-cut would have reflowered faster.
When NOT to Prune
Do not cut a spike while it is still actively flowering or budding — wait until it is genuinely spent. Avoid repotting or root-pruning while the plant is in full bloom, since the stress can cause flowers or buds to drop; do that work right after flowering ends or when new roots are visibly active.
Recommended Tools (by task)
- precision_snips – cutting spent flower spikes and trimming dead leaf or root tissue, the only cuts this plant ever needs.
- blade_disinfectant – essential given Phalaenopsis’ susceptibility to mechanically spread orchid viruses; disinfect between plants and between cuts.
- soft_ties_stakes – to support the elongating, top-heavy flower spike so it does not snap at the base.
Propagation Guide
Phalaenopsis is almost always propagated vegetatively from keikis (small plantlets that form on the flower spike), since it is a monopodial orchid with a single growing point and no pseudobulbs to divide. Seed is not true-to-type for hybrids and, without a sterile lab flask, is essentially unworkable at home, so vegetative propagation is both the practical and the recommended route. Overall difficulty is moderate: waiting for and removing a keiki is straightforward, but inducing one and germinating seed are specialist tasks.
Quick Propagation Specs
| Best Propagation Method | Keiki (plantlet) removal from the flower spike |
| Alternative Methods | Asymbiotic (flask) seed culture – specialist/lab only |
| Propagation Difficulty | Moderate (keikis); Specialist (seed) |
| Seed True-to-Type | No (hybrid offspring vary) |
| Vegetative True-to-Type | Yes |
| Best Propagation Season | Spring, as new roots and growth resume after flowering |
| Seed Sowing Depth | Not covered; sown on the surface of a sterile germination medium |
Growing from Seed
Seed Handling & Viability
Phalaenopsis seed is dust-fine and lacks the food reserves other seeds have; it depends on a sterile nutrient medium (or a compatible fungus) to germinate at all, which is why the site notes it is really hard to start from seed at home.
Sowing Season & Germination Conditions
Flasking is done under sterile lab conditions rather than a home seed season; germination is slow and uneven, typically taking a matter of months, with warm conditions around 20–25°C (68–77°F) generally favored.
Division, Offsets, Pups & Suckers
Because Phalaenopsis grows from one central point, propagation relies on keikis rather than clump division. Keikis often appear spontaneously on an old flower spike, and cutting a spent spike back to about 2 cm past a node (the site’s recommended post-bloom pruning cut) can encourage a dormant node to produce either a keiki or a new flowering side-branch instead. A cytokinin-based “keiki paste” applied to a node is an optional way growers speed this along, but it is not required. Do not remove a keiki until it has its own roots, ideally 2–5 cm (about 1–2 in) long; at that point it can be cut free with a clean blade, leaving a short stub of spike attached, and potted into a small, fine orchid mix with high humidity until it is established.
Bloom & Edible Flower Guide
Quick Details
- Bloom Season: Possible year-round, but heaviest in autumn and winter
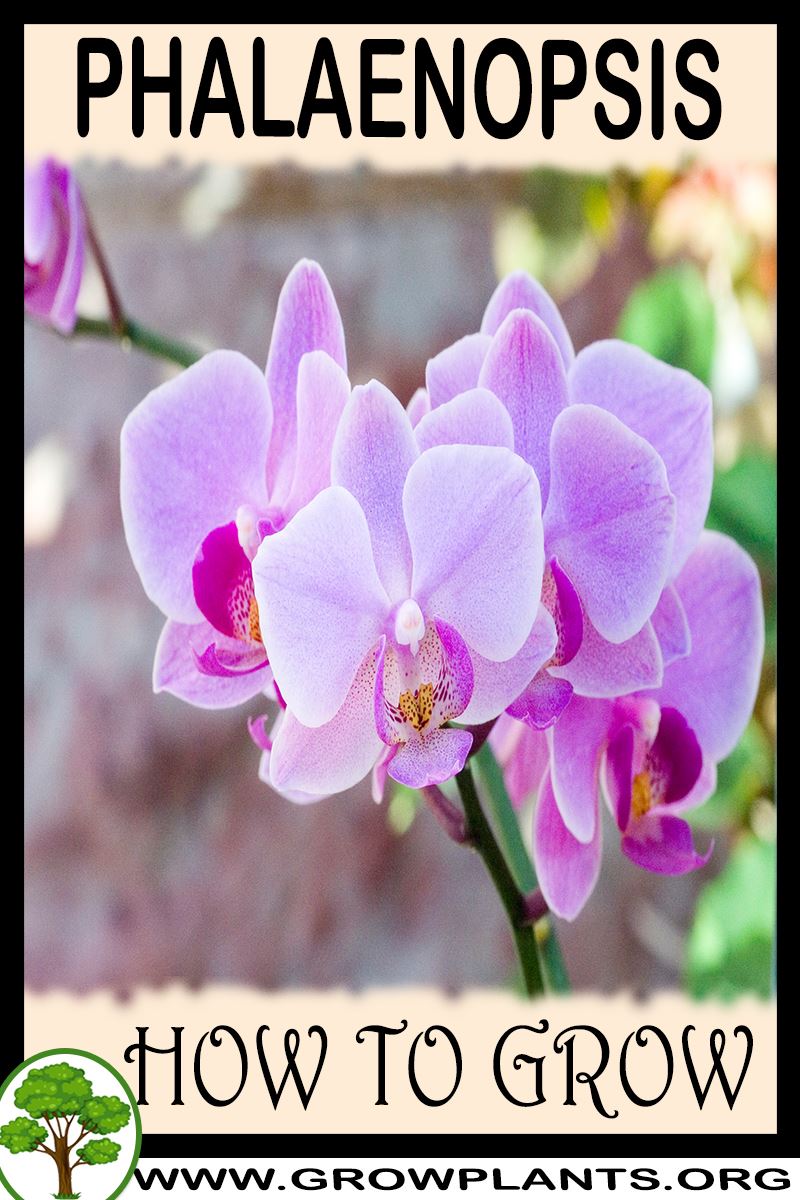
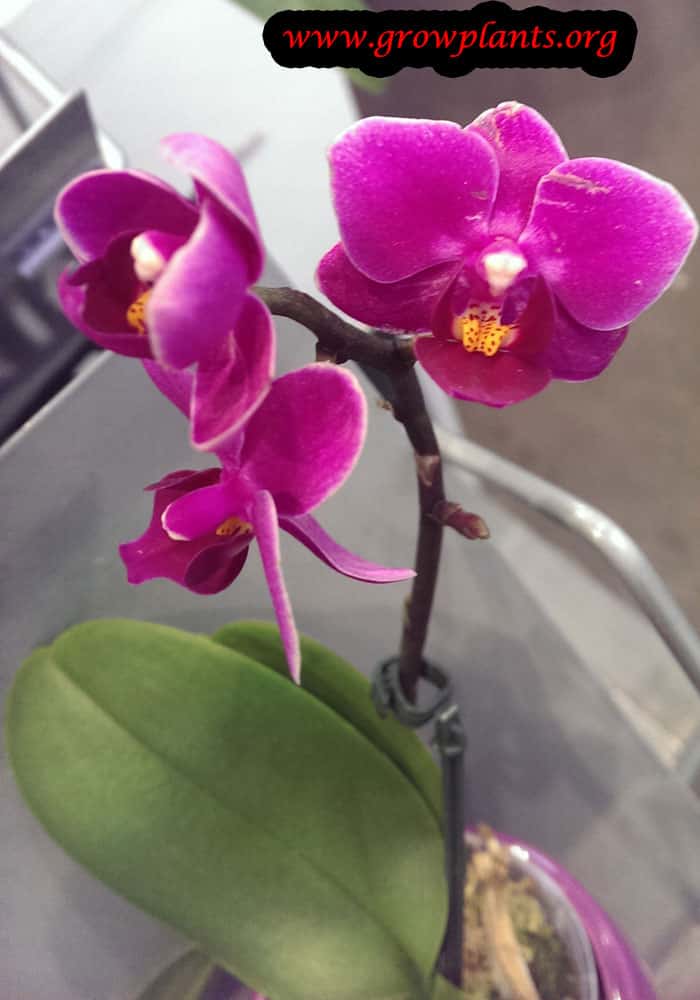
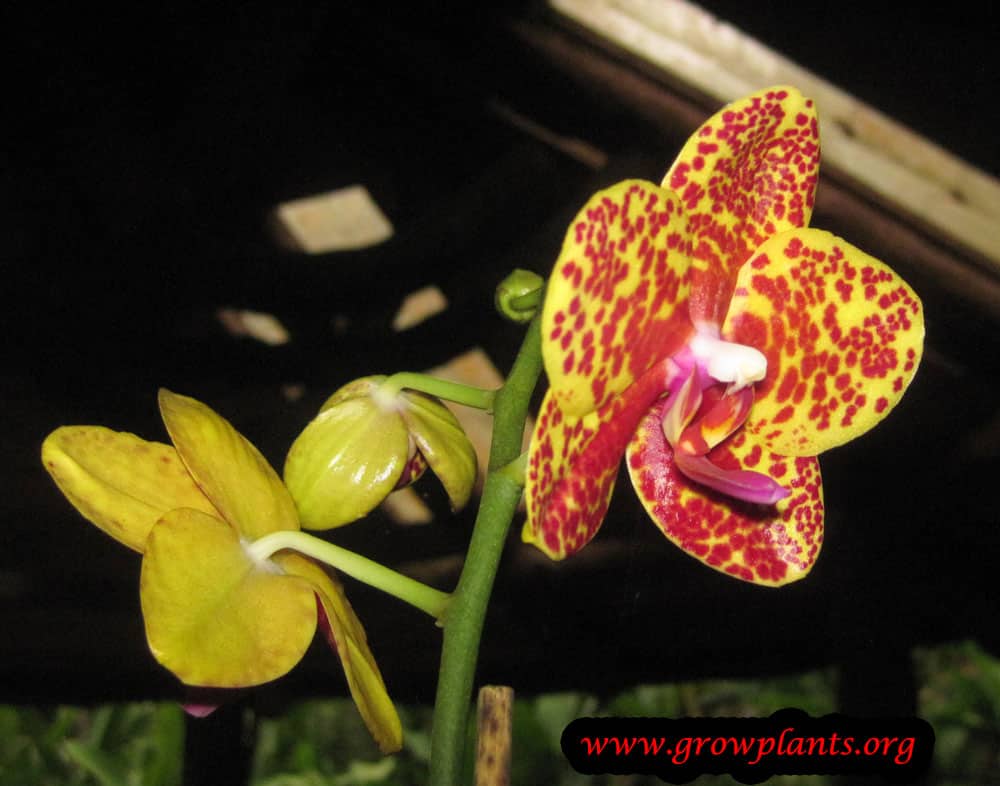
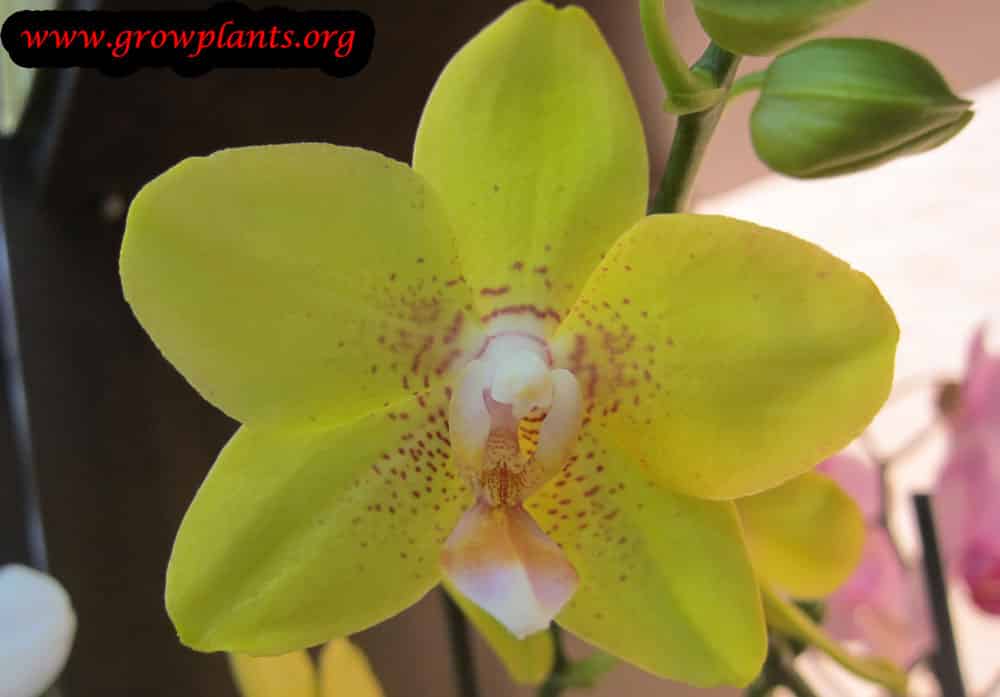
- Flower Appearance: Broad, rounded, moth-like flowers along an arching spike; purple, red, pink, white, orange, yellow, green and more, often patterned with stripes, dots or blotches
- Edibility: Phalaenopsis flowers are commonly used as an edible garnish for cakes and desserts — use only blooms grown clean of pesticides.
Detailed Blooming Overview
The Moth Orchid is the most widely grown orchid of all, valued for flowers that last for months. The grower notes an enormous colour range, frequently patterned with stripes, dots or blotches, and points out that flowering is brought on by a difference in temperature between day and night — around a five-degree drop, with cooler nights and shorter days — after which the display can hold for up to three months. Blooms open in succession along a gracefully arching spike.
Flower Characteristics
- Broad, flat, rounded petals giving the moth-like outline the plant is named for.
- Colours span purple, red, pink, white, orange, yellow and green, often multicoloured with stripes, dots or blotches (grower’s description).
- Flowers open one after another along an arching spike and last for many weeks.
Bloom Care & Thinning
- Triggering bloom: As the grower advises, a night temperature drop of a few degrees together with shorter days initiates a new spike.
- After flowering: On a healthy plant, cutting the spent spike just above a lower node often prompts a branch and a second flush; otherwise trim it to the base.
- For edible use: If flowers are to be eaten as a garnish, grow the plant without pesticides.
Bloom Health & Protection
- Botrytis petal blight can spot open flowers with small brown or translucent marks in cool, damp, still air — better ventilation and keeping water off the blooms is the first line of defence, with a fungicide only if it spreads.
- Aphids, scale and mealybugs are drawn to soft buds and flower spikes — wiping them off or treating with neem oil or insecticidal soap keeps the flowers clean.
- Bud blast (buds yellowing and dropping before they open) is usually a stress response to sudden changes in temperature, light or humidity, or to dry air — steady conditions while the plant is in spike prevent it.
Pests, Diseases & Troubleshooting
Overview: The moth orchid is a tough houseplant whose troubles are dominated by rot – crown rot from water lodging between the leaves and root rot from a soggy, broken-down mix – far more than by insects. When pests do appear they are the sap-suckers of any indoor plant: mealybugs, scale, mites and thrips. Bright indirect light, a fresh open bark mix and careful watering prevent nearly everything.
Quick Troubleshooting Overview
| Issue / Pest | Main Symptom | Primary Solution |
|---|---|---|
| Crown rot | Soft, yellow-brown collapsing centre | Never leave water in the crown; keep leaves dry |
| Root rot | Mushy grey roots, wobbly plant | Repot in fresh open bark, water then drain fully |
| Mealybugs | White fluff in leaf axils and under sheaths | Alcohol swab, horticultural oil, isolate |
| Scale | Brown bumps on leaves and stems | Scrape off, horticultural oil on crawlers |
| Bud blast | Buds yellow and drop before opening | Stabilise temperature, humidity and light |
Common Pests & Management
- Mealybugs (Pseudococcidae spp.):
- Symptoms: White cottony masses in leaf axils, on stems and around the crown; feeding causes yellowing, stunting and honeydew with sooty mould.
- Prevention & Control: Dab individual colonies with a cotton bud dipped in surgical spirit; isolate affected plants; keep humidity moderate. For wider spread use insecticidal soap or horticultural oil, repeating every 7–10 days to catch newly hatched crawlers.
- Scale insects (Coccidae & Diaspididae spp.):
- Symptoms: Immobile brown or tan bumps along stems and leaf veins, often with sticky honeydew and sooty mould; slow decline and yellowing.
- Prevention & Control: Scrape off light infestations by hand or with a soft toothbrush; prune out heavily encrusted stems. Smother remaining scale with horticultural oil, targeting the mobile crawler stage with repeat applications.
- Two-spotted spider mite (Tetranychus urticae):
- Symptoms: Fine pale stippling on leaves, faint webbing on undersides and leaf axils, and a dusty bronzed look in warm dry conditions. Tiny moving specks visible with a hand lens.
- Prevention & Control: Raise humidity and hose foliage regularly, as mites thrive in hot dry air; introduce predatory mites (Phytoseiulus persimilis) under cover. Treat hotspots with insecticidal soap or horticultural oil, ensuring thorough coverage of leaf undersides.
- Thrips (Thysanoptera spp.):
- Symptoms: Silvery streaks and flecking on leaves and petals, black frass specks, and distorted new growth; slender fast-moving insects.
- Prevention & Control: Use blue sticky traps for monitoring; remove weeds and spent flowers that harbour them; encourage predatory mites and pirate bugs. Spot-treat with insecticidal soap or spinosad-type products following the label.
- Slugs, snails & the orchid snail (Gastropoda spp.):
- Symptoms: Ragged holes in soft new roots, buds and flowers; a hidden bush snail lives in the bark mix and grazes root tips at night.
- Prevention & Control: Hand-pick at night, trap with a slice of potato or cucumber on the mix, and repot suspect plants into fresh bark; iron-phosphate pellets on the surface where needed.
Diseases & Fungal Issues
- Crown & leaf rot (Erwinia / Phytophthora spp.):
- Symptoms: A soft, water-soaked, yellow-then-brown patch spreading from the crown or leaf base, often foul-smelling, killing the growing point.
- Treatment & Management: Keep water out of the crown, especially in cool conditions; if caught early, dry the plant, cut out rotten tissue with a sterile blade and dust with cinnamon or copper. Improve airflow and never let plants sit wet and cold.
- Root rot (Pythium / Phytophthora spp.):
- Symptoms: Roots turn grey-brown, soft and hollow; the plant loosens in its pot and leaves go limp and leathery.
- Treatment & Management: Repot into fresh, open, fast-draining bark, trimming dead roots; water thoroughly then let it drain completely, never leaving it standing in water.
- Fungal / bacterial leaf spots (Cercospora, Pseudomonas spp.):
- Symptoms: Yellow, brown or black spots and blotches on leaves, sometimes with a yellow halo, spreading in humid stagnant air.
- Treatment & Management: Improve ventilation, keep foliage dry, and remove affected leaves with a sterile blade; a copper fungicide checks spread.
Growing Difficulties & Abiotic Problems
- Bud blast:
- Cause & Symptoms: Sudden shifts in temperature, light, humidity or a draught (or ethylene from ripening fruit) make buds yellow and drop before opening.
- Correction Strategy: Keep the plant in stable conditions while in spike, away from heat sources, cold draughts and fruit bowls; keep humidity up.
- Sunburn & leaf yellowing:
- Cause & Symptoms: Direct sun scorches yellow-brown patches; too much light bleaches leaves, while overwatering yellows lower leaves.
- Correction Strategy: Give bright indirect light, shade from hot direct sun, and water only when the roots turn silvery; correct any waterlogging.
- Limp, leathery leaves:
- Cause & Symptoms: Dehydration from a dead root system (usually after overwatering) leaves the plant unable to take up water.
- Correction Strategy: Check and repot the roots, raise humidity, and water correctly so a healthy root system rebuilds.
What Helps – Products & Tools
For orchids, the key tools are a fresh open bark mix and a sterile blade with cinnamon or copper to treat rot early. Against pests use surgical spirit or a light horticultural oil for mealybugs and scale, insecticidal soap for mites and thrips, and iron-phosphate pellets or manual trapping for bush snails. Avoid heavy chemical sprays on these slow, sensitive plants.