



Plant Profile & Key Characteristics
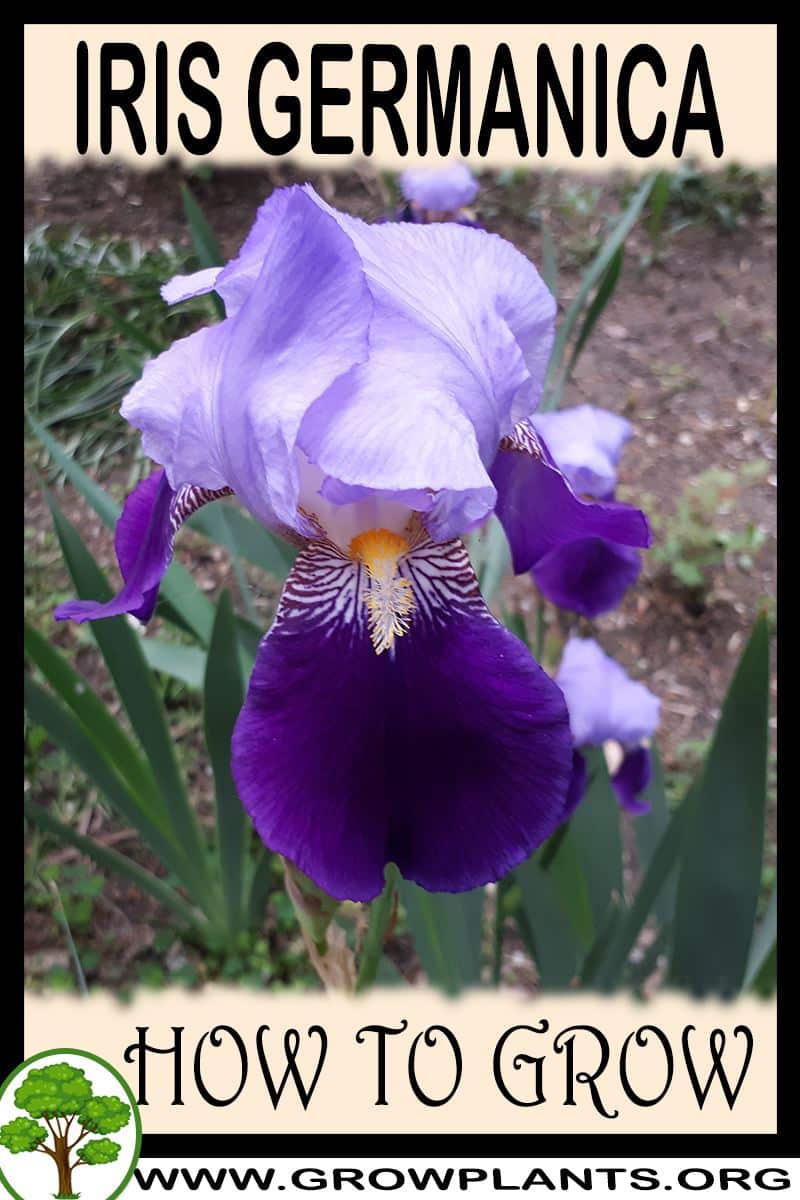
Overview: Iris germanica (German / bearded iris) is a rhizomatous perennial geophyte with foliage 20-50 cm tall and flower stems to about 120 cm, grown as an ornamental for its large, showy bearded flowers. It is largely evergreen in mild climates.
Quick Specifications
| Specification | Attribute |
|---|---|
| Plant Type / Life Cycle | Perennial geophyte |
| Foliage Type | Evergreen to semi-evergreen |
| Mature Size | Foliage 20-50 cm; flower stems to ~120 cm (~4 ft) |
| Growth Rate | Fast |
| Root System | Rhizomatous (surface-creeping rhizome) |
| Toxicity | Toxic if ingested – rhizomes contain irritant compounds; keep from pets |
| Hardiness | USDA zone 3-10 (to 11a with care) |
Growth Form & Structure
- Height & Spread: Fans of leaves 20-50 cm with flower stems to ~120 cm in ground; can be grown in containers with periodic division.
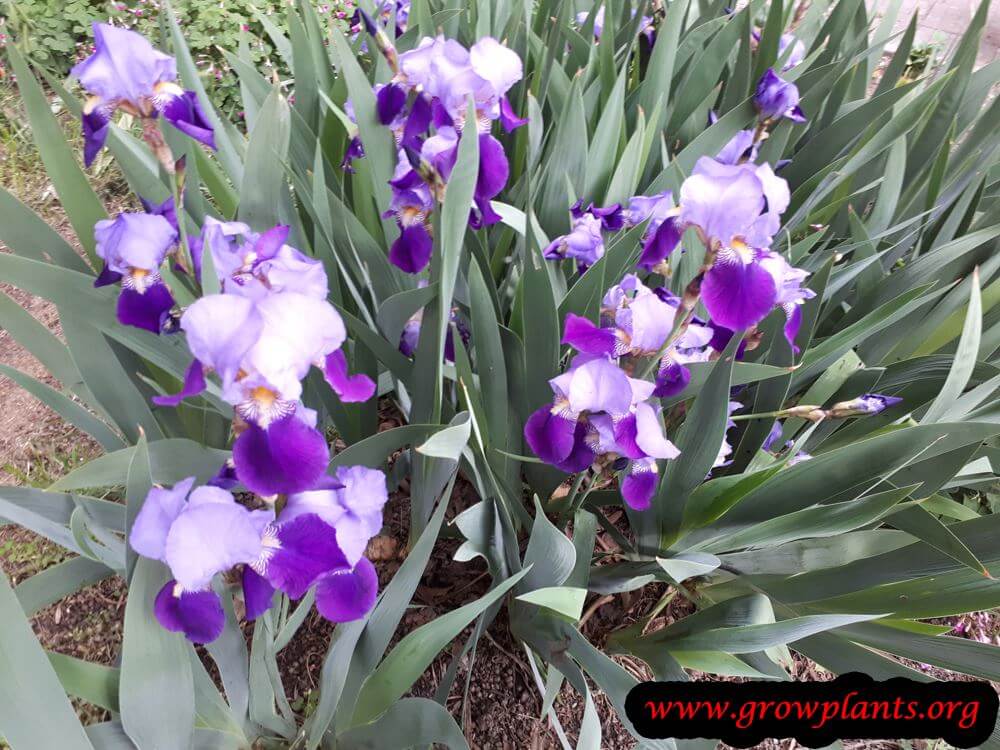
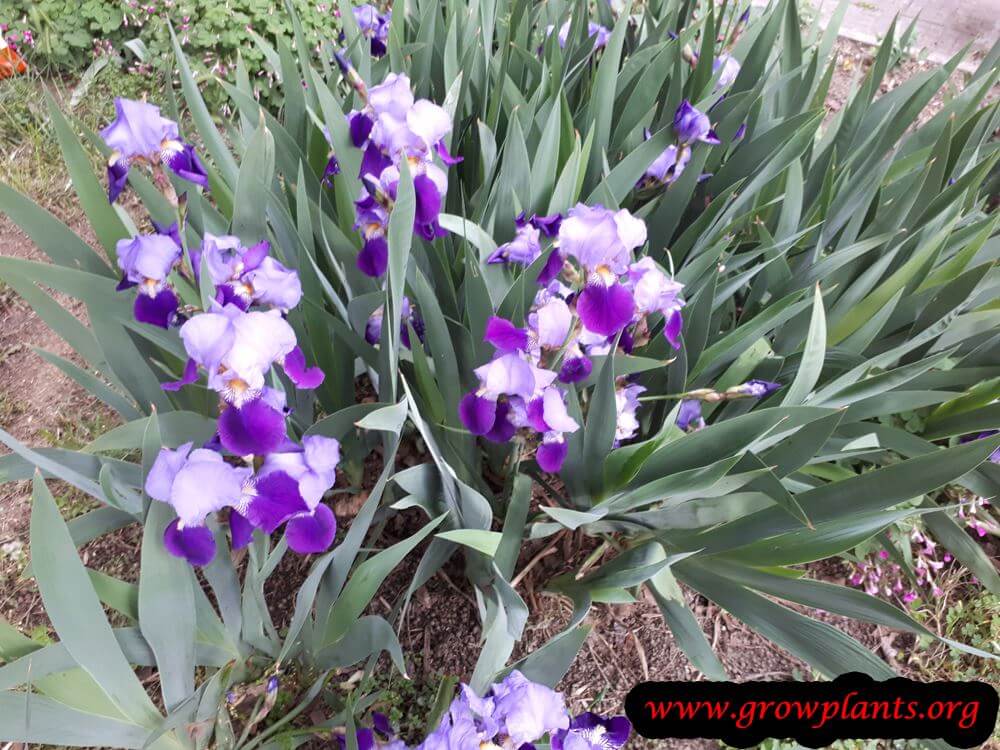
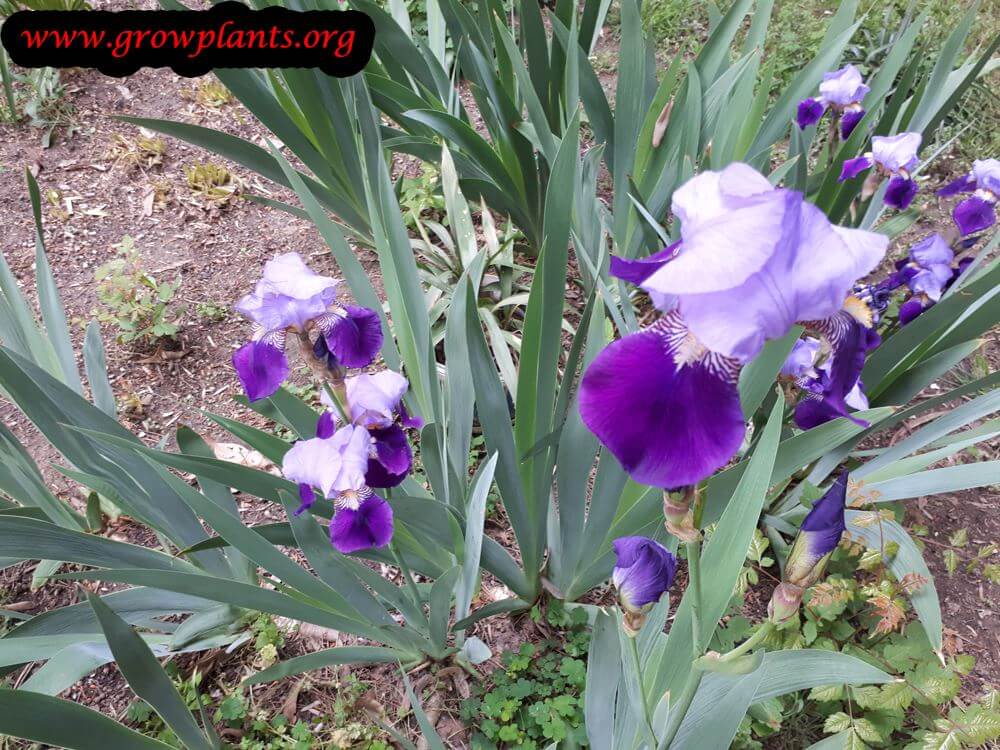
- Growth Habit & Form: Clump-forming fans of sword-shaped leaves from a stout surface rhizome; spreads steadily.
- Lifespan & Maturity: Long-lived; clumps are lifted and divided every few years to keep flowering.
Anatomy & Physical Features
- Leaves & Foliage: Grey-green, sword-shaped leaves that arch at the tips, in linked fans.
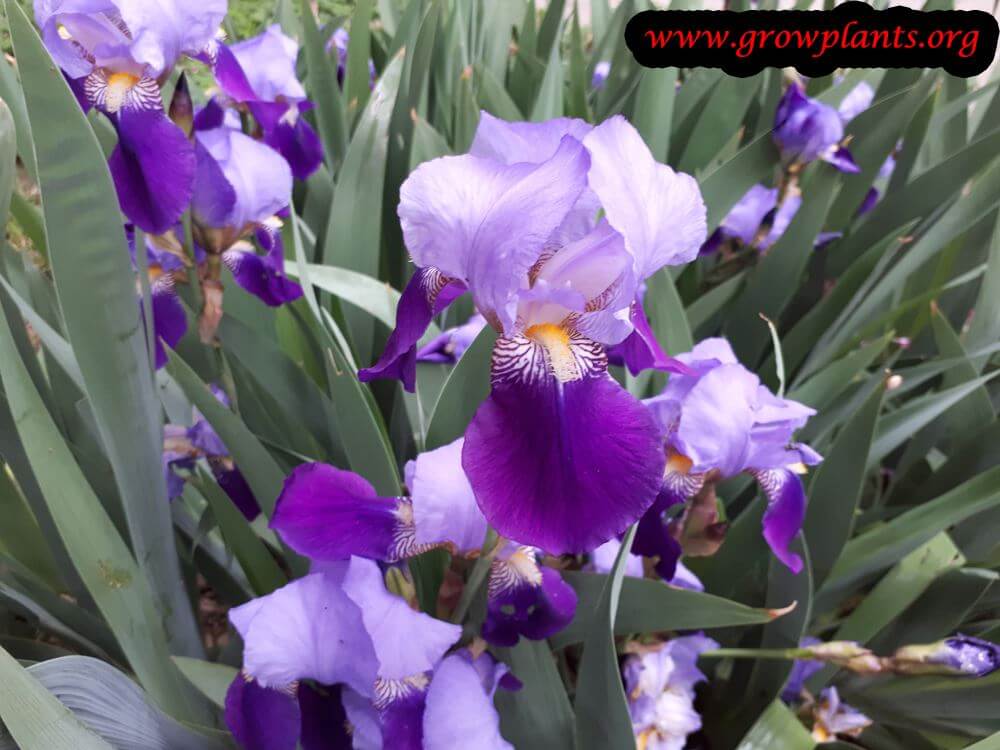
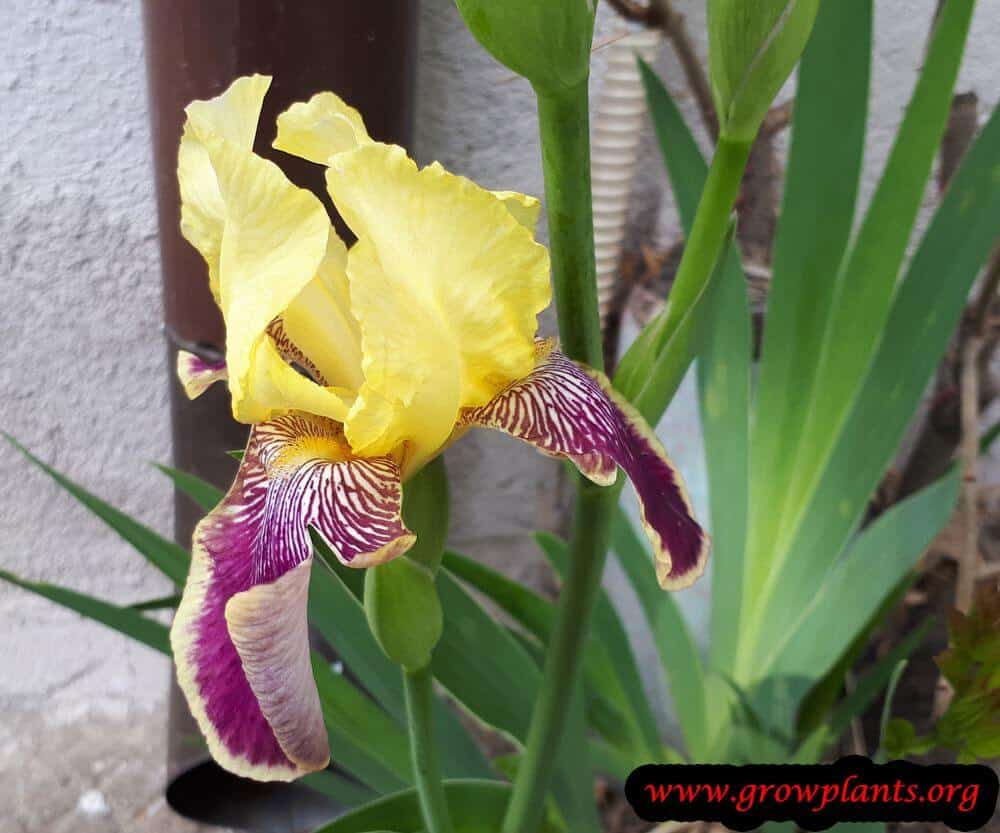
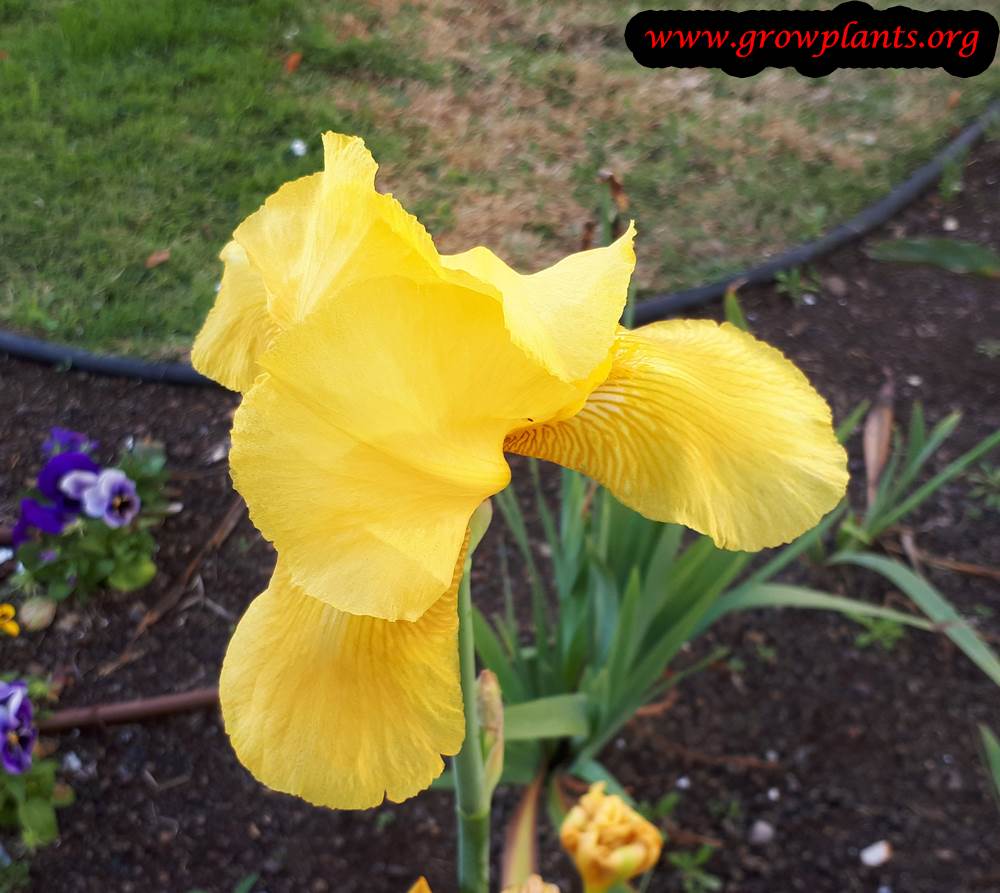
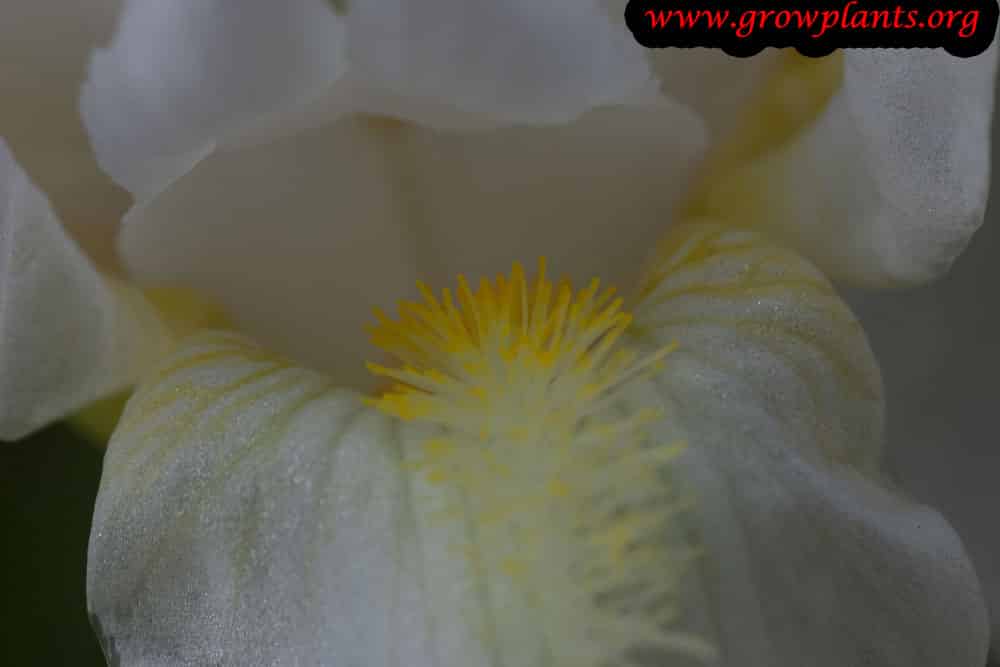
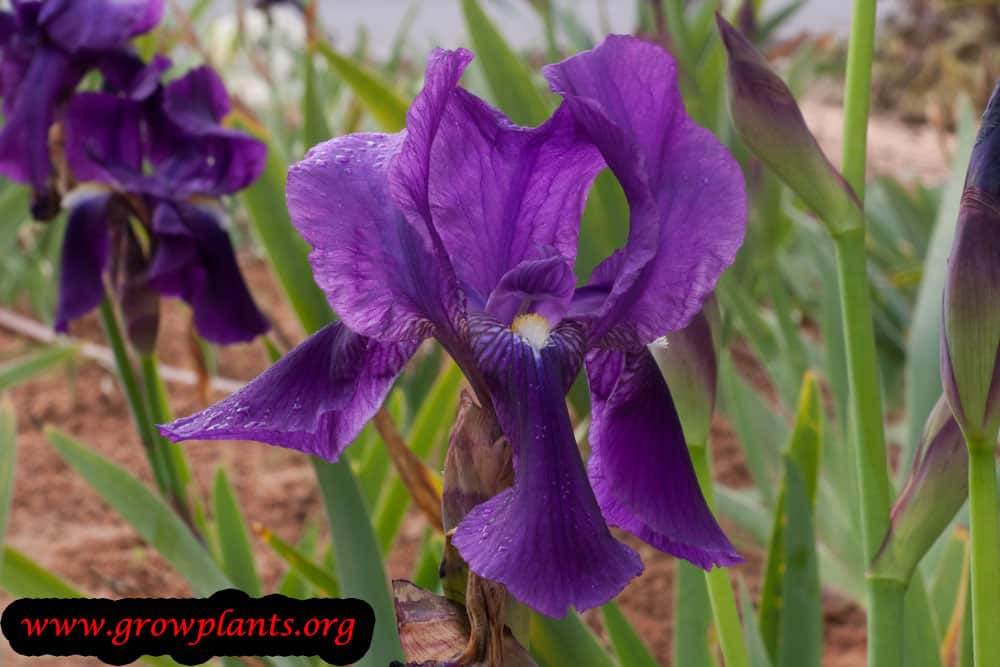
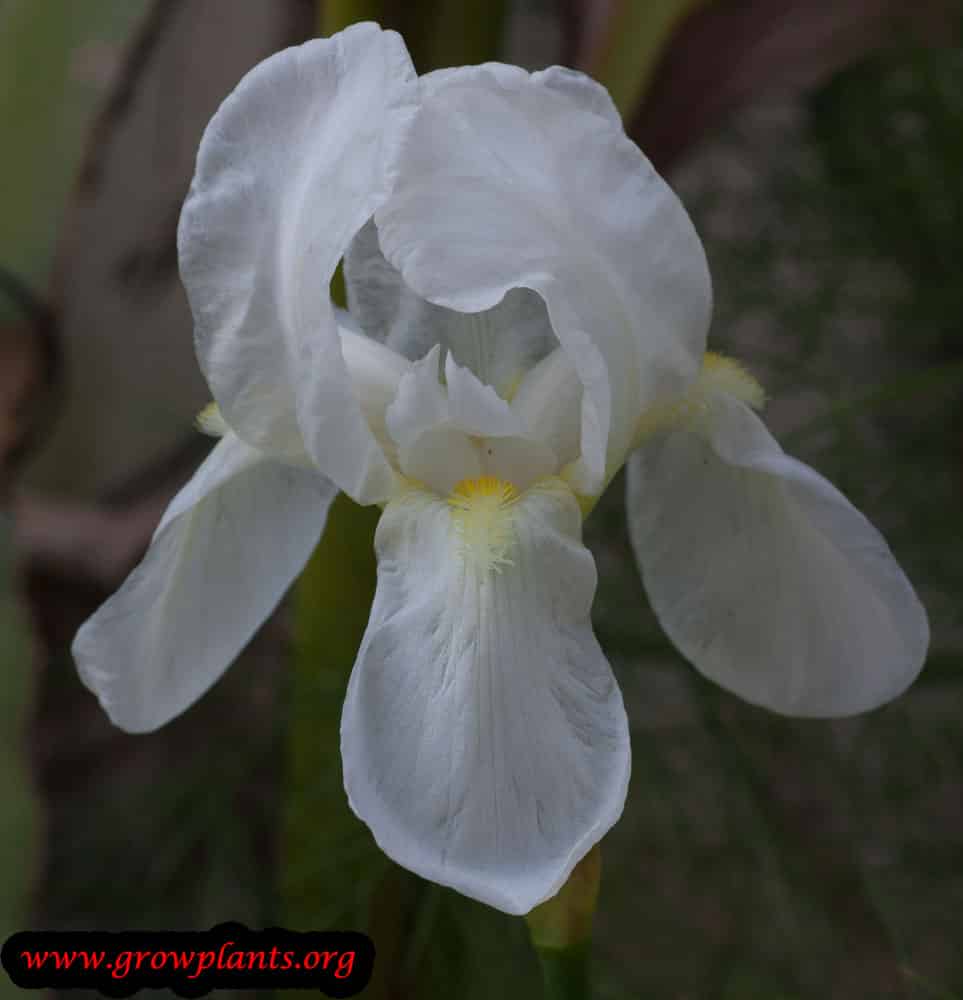
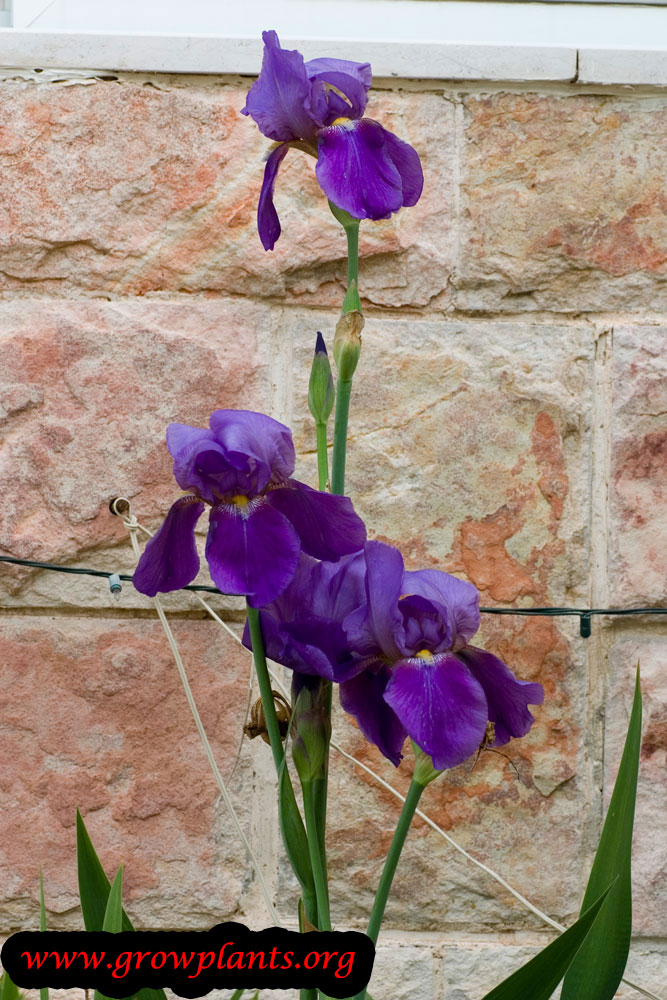
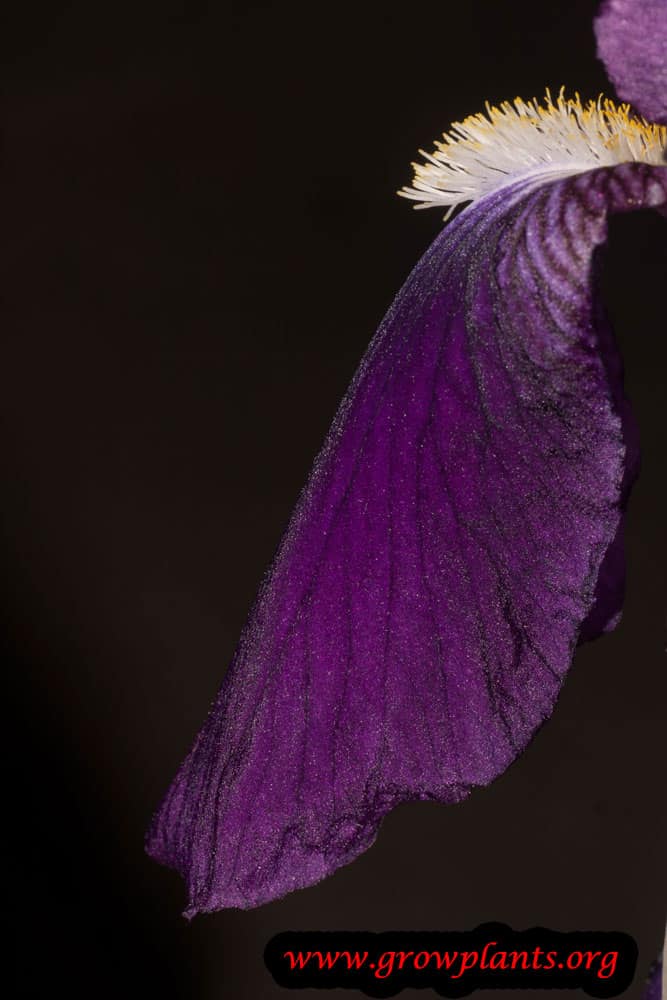
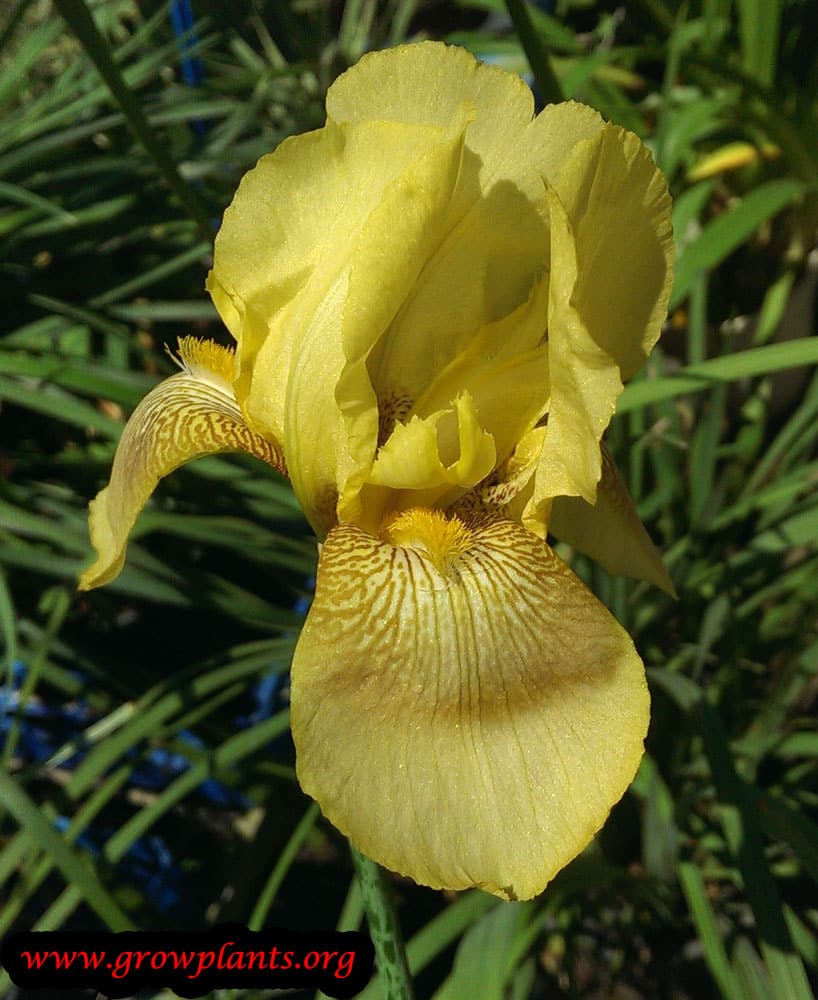
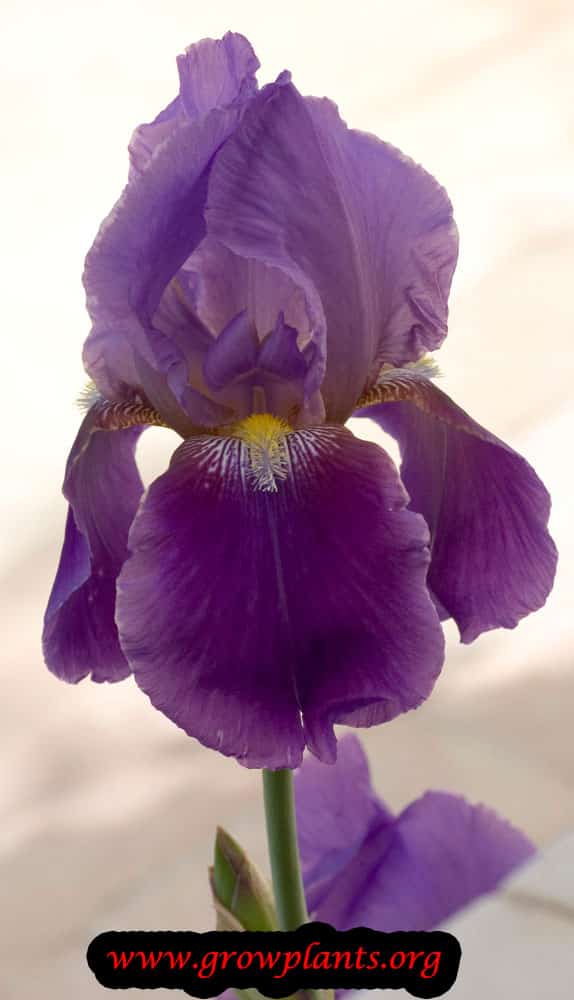
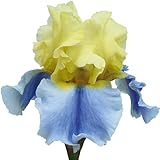
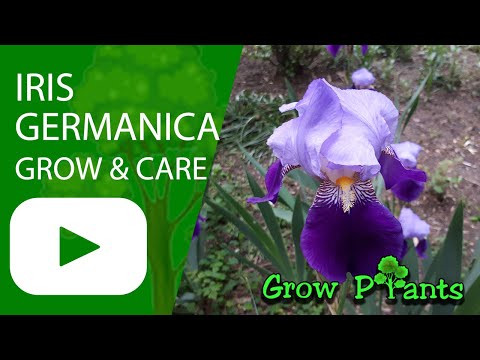
- Flower Characteristics: Large bearded flowers in a huge colour range – purple, blue, pink, white, red, maroon, yellow, orange, black or bi-coloured (full detail in the Bloom guide).
Primary Uses & Landscape Value
- Functional & Ornamental Roles: Ornamental for borders and cottage gardens and as a cut flower; the dried rhizome is the source of orris root used in perfumery.
Care Guide: Planting, Soil & Watering
Overview: The bearded German iris grows in full sun to part shade in fertile, well-drained soil, spreading by fat surface rhizomes. It likes regular moisture during growth and flowering but must have sharp drainage, as its rhizomes rot in wet ground.
Quick Care Requirements
| Requirement | Ideal Condition |
|---|---|
| Planting Season | In spring in cold zones; autumn to spring in mild and desert zones |
| Growth Rate | Fast |
| Soil Type | Fertile and well-draining |
| Water Need | Moderate; water regularly in growth but let it drain, drought-tolerant once established |
Planting & Establishment
- Best Planting Season: In cold-winter zones plant in spring; in mild and desert climates plant from autumn through spring, avoiding the hottest days of summer.
- How to Plant:
- Hole Preparation: Dig a hole about as deep as the root ball plus an extra 20-40%, so the roots settle into loosened soil.
- Soil Amendments: Mix organic matter, humus and dried leaves into some of the backfill to enrich and lighten it.
- Planting Depth: Set the plant so the rhizome sits at or just below the surface (never buried deep), firm the soil enough to hold it stable, and mulch to keep moisture, especially on young plants.
- Growth Speed & Expectations: A fast grower that clumps and spreads freely by rhizome, so divide every few years to keep it flowering well.
Soil, Watering & Drainage Care
- Soil Mix & Drainage Needs: Sharp drainage is essential to prevent rhizome rot; in containers use a free-draining potting mix and do not leave pots waterlogged.
- Watering Schedule & Technique:
- Young / Newly Planted: After planting, water in and then water each day (preferably in the morning) for the first two weeks while it establishes.
- Established: Water regularly during growth and flowering, but let the soil drain freely; established clumps tolerate dry spells.
- Seasonal Adjustments: More around flowering and in heat, much less in winter dormancy.
Climate, Light & Hardiness
German iris is a classic rhizomatous perennial for Mediterranean, subtropical, and temperate gardens, flowering best in full sun (half shade is tolerated but reduces bloom) and reliably hardy from USDA zone 3 through 10, extending to zone 11a with attentive care.
Quick Climate Specifications
| Climate Zones | Mediterranean, subtropical, temperate |
|---|---|
| USDA Hardiness Zones | 3–10 (zone 11a possible with the right care) |
| Light Conditions | Full sun; half shade tolerated but with fewer flowers |
| Frost Tolerance | High |
Sunlight & Light Exposure
Optimal Light Setup
Full sun produces the best flowering; half shade is tolerated but noticeably reduces bloom quantity.
Temperature Extremes & Hardiness
USDA Hardiness & Regional Limits
Very cold-hardy, growing from zone 3 through 10, with zone 11a achievable given careful summer management. In the hottest part of its range (subtropical zones 10b–11a), the peak of summer heat is best avoided for planting.
Extreme Heat Tolerance
Tolerates heat reasonably well once established, but in hot subtropical climates it is best planted outside the hottest summer stretch rather than during it.
Cold Damage & Winter Protection
Needs at least a month of cool winter temperatures to flower well the following season – a genuine chilling requirement for reliable bloom, distinct from mere winter survival.
Growing in Pots, Balconies & Indoors
Bearded iris (Iris germanica) grows from a rhizome and the grower confirms it can be grown in pots and planters, with some care to keep it flowering. It is not a houseplant: it needs full sun, a baked summer and a real dormancy, and its rhizomes must not be crowded – so grow it outdoors in a wide, sunny container.
Quick Details
- Container Size: A wide, shallow container – the rhizomes spread sideways at the surface, so width matters more than depth
- Indoor Suitability: Not a houseplant; it needs full sun and won’t flower indoors
- Best Spot: Full sun (it flowers less in half shade)
- Soil & Drainage: Potting mix or similar, free-draining; rhizomes must not sit wet
- Watering in Pots: Average, and regular in the flowering season, but with good drainage; it can also tolerate dry spells
Indoors & On the Windowsill
- Not a houseplant: The grower marks it ‘no’. Indoors it lacks the sun and the sun-baked rest its rhizomes need, and it will not bloom. Keep it outdoors.
- Dormancy: It rests after flowering; leave the rhizomes to bake and do not overwater during the rest period.
On a Balcony or Patio
- Light & flowering: Give it the sunniest spot – full sun is what drives flowering. On a balcony it copes with wind once the fans are established.
- Rhizome health: Plant rhizomes shallowly with their tops near the surface; keep them from being buried or waterlogged so they don’t rot.
Choosing the Pot, Soil & Long-Term Care
- Pot & drainage: A wide, shallow pot with strong drainage holes. Use a pot with strong drainage holes and skip a standing water saucer – constantly wet feet are the quickest route to root rot.
- Potting mix: Potting mix or something similar that stays free-draining (the grower’s guidance).
- Keeping it flowering: The grower’s key point: to keep flowering after a few years, do not let the roots fill the whole planter – if it is full, thin out some plants or move to a bigger container.
Grower’s Container Tip
- Divide, refresh and replant (the grower’s method): After flowering, pull out old plants, prune the leaves and roots, and reduce the amount of roots in the pot so new roots can grow. Every few years check the soil is still viable; if not, wash off the old soil and replace it with fresh potting mix. Keeping the rhizomes uncrowded is what maintains flowering year to year.
Fertilizing & Feeding
Grown from a rhizome rather than a true bulb, bearded iris is a light feeder that is notably sensitive to over-feeding: light, balanced feeding as growth resumes and buds form supports strong bloom, while feeding stops after flowering to avoid encouraging the soft rhizome growth that invites rot.
Quick Fertilizing Specs
| Feeding Level | Light feeder |
|---|---|
| Main Nutrient Priority | A balanced, low-nitrogen fertilizer that favors sturdy rhizomes and reliable bloom over lush foliage |
| Best Feeding Period | As growth resumes and flower buds are forming |
| Organic Options | Compost worked into the soil away from direct rhizome contact |
| Reduce/Stop Feeding | Feeding stops after flowering to avoid encouraging soft growth that invites rot |
| Micronutrients | Usually adequate from a complete fertilizer and organic matter; watch for pale new growth on alkaline soil |
| Soil pH | Prefers well-drained soil with the top of the rhizome left exposed to light and air |
Feeding by Growth Stage
Establishment after planting
Help a newly planted rhizome root in and produce its first sword-shaped leaves.
| Nutrient direction | A light, balanced feeding at planting supports root establishment without encouraging soft rhizome growth. |
|---|---|
| Timing | At planting, with the top of the rhizome left exposed rather than buried. |
| Frequency | A light feeding at planting is usually enough while the rhizome establishes. |
| Fertilizer types | A balanced complete fertilizer used at a light rate, Compost worked into the soil away from direct contact with the rhizome |
| Precautions | Keep fertilizer away from direct contact with the rhizome, and avoid burying the rhizome too deeply. |
Active growth and bud formation
Support leaf growth and bud formation ahead of the main flowering display.
| Nutrient direction | Light, low-nitrogen balanced feeding supports sturdy growth and bud formation without encouraging the soft, rot-prone growth this rhizome is prone to under heavy nitrogen. |
|---|---|
| Timing | As growth resumes and flower buds begin forming, ahead of the bloom season. |
| Frequency | A single light feeding as growth resumes is usually enough ahead of bloom. |
| Fertilizer types | A balanced, low-nitrogen fertilizer, Compost worked lightly into the surrounding soil |
| Precautions | Avoid high-nitrogen fertilizer, which promotes soft rhizome growth that is more susceptible to rot. |
Rest after flowering
Let the rhizome ripen and rest after flowering without pushing soft, rot-prone growth.
| Nutrient direction | None – withhold fertilizer once flowering finishes. |
|---|---|
| Timing | After flowering finishes, through the rhizome’s rest period. |
| Frequency | No feeding is needed after flowering finishes. |
| Fertilizer types | No feeding at this stage; allow the rhizome to ripen and rest without fertilizer after flowering. |
| Precautions | Do not fertilize after flowering; continued feeding at this point mainly raises the risk of soft, rot-prone rhizome growth. |
Nutrient Deficiency Signs & Corrections
Leaves are pale green and flowering is sparse for a typical season.
| Possible causes | low available soil nitrogen, thin or depleted soil low in organic matter, leaching from frequent watering |
|---|---|
| Appears first on | older, lower leaves |
| What to check | recent feeding history, soil organic matter level, bloom performance compared to a typical season |
| Possible correction | Apply a light, balanced fertilizer as growth resumes ahead of bloom. |
Leaf margins show scorch or yellowing and flower stems seem weaker than usual.
| Possible causes | low soil potassium, heavy leaching in sandy or frequently watered soil, an imbalance from nitrogen-heavy feeding |
|---|---|
| Appears first on | older leaf margins |
| What to check | soil test results if available, recent fertilizer balance, flower stem sturdiness compared to a typical season |
| Possible correction | Switch to a balanced, low-nitrogen fertilizer and avoid nitrogen-heavy feeding. |
New leaves emerge pale yellow while the veins remain green.
| Possible causes | high soil pH limiting iron availability, waterlogged or compacted soil restricting root uptake, planting depth that keeps the rhizome too wet |
|---|---|
| Appears first on | newest leaves |
| What to check | soil pH if testable, drainage around the rhizome, planting depth |
| Possible correction | Improve drainage, keep the rhizome’s top exposed to light and air, and apply a chelated iron product per its label if the pattern continues. |
Pruning, Training & Seasonal Maintenance
Iris germanica is a rhizomatous, sword-leaved perennial with no woody structure, so “pruning” means leaf and bloom-stem grooming plus periodic rhizome division, not structural cutting. Its own care notes carry a genuinely important, species-specific caution: green leaves and bloom stems should not be cut until they have dried on their own, because the leaves are photosynthesizing to build the rhizome reserves that fund next year’s flowers — cutting them green weakens the following bloom. Grooming can happen year-round for dead material, but the plant’s overall population/vigor is best managed in winter, when it can be thinned and old rhizomes lifted.
Quick Pruning & Maintenance Specs
| Pruning Tolerance | Low for green leaves (reduces next bloom) / Moderate for dead material |
| Primary Pruning Window | Year-round for dead leaf/stem removal; winter for thinning/dividing rhizomes |
| Typical Frequency | Ongoing light grooming; division every few years |
| Main Objective | Remove only spent material; protect green leaf area for rhizome/bloom reserves |
| Young Plant Priority | Leave leaves fully intact; no cutting until established |
| Mature Plant Priority | Remove dead leaves/bloom stems once dry; divide overcrowded rhizome clumps |
| Best Tool Type | Bypass secateurs or a sharp knife for rhizome division |
| Avoid Heavy Pruning During | While leaves/bloom stems are still green, and during active flowering |
Pruning by Plant Age & Size
Newly Established
No cutting — let the fan of leaves grow undisturbed to build the rhizome.
Young / Formative
No structural training applies; this is a clump-forming rhizome, not a trained form. Only remove leaves if they are damaged, not simply for tidiness.
Mature / Established
Remove leaves and bloom stems only once they have dried naturally, and periodically lift and divide the rhizome clump — this species spreads aggressively and sends up unchecked new growth if left alone, so thinning is a real maintenance need, not cosmetic.
Seasonal Pruning Schedule
Ongoing Sanitary
Objective: tidy the fan without sacrificing bloom reserves. Remove: leaves and bloom stalks only after they have fully dried/browned on their own. Do not remove: any leaf or stem that is still green, even partially — it is still contributing to the rhizome. Flowering impact: cutting green material reduces next season’s blooms.
Dormant/Winter
Objective: control clump size and refresh crowded plantings. Remove: excess rhizomes, thinning the clump or lifting and dividing out old, non-flowering sections; best done by pulling with the roots. Expected response: a less congested clump with better airflow and renewed flowering vigor. Flowering impact: positive over time — overcrowded rhizomes bloom poorly.
Structural Pruning & Training
The main structural issue is the clump becoming too dense as rhizomes spread and multiply; renewal by division (discarding old, spent rhizome sections and replanting vigorous younger ones) is the real “structural” tool here, more than any cutting.
Special Growth to Remove
- Dead, browned leaves — only once fully dry, never while still green.
- Spent bloom stalks — same rule, wait until they have dried.
- Old, exhausted rhizome sections at the centre of an overcrowded clump — remove during winter division.
Container & Small-Space Pruning
In pots, monitor the rhizome mass rather than the foliage: once roots fill the container the plant stops flowering well, so the fix is lifting, dividing, and pruning back roots and excess leaf fans at that point — and refreshing the potting mix — rather than any routine top-pruning.
Tools
- Bypass secateurs – for cutting fully dried leaves and bloom stalks.
- Sharp knife – for dividing rhizomes cleanly at replanting/transplant time.
Tool Hygiene & Disease Risk
Increased risk — this species is susceptible to iris borer and rot organisms that can spread rhizome-to-rhizome on cutting tools during division; disinfect the blade between clumps, and discard any rhizome section showing soft rot or tunnelling rather than replanting it.
Cut Placement & Technique
When transplanting or dividing, trim back part of the roots and leaves on the divided fan (per this plant’s own transplant guidance) to reduce moisture stress while the new roots establish; cut rhizomes with a single clean stroke rather than sawing.
Heavy Pruning & Rejuvenation
Lifting and dividing an overcrowded clump, discarding old rhizome centres, is this species’ equivalent of rejuvenation and is well tolerated when done at the right time (winter, or after flowering) — but it should target the rhizomes, not a hard cutback of green foliage, which would only weaken the plant.
Post-Pruning Care
After transplanting/dividing, replant with the rhizome top at or just above soil level (burying it invites rot) and water in, then keep watering regularly for the first two weeks while new roots establish.
Common Pruning Mistakes
- Cutting green leaves or bloom stalks back for tidiness, which reduces the following season’s flowers.
- Letting the clump go too many years without dividing, leading to a congested centre and declining bloom.
- Reusing an unclean blade across multiple rhizome clumps, risking spread of rot or borer.
When NOT to Prune
Do not cut back leaves or flower stems while they are still green, and avoid dividing or transplanting during active summer flowering — division is best in winter dormancy or right after bloom finishes.
Recommended Tools (by task)
- Removing dried leaves/bloom stalks (any age): bypass_secateurs – clean cuts on fibrous, dried leaf material.
- Dividing rhizome clumps (mature plant, winter): blade_disinfectant – this species carries real disease/borer risk that spreads rhizome-to-rhizome on tools.
Propagation Guide
Iris germanica is propagated most practically by division of the rhizome. Seed is also a biological propagation method, but it is slower and is not the preferred way to preserve a selected garden form.
Quick Propagation Specs
| Underground Organ | Rhizome |
| Best Vegetative Method | Rhizome division |
| Seed | Possible |
Sow in a sunny, well-drained spot at 20×30 cm (8×12 in) spacing and 0.5-1 cm (0.25-0.5 in) depth; germination takes 2-8 weeks. Seed also needs at least one month of chilling before it will germinate.
Rhizome Division
Lift or expose an established clump when the plant can be divided without severe heat or drought stress. Separate healthy rhizome sections that carry viable growth points and roots, discard damaged or diseased tissue, and replant promptly in suitable soil at the normal depth for the plant.
Growing from Seed
Use mature seed when seed propagation is desired. Sow direct in the soil; it needs a period of cold to break dormancy, so in warm climates where winters are not cold enough, keep the seed in the coldest part of a refrigerator instead to stratify it artificially. Seed-grown plants take longer to reach flowering size and may vary from selected garden forms.
Aftercare
Water newly divided plants enough to settle the soil and support new root growth, while avoiding prolonged waterlogging.
Bloom & Flower Guide
Quick Details
- Bloom Season: Late winter to spring
- Time to First Bloom: From established rhizomes, usually the season after planting once the fans have settled in
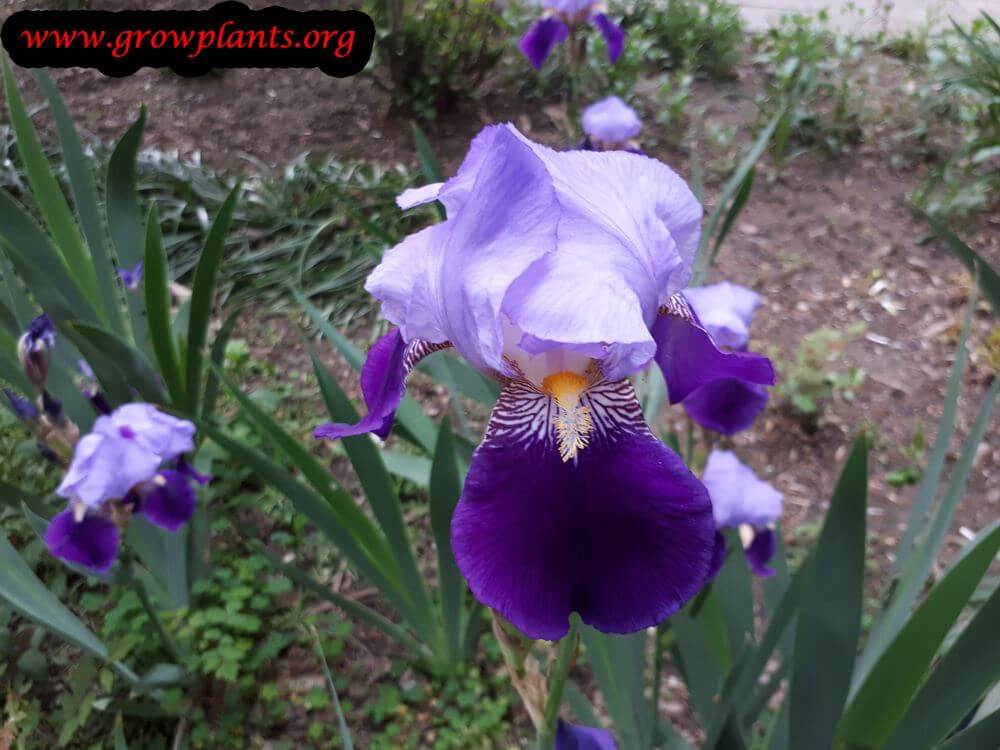
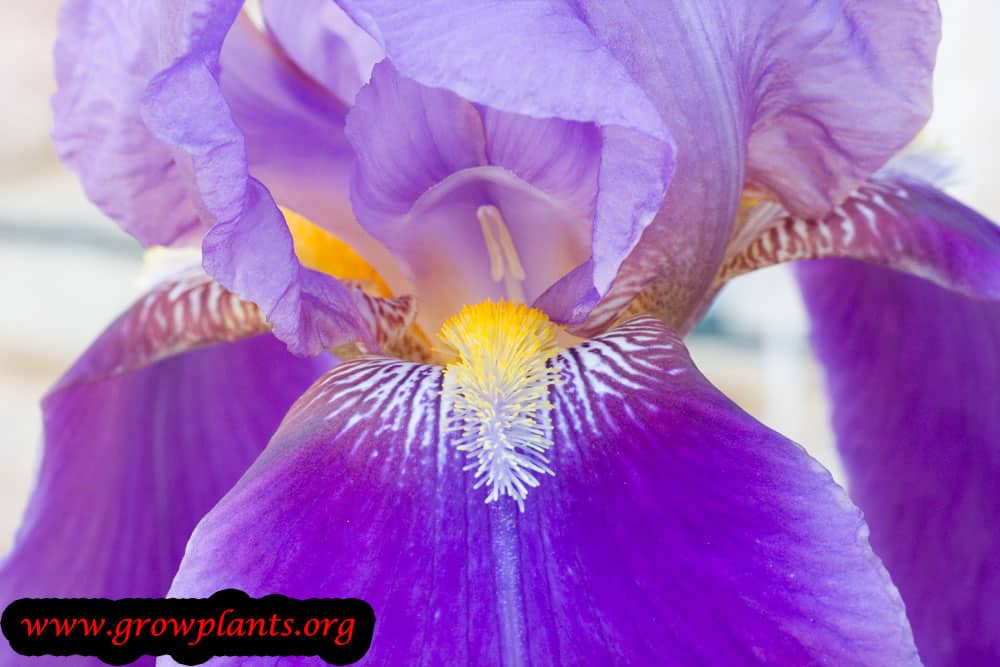
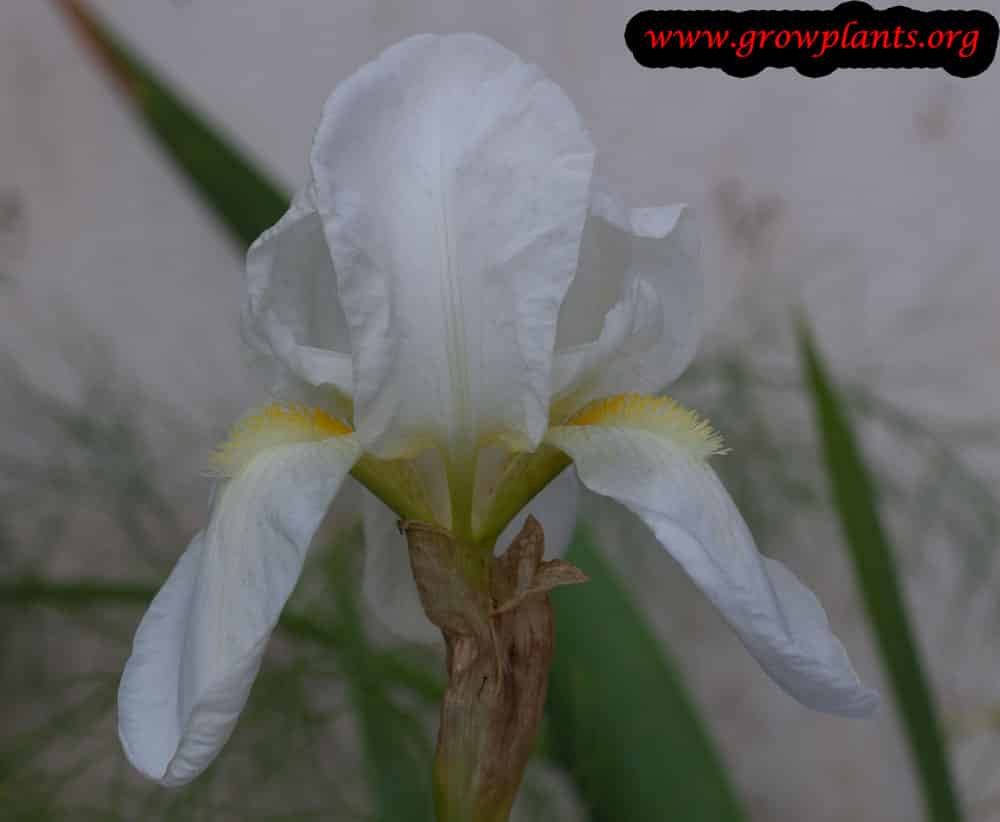
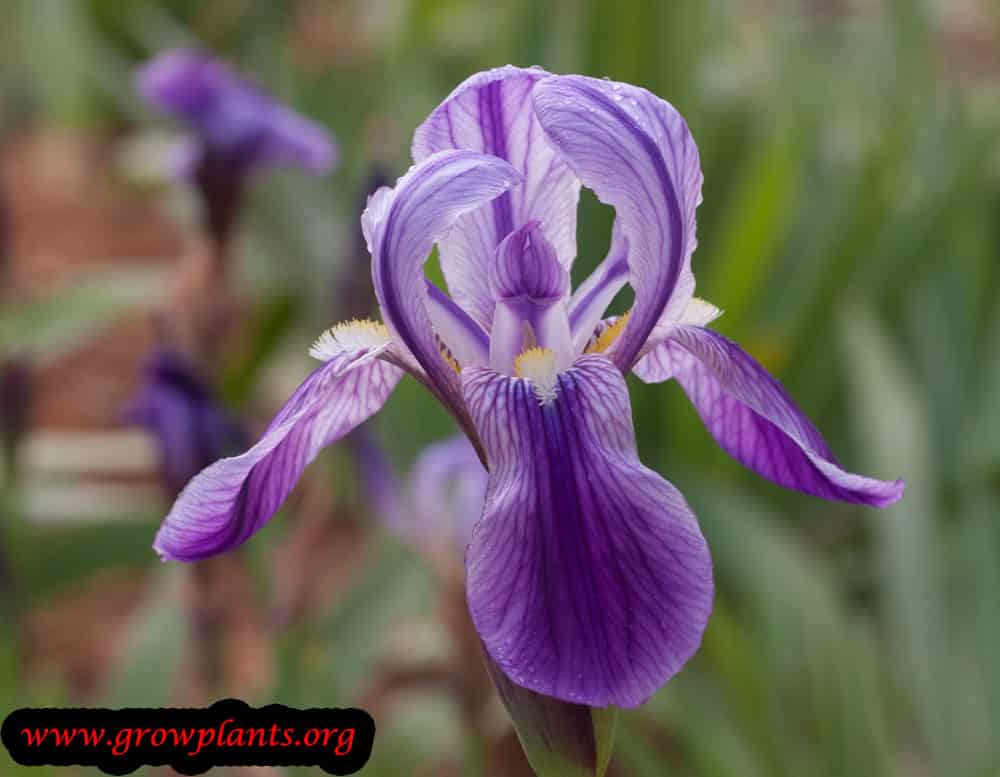
- Flower Appearance: Large, showy flowers with three upright ‘standards’ and three arching ‘falls’ (usually bearded), in a huge color range
- Edibility: Not edible – Iris germanica is toxic if eaten (especially the rhizome) and its sap can irritate skin; grow it for its flowers only
Detailed Blooming Overview
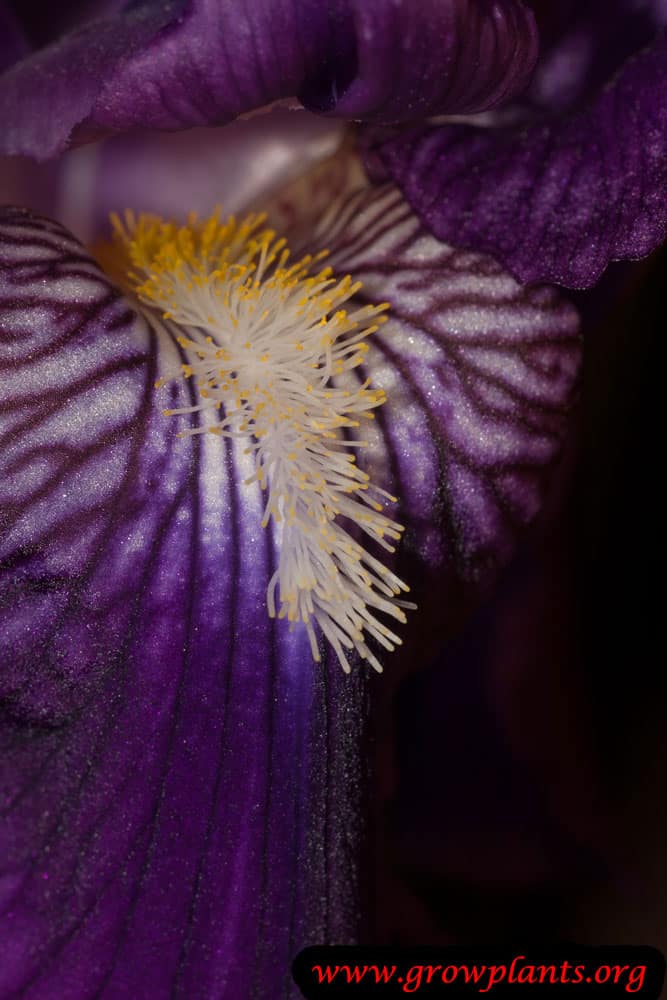
The bearded iris is one of the classic spring flowers, rising from thick surface rhizomes to open its sculptural blooms in late winter and spring. Each flower has three upright petals (the standards) and three that arch outward (the falls), often carrying a fuzzy ‘beard’. The color range is vast – from near-black and deep purple through blue, pink, red, maroon, yellow and orange, and many bicolors. Handsome as they are, all parts are toxic if eaten, so keep them well away from the plate.
Flower Characteristics
- Three upright ‘standards’ and three arching ‘falls’, the falls usually bearded.
- An enormous color range, including many bicolored forms.
- Individual flowers are short-lived, but a fan carries several in succession.
Bloom Care & Thinning
- Managing the bloom: Snap off spent flowers, and cut the whole stalk down once flowering finishes; keep the rhizomes sitting at the surface in full sun for the best bloom.
- Pollination: By bees, especially bumblebees.
- Safety: The rhizomes and sap are toxic if eaten and can irritate skin – handle with care and never treat any part as food.
Pests, Diseases & Troubleshooting
Overview: Bearded and other rhizomatous irises are tough and long-lived, but their fleshy rhizomes are prime targets for the iris borer and bacterial soft rot, while the sword leaves attract leaf spot, rust and slugs. Sanitation, sun, sharp drainage and shallow planting prevent the great majority of problems.
Quick Troubleshooting Overview
| Issue / Pest | Main Symptom | Primary Solution |
|---|---|---|
| Iris borer | Water-soaked streaks in leaves, then a rotting rhizome | Autumn sanitation, cut out grubs, remove old foliage |
| Bacterial soft rot | Mushy, foul-smelling rhizome | Cut out rot, dry the wound, improve drainage |
| Iris leaf spot | Brown spots with yellow halos on leaves | Remove old leaves, airflow, copper fungicide |
| Iris rust | Orange powdery pustules on leaves | Remove affected foliage, spacing, sulfur/copper |
| Slugs & snails | Ragged holes, slime trails on young growth | Iron-phosphate bait, traps, tidy debris |
| Thrips / aphids | Streaked, distorted flowers and buds | Insecticidal soap, remove weeds |
Common Pests & Management
- Iris borer (Macronoctua onusta):
- Symptoms: Larvae hatch on old foliage in spring, chew water-soaked notches and streaks down the leaves, then tunnel into the rhizome, hollowing it and opening the door to soft rot; the pinkish caterpillar can be 4 cm long inside a mushy rhizome.
- Prevention & Control: The key control is autumn/winter sanitation: cut down and destroy all old foliage and debris where eggs overwinter. In spring squash streaked leaf tissue to kill young larvae, and lift and cut borers out of rhizomes, dusting cuts and replanting only firm sections. Beneficial nematodes and, as a last resort, a systemic insecticide help where pressure is severe.
- Slugs and snails (Gastropoda):
- Symptoms: Ragged holes in young leaves and flowers with tell-tale slime trails; worst in damp, shady, mulched conditions and at night.
- Prevention & Control: Clear debris and keep the crown open and dry, hand-pick after dark, and set beer or shelter traps. Iron-phosphate bait and copper barriers give reliable protection without harming pets or wildlife.
- Iris thrips (Iridothrips / Frankliniella spp.):
- Symptoms: Tiny slender insects hidden in leaf sheaths and buds; feeding causes silvery streaking, distorted buds and browned, gummy leaf bases, worse in hot dry weather.
- Prevention & Control: Remove weeds and old sheaths, hose plants, and hang blue sticky traps. Insecticidal soap or spinosad, directed into the sheaths and repeated, controls active infestations.
- Aphids (Aphis / Macrosiphum spp.):
- Symptoms: Clusters on emerging leaves and buds causing distortion and honeydew; important mainly as vectors of iris mosaic virus.
- Prevention & Control: Wash off with water and encourage ladybirds and lacewings. Insecticidal soap or neem controls colonies; managing aphids also limits virus spread.
Diseases & Fungal Issues
- Bacterial soft rot (Pectobacterium (Erwinia) carotovorum):
- Symptoms: A soft, wet, foul-smelling rot that turns the rhizome to slime, often following borer tunnels or injury; leaf fans yellow, wilt and pull away easily.
- Treatment & Management: Cut out all soft tissue back to firm, clean flesh with a sanitized knife, expose the wound to sun and air to dry, and dust with a disinfectant. Plant rhizomes shallow with the top exposed, in full sun and sharp drainage, and control borers that create entry wounds.
- Iris leaf spot (Didymellina (Mycosphaerella) macrospora):
- Symptoms: Small brown spots with water-soaked or yellow margins that enlarge and merge, browning leaf tips and reducing vigor; worst in warm, wet, humid weather.
- Treatment & Management: Remove and destroy spotted and old foliage, space clumps for airflow, and avoid overhead watering. A copper or mancozeb-type fungicide protects new growth under heavy disease pressure.
- Iris rust (Puccinia iridis):
- Symptoms: Reddish-orange powdery pustules scattered on the leaves, with surrounding yellowing; heavy infection dries the foliage.
- Treatment & Management: Cut off and bin affected leaves, improve spacing and airflow, and clear debris. Sulfur or copper fungicide checks spread where rust recurs.
- Crown rot (Sclerotium rolfsii):
- Symptoms: Fans wilt and topple; a white cottony fungal web with mustard-seed-sized tan sclerotia appears at the crown in warm, humid conditions.
- Treatment & Management: Remove infected plants and surrounding soil, avoid mulching over the crown, and improve drainage. Do not replant irises in the same spot without treating or replacing the soil.
Growing Difficulties & Abiotic Problems
- Rhizome rot from deep or wet planting:
- Cause & Symptoms: Rhizomes planted too deep, mulched over, or grown in heavy, wet soil rot and fail to bloom; irises need their backs in the sun.
- Correction Strategy: Plant with the top of the rhizome at or just above the soil surface in full sun and free-draining soil, keep mulch off the crown, and divide crowded clumps every few years.
- No bloom:
- Cause & Symptoms: Too much shade, overcrowding, deep planting or excess nitrogen produce lush leaves but few or no flowers.
- Correction Strategy: Grow in full sun, lift and divide congested clumps after flowering, replant shallow, and feed a low-nitrogen bloom-type fertilizer rather than a high-nitrogen one.
- Leaf scorch / tip browning:
- Cause & Symptoms: Browning leaf tips can come from drought stress, salt buildup, or the poorly understood ‘iris scorch’ linked to stress and poor drainage.
- Correction Strategy: Water deeply during dry spells, flush salts from the soil, and ensure excellent drainage. Remove and destroy any plant showing sudden reddening and root death.
What Helps – Products & Tools
Useful tools are a sharp sanitized knife for cutting out borers and rot, slug traps/iron-phosphate bait and copper barriers, insecticidal soap or horticultural oil for aphids and thrips, and – for foliar disease – a copper or mancozeb-type fungicide; systemic insecticide is a last resort for borer where cultural control fails. Bulbous types benefit from a fungicide bulb dip before storage. Always follow the label and protect pollinators.