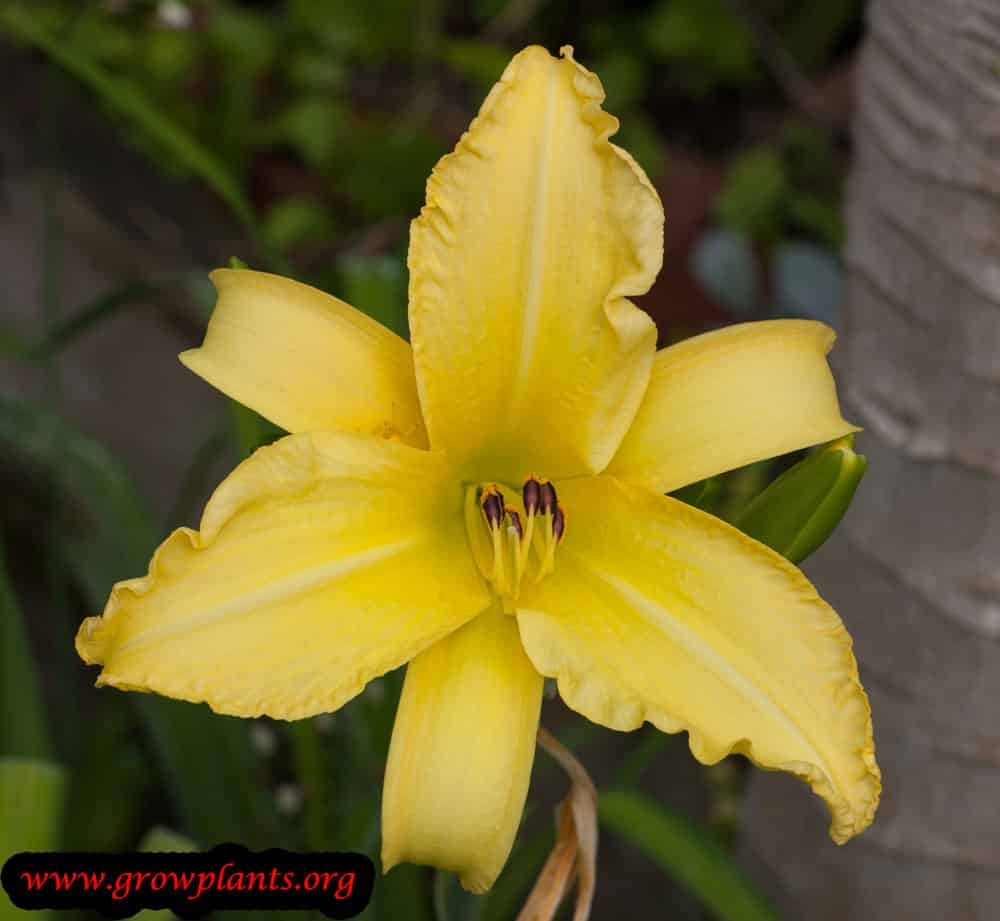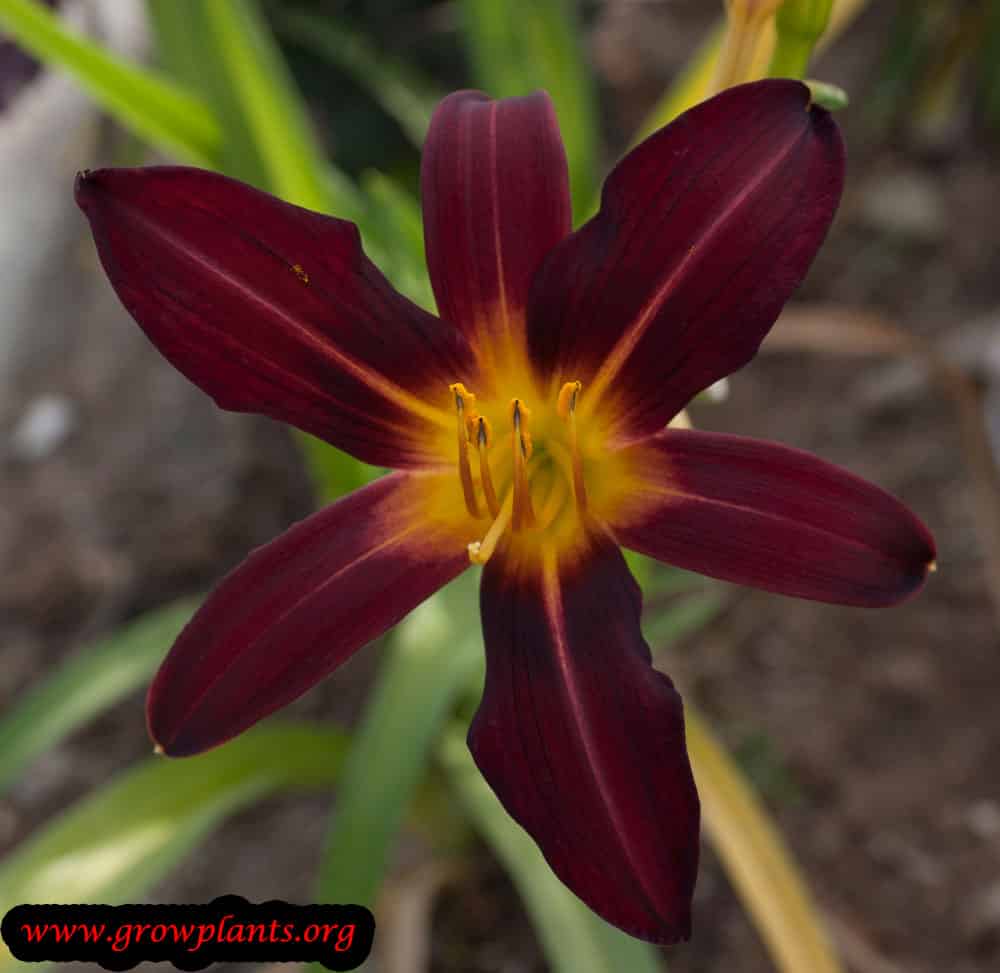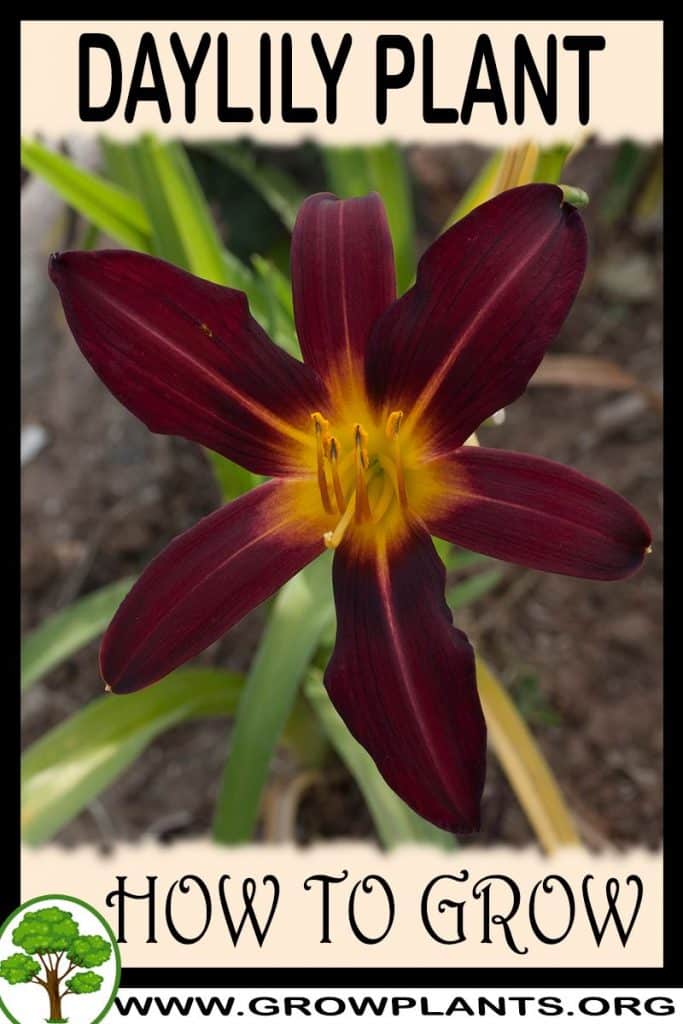
Plant Profile & Key Characteristics
Overview: Daylily (Hemerocallis) is an evergreen to semi-evergreen perennial geophyte reaching about 0.6-1 m, grown as a fragrant, drought-tolerant ornamental across a very wide climate range. It forms grassy clumps and blooms prolifically from spring into autumn in zones 3 and warmer.
Quick Specifications
| Specification | Attribute |
|---|---|
| Plant Type / Life Cycle | Perennial (geophyte) |
| Foliage Type | Evergreen to semi-evergreen (dormant types exist) |
| Mature Size | 0.6-1 m tall (24-40 inches) |
| Growth Rate | Fast to moderate |
| Root System | Clump-forming with fleshy, tuberous roots |
| Toxicity | Flower buds and petals edible to humans; toxic to cats (can cause kidney failure) |
| Hardiness | USDA zones 3 and warmer |
Growth Form & Structure
- Height and Spread: Reaches 0.6-1 m (24-40 inches) in the ground; also grown well in planters and containers (not suited as an indoor houseplant).
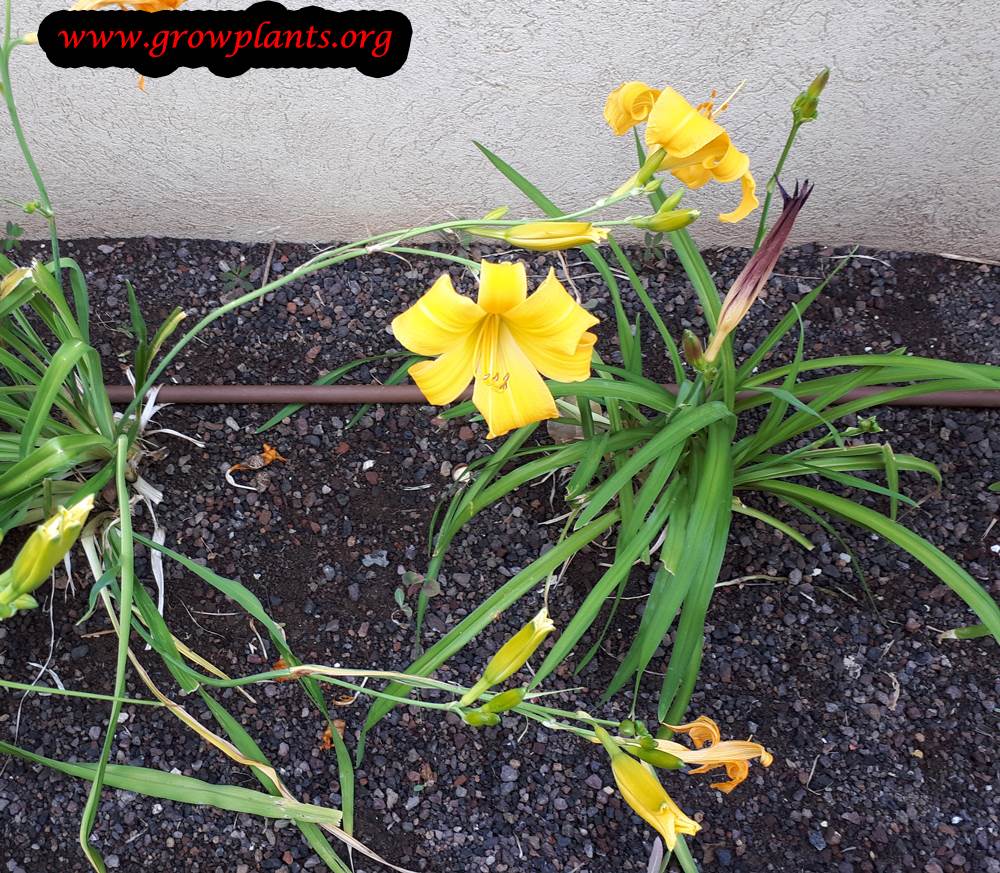
- Growth Habit and Form: Clump-forming perennial with arching, strap-like foliage and tall flower scapes.
- Lifespan and Maturity: Long-lived, vigorous perennial that bulks up quickly from fleshy roots and divisions.
Anatomy & Physical Features
- Leaves and Foliage: Green, linear leaves growing in connected, spike-like fans.
- Flower Characteristics: Fragrant six-petalled flowers in nearly every colour, each bloom short-lived; borne spring through autumn (full detail in the Bloom accordion).
Primary Uses & Landscape Value
- Edible Uses: Flower buds and petals are edible and widely used in cooking (for example dried as ‘golden needles’).
- Functional and Ornamental Roles: Drought-tolerant ornamental for borders, massed groundcover and containers.
Care Guide: Planting, Soil & Watering
Overview: Daylilies are tough, adaptable perennials that thrive in full sun to partial shade and shrug off a wide range of conditions once established. They do best in fertile, well-drained soil enriched with organic matter and kept evenly moist through the active growing season.
Quick Care Requirements
| Requirement | Ideal Condition |
|---|---|
| Planting Season | Spring through autumn (any frost-free period) |
| Growth Rate | Moderate to fast |
| Soil Type | Rich, fertile, well-drained soil with organic matter |
| Water Need | Moderate – keep evenly moist in growth, tolerates short dry spells |
Planting & Establishment
- Best Planting Season: Plant any time in the growing season, from spring after the last frost through autumn while the soil is workable; avoid planting into frozen ground.
- How to Plant:
- Hole Preparation: Dig a hole roughly twice the width of the root mass so the fleshy roots can spread out.
- Soil Amendments: Mix compost or well-rotted organic matter into the backfill and mulch after planting to conserve moisture.
- Planting Depth: Set the crown just at or barely below the soil surface – burying it too deeply can cause rot.
- Growth Speed & Expectations: Moderate to fast – clumps establish quickly and bulk up within a season or two in good conditions.
Soil, Watering & Drainage Care
- Soil Mix & Drainage Needs: Needs fertile, free-draining soil; heavy waterlogged ground can rot the roots, so improve drainage with organic matter. In containers use a rich but free-draining mix.
- Watering Schedule & Technique:
- Young / Newly Planted: Water regularly to keep the soil evenly moist while new roots establish.
- Established: Water deeply but let the top few cm dry between waterings; established clumps are quite drought-tolerant.
- Seasonal Adjustments: More water during hot, dry spells and active bloom; much less over winter dormancy.
Climate, Light & Hardiness
Daylily is an exceptionally adaptable, drought-tolerant perennial hardy from roughly zone 3 upward, thriving across subtropical, Mediterranean, desert, temperate, and tropical climates alike; it stays evergreen to semi-evergreen depending on winter severity.
Quick Climate Specifications
| Climate Zones | Subtropics, Mediterranean, desert, temperate, tropics |
|---|---|
| USDA Hardiness Zones | Approximately 3+ |
| Light Conditions | Full sun; half shade |
Temperature Extremes & Hardiness
USDA Hardiness & Regional Limits
One of the broadest-ranging plants in this group, hardy from about zone 3 upward; foliage stays evergreen in mild climates and semi-evergreen (dying back partially) where winters are colder.
Wind, Humidity & Microclimate
Dry-Air Tolerance
Drought tolerant, coping well with dry conditions once established.
Growing in Pots, Balconies & Indoors
Daylilies are tough, clump-forming perennials of 0.6-1 m; the grower marks them No as houseplants but Yes for containers. A large pot on a sunny patio or balcony gives a long succession of flowers.
Quick Details
- Container Size: Roughly 15-30 L (4-8 gal) per clump; they cope well when a little crowded
- Indoor Suitability: Not an indoor plant – it needs full outdoor sun to flower
- Best Spot: Full sun to part shade, outdoors
- Soil & Drainage: Free-draining, organic-rich potting mix
- Watering in Pots: Water freely through growth and flowering; ensure the pot drains and never stands in water
Indoors & On the Windowsill
- Not a houseplant: The grower marks it No – daylilies need full outdoor sun and open air to flower well.
- Windowsill note: Too large and light-hungry for a sill; grow it outdoors in a roomy pot.
- Safety: Daylilies are highly toxic to cats (risk of kidney failure) – keep them away from cats even on a balcony.
On a Balcony or Patio
- Light, wind & heat: Give it the sunniest spot you have. Walls and paving reflect heat so pots dry quickly – check moisture often in warm weather. On an exposed balcony, stake tall stems and shelter from strong wind.
- Practicalities: A full pot is heavy once watered – make sure the balcony can take the load and that drainage runoff has somewhere to go.
Choosing the Pot, Soil & Long-Term Care
- Pot & drainage: Use a pot with strong drainage holes and skip a standing-water saucer to avoid root rot. Terracotta breathes and dries faster; glazed or plastic pots hold moisture longer.
- Potting mix: A well-aerated, organic-rich mix – potting mix or peat/coir blended with perlite or vermiculite for free drainage.
- Feeding: Potted plants need feeding more often than those in open ground, as nutrients leach out with each watering – feed regularly through the growing season.
- Long-term care: Every couple of years refresh the top of the mix or pot up; divide congested clumps and lightly trim roots to keep the plant vigorous.
Fertilizing & Feeding
A moderate feeder: this tough, drought-tolerant perennial rewards nitrogen-forward feeding during spring growth and balanced, potassium-forward feeding through its extended spring-to-autumn bloom season.
Quick Fertilizing Specs
| Feeding Level | Moderate feeder |
|---|---|
| Main Nutrient Priority | Nitrogen-forward feeding as spring growth begins, shifting to balanced feeding with adequate potassium through the extended bloom season |
| Best Feeding Period | From spring growth through the spring-to-autumn bloom season |
| Organic Options | Mulch and compost worked into rich soil around the clump |
| Reduce/Stop Feeding | Feeding is reduced and then stopped as growth slows heading into the cooler months |
| Micronutrients | Rarely an issue given this plant’s tolerance for a wide range of soils; correct only a diagnosed deficiency |
| Soil pH | Tolerates a wide range of soil; prefers rich, well-drained soil |
Feeding by Growth Stage
Planting and clump establishment
Help a newly planted division establish its fleshy roots before the linear, spike-like foliage fills in.
| Nutrient direction | A balanced fertilizer worked into rich soil at planting supports early root and leaf development. |
|---|---|
| Timing | At planting, in spring, summer or autumn depending on climate. |
| Frequency | A moderate feeding at planting helps a new clump establish well. |
| Fertilizer types | A balanced, complete fertilizer worked into the planting area, Compost or mulch mixed into the soil at planting |
| Precautions | Keep new fertilizer away from direct contact with the crown and roots. |
Spring foliage growth
Support the flush of linear, spike-like foliage as clumps break dormancy or resume active growth in spring.
| Nutrient direction | Nitrogen-forward feeding as new growth emerges builds a strong foliage base ahead of the bloom season. |
|---|---|
| Timing | As new growth emerges in spring. |
| Frequency | A moderate feeding as growth resumes in spring is generally enough to start the season well. |
| Fertilizer types | A nitrogen-forward complete fertilizer applied as spring growth begins, A general-purpose perennial fertilizer worked around the root zone |
| Precautions | Avoid heavy nitrogen once buds begin forming, so growth does not come at the expense of bloom. |
Extended spring-to-autumn bloom
Support the six-petaled, fragrant flowers through this plant’s characteristically long bloom season, including repeat-blooming types.
| Nutrient direction | Balanced feeding with adequate potassium through the bloom season supports sturdy flower scapes and continued flowering. |
|---|---|
| Timing | Through the spring, summer and into the autumn bloom period. |
| Frequency | A light, regular feeding through the bloom season supports continued flowering without pushing excess foliage. |
| Fertilizer types | A balanced complete fertilizer, potassium-forward to support flower scapes, A general-purpose perennial fertilizer applied through the bloom season |
| Precautions | Remove spent flowers and scapes as part of routine care rather than as a feeding measure. |
Cooler-season growth slowdown
Let this evergreen, semi-evergreen or dormant-type perennial ease into its slower cool-season growth without pushing tender new growth.
| Nutrient direction | None – hold off on fertilizer once bloom finishes and growth slows for the season. |
|---|---|
| Timing | As days shorten and growth slows heading into the cooler months. |
| Frequency | No feeding is needed during the cool-season slowdown. |
| Fertilizer types | No feeding at this stage; established clumps do not need fertilizer through the slower, cooler months. |
| Precautions | Resist feeding again until new growth resumes in spring. |
Nutrient Deficiency Signs & Corrections
New foliage emerges pale green or yellowish and the clump looks generally weak.
| Possible causes | low available soil nitrogen, an old, crowded clump that has depleted the surrounding soil, nutrients leached from sandy or fast-draining soil |
|---|---|
| Appears first on | newer foliage |
| What to check | soil fertility and clump age, drainage and leaching, how long since the clump was divided or fed |
| Possible correction | Apply a nitrogen-forward fertilizer as spring growth begins, and divide old, crowded clumps. |
Flower scapes are thin or floppy and blooms open smaller or fewer than expected.
| Possible causes | insufficient potassium relative to nitrogen through the bloom season, a crowded, undivided clump competing for nutrients, inconsistent watering during bud development |
|---|---|
| Appears first on | flower scapes and buds |
| What to check | fertilizer balance used through the bloom season, clump crowding and division history, watering consistency while buds form |
| Possible correction | Use a balanced, potassium-forward fertilizer through the bloom season and divide overcrowded clumps. |
Leaf tips brown or scorch despite otherwise reasonable care in this drought-tolerant plant.
| Possible causes | fertilizer salt buildup from over-application on a naturally low-input plant, insufficient watering to move salts away from roots after feeding, fertilizer piled too close to the crown |
|---|---|
| Appears first on | leaf tips |
| What to check | how much fertilizer was applied relative to this plant’s moderate needs, watering after feeding, fertilizer placement near the crown |
| Possible correction | Reduce fertilizer amounts, keep it away from direct crown contact, and water thoroughly after any feeding. |
Pruning, Training & Seasonal Maintenance
Daylily tolerates only light grooming, not structural pruning: because each flower lasts a single day and the plant reblooms over a long spring–autumn season, the main task is deadheading spent blooms and scapes to keep the clump tidy, with a fuller foliage cleanup once growth dies back at season’s end. Unlike a true bulb, an established clump also benefits from periodic division rather than any form of cutting-back for vigor.
Quick Pruning & Maintenance Specs
| Pruning Tolerance | Low/Moderate – frequent light deadheading tolerated well; no hard cutback of green foliage |
| Primary Pruning Window | End of autumn, once foliage has died back |
| Secondary Maintenance Window | Spring through autumn, ongoing – deadhead daily/weekly as flowers fade |
| Typical Frequency | Frequent light deadheading through the bloom season; one full foliage cleanup per year |
| Main Objective | Keep the long bloom season tidy, stop seed diversion, clear old foliage before regrowth |
| Young Plant Priority | None – let the clump establish for a season or two before dividing |
| Mature Plant Priority | Ongoing deadheading, end-of-season foliage cleanup, and clump division every 3–5 years for vigor |
| Best Tool Type | Precision snips (deadheading); garden spade (division) |
| Avoid Heavy Pruning During | Active growth/bloom – do not shear green foliage mid-season |
Pruning by Plant Age & Size
Newly Established
No cutting beyond removing damaged leaves; let the new clump build root and foliage mass for its first year or two before considering division.
Young / Formative
No structural training applies – daylily forms a basal fan of leaves, not a trainable framework.
Mature / Established
Ongoing deadheading through the long bloom season; full foliage cutback once it yellows/dies at season’s end; divide overcrowded clumps every 3–5 years to restore bloom vigor.
Structural Pruning & Training
Renewal here is achieved by clump division rather than cutting: as a fan-forming perennial, daylily loses bloom vigor when the crown becomes overcrowded, and dividing (not pruning) the crown every few years at dormancy is the correct renewal technique.
Seasonal Pruning Schedule
Post-Flowering (ongoing through the season)
Objective: prevent seed set and keep the clump tidy through repeated flushes. Remove individual spent blooms daily/regularly, and cut the whole flower scape down to its base once it has finished blooming entirely for the season. Do not cut the leaf fans while still green.
Dormant/Winter (foliage cleanup)
Once foliage yellows and dies back at season’s end (evergreen types may only need tidying of dead tips in mild climates), cut old leaves back near the base. Removing green leaves early reduces the energy stored for next year’s bloom.
Special Growth to Remove
- Spent individual flowers – snap or snip off daily to keep the display tidy (cosmetic, not essential to rebloom).
- Finished flower scapes – cut to the base once the whole stalk has stopped blooming.
- Dead/yellowed leaves at season’s end, or ragged leaf tips year-round on evergreen types.
Container & Small-Space Pruning
Grows well in a large planter. Container clumps become root-bound faster than in-ground plantings, so division is needed sooner and more often to maintain bloom; otherwise follow the same wait-for-dieback rule for foliage cleanup.
Tools
Precision snips or bypass secateurs for deadheading and scape/foliage cleanup; a garden spade for dividing crowded clumps. No loppers, saws, or hedge shears – this is herbaceous fan growth, not a shrub.
Tool Hygiene & Disease Risk
Routine: the noted pest here is aphids, not a tool-transmissible disease, so clean sharp tools are sufficient for deadheading and foliage cleanup.
Cut Placement & Technique
Snap or snip spent flowers just below the bloom; cut finished scapes at their base once fully done; cut old leaves near the crown without nicking new emerging fans.
Heavy Pruning & Rejuvenation
Not tolerated as a hard cutback of green growth. Rejuvenation instead means lifting and dividing the crown into fans every 3–5 years at dormancy or right after bloom, which restores flowering vigor far more reliably than any pruning cut would.
Post-Pruning Care
Water normally through the bloom season; after the end-of-season foliage cleanup, reduce watering as the clump goes dormant. Water divided sections in well to re-establish roots; avoid feeding immediately after dividing.
Common Pruning Mistakes
- Shearing all foliage back mid-season (a common but damaging “tidy-up” habit) – it removes photosynthetic capacity the plant needs for its next bloom flush.
- Letting spent scapes set seed instead of cutting them back once finished.
- Never dividing an overcrowded clump, leading to declining bloom count over the years.
When NOT to Prune
Not a hard cutback of green leaves during the growing/bloom season; avoid dividing the clump in the heat of summer or right before a hard frost – do it at dormancy or shortly after flowering instead.
Recommended Tools (by task)
- precision_snips – daily/weekly deadheading of individual spent flowers and scapes.
- garden_spade – dividing overcrowded clumps every few years, the plant’s real renewal technique.
Propagation Guide
Daylily is most easily and reliably propagated by dividing the clump – it does not form a true bulb, but a crown with thick, fleshy roots that separates readily into rooted sections. Named cultivars must be divided rather than grown from seed, since seedlings from hybrid daylilies vary widely and will not match the parent plant. Division is Easy and gives flowering-size plants much faster than seed.
Quick Propagation Specs
| Best Propagation Method | Crown (clump) division |
| Alternative Methods | Seed (breeding only, for species types); occasional scape proliferations |
| Propagation Difficulty | Easy |
| Seed True-to-Type | No for named hybrid cultivars – hybrid offspring vary |
| Vegetative True-to-Type | Yes |
| Best Propagation Season | Spring, summer or autumn, avoiding the hottest or coldest weeks (site notes spring, summer, autumn as the general planting season) |
| Seed Germination Time | Typically a few weeks under warm conditions, but can be uneven |
| Germination Temperature | Around 20–25°C (68–77°F) |
Growing from Seed
Seed Handling & Viability
Seed is mainly of interest for breeding new seedlings rather than reproducing a named cultivar; sow while reasonably fresh.
Sowing Season
Spring, or indoors ahead of the outdoor growing season.
Germination Conditions
Warm, evenly moist conditions germinate seed within a few weeks, though timing can vary with freshness and temperature.
Seedling Care
Grow seedlings on until well rooted before transplanting; expect one to a few seasons before a seedling first flowers and its true character can be judged.
Division, Offsets, Pups & Suckers
Lift an established clump and pull or cut it into sections, making sure each division keeps a portion of crown with attached fleshy roots and at least one healthy fan of leaves – divisions without roots or a crown piece will not establish. Trimming the leaves back by roughly a third reduces moisture loss while the division re-establishes. Some cultivars occasionally produce small plantlets (‘proliferations’) along the flower scape; once a proliferation has developed its own small roots it can be cut free and potted up like any other division.
Bloom & Edible Flower Guide
Quick Details
- Bloom Season: Spring, summer and autumn, depending on the cultivar
- Time to First Bloom: Divisions flower the next season; seedlings usually within one to two years
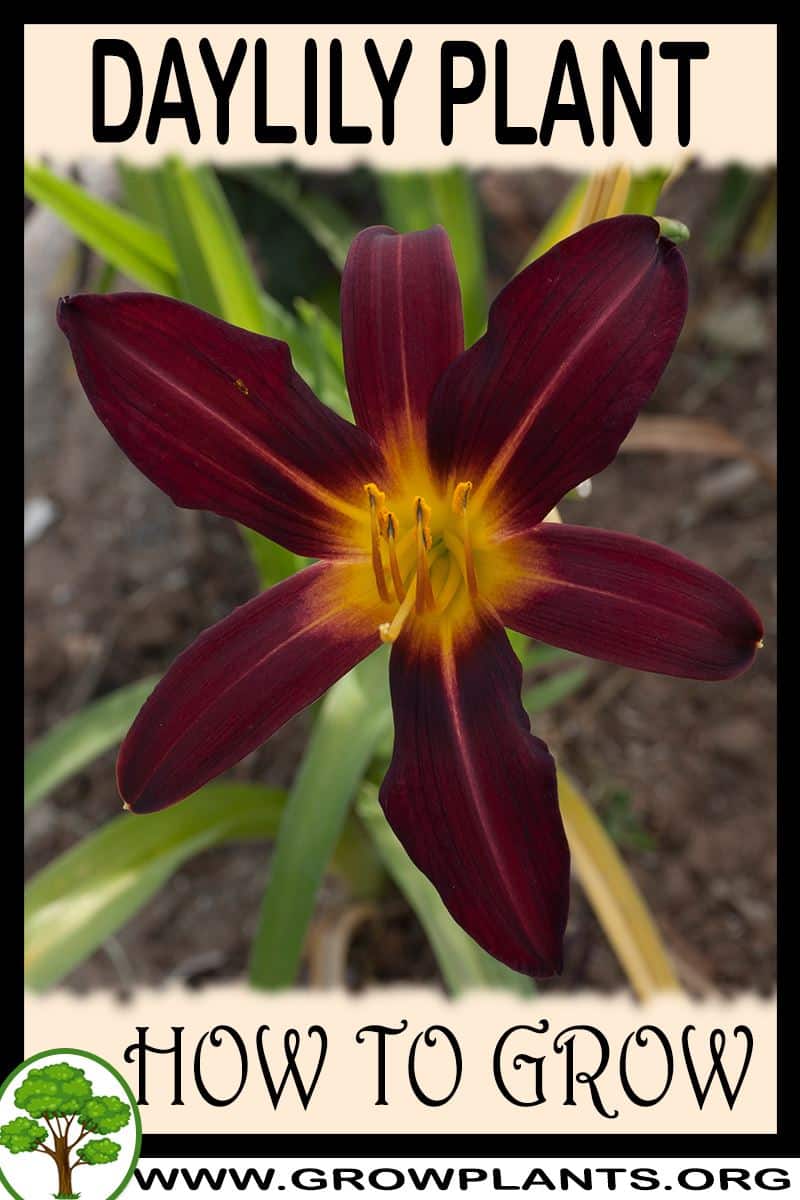
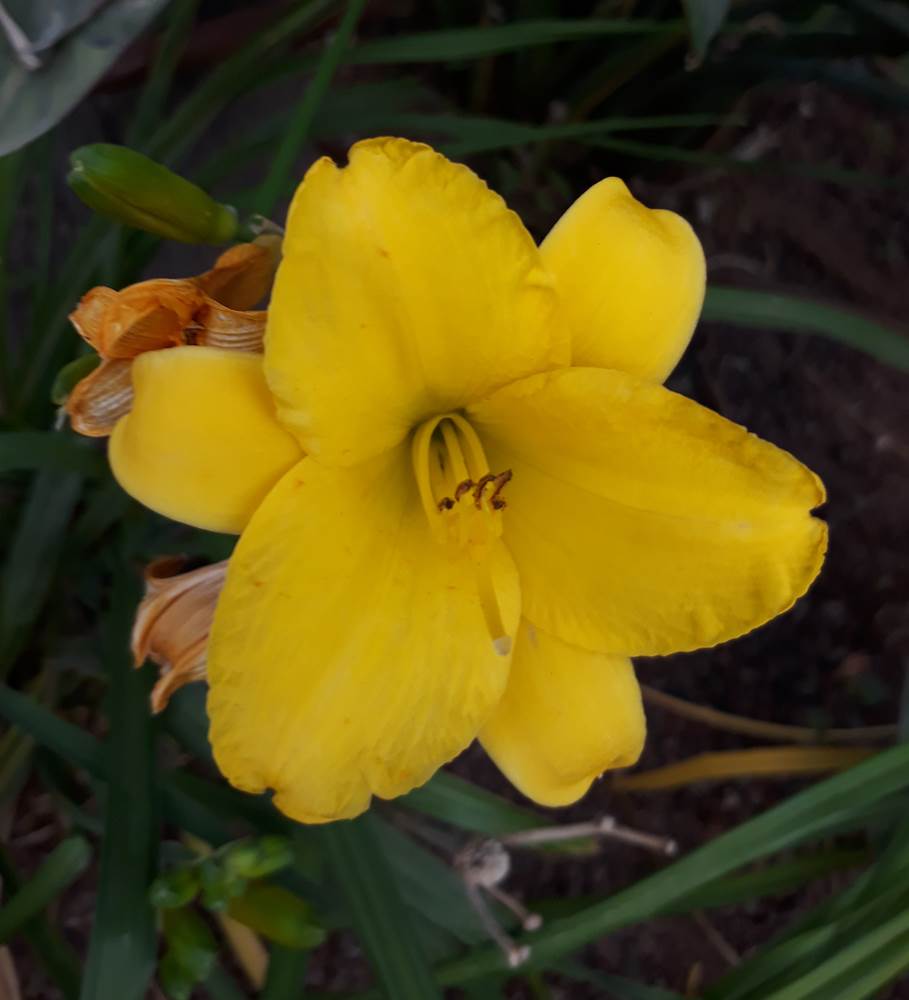
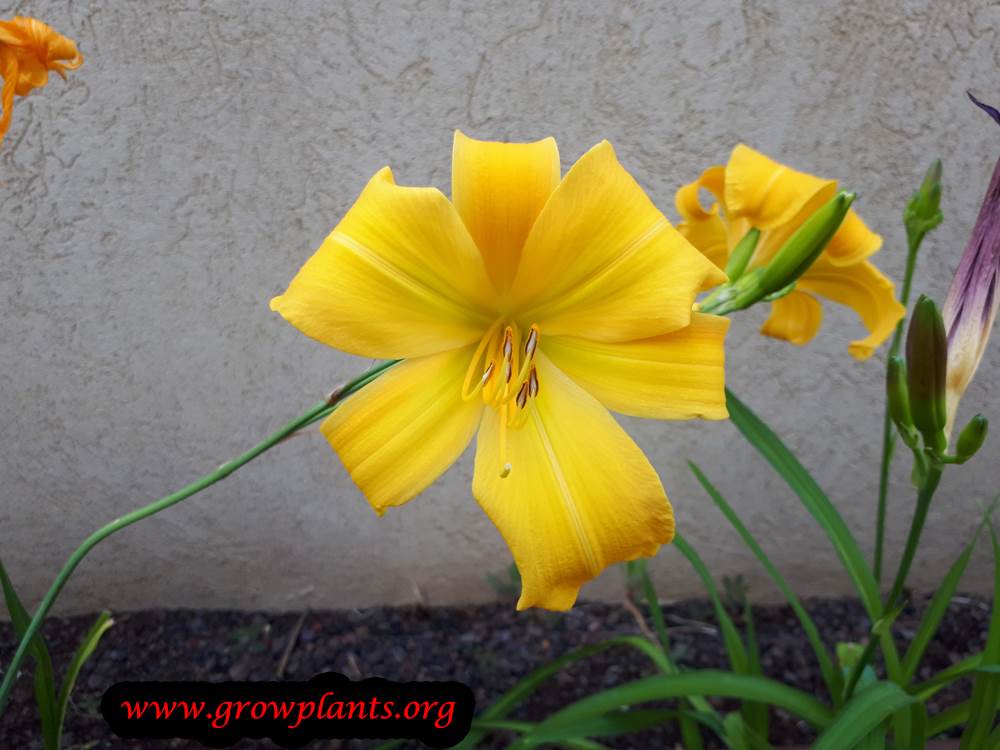
- Flower Appearance: Six-petalled flowers in a huge colour range – yellow, red, pink, orange, white, green and near-blue
- Edibility: Buds and petals are edible and mild-flavoured – but this is not a true lily, and note it is toxic to cats
Detailed Blooming Overview
The daylily takes its name from its habit: each flower opens for just a single day. A steady succession of buds, though, keeps the plant colourful for weeks. Blooms come in almost every colour, often with wavy or serrated petals, contrasting throats, spots and stripes.
Flower Characteristics
- Six-petalled flowers, many fragrant, in a very wide colour range.
- Petals may be clean or wavy with serrated, prominent edges, dots and stripes, often with a yellowish or contrasting inner throat.
Bloom Care & Thinning
- Deadheading: Pinch off the spent, day-old flowers to keep the plant tidy, and cut back the flower scapes once bloom is over.
- Edible harvest: Buds and petals can be picked fresh for the kitchen.
Bloom Health & Protection
- Thrips and aphids: These distort buds and streak the petals – because the flowers may be eaten, prefer gentle control such as a water jet or insecticidal soap.
- Daylily rust: Shows as rusty spots on the foliage – removing affected leaves and improving airflow helps.
Fruit & Uses
Daylily flower buds and blooms, and its young shoots, are a well-known edible part of this ornamental perennial, traditionally eaten fresh or dried. This site’s own entry for this cultivar gives no edible-use details, so this is general Hemerocallis knowledge — confirm plant identity and that the plant is untreated before eating any part.
Quick Edible Specs
| Edible Parts | Flower buds and open flowers; young shoots; young tuberous roots |
|---|---|
| Main Use(s) | Culinary |
| Eaten Raw or Cooked | Buds/flowers both; shoots and roots best cooked |
| Preparation Required | Wash; cook shoots and roots; use flowers/buds in moderation |
| Harvest Season | Buds and flowers through the bloom season (spring/summer/autumn per site); young shoots in spring |
| Storage | Flowers/buds can be dried for later use; otherwise best fresh |
| Safety/Toxicity Caveat | only eat plants positively identified as Hemerocallis, not toxic lookalikes such as autumn crocus; avoid ornamental stock treated with pesticides not labelled for food use; eat in normal culinary amounts, as raw flowers can cause mild digestive upset in some people |
Flowers & Flower Buds
Unopened flower buds and the day-long open blooms are the classic edible part, picked by hand through the bloom season. Buds are typically stir-fried, added to soups, or dried for storage (sold dried as ‘golden needles’ in East Asian cooking); open flowers can be used raw in salads or stuffed and battered. Pick blooms the same day they open, since each flower lasts only a day.
Shoots & Stems
Young spring shoots, cut close to the crown while still tender and before the leaves toughen, can be cooked like asparagus. Take only a portion of the shoots from each clump so the plant can keep growing.
Roots & Tubers
The fleshy, nut-like tuberous roots are edible when young and can be cooked (boiled or roasted); older roots become fibrous. Digging roots removes part of the clump, so this competes with the plant’s growth and display and is usually a minor, occasional use rather than a main harvest.
Preparation, Uses & Safety
positively identify the plant as Hemerocallis before eating any part — several toxic bulbous or rhizomatous ornamentals (such as autumn crocus, Colchicum) can be mistaken for daylily shoots and foliage. Only eat flowers, buds, shoots or roots from plants known to be untreated with pesticides or herbicides, since ornamental daylilies are usually grown for garden display, not food. Cook shoots and roots; flowers and buds can be eaten raw or cooked but keep portions moderate, as a minority of people experience mild digestive upset from raw daylily flowers.
Pests, Diseases & Troubleshooting
Overview: Daylilies (Hemerocallis) are among the most trouble-free perennials, but they have a few signature enemies — daylily rust, the daylily gall midge, sap-sucking insects, and bacterial crown rot in wet or crowded plantings. Good spacing, airflow and sharp drainage, plus prompt removal of affected foliage, prevent nearly all serious problems. Reach for sprays only after cultural steps.
Quick Troubleshooting Overview
| Issue / Pest | Main Symptom | Primary Solution |
|---|---|---|
| Daylily rust | Bright orange powdery pustules on leaf undersides | Remove infected leaves; resistant cultivars; fungicide if severe |
| Daylily gall midge | Swollen, deformed buds that fail to open | Pick and destroy affected buds early in the season |
| Thrips | Silvery streaks and distorted buds/flowers | Remove weeds; blue sticky traps; insecticidal soap |
| Crown / root rot | Mushy, foul-smelling crown; leaves pull away easily | Improve drainage; cut out rot; replant divisions high |
| Spring sickness | Ragged, distorted, yellow-streaked spring foliage | Trim damaged growth; plants usually recover |
Common Pests & Management
- Daylily gall midge (Contarinia quinquenotata):
- Symptoms: Flower buds swell abnormally, stay stunted and distorted, and fail to open; cutting one open reveals tiny white maggots inside. Affects early-season buds most.
- Prevention & Control: Pick off and destroy all abnormal buds as soon as noticed to break the life cycle — do not compost them. Later-flowering cultivars often escape damage. Cultivating the soil surface in dormancy exposes pupae.
- Daylily aphid (Myzus hemerocallis):
- Symptoms: Clusters of pale aphids in the leaf axils and on emerging foliage and buds, with sticky honeydew and sometimes distorted new growth.
- Prevention & Control: Hose off colonies, encourage ladybirds and lacewings, and use insecticidal soap or neem oil for stubborn infestations, spraying in the evening.
- Thrips (Frankliniella spp.):
- Symptoms: Fine silvery streaking and flecking on leaves, buds and petals, with distorted or streaked flowers and black specks of frass.
- Prevention & Control: Remove nearby weeds and spent blooms, hang blue sticky traps, and apply insecticidal soap or spinosad if numbers build.
- Spider mites (Tetranychus urticae):
- Symptoms: Fine pale stippling and bronzing of foliage with faint webbing, worst in hot, dry, dusty conditions.
- Prevention & Control: Raise humidity and hose down foliage, encourage predatory mites, and use horticultural oil or insecticidal soap if needed.
- Slugs & snails (Deroceras / Helix spp.):
- Symptoms: Ragged holes and chewed edges on tender new spring growth, with slime trails.
- Prevention & Control: Clear debris, use grit or copper barriers and iron-phosphate pellets, and hand-pick after dark.
Diseases & Fungal Issues
- Daylily rust (Puccinia hemerocallidis):
- Symptoms: Bright orange-yellow powdery pustules on leaf undersides that rub off onto a finger, with yellow flecks and streaks above; heavy infection browns and kills foliage.
- Treatment & Management: Remove and destroy infected leaves, space plants for airflow, avoid overhead watering, and grow rust-resistant cultivars. Cut foliage to the ground in dormancy to remove overwintering spores; use a labelled fungicide only under heavy pressure.
- Leaf streak (Aureobasidium microstictum):
- Symptoms: Yellow streaks running along the midrib with reddish-brown flecks and spots, progressing to browning from the leaf tip down.
- Treatment & Management: Remove affected leaves, improve airflow and water at the base. Choose resistant cultivars; fungicides are rarely necessary.
- Bacterial crown & root rot (Erwinia / soft rot):
- Symptoms: Soft, mushy, foul-smelling crown; central leaves pull out easily and yellow; common in wet, crowded or overfed plantings.
- Treatment & Management: Lift affected clumps, cut away all rotted tissue, dip in a bleach solution, dry, and replant divisions high in free-draining soil. Divide crowded clumps regularly and avoid burying the crown.
Growing Difficulties & Abiotic Problems
- Spring sickness:
- Cause & Symptoms: Ragged, stunted, yellow-streaked and distorted new spring growth; the exact cause is uncertain but linked to cold injury, thrips and secondary fungi. Correction Strategy: Trim off the damaged growth — plants almost always grow out of it and bloom normally.
- Poor flowering:
- Cause & Symptoms: Few or no blooms from too much shade, overcrowding, or excess nitrogen. Correction Strategy: Give at least six hours of sun, divide crowded clumps, and use a balanced (not high-nitrogen) feed.
- Leaf scorch / tip browning:
- Cause & Symptoms: Brown, dry leaf tips from drought stress or salt build-up. Correction Strategy: Water deeply during dry spells and mulch; flush container soil to remove salts.
What Helps — Products & Tools
The daylily toolkit is mostly cultural: sharp secateurs for removing rust-infected and midge-damaged growth, blue sticky traps for thrips, and iron-phosphate pellets for slugs. Where sprays are warranted, use insecticidal soap or neem oil for aphids and mites, spinosad for thrips, and a labelled rust fungicide only under heavy pressure. Choosing rust-resistant cultivars is the best long-term investment.