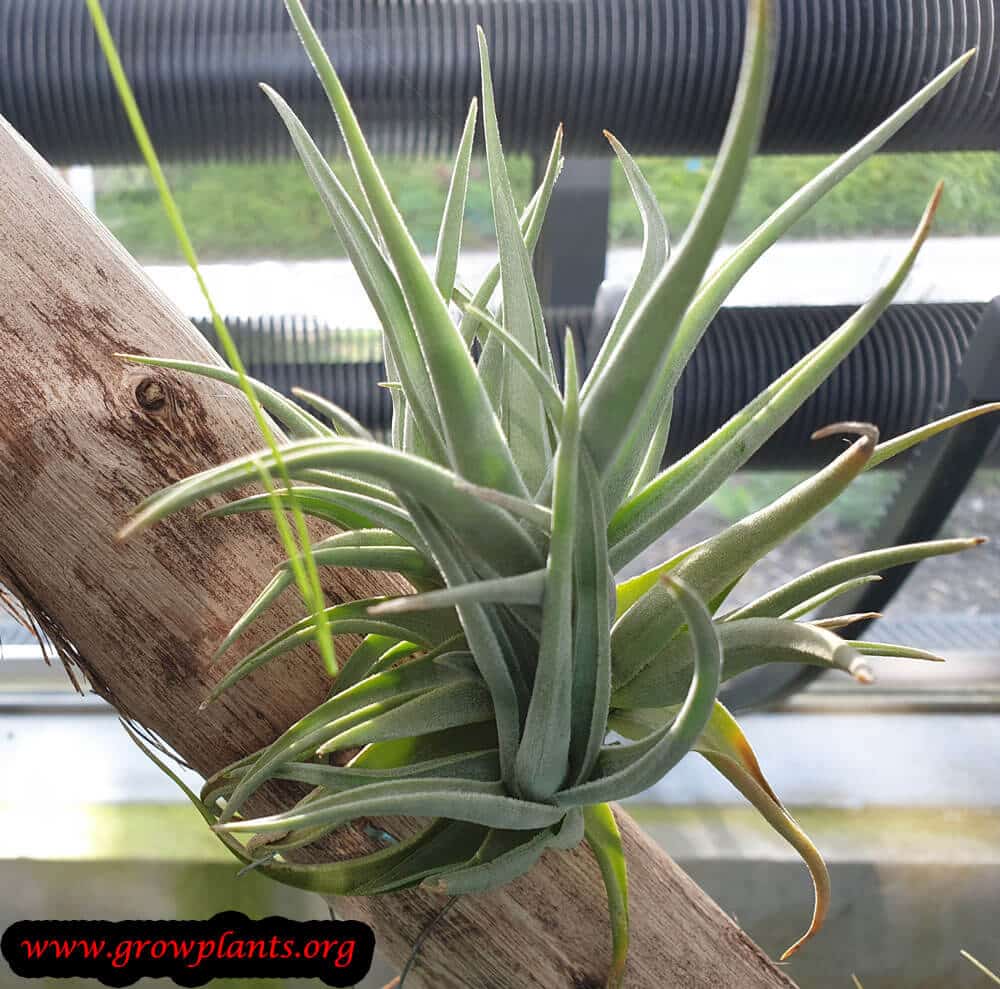




Plant Profile & Key Characteristics
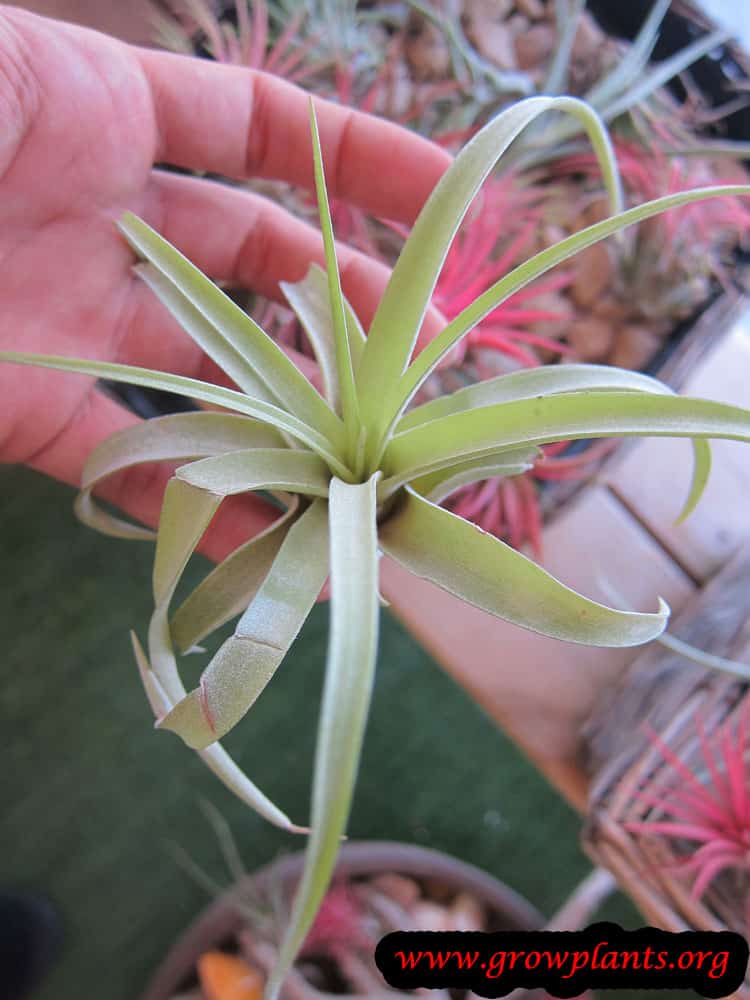
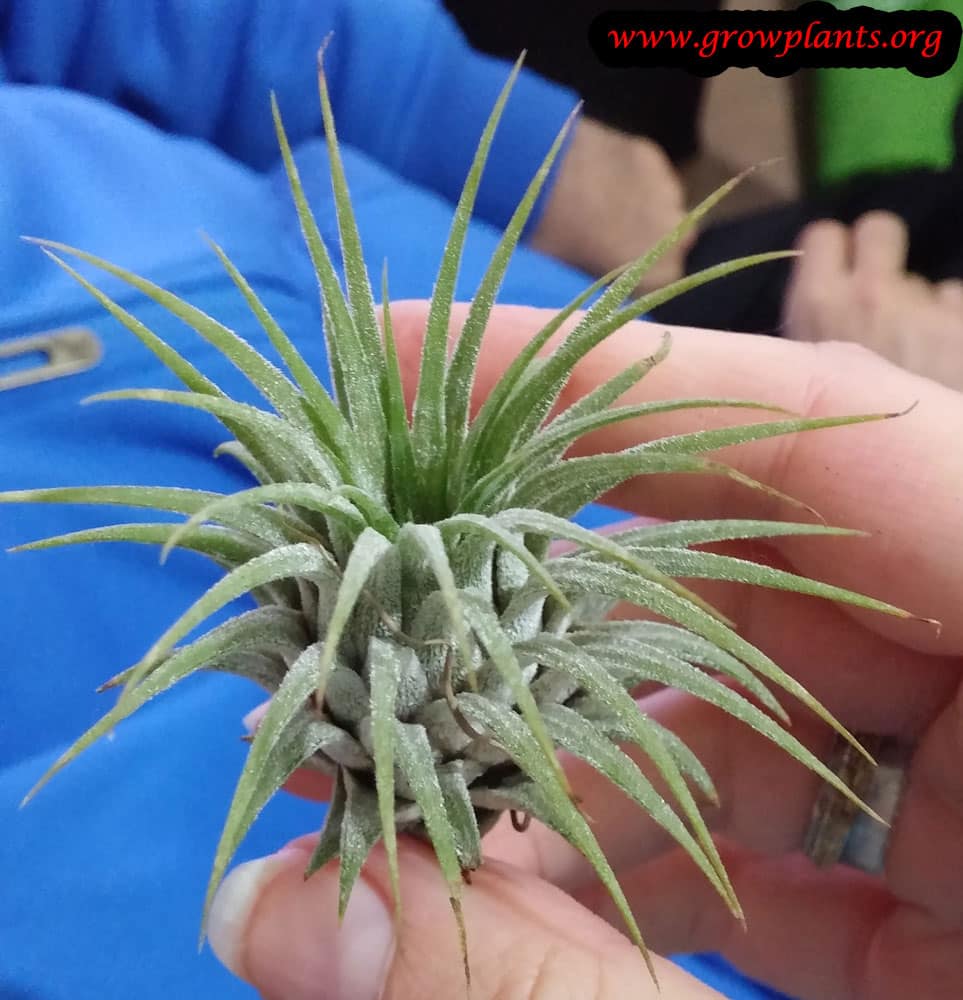
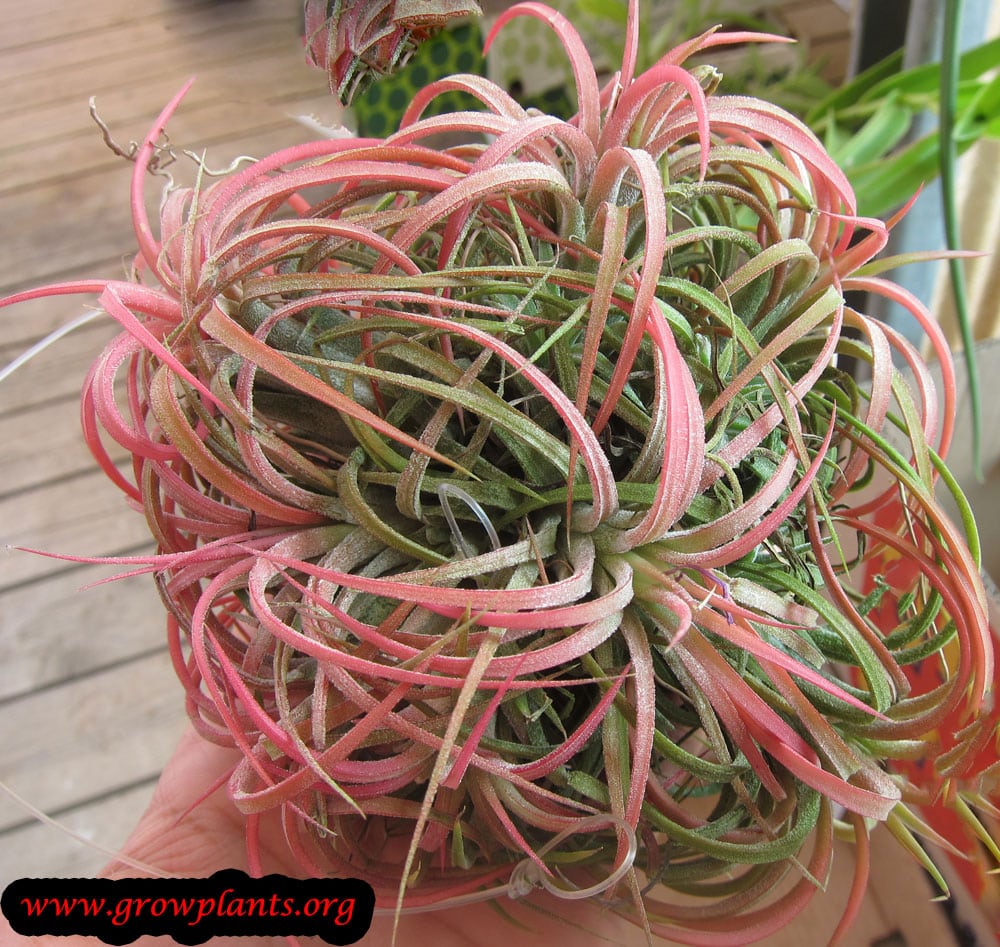
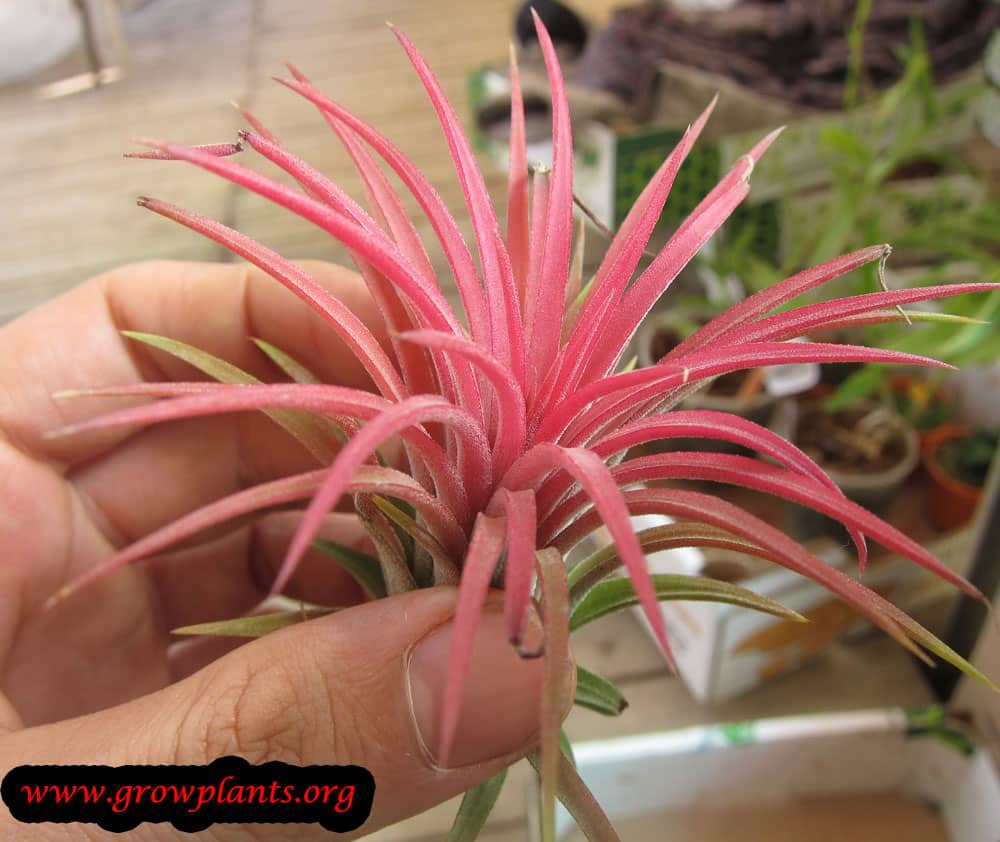
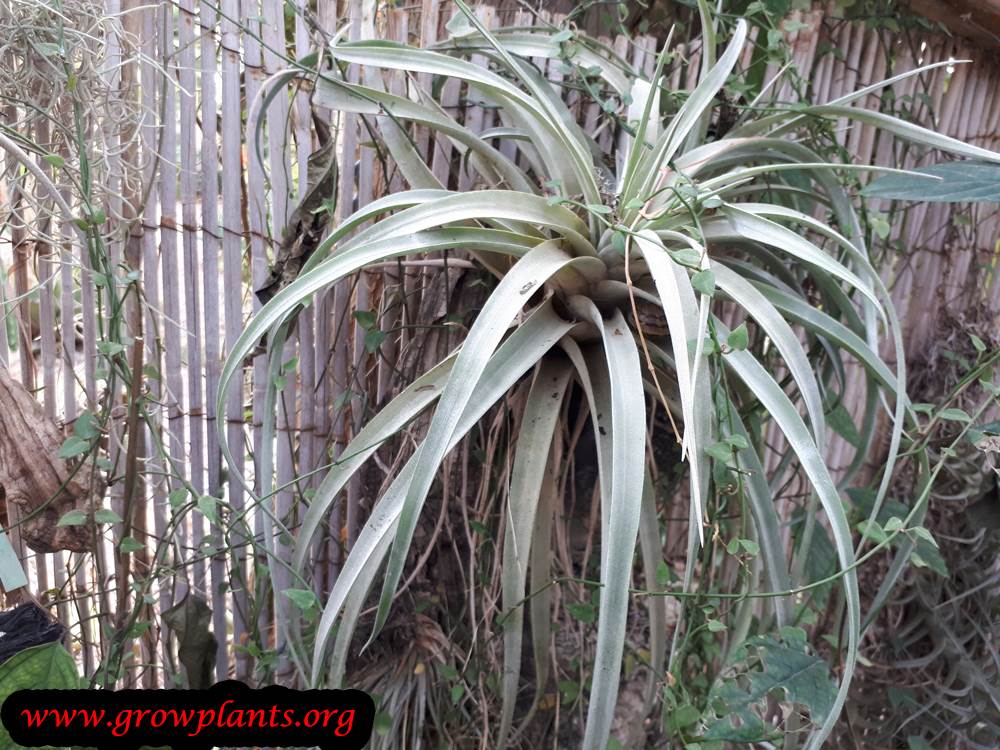
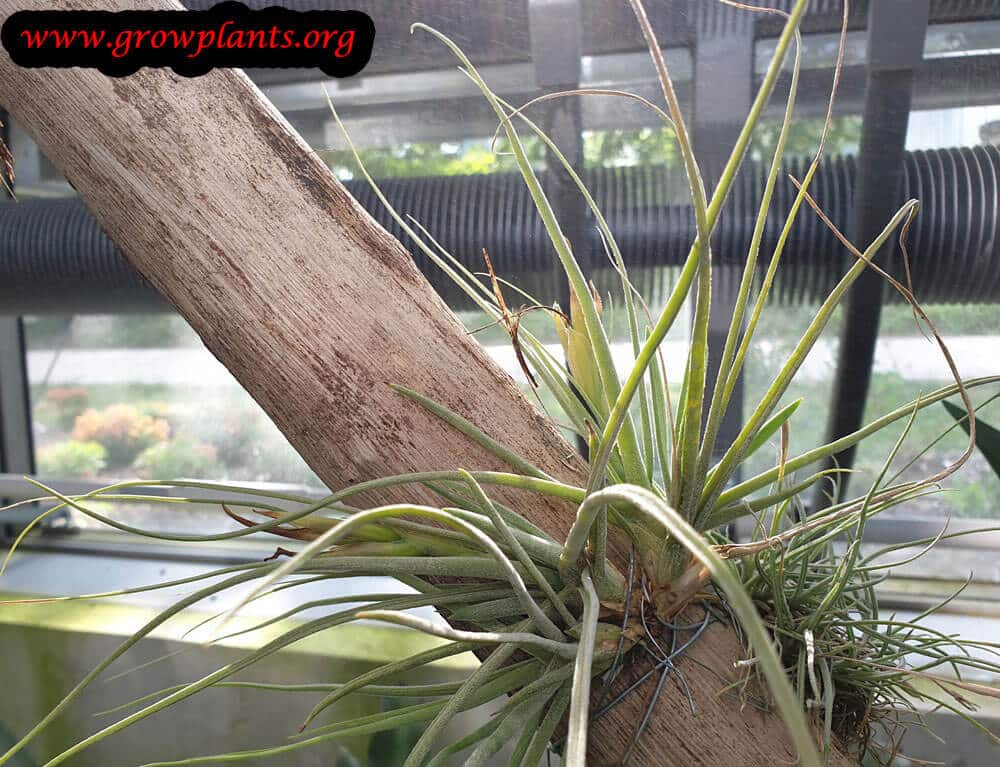
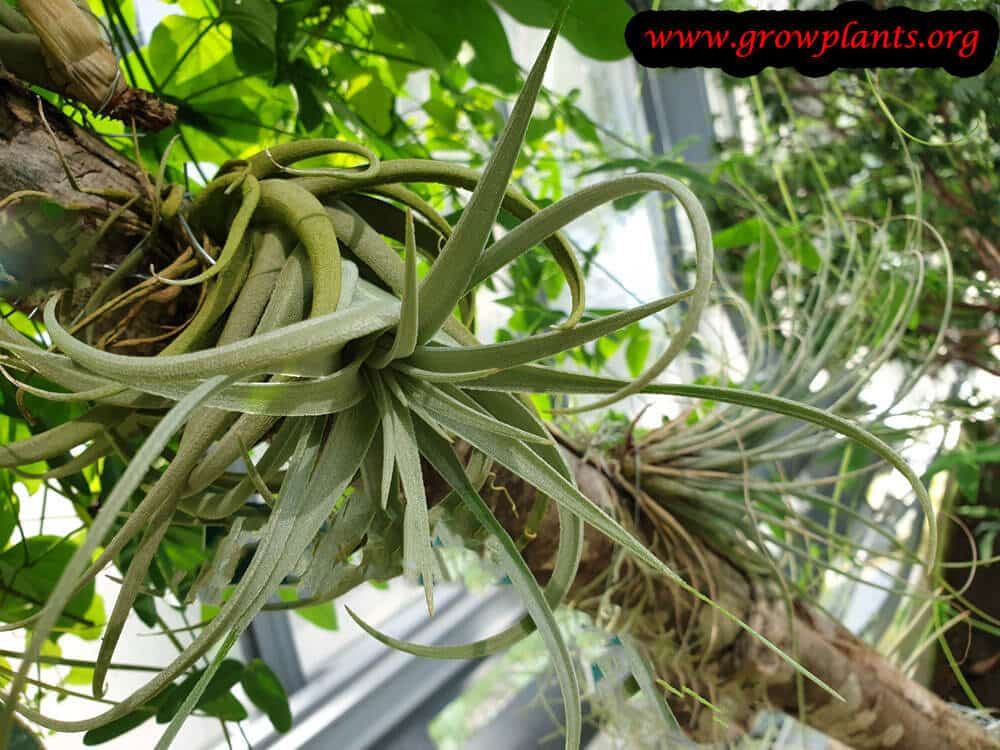
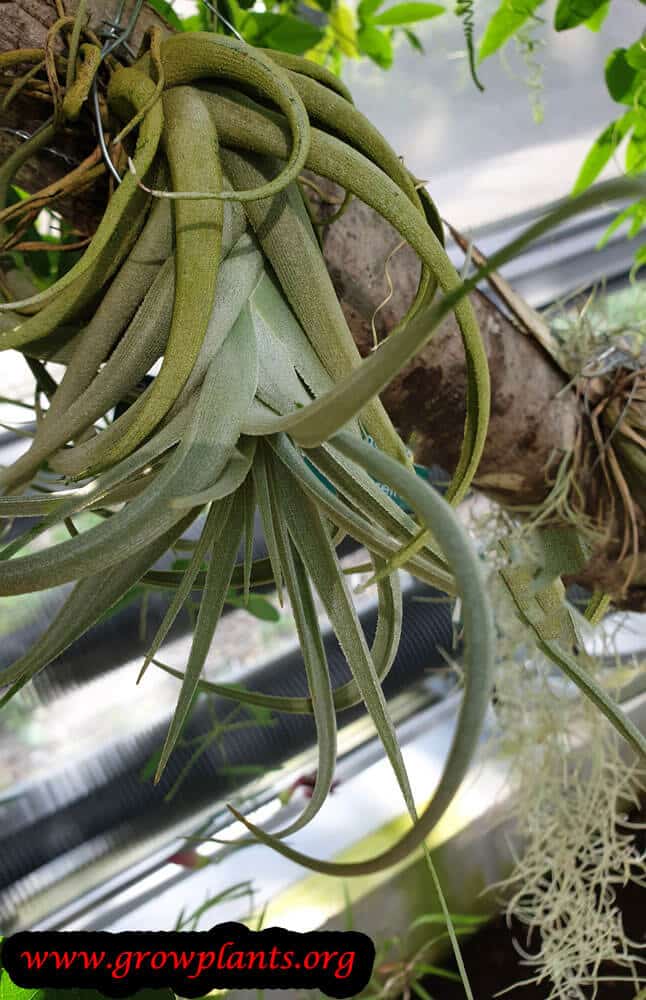
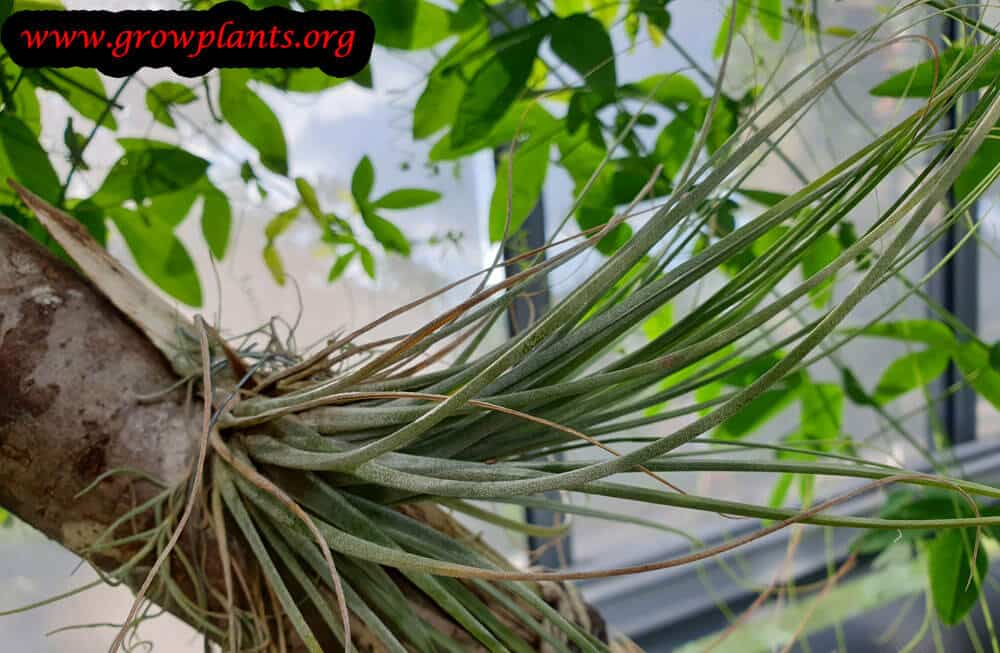
Overview: Air plant / Sky plant (Tillandsia) is an evergreen epiphytic air plant of the genus Tillandsia, a compact 5-15 cm ornamental grown clinging to objects rather than in soil. It absorbs water and nutrients through its leaves and makes an easy houseplant.
Quick Specifications
| Specification | Attribute |
|---|---|
| Plant Type / Life Cycle | Perennial (evergreen epiphyte) |
| Foliage Type | Evergreen |
| Mature Size | 5-15 cm (2-6 in) |
| Growth Rate | Slow |
| Root System | Epiphytic – only wiry roots that anchor the plant; water and nutrients are taken up through leaf scales (trichomes), not roots |
| Toxicity | Non-toxic |
| Hardiness | USDA zones 10b and warmer |
Growth Form & Structure
- Height & Spread: 5-15 cm (2-6 in); grown mounted, in a dish or hung rather than planted in soil, so a pot is used only as a stand, not filled with substrate
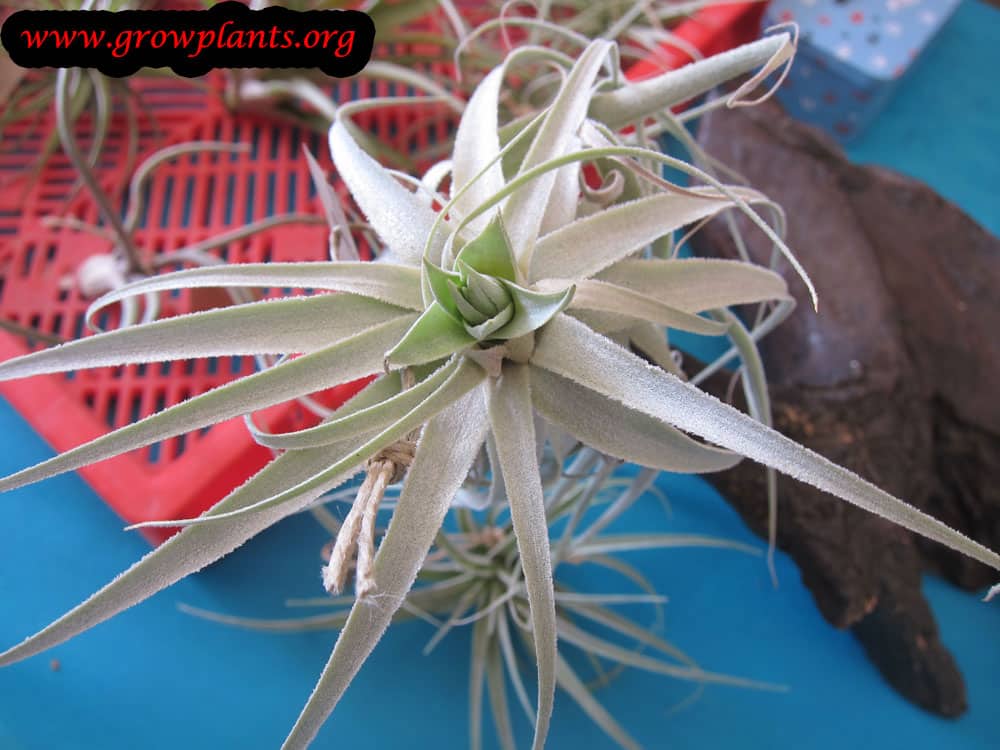
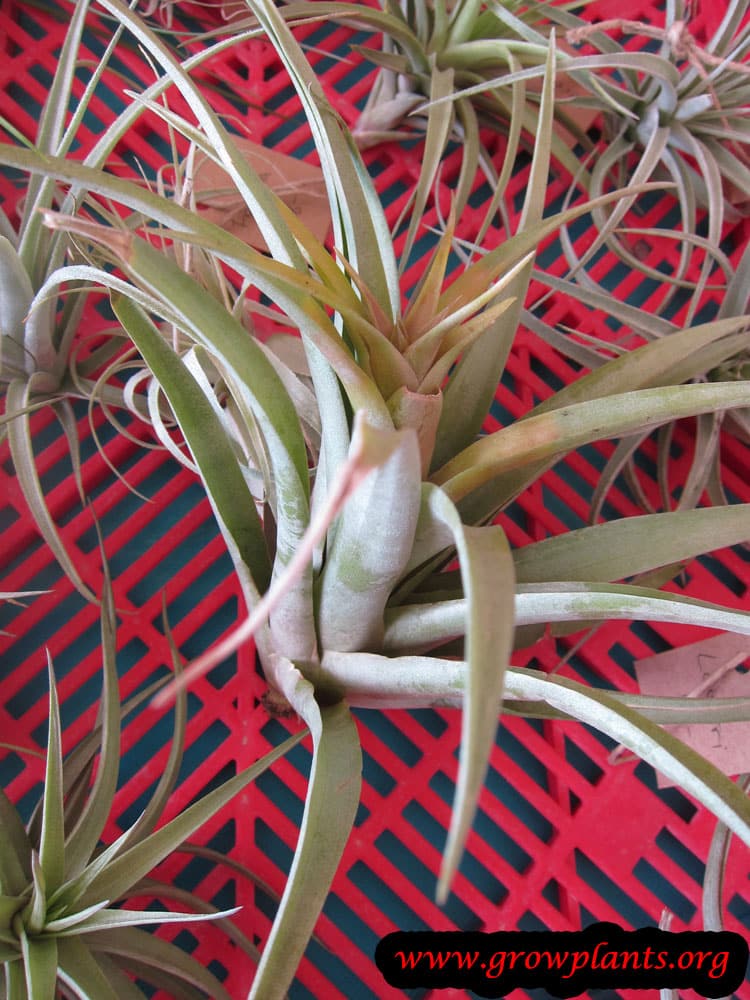
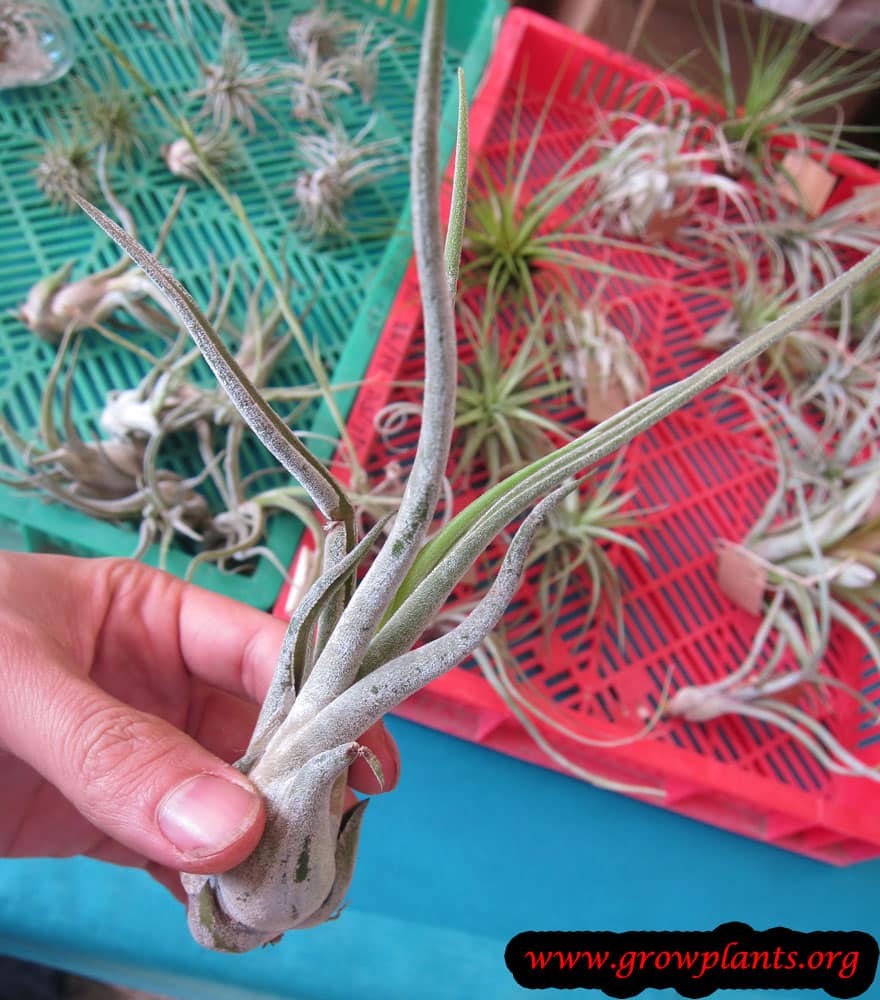
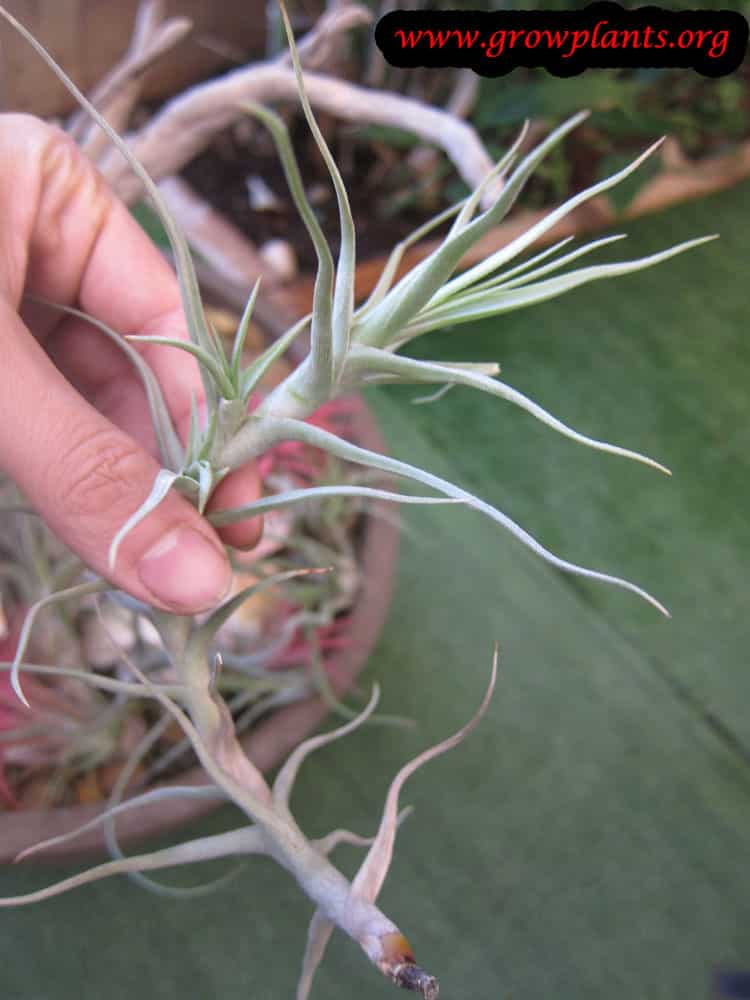
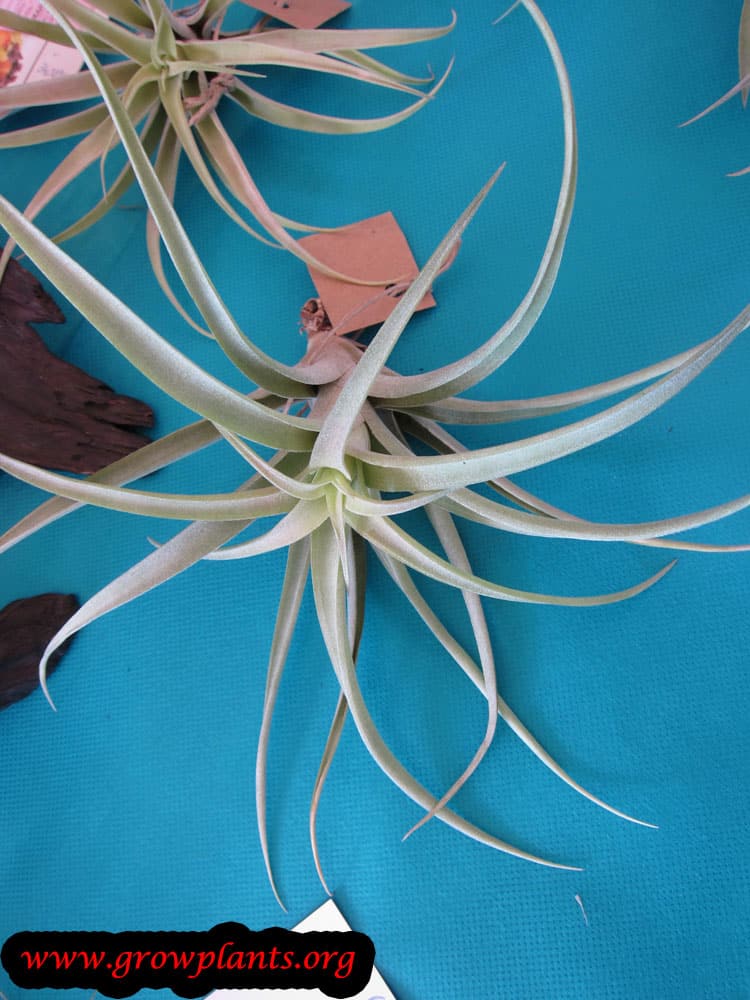
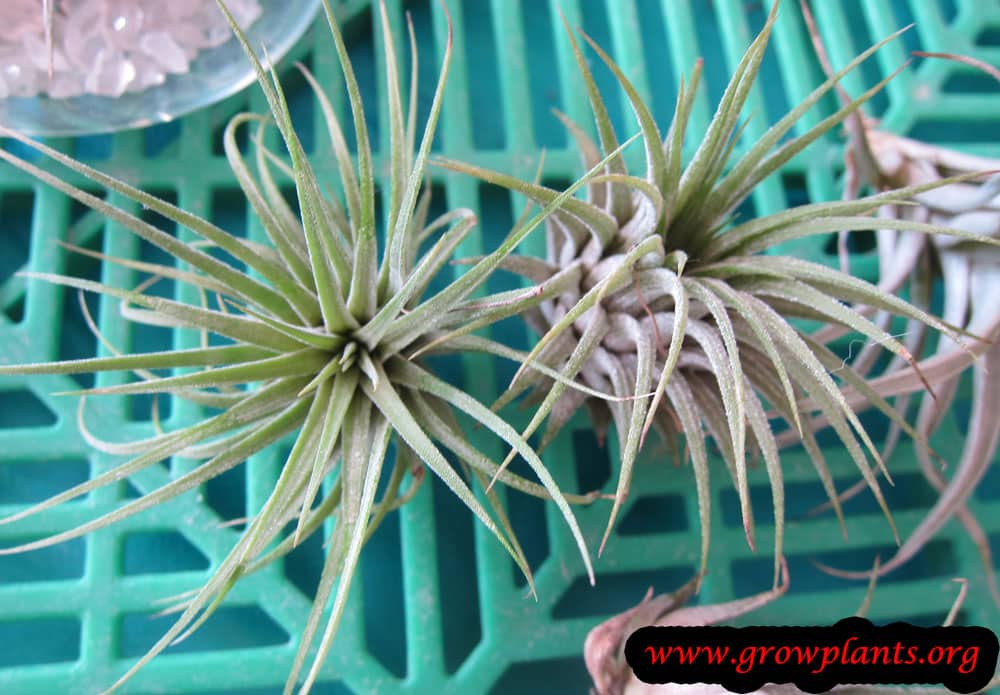
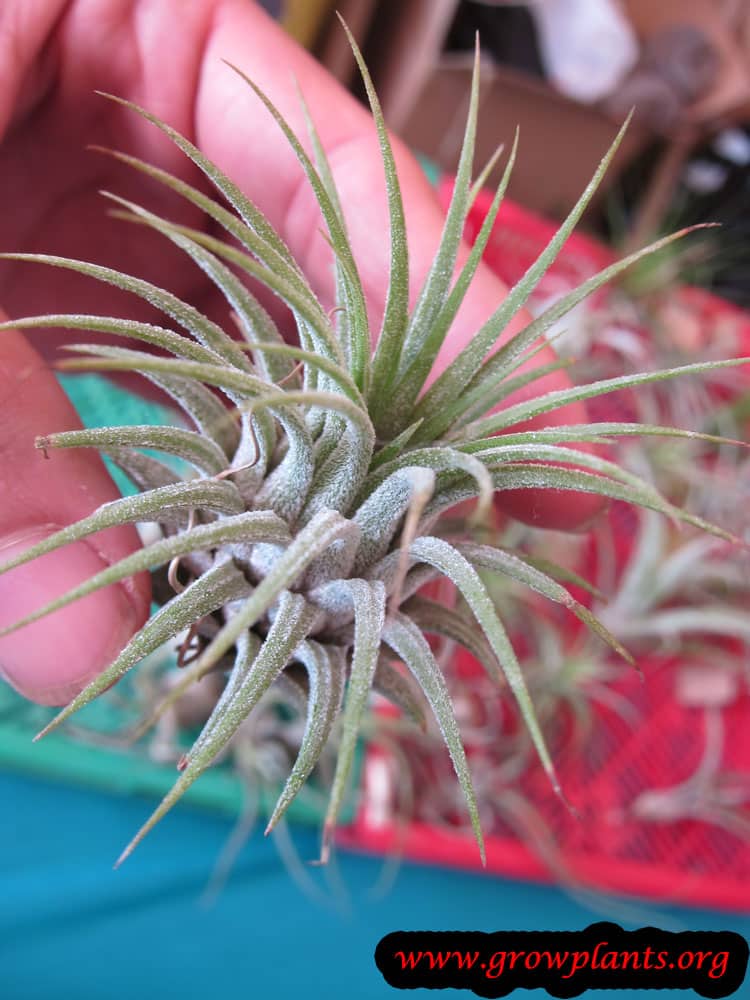
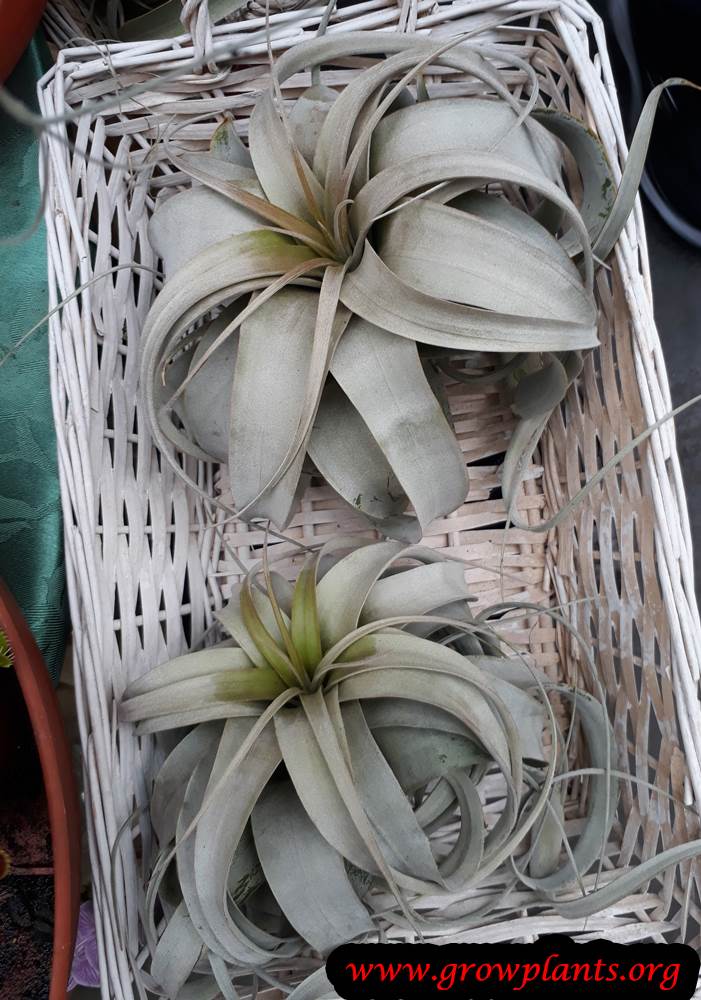
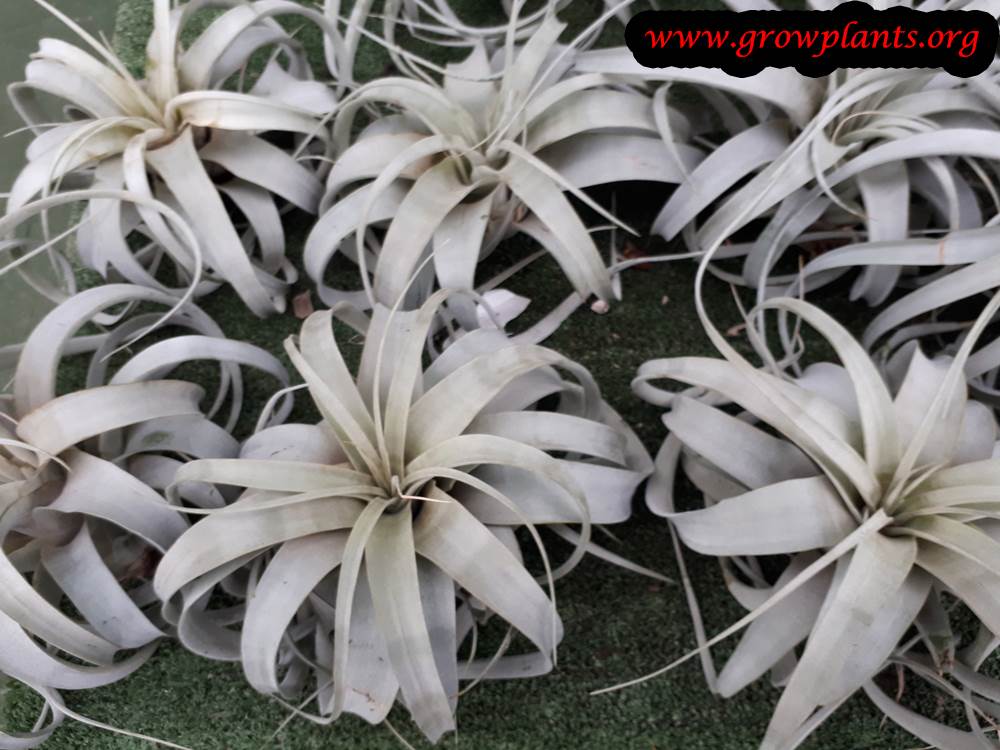
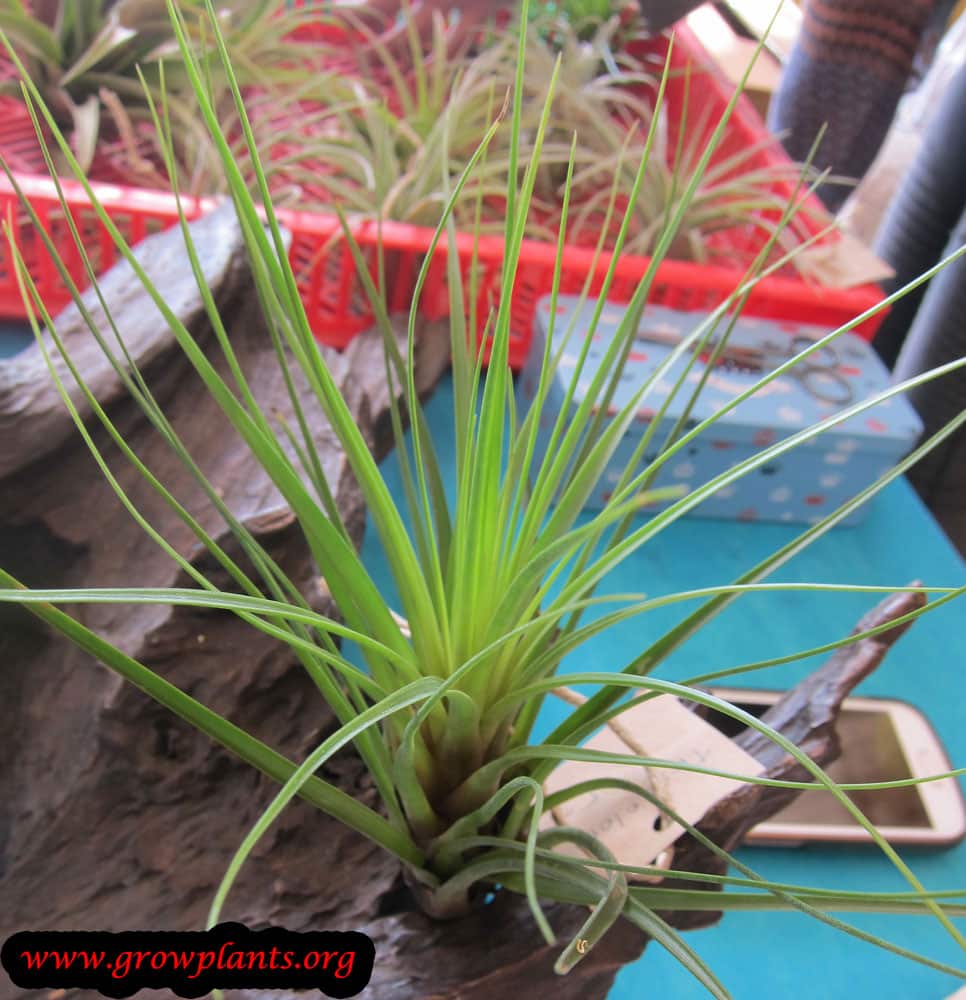
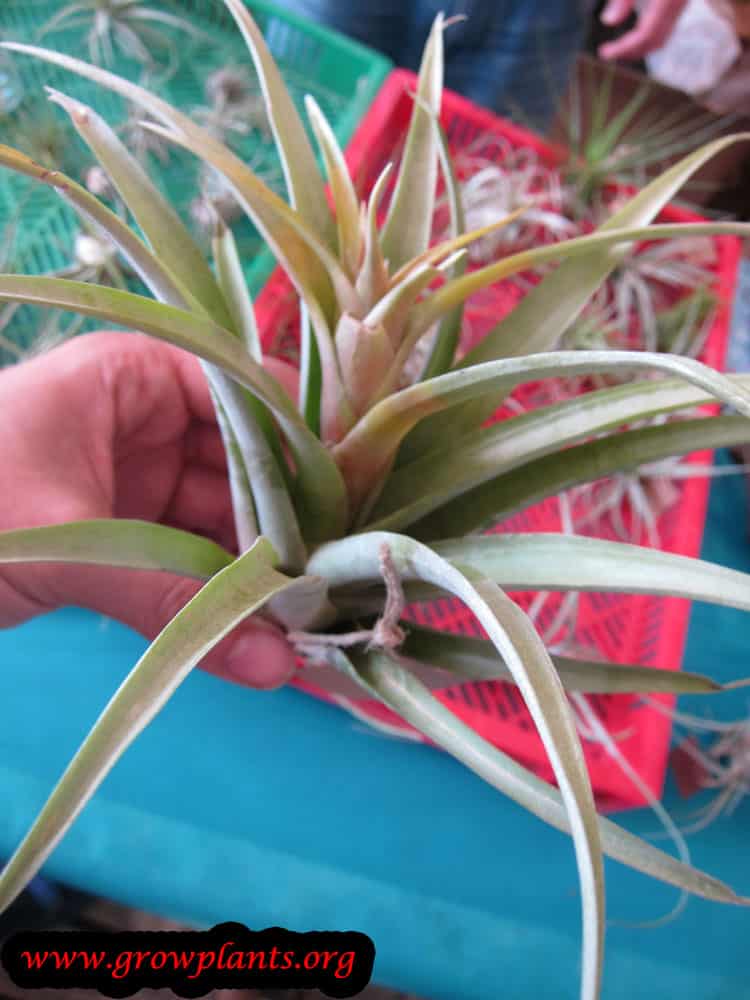
- Growth Habit & Form: Stemless (or short-stemmed) rosette of stiff leaves that clings to bark, rock or ornaments as an epiphyte
- Lifespan & Maturity: Slow-growing; each rosette flowers only once, then produces offsets (“pups”) that continue the clump
Anatomy & Physical Features
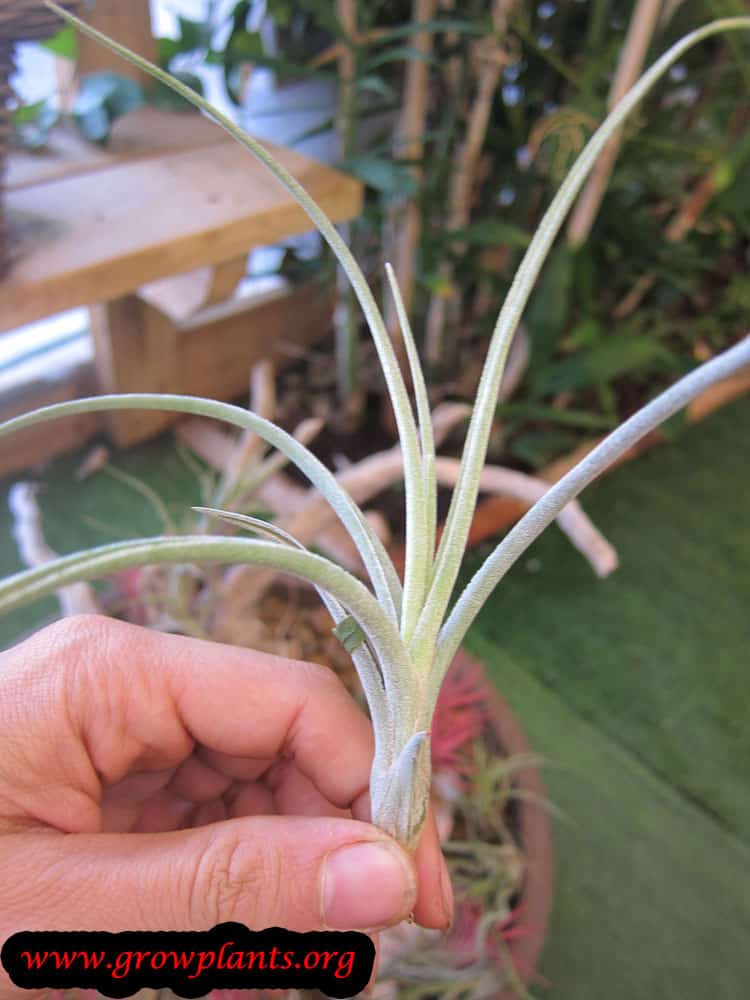
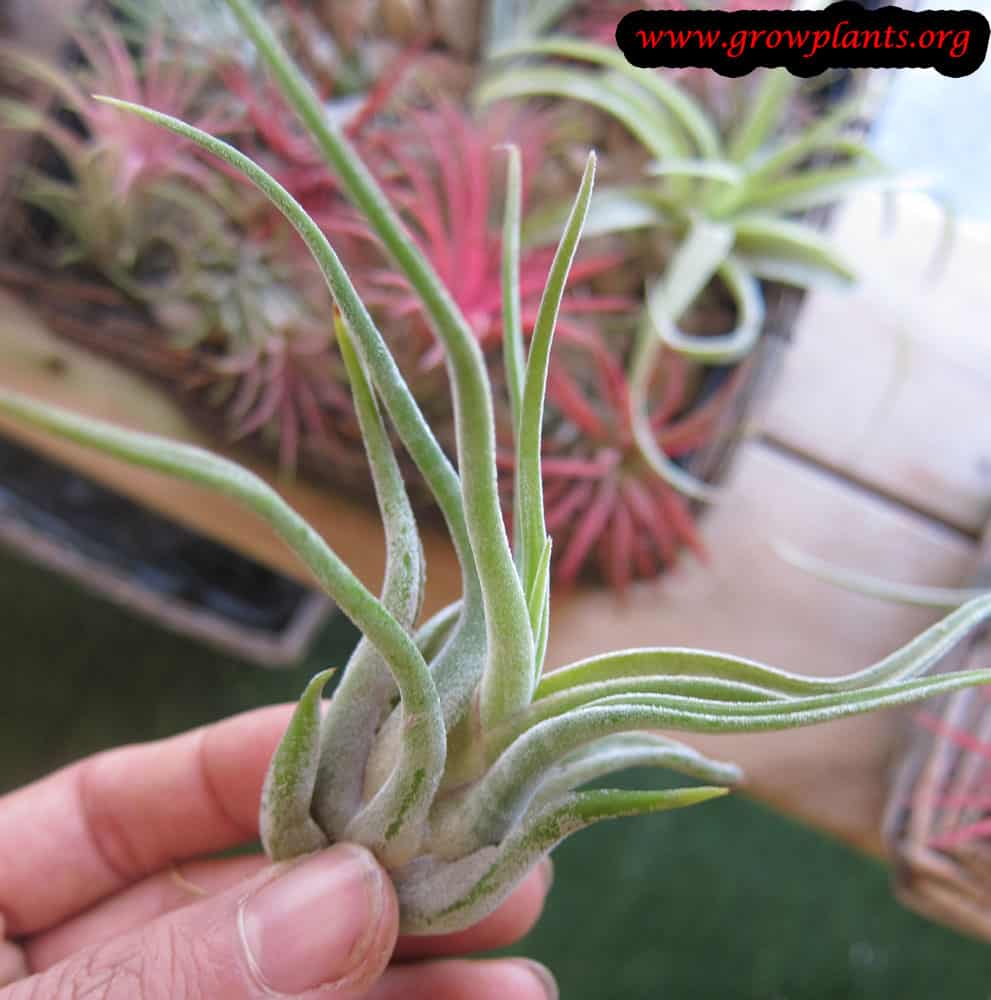
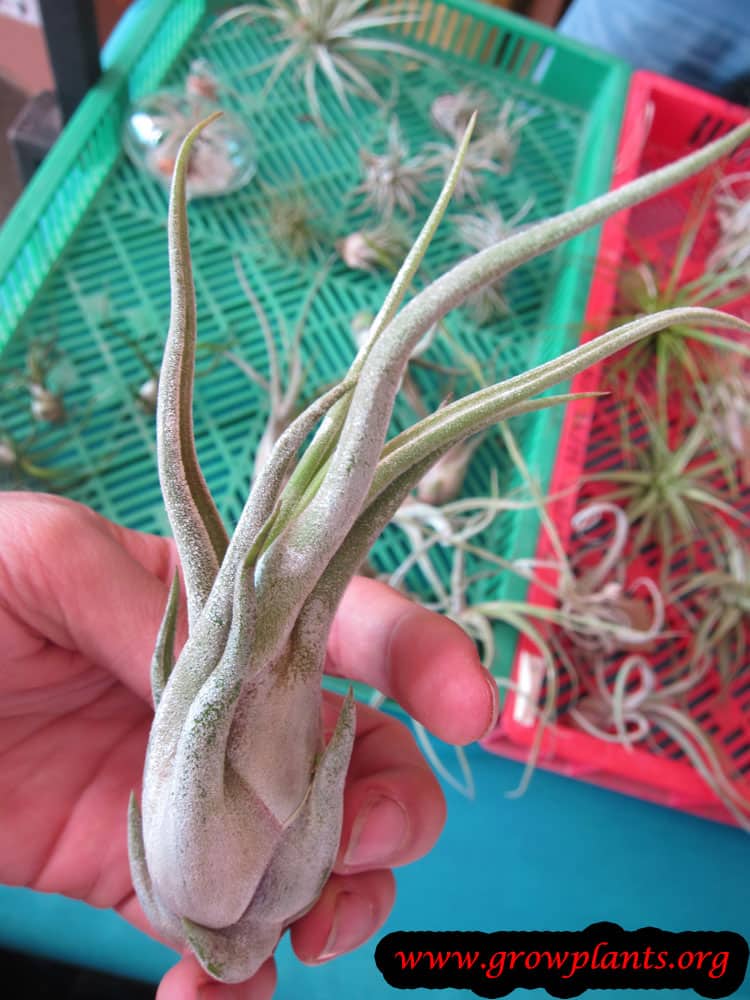
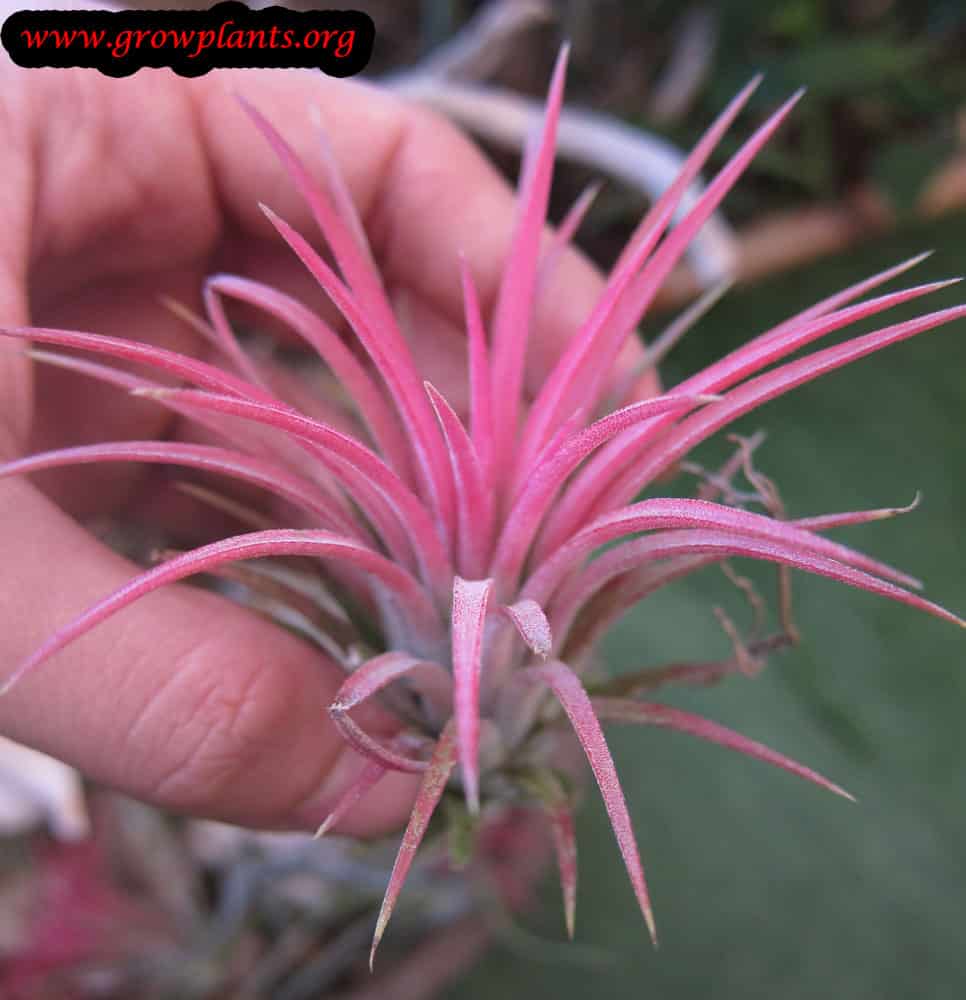
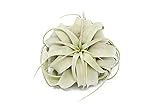
- Leaves & Foliage: Narrow, stiff leaves covered in silvery scales (trichomes) that absorb moisture; arranged in a rosette
Primary Uses & Landscape Value
- Functional & Ornamental Roles: Ornamental air plant for mounts, terrariums, driftwood, shells and hanging displays; an easy low-water houseplant
Care Guide: Planting, Soil & Watering
Overview: Tillandsia is an epiphytic air plant that grows without soil, clinging to bark, cork or driftwood and drinking moisture straight from the air through its leaves. It thrives in bright, indirect light and frost-free warmth (hardy only to about zone 10b), needing just occasional misting or soaking with soft water rather than a rooted watering routine.
Quick Care Requirements
| Requirement | Ideal Condition |
|---|---|
| Planting Season | Year-round indoors; mount or place outdoors in spring to summer in frost-free areas |
| Growth Rate | Slow |
| Water Need | Low; mist or soak with soft water, then let it dry out completely |
Planting & Establishment
- Best Planting Season: There is no true planting – mount or set the plant in place any time of year indoors; if positioning it outdoors, do so in the warm season once all frost has passed.
- How to Mount:
- Attachment: Rest it in a shallow dish or wire holder, or fix it to cork, driftwood or a mounted board with plant-safe glue, wire or fishing line – never bury the base in soil.
- Positioning: Choose a spot with bright, indirect light and good air movement, away from heaters, air conditioners and strong drafts.
- Settling In: Once mounted, avoid moving or disturbing it – Tillandsia resent being shifted while they anchor themselves.
- Growth Speed & Expectations: A slow grower reaching only about 5-15 cm; each rosette flowers just once after several years, then offsets (‘pups’) carry the plant on.
Soil, Watering & Drainage Care
- Growing Medium & Drainage: No potting soil is needed – the keys are air flow and fast drying. If you sit it in a container, use it only as a holder (cork, shell or glass), never packed with wet substrate, so moisture never lingers around the base and rots it.
- Watering Schedule & Technique:
- Young / Newly Mounted: Treat it exactly like a mature plant – mist or briefly soak, then let it dry.
- Established: In summer, water about once a week (twice in hot, dry spots) by misting or dunking in soft rainwater or filtered water, then shake off the excess and let it dry within a few hours.
- Seasonal Adjustments: Cut back to once a week or every two weeks in winter – or barely at all in a cool, damp winter – and keep it above roughly 3°C.
Climate, Light & Hardiness
Tillandsia is a warm-climate epiphytic air plant that takes up moisture and nutrients through its leaves and grows best in bright, filtered light with warmth and moving, humid air. It is frost-tender - hardy outdoors only in essentially frost-free areas (about USDA zone 10b and warmer per the site data) and very commonly grown indoors in colder regions.
Quick Climate Specifications
| Climate Zones | Mediterranean, subtropical, warm desert; or indoors |
| USDA Hardiness Zones | Approximately zone 10b and warmer |
| Optimal Temp Range | Approximately 15–30 °C (59–86 °F), ideally above 10 °C (50 °F) |
| Cold Damage Begins | Below about 10 °C (50 °F) growth slows; frost damages foliage |
| Approx. Survival Minimum | Briefly around 3 °C (37 °F) per the site data; not frost-hardy |
| Frost Tolerance | Very Low |
| Light Conditions | Bright filtered light / half shade (avoid harsh direct sun) |
| Wind Tolerance | Moderate |
| Salt / Coastal Tolerance | Moderate |
Sunlight & Light Exposure
Optimal Light Setup
Bright, filtered or indirect light suits it best; the site data lists half shade to shaded-but-bright conditions as optimal. Gentle morning sun is fine, but harsh midday sun scorches the leaves.
Shade & Heat Management
Prefers half shade to bright shade rather than deep gloom or fierce sun; under strong heat provide shade and wet or mist more often so the plant does not desiccate.
Best Exposure / Orientation
Indoors, a bright spot near (not pressed against) a window is ideal; the site data notes that in cold climates it should be kept away from cold winter window glass to avoid chilling. Outdoors, filtered light under a tree or shade cloth works well.
Temperature Extremes & Hardiness
USDA Hardiness & Regional Limits
Hardiness here reflects winter cold survival: it is grown outdoors year-round only in frost-free climates, and otherwise as an indoor plant.
Cold Damage & Winter Protection
It is happiest above about 10 °C (50 °F) and, per the site data, is best kept above roughly 3 °C (37 °F); avoid cold draughts and cold window glass in winter. Reduce wetting in cold weather, since cold combined with wet promotes rot.
Frost Sensitivity
Very frost-sensitive; frost damages the foliage. Bring plants under cover before freezing weather.
Extreme Heat Tolerance
Tolerates warmth well provided humidity and moisture keep up; in hot, dry spells mist or wet more often, and make sure the plant dries afterwards to prevent rot.
Wind, Humidity & Microclimate
Humidity Preferences
Prefers moderate to high humidity, drawing moisture from the air through its leaves; dry indoor air calls for more frequent misting or soaking.
Dry-Air Tolerance
Moderate - it survives spells of dry air but needs regular wetting to stay plump; consistently arid air without misting leads to curling and browning.
Wind Tolerance
Gentle air movement is beneficial, helping the plant dry after watering and preventing rot; strong, dry wind desiccates it and can dislodge hanging plants, so choose a sheltered position.
Coastal / Salt Tolerance
Moderately at home in humid coastal air; note that the site flags sensitivity to hard water - use soft or rain water - which is a water-quality matter separate from soil salinity.
Microclimate Recommendations
A bright, humid, frost-free niche - such as a well-lit bathroom or kitchen indoors, or filtered light under a canopy outdoors - is ideal, always with good airflow so the plant dries between wettings.
Growing in Pots, Balconies & Indoors
Tillandsia (Tillandsia) is a true air plant (Tillandsia) and one of the easiest bromeliads to keep indoors. It needs no soil at all – it clings to bark, cork or a mount and draws water and nutrients through its leaves – so it is a genuine houseplant that asks only for bright, indirect light and fresh air.
Quick Details
- Container Size: None – grown mounted on cork, bark or driftwood, or resting in a holder; never buried in soil or sand.
- Indoor Suitability: A genuine houseplant – the grower grows it indoors; it thrives in bright, indirect light.
- Best Spot: Bright shade with even a little gentle light; keep it out of harsh midday sun and away from heaters, air-con and fans.
- Soil & Drainage: None needed – it feeds through its leaves and must dry off quickly after each watering.
- Watering in Pots: Water lightly – mist the leaves or briefly dunk the plant, then set it somewhere airy so it dries within a few hours.
Indoors & On the Windowsill
- A real houseplant: The grower keeps this one indoors. Give it a bright position with even a little soft light; a bathroom or kitchen suits it because of the humidity, but then water less. Keep it well clear of ventilators, heaters and air-conditioning, which dry the leaves too fast.
- Windowsill growing: A bright sill out of harsh midday sun is ideal – the extra light keeps the rosette compact and well coloured.
- Overwintering: These are tender tropicals. Indoors they are happy year round; if they summer outside, bring them in well before cold nights arrive.
On a Balcony or Patio
- Light & wind: Air plants enjoy the warm season outdoors in bright shade – hang them from a rail, branch or bracket. Shelter from wind and hot midday sun, both of which scorch and dry them, and mist more often outside because moving air dries them fast.
- Practicalities: No pots to lift or drain, so weight is never an issue – just make sure water can run off freely and the plant dries within a few hours.
Mounting, Watering & Long-Term Care
- Mount, do not bury: The grower’s rule is never to plant it in soil or sand – only rest or fix it on cork, bark or driftwood so it can lean on or cling to the surface.
- Watering: Water lightly – mist the leaves or briefly dunk the plant, then set it somewhere airy so it dries within a few hours. Set it somewhere airy afterwards so it dries within a few hours; water trapped in the base will rot the plant.
- Feeding: Occasionally add a very dilute bromeliad or air-plant fertiliser to the misting water – they feed lightly through the leaves.
Growing this plant in a greenhouse
A greenhouse can give tillandsia frost protection, cold protection, humidity control and extra warmth. In the right climate it may also be kept growing through winter, depending on how much warmth and light are provided.
Greenhouse at a glance
| Greenhouse suitability | Good - clearly useful |
|---|---|
| Main benefits | frost protection, cold protection, humidity control, extra warmth |
| Season extension | earlier spring & later autumn |
| Outdoor protection advisable below | about 10°C |
| Maintain greenhouse minimum | around 10°C for active growth |
| Suitable types | heated greenhouse, polycarbonate greenhouse |
| Heating | Heating is recommended in cold climates for continuous growth. |
Related greenhouse guides
- Greenhouses: How to Choose the Right Greenhouse
- Best Greenhouse Heaters
- Greenhouse Climate Control: Temperature, Ventilation and Humidity
- Polycarbonate Greenhouses: What to Look for Before Buying
Fertilizing & Feeding
A very light feeder. As a rootless epiphyte it takes nutrients through its leaves, so it needs only a highly diluted feed misted or added to soak water a handful of times through the warm growing season, and none while cool and resting.
Quick Fertilizing Specs
| Feeding Level | light |
|---|---|
| Main Nutrient Priority | A very dilute, low-nitrogen complete or bromeliad/air-plant feed applied to the leaves |
| Best Feeding Period | Through the warm growing season only |
| Micronutrients | A complete feed supplies trace elements; no separate micronutrient product is needed |
| Organic Options | Not typically used; heavy organic feeds can clog or burn the leaves |
| Reduce/Stop Feeding | Stop feeding in the cool, low-light season and in cold winters |
Feeding by Growth Stage
Warm-season active growth
Support slow, steady leaf growth and good color during the warm months
| Nutrient direction | A very dilute, low-nitrogen complete or bromeliad/air-plant fertilizer taken up through the leaves |
|---|---|
| Timing | Through the warm growing season while the plant is actively growing |
| Frequency | A light misting or soak feed now and then across the growing season |
| Fertilizer types | A highly diluted low-nitrogen or bromeliad/air-plant fertilizer misted onto the leaves or added to soak water |
| Precautions | Feed sparingly; strong fertilizer or hard, mineral-rich water burns the leaves and leaves white residue. Always let the plant dry after feeding |
Cool-season and winter rest
Let the plant rest through cool, low-light conditions
| Nutrient direction | None – withhold fertilizer while the plant is cool and barely growing |
|---|---|
| Timing | During the cool, low-light season and cold winters |
| Frequency | No feeding at this stage |
| Fertilizer types | No feeding at this stage; do not fertilize until warm active growth returns |
| Precautions | Do not fertilize in cold conditions; feeding a resting air plant risks salt damage |
Nutrient Deficiency Signs & Corrections
Leaf tips turn brown, dry or crispy
| Possible causes | Salt and mineral load from hard tap water or over-feeding, Too little humidity or moisture between waterings, Fertilizer applied too strong |
|---|---|
| Appears first on | Leaf tips and outer leaves |
| What to check | Water quality and whether soft or rain water is used, Humidity and watering routine, Fertilizer strength |
| Possible correction | Switch to soft or rain water, ease off feeding, and raise humidity; rinse the leaves with clean water to remove built-up salts |
Pale color, limp or weak leaves and little growth
| Possible causes | Too little light for the plant to feed itself, Chronic lack of any nutrients, Under-watering or poor drying causing stress |
|---|---|
| Appears first on | Whole plant, newer leaves |
| What to check | Light level and placement, Whether it ever receives a dilute feed, Watering and how well it dries |
| Possible correction | Move to brighter indirect light, give an occasional dilute feed in the growing season, and correct watering |
Base turns soft, brown or black and leaves pull away
| Possible causes | Water trapped at the center after watering, Poor airflow and no drying time, Cold, wet conditions |
|---|---|
| Appears first on | Plant base and center |
| What to check | Drying time after watering, Airflow around the plant, Temperature and moisture |
| Possible correction | Let the plant dry fully after each watering, improve airflow, and pause feeding until it recovers |
Pruning, Training & Seasonal Maintenance
Tillandsia (air plant) tolerates only very light, sanitary trimming — there is no woody stem or branching framework to shape, so “pruning” here means removing dead or infected leaves, not structural cuts. Because each individual plant flowers only once in its lifetime and then declines, the maintenance goal is keeping the plant clean and healthy through that cycle and, once it has flowered, transitioning care to the daughter offsets (‘pups’) it produces rather than trying to renew the original plant.
Quick Pruning & Maintenance Specs
| Pruning Tolerance | Low |
| Primary Pruning Window | Year-round, as needed |
| Typical Frequency | Occasional — only when dead/infected leaves appear |
| Main Objective | Sanitary leaf removal; no shaping or structural goal |
| Young Plant Priority | Leave undisturbed — avoid handling or moving the plant more than necessary |
| Mature Plant Priority | Remove dead/infected leaves; after flowering, separate and grow on the offsets |
| Best Tool Type | Precision snips |
| Avoid Heavy Pruning During | Not applicable — this species is never heavily pruned |
Pruning by Plant Age & Size
Newly Established
Leave the plant alone beyond removing any leaves damaged in transit or handling; most species need to sit or hang undisturbed in one location and resent frequent moving.
Young / Formative
No structural training applies to this epiphytic, rosette-forming plant — there is no leader, cane, or vase system to establish.
Mature / Established
Ongoing care is limited to removing dead or infected leaves as they appear; once a mature plant flowers (which can take several years to reach), it will not flower again, so maintenance shifts to the daughter offsets it produces around its base.
Special Growth to Remove
Remove dead and infected leaves as they occur to keep the plant clean and reduce disease/pest entry points (fungal issues, aphids, slugs and snails are all noted risks). After the parent plant flowers and begins to decline, separate the daughter offsets once they have grown a few leaves of their own, ideally in spring, and grow them on individually rather than trying to prune or renew the spent parent.
Container & Small-Space Pruning
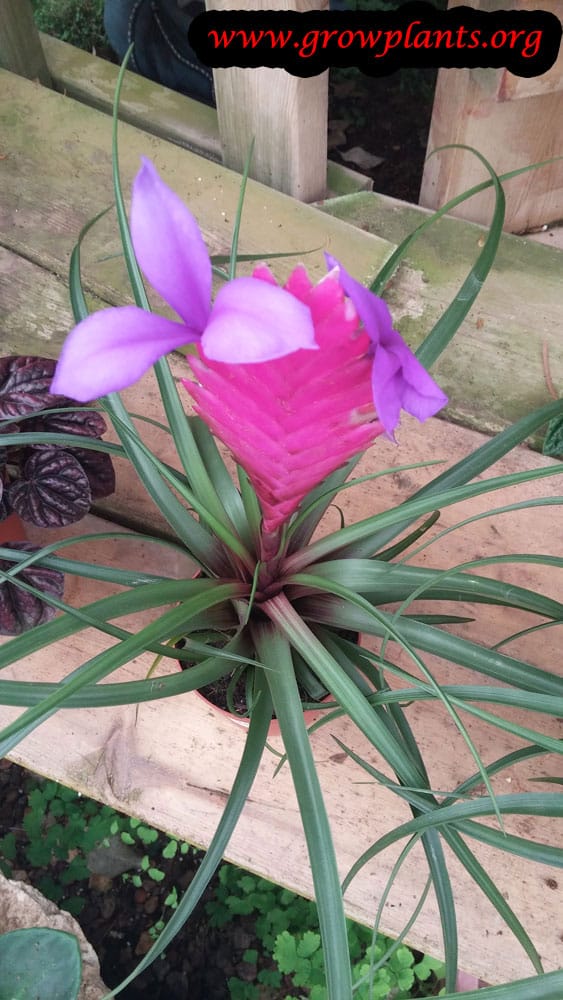
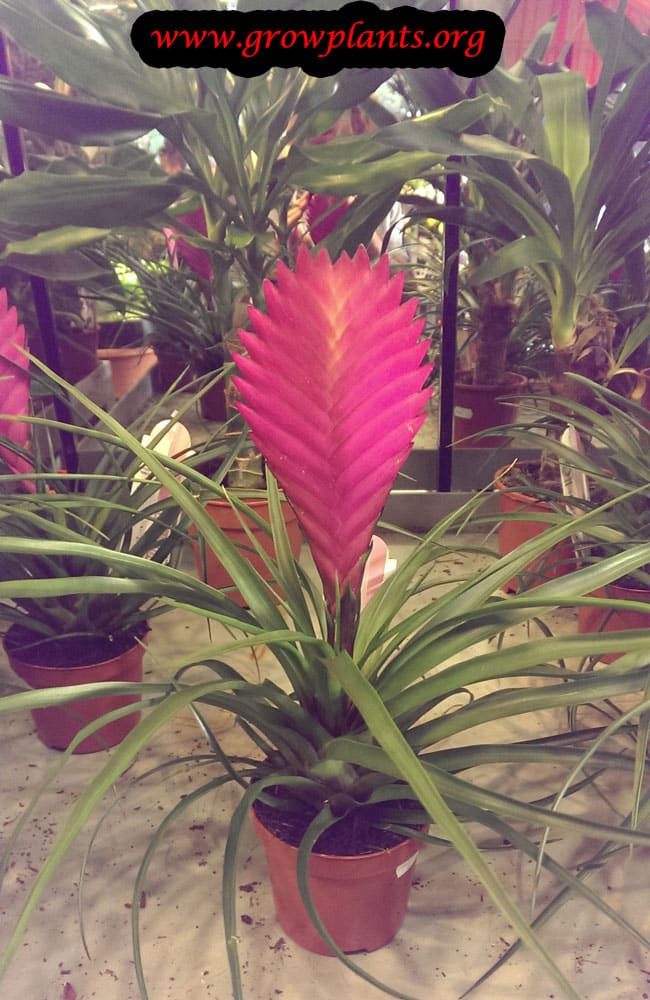
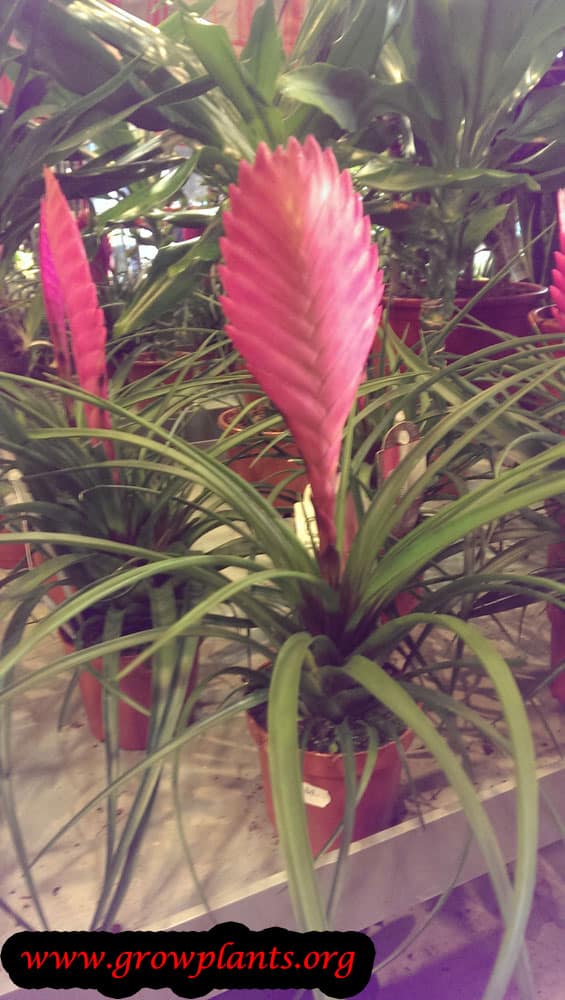
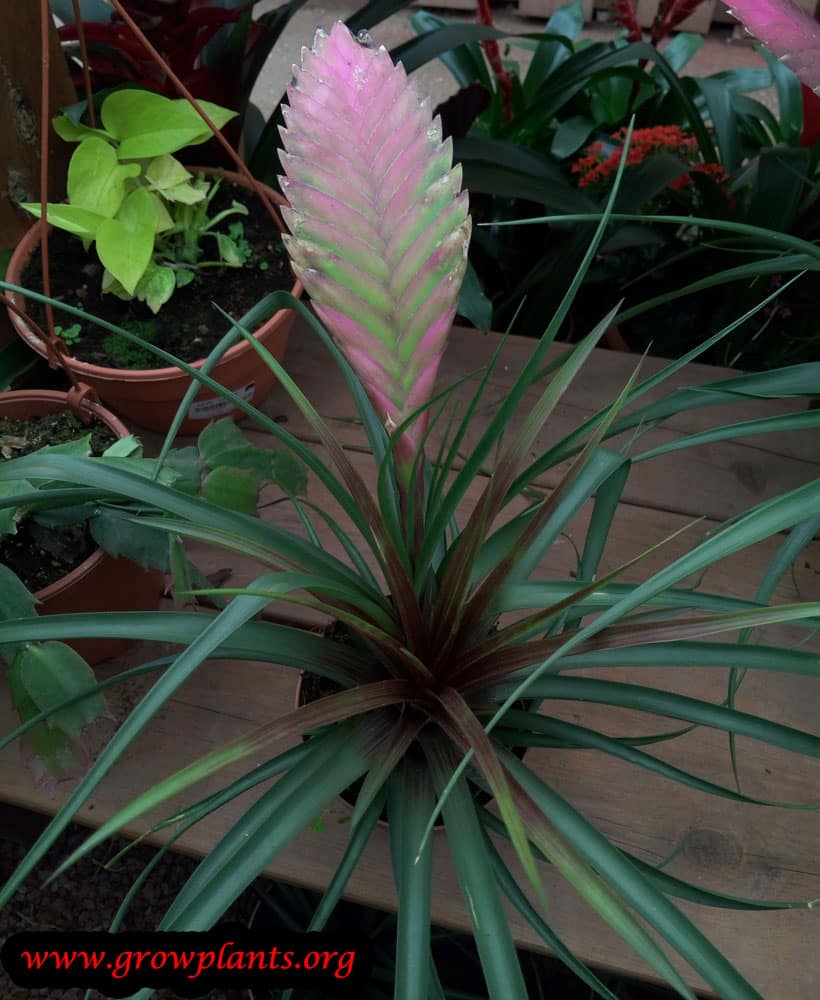
Most Tillandsia are not grown in soil at all but mounted or rested on an object (bark, cork); the only species noted as different is Tillandsia cyanea, which can be grown in soil like a potted plant. In either case, there is no root-pruning or canopy-balancing consideration — maintenance is limited to leaf removal.
Tools
- Precision snips — the only tool needed, for removing dead or infected leaf tips.
Tool Hygiene & Disease Risk
Increased: fungal issues are a noted risk for this genus, so use clean tools when removing infected leaf material and avoid spreading cut debris onto healthy neighboring plants, especially in humid indoor growing setups.
Cut Placement & Technique
Snip dead or infected leaf tissue back to the point where it meets healthy tissue; avoid cutting into the plant’s central growing point, which is the single source of new leaves for the rosette.
Post-Pruning Care
After removing damaged leaves, let the plant dry out fully before its next watering/misting, since trimmed edges combined with excess moisture increase rot risk; avoid spraying water directly onto fresh cuts.
Common Pruning Mistakes
Cutting into the central growing point while trying to tidy leaves, which can kill the plant’s only growth point; over-handling or repositioning the plant during routine maintenance, which stresses a plant that prefers to sit undisturbed.
When NOT to Prune
Avoid cutting the plant at all beyond dead/infected leaf removal — there is no beneficial hard or structural pruning for this species at any life stage.
Recommended Tools (by task)
- precision_snips — the sole tool needed, for removing dead or infected leaf tissue without disturbing the growing point.
Propagation Guide
Tillandsia is propagated in practice by separating the offsets (“pups”) that form around the mother plant, usually after it flowers; a pup reproduces the parent exactly and grows on far faster than a seedling. Seed is possible but slow and specialist — the plant is hard to start from seed and takes years to reach size — so offsets are the standard method, and named forms and hybrids must be increased this way; overall Easy by offsets, though a Specialist job from seed.
Quick Propagation Specs
| Best Propagation Method | Offset (pup) separation |
| Alternative Methods | Seed (slow, specialist) |
| Propagation Difficulty | Easy by offsets; Specialist from seed |
| Seed True-to-Type | Species come true but are very slow from seed; named forms and hybrids are kept by offsets |
| Vegetative True-to-Type | Yes — an offset reproduces the parent |
| Best Propagation Season | Spring for separating offsets; sow seed from late spring to early autumn |
| Seed Germination Time | 1–2 months |
| Germination Temperature | 25–30°C (77–86°F) by day, cooler at night |
| Seed Sowing Depth | On the surface — the seed is not buried |
Division, Offsets, Pups & Suckers
Offset (Pup) Separation
After flowering the mother produces offsets around its base. Once a pup has grown a few leaves of its own it can be separated — better done in spring — by gently easing or cutting it away from the mother. Treat the separated pup exactly like a fully mature plant, and once it is settled in a spot try not to move it about. Pups may also be left attached to build up a clump.
Growing from Seed
Seed Handling & Viability
Use fresh seed — no more than about two months old — and store it in a dry, dark place until sowing; viability falls quickly with age.
Sowing Season
Sow from late spring to early autumn.
Sowing Medium & Depth
Sow onto the surface of damp sphagnum (peat) moss without burying the seed, spacing it roughly 3×2 cm (1.5×1 in), and keep the medium lightly moist.
Germination Conditions
Provide high humidity and plenty of light, with a warm day temperature of 25–30°C (77–86°F) and cooler nights.
Watering
Keep only lightly moist — mist or water sparingly and do not over-water.
Germination Time
Germination takes about 1–2 months.
Seedling Care
Treat the seedlings like mature plants; they are very slow, and should be moved onto a clean mount kept free of algae.
Bloom & Flower Guide
Quick Details
- Bloom Season: Can appear at almost any time of year, but only once the plant is mature
- Time to First Bloom: Only when fully grown – often several years from a young plant
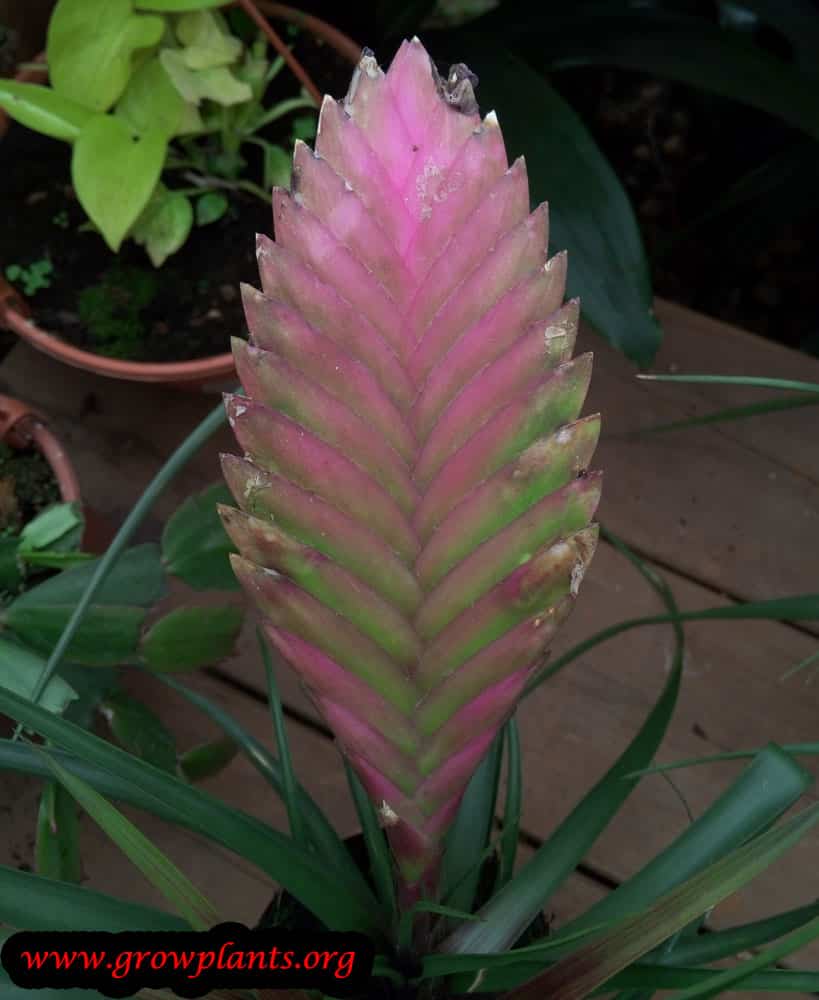
- Flower Appearance: Small, tubular three-petalled flowers in purple, yellow or white, each with one stigma and three stamens
- Edibility: Ornamental – the flowers are not eaten
Detailed Blooming Overview
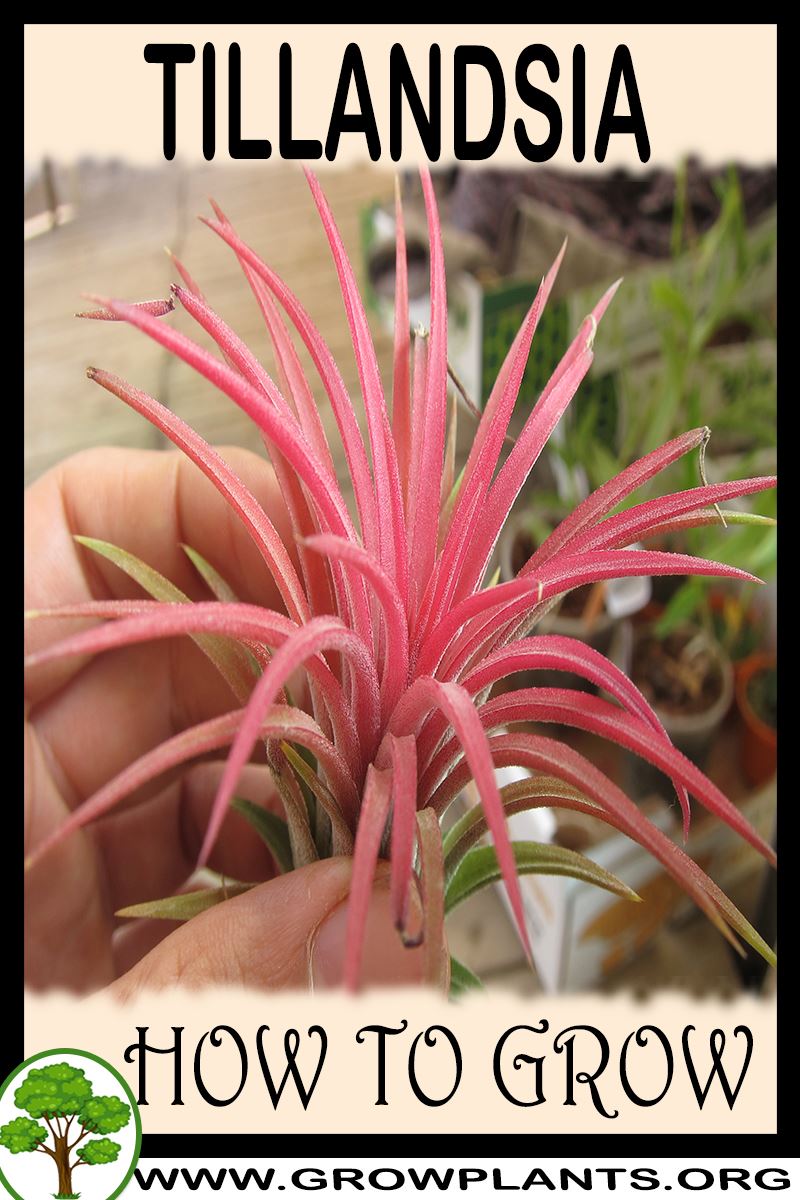
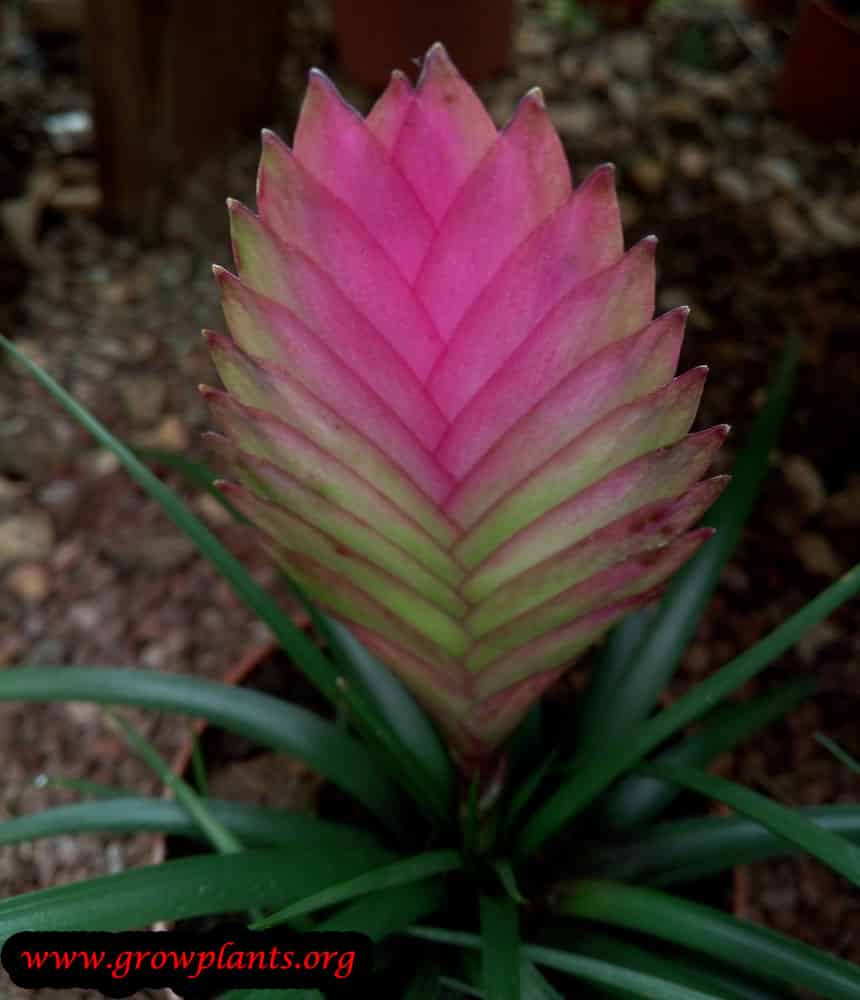
Air plants flower just once in their lifetime, and reaching flowering size can take several years. In many species the approaching bloom is announced by the centre of the plant blushing pink or red. After it has flowered the rosette slowly fades, but not before producing offsets – known as pups – around its base that carry the plant on.
Flower Characteristics
- Small tubular flowers, usually purple, sometimes yellow or white, each with one stigma and three stamens.
- The bloom is short-lived but distinctive, often set against brightly coloured bracts.
Bloom Care & Thinning
- After flowering: The parent rosette will slowly decline once it has bloomed – this is natural.
- Pups: Leave the offsets attached until they are about a third to half the size of the parent, then gently separate them to grow on.
- Spent spike: No deadheading is needed for health; simply trim the flower spike once it browns.
Pests, Diseases & Troubleshooting
Overview: Air plants are epiphytic bromeliads grown without soil, and they are among the most pest-free plants you can keep – the great majority of failures are cultural, above all rot from water trapped in the crown and mineral damage from hard water. When pests do appear they are chiefly mealybugs and scale. Good airflow, correct watering and soft water prevent almost every problem.
Quick Troubleshooting Overview
| Issue / Pest | Main Symptom | Primary Solution |
|---|---|---|
| Crown / base rot | Soft brown mushy centre, leaves pull out easily | Dry fast after watering; never leave water in the crown |
| Mealybugs | White cottony tufts in leaf bases, sticky residue | Alcohol swab / rinse; horticultural oil; isolate |
| Scale insects | Small brown or waxy bumps on leaves | Scrape off; horticultural oil; isolate |
| Hard-water damage | White crusty deposits, scorched leaf tips | Use rain/distilled water; avoid softened water |
| Dehydration | Rolled leaves, exaggerated curling, dry crispy tips | Soak and mist more often; improve humidity |
| Sunburn | Bleached or brown scorched patches | Move to bright indirect light; avoid harsh midday sun |
Common Pests & Management
- Mealybugs (Pseudococcidae):
- Symptoms: Small white cottony tufts wedged between the leaves and at the base of the plant, with sticky honeydew and, over time, weakened, stunted growth. The most likely insect pest on an air plant.
- Prevention & Control: Isolate the plant, then remove mealybugs by dipping in or swabbing with dilute alcohol and rinsing well. Improve airflow. For stubborn cases, treat with a light horticultural oil or insecticidal soap, then rinse and dry the plant thoroughly so no residue sits in the crown.
- Scale Insects (Diaspididae / Coccidae):
- Symptoms: Small, immobile brown, tan or waxy bumps along the leaves, sometimes with sticky residue; heavy infestations dull and weaken the foliage.
- Prevention & Control: Gently scrape or pick off the scales with a soft brush or fingernail and isolate the plant. Apply horticultural oil to smother remaining scales and crawlers, then rinse and allow the plant to dry fully.
- Aphids (Aphidoidea):
- Symptoms: Occasional small soft-bodied insects on tender flower spikes and new growth, with a little sticky honeydew; uncommon and usually minor on air plants.
- Prevention & Control: Rinse off under running water; a strong soak usually clears them. Only rarely is insecticidal soap needed – if used, rinse the plant well afterwards.
- Fungus Gnats / Damp Pests (Sciaridae):
- Symptoms: Small flies hovering around plants kept constantly damp or in decaying mounting material – a symptom of over-wet conditions rather than a true air-plant pest.
- Prevention & Control: Let plants dry properly between waterings, improve ventilation, and replace any soggy mount or moss. Yellow sticky traps catch the adults.
Diseases & Fungal Issues
- Crown / Base Rot (bacterial & fungal (Erwinia / fungal complex)):
- Symptoms: By far the number-one killer of air plants: the centre turns soft, brown and mushy, the plant loses colour, and the inner leaves pull out with a gentle tug. It follows water left sitting in the crown, especially in cool, still air.
- Treatment & Management: Prevention is the only real cure. After soaking or misting, turn the plant upside down and shake out trapped water, then dry it fully in bright, airy conditions within a few hours. Never leave water pooled in the centre and avoid watering late in the day. A plant that has begun to rot from the base cannot be saved and should be discarded to protect others.
- Fungal Leaf Spot / Rot (various fungi):
- Symptoms: Brown or black soft spots and patches on leaves in overly humid, stagnant conditions.
- Treatment & Management: Increase airflow, water earlier in the day, and avoid crowding. Remove affected leaves; ensure the plant dries quickly after each watering.
Growing Difficulties & Abiotic Problems
- Overwatering & Poor Drying (Rot):
- Cause & Symptoms: Water trapped in the crown or plants kept damp without drying is the leading cause of collapse, showing as a soft, discoloured, foul base.
- Correction Strategy: Soak or mist, then invert and shake out water and dry the plant fully in good light and air within a few hours. Mount so plants can drain; never sit them in water.
- Hard-Water Damage:
- Cause & Symptoms: This genus is sensitive to hard water: dissolved minerals leave white crusty deposits and scorch or brown the leaf tips, and softened (sodium) water is worse still.
- Correction Strategy: Water with rainwater, distilled or reverse-osmosis water; never use chemically softened water. Wipe off any mineral crust and, in hard-water areas, mist rather than soak with tap water.
- Under-Watering & Dehydration:
- Cause & Symptoms: Too little water shows as exaggerated leaf rolling, closing-in of the plant and dry, crispy, curling tips.
- Correction Strategy: Soak plants for 20–60 minutes then dry, or mist frequently, increasing both frequency and humidity in warm, dry or heated air. Xeric silver-leaved types need less; greener types need more.
- Sunburn & Light Problems:
- Cause & Symptoms: Harsh direct sun bleaches or scorches leaves with brown patches, while too little light causes fading, floppy growth and reluctance to flower.
- Correction Strategy: Give bright, indirect light or gentle filtered sun, avoiding hot midday exposure. Acclimatise gradually when moving plants to brighter positions.
What Helps – Products & Tools
Air plants rarely need chemicals – the key ‘products’ are soft water (rainwater, distilled or RO) and good airflow. For the occasional mealybug or scale, reach for a light horticultural oil or insecticidal soap followed by a thorough rinse, plus dilute alcohol on cotton buds for spot-treatment. Yellow sticky traps monitor damp-loving flies. Avoid heavy sprays and never leave residue in the crown.
Species in this genus
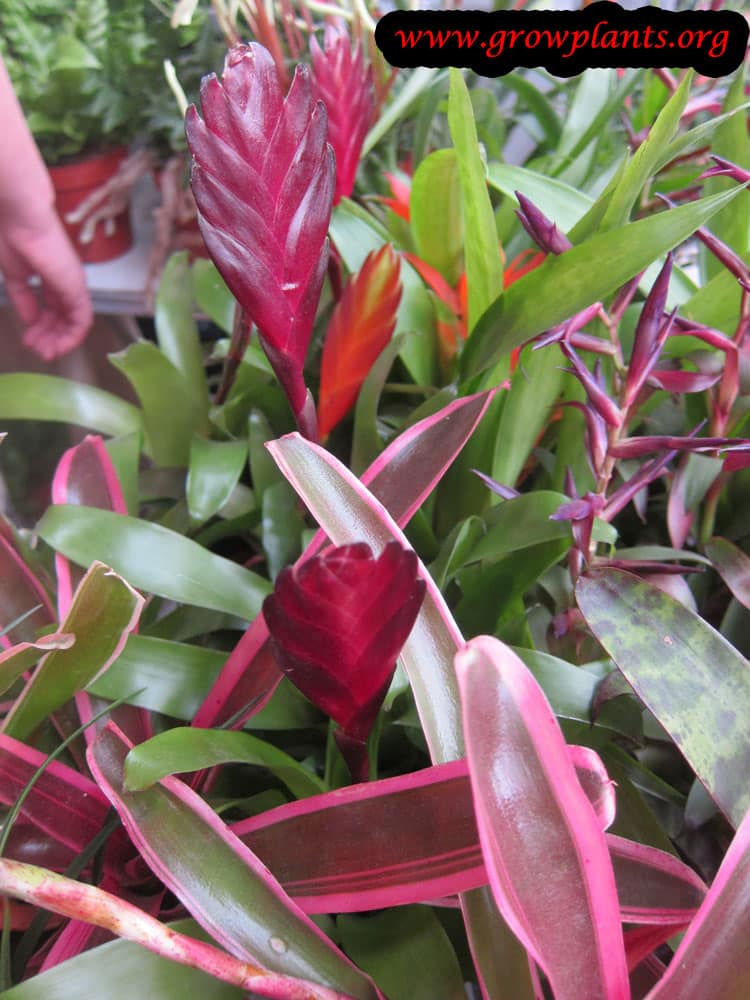
Tillandsia bermejoensis (purple-violet flowers, green-to-gray leaves, 10-35cm), Tillandsia bulbosa (mixed green/purple/pink/red leaves, purple-violet flowers), Tillandsia cyanea (green leaves, purple-violet flowers, 10-35cm), Tillandsia ionantha (leaves mix with green-gray, purple/white flowers), Tillandsia ionantha rubra (green-gray leaves with pink/red, purple/white flowers, 5-15cm), Tillandsia juncea (green leaves, purple-violet flowers, 10-35cm), Tillandsia lautneri (leaves change color near bloom), Tillandsia leonamiana (green-to-gray leaves, purple-violet flowers, 10-35cm), Tillandsia schiedeana (green-to-gray leaves, purple-violet flowers, 10-35cm), Tillandsia Tricolor Melanocrater (mixed green/pink/red/orange leaves).