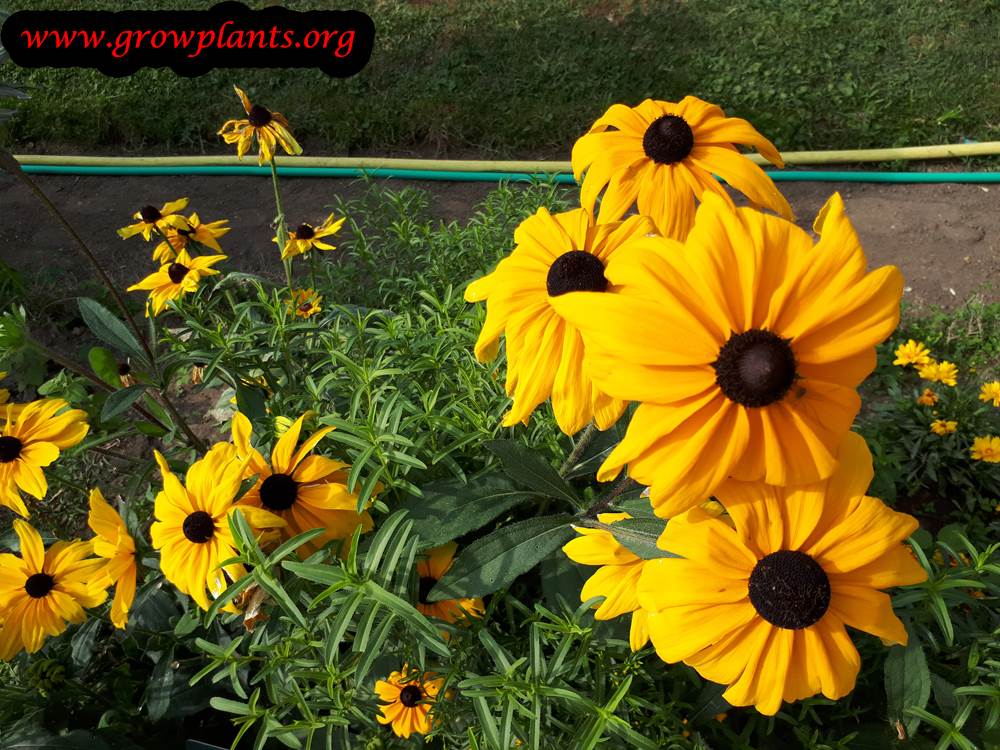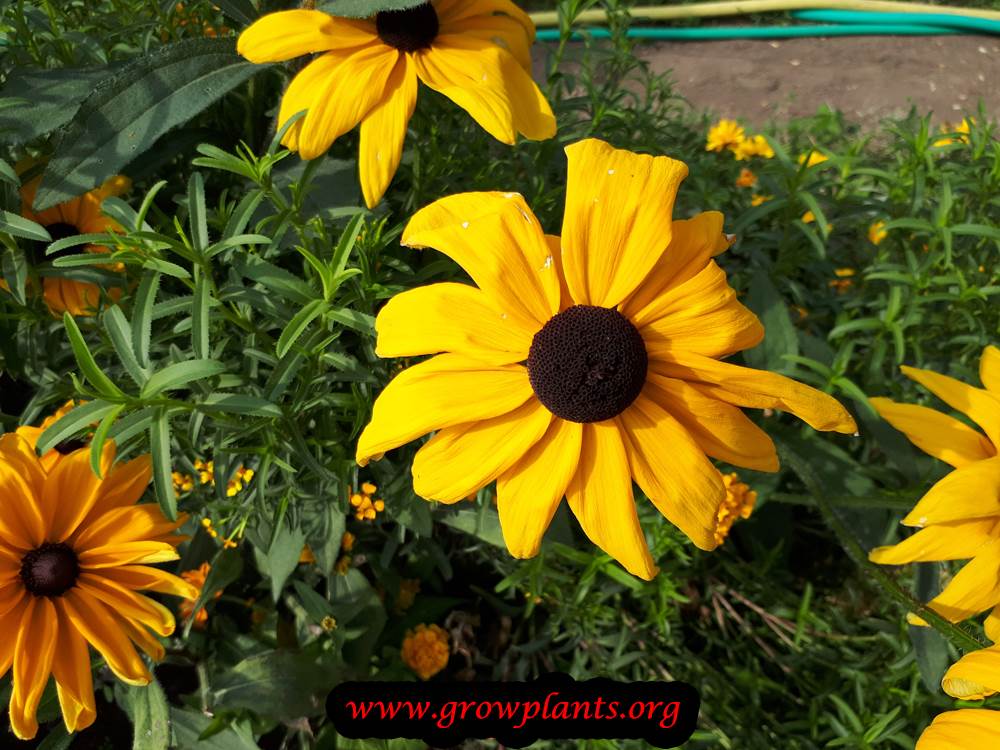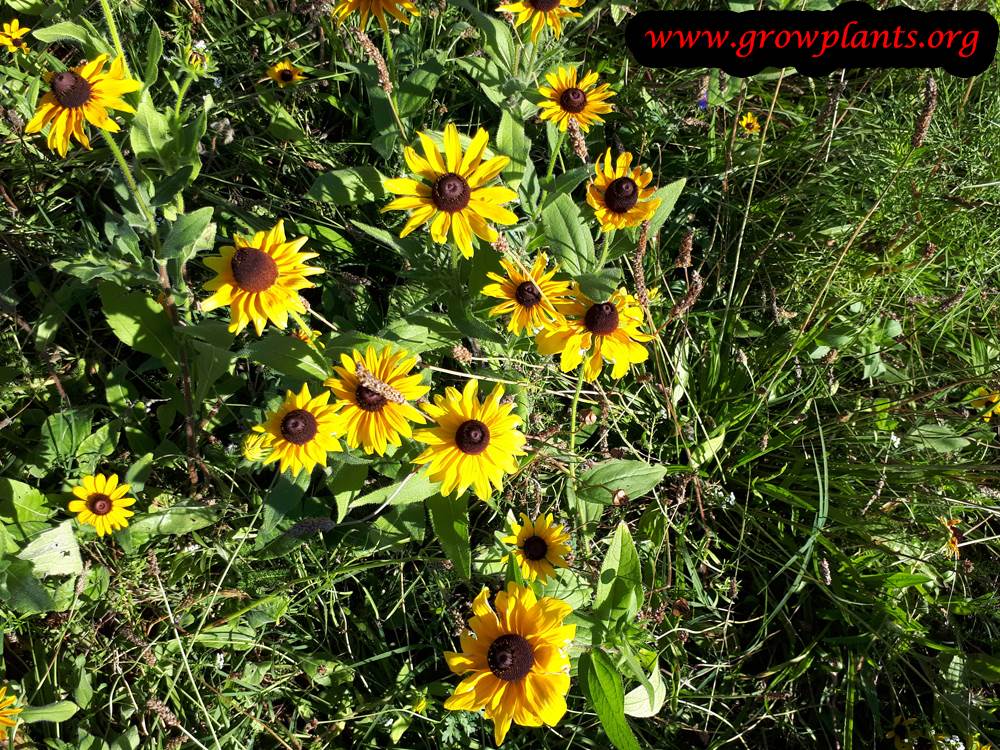

Plant Profile & Key Characteristics
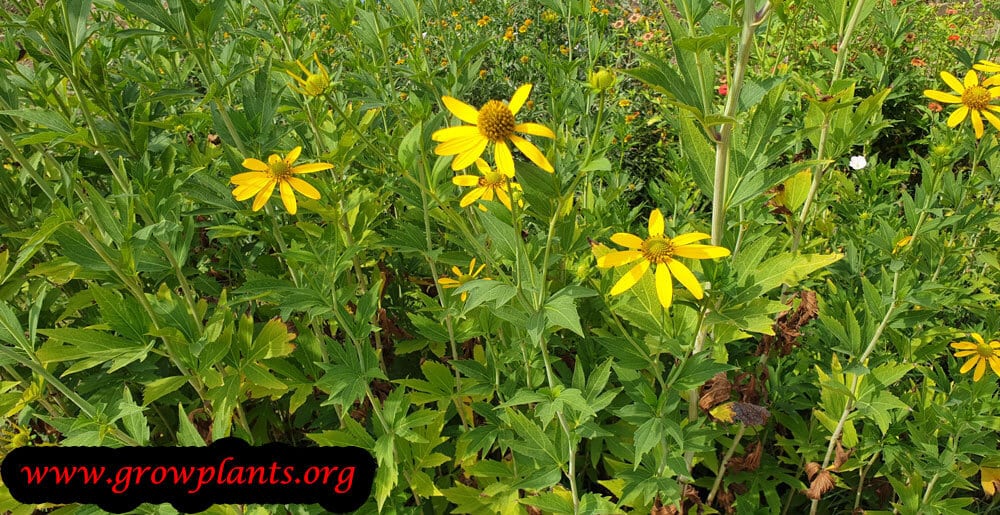
Overview: The coneflower genus of herbaceous daisies, 30-200 cm (12-80 in) tall, grown as perennials or annuals for their bold black-centred blooms. They are prized pollinator magnets and cut flowers.
Quick Specifications
| Specification | Attribute |
|---|---|
| Plant Type / Life Cycle | Herbaceous perennial or annual |
| Foliage Type | Deciduous (evergreen basal rosette in mild areas) |
| Mature Size | 30-200 cm (12-80 in) tall, depending on species |
| Growth Rate | Moderate to fast |
| Root System | Fibrous |
| Toxicity | Non-toxic |
| Hardiness | USDA zones 3-11 depending on species and planting season |
Growth Form & Structure
- Height & Spread: Ranges from compact 30 cm edging kinds to stately 2 m (80 in) border plants; grows well in a 5-15 L container refreshed every couple of years.
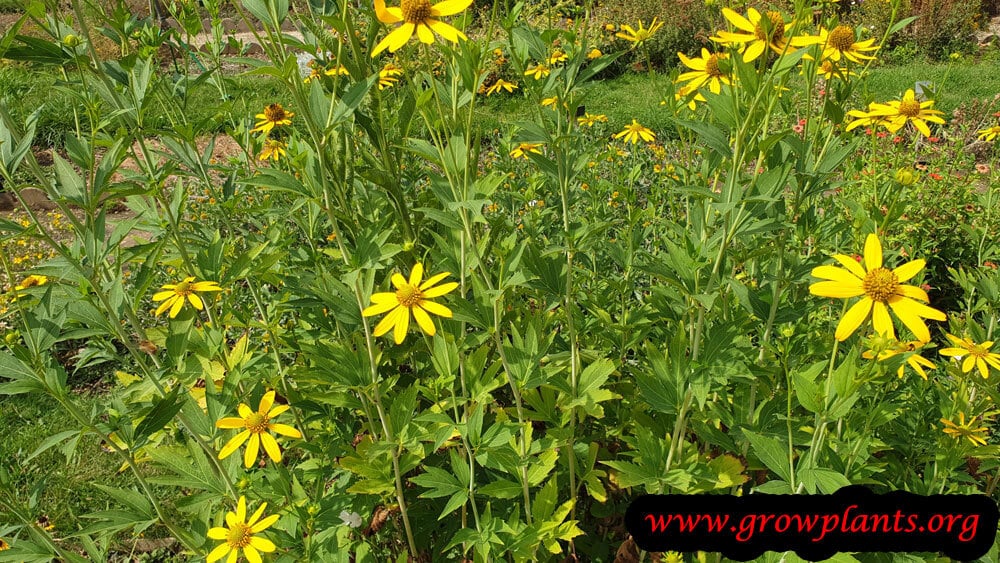
- Growth Habit & Form: Clump-forming herbaceous plants with erect, branching flower stems above a leafy base.
- Lifespan & Maturity: Flower in their first season; many are short-lived perennials that self-seed freely (can be aggressive).
Anatomy & Physical Features
- Leaves & Foliage: Green, elliptic to spoon-shaped leaves that can be deeply lobed, roughly hairy.
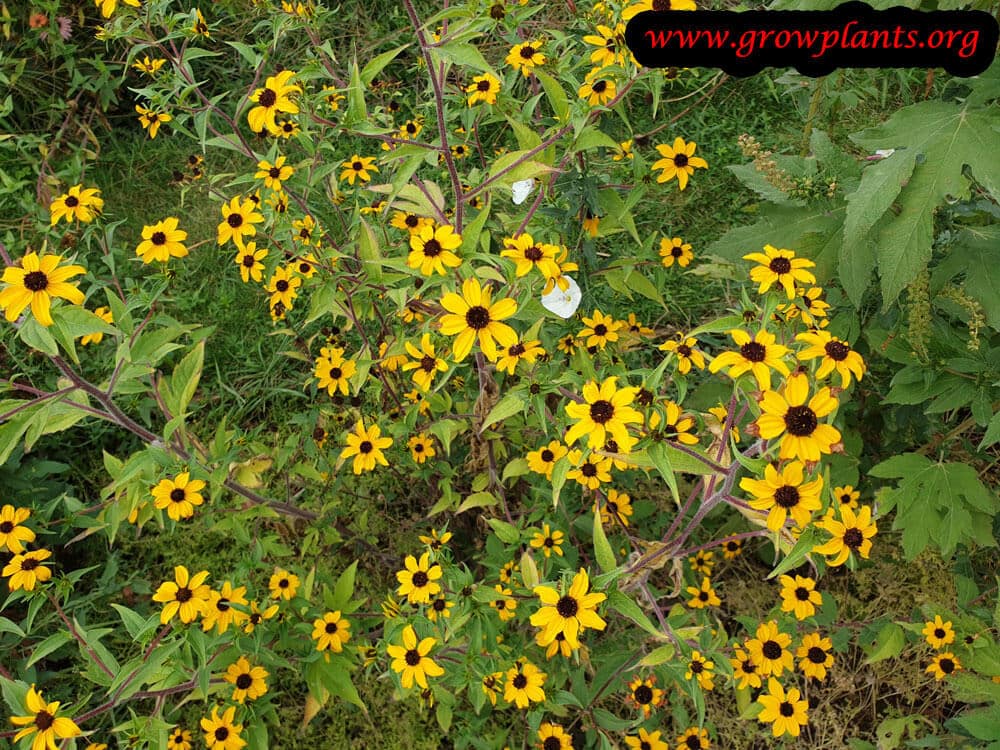
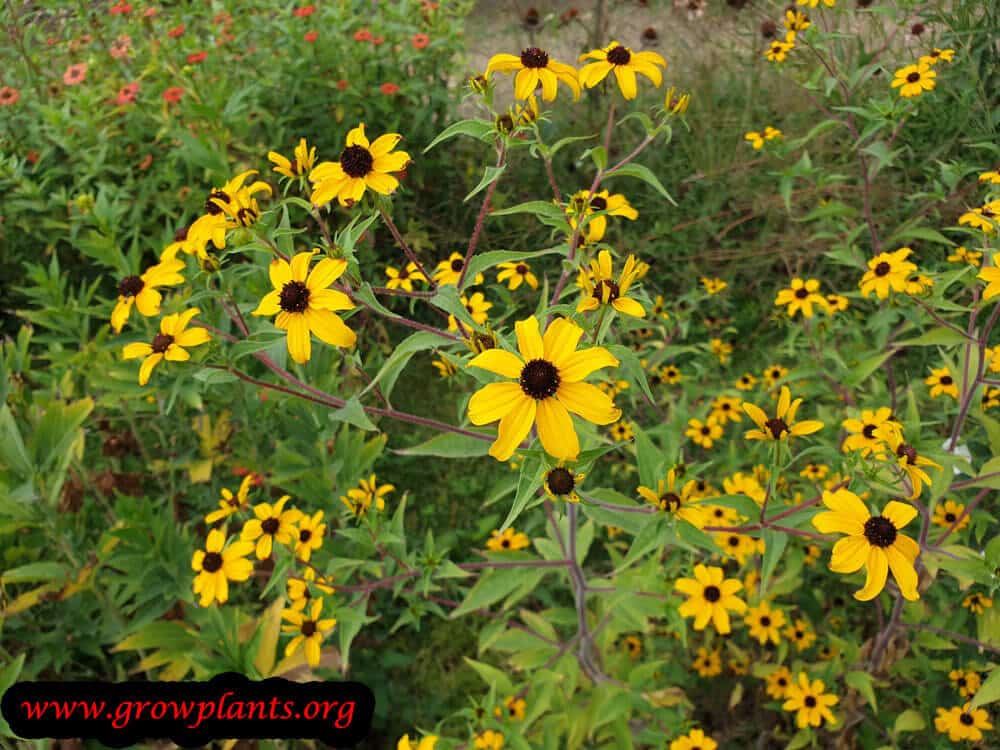
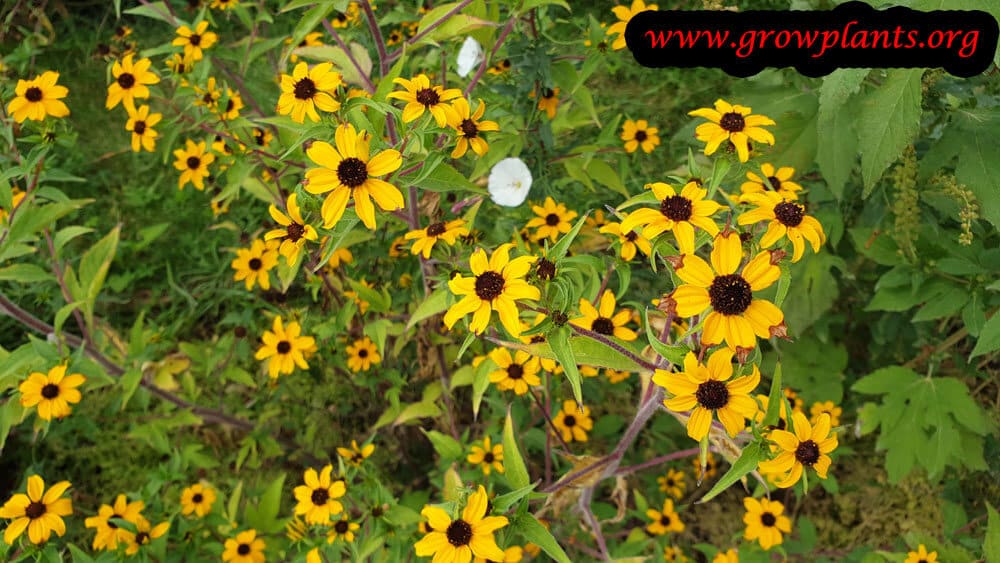
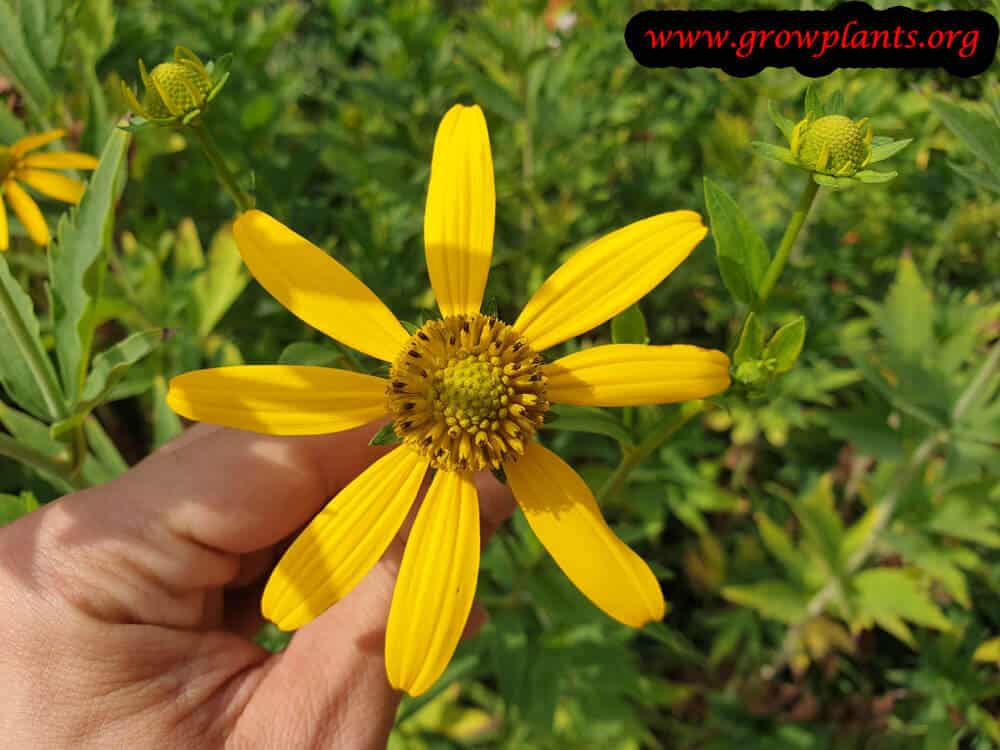
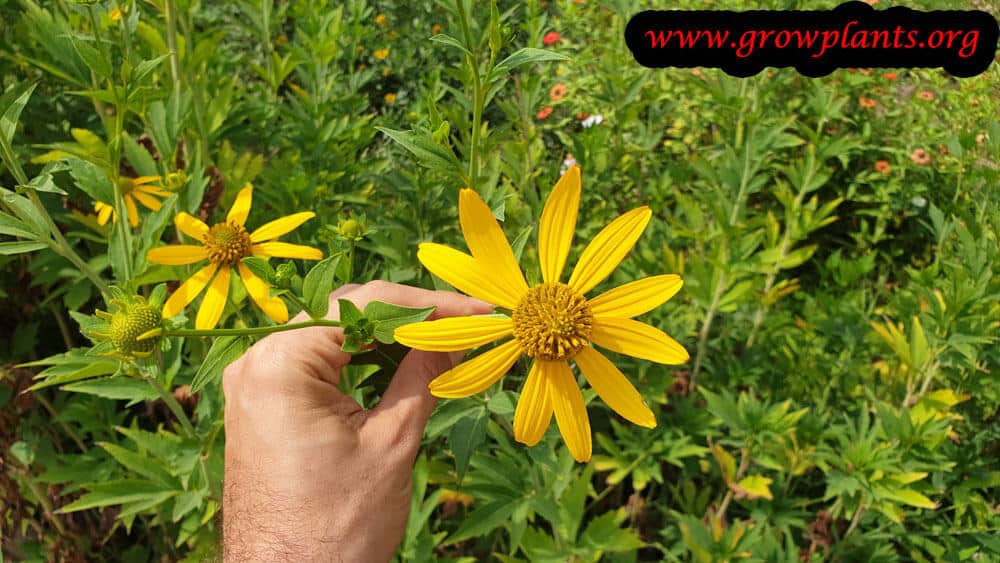
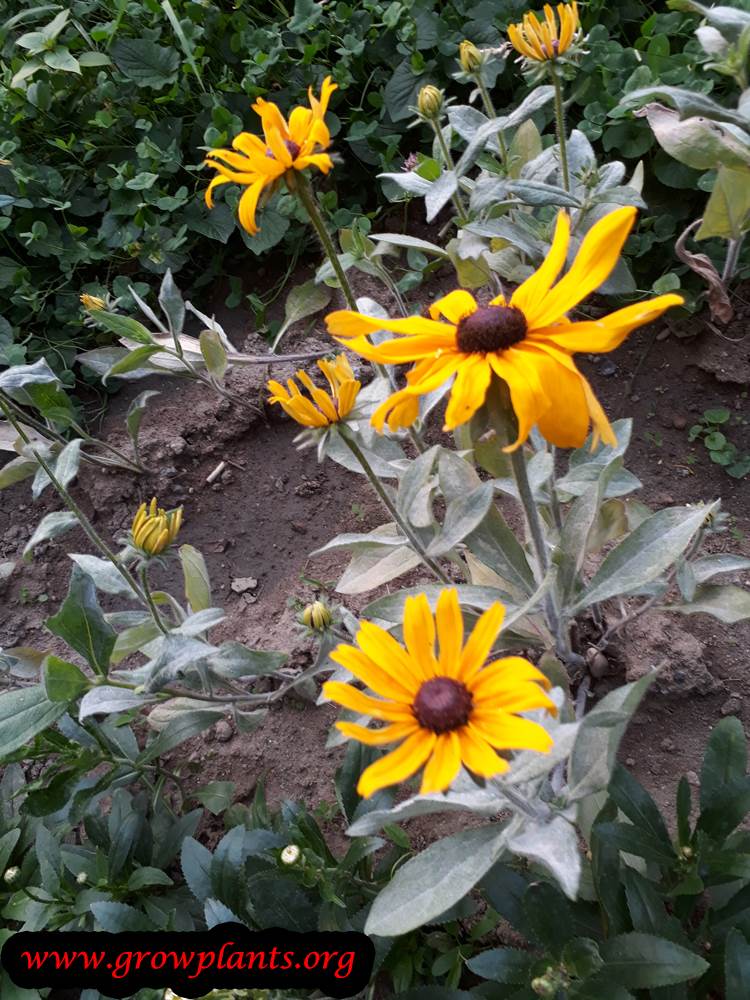
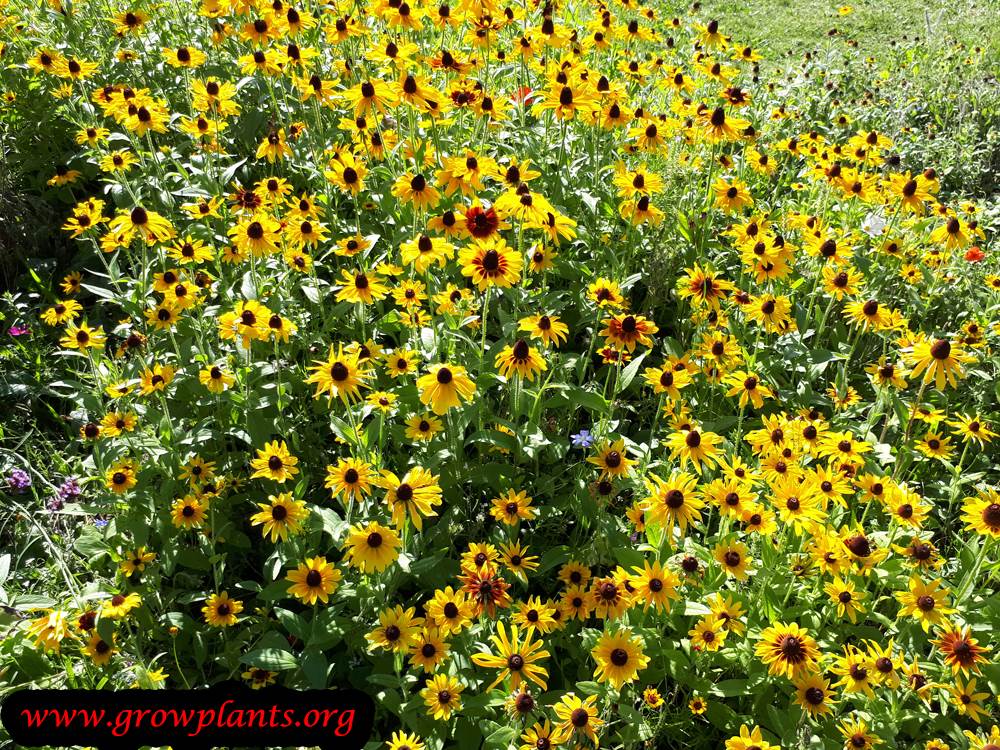
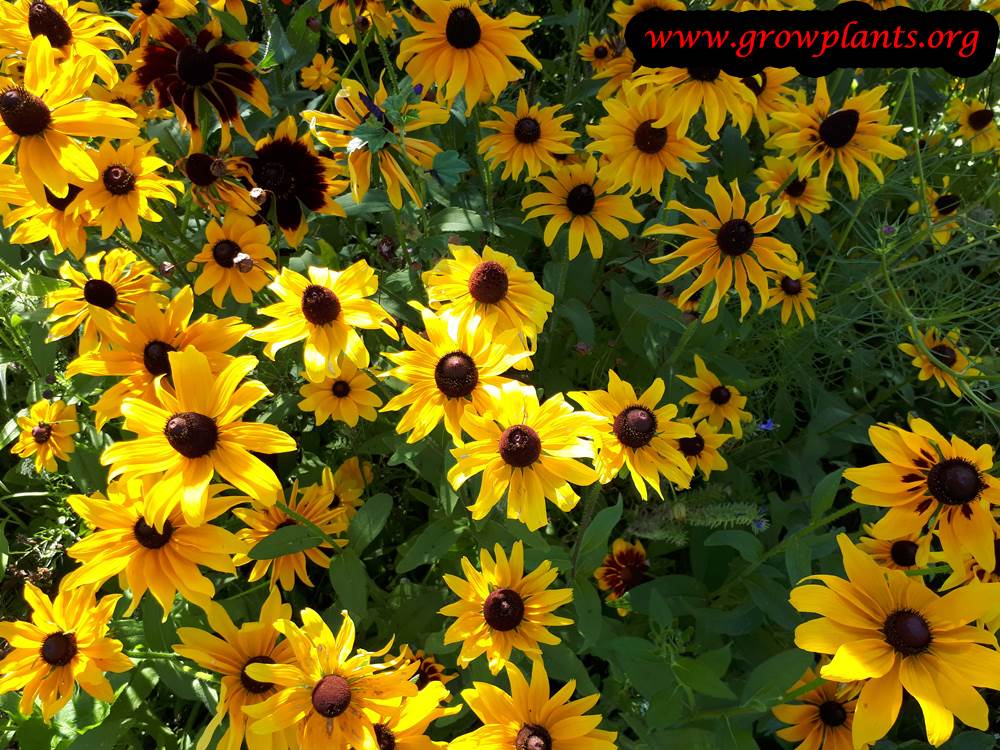
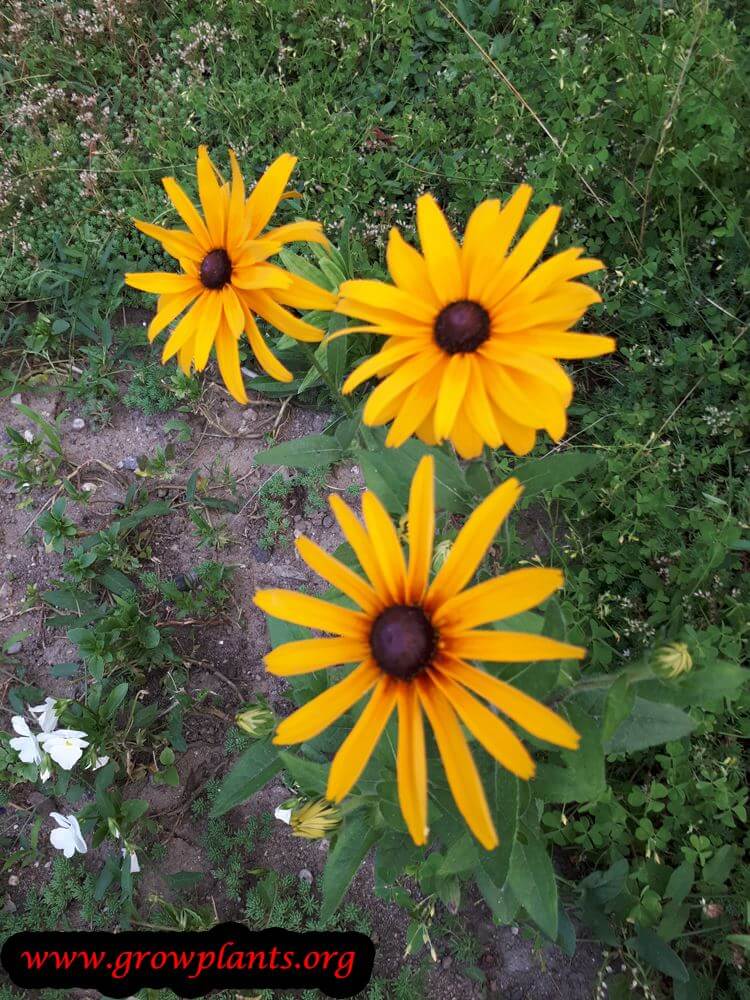
- Flower Characteristics: Daisy flowers in orange, yellow, red or purple, often bicoloured, around a dark central cone.
Primary Uses & Landscape Value
- Functional & Ornamental Roles: Border and prairie-style ornamentals that attract pollinators, excellent cut flowers and container plants; some species used medicinally.
Care Guide: Planting, Soil & Watering
Overview: Rudbeckia (Rudbeckia), the Black-eyed Susan or coneflower, is an easy, sun-loving daisy grown as a perennial or annual for its bright, pollinator-friendly blooms. It performs best in full sun in rich, well-draining soil with steady moisture, and tolerates a range of conditions once established.
Quick Care Requirements
| Requirement | Ideal Condition |
|---|---|
| Planting Season | Warm season – spring after the last frost through summer; autumn to spring in frost-free zones |
| Growth Rate | Moderate to Fast |
| Soil Type | Rich, well-draining; mulched while young |
| Water Need | Moderate to high; keep the soil evenly moist |
Planting & Establishment
- Best Planting Season: Set plants out in spring once the frost has passed and through summer in cooler zones; in warm, frost-free zones plant from autumn through spring. Grown across zones 3-11 depending on whether it is planted in spring or autumn.
- How to Plant:
- Hole Preparation: Dig a hole a little wider than the root ball and loosen the surrounding soil so the roots can spread.
- Soil Amendments: Enrich the backfill with compost and organic matter, and lay a light mulch over the root zone to hold moisture while the young plant establishes.
- Planting Depth: Set the plant at the depth it grew in its pot, keeping the crown level with the soil surface.
- Growth Speed & Expectations: A moderate to fast grower reaching about 30-100 cm; it fills out quickly in rich soil and flowers freely in its first or second season, and can spread vigorously.
Soil, Watering & Drainage Care
- Soil Mix & Drainage Needs: Give it rich, well-ventilated soil with good drainage so the roots never sit wet. In containers use a potting mix or peat soil with perlite or vermiculite in a 5-15 litre pot, and let excess water drain freely.
- Watering Schedule & Technique:
- Young / Newly Planted: Keep the soil evenly moist while seedlings and new plants establish, watering often enough that they never dry out.
- Established: Once established the plants are fairly tough but flower best with regular deep watering that keeps the soil moist but not soggy.
- Seasonal Adjustments: Water more generously through summer heat and blooming, and reduce watering in cool weather and over the dormant winter period.
Climate, Light & Hardiness
Rudbeckia is a sun-loving perennial adapted to a wide range of temperate, Mediterranean, and subtropical climates. It flowers best in full sun and tolerates a broad span of winter cold depending on hardiness zone and planting season.
Quick Climate Specifications
| Climate Zones | Temperate, Mediterranean, subtropical |
|---|---|
| USDA Hardiness Zones | 3–11 for spring planting; approximately 10b–11 for autumn planting |
| Light Conditions | Full sun (best flowering); half shade tolerated with fewer blooms |
Sunlight & Light Exposure
Optimal Light Setup
Full sun produces the most abundant flowering; half shade is workable but reduces bloom quantity.
Direct Sun Requirement
Direct sun is genuinely important here – less sun consistently means fewer flowers.
Temperature Extremes & Hardiness
USDA Hardiness & Regional Limits
Winter-hardy as a perennial across USDA zones 3–11 when planted in spring, giving it time to establish before cold arrives; in warm zones (10b+) it can also be planted in autumn.
Cold Damage & Winter Protection
In cold-winter zones the top growth dies back in winter and regrows from the crown/roots in spring; in mild climates it can remain evergreen.
Frost Sensitivity
Seedlings and fresh spring sowings are frost sensitive and should go outdoors only after the last frost; established plants tolerate winter freezing within their hardiness range.
Wind, Humidity & Microclimate
Microclimate Recommendations
Open, sunny beds with good air movement suit this plant; in the hottest, driest climates a little afternoon shade can help prevent stress.
Growing in Pots, Balconies & Indoors
Rudbeckia (coneflower / black-eyed Susan) is a bright, full-sun flowering perennial (30-200 cm / 12-80 in depending on cultivar) that the grower does not rate as a houseplant – it needs strong sun to flower, so it belongs outdoors. It makes a cheerful, long-flowering container plant for a sunny patio or balcony.
Quick Details
- Container Size: 5-15 L (1.5-4 gal) depending on the cultivar
- Indoor Suitability: Not a houseplant – it needs full sun to bloom
- Best Spot: Full sun (light shade is tolerated but means fewer flowers)
- Soil & Drainage: Well-aerated, well-drained mix rich in organic matter
- Watering in Pots: Keep the soil moist and let excess drain away; average needs
Indoors & On the Windowsill
- Not a houseplant: The grower marks it “No” for indoors – in a room the light is too weak and it will grow leggy and shy of flower. Even the sunniest sill rarely gives enough light for a good display.
- Overwintering: As a hardy perennial it dies back and rests over winter; in very cold areas a potted plant can be moved to a sheltered spot to protect the roots from hard freezing.
On a Balcony or Patio
- Light & wind: Give it the sunniest position for the most flowers. Taller cultivars can flop or catch the wind, so stake them and shelter exposed spots. Walls and paving reflect heat and dry pots fast – check moisture in summer.
- Practicalities: A reliable, colourful patio pot; deadhead to keep it flowering and to curb its aggressive self-seeding.
Choosing the Pot, Soil & Long-Term Care
- Pot & drainage: A 5-15 L pot with strong drainage holes; the grower advises against using a saucer under the pot, so water can drain freely and roots never sit wet.
- Potting mix: Well-ventilated and free-draining, rich in organic matter – potting mix or peat with perlite or vermiculite.
- Feeding: Feed through the growing season, as potted plants leach nutrients faster; avoid excess.
- As a perennial: Every two years, swap the soil and prune back part of the roots and the top growth to keep it vigorous.
Grower’s Container Tip
- No saucer, refresh every two years: The grower prefers no saucer under the pot so water runs straight through, and renews the soil while root- and top-pruning every two years when growing it on as a perennial.
Fertilizing & Feeding
A moderate feeder: steady balanced feeding through the growing season, paired with rich, organic-matter soil, supports the fast, floriferous growth this plant is known for.
Quick Fertilizing Specs
| Feeding Level | Moderate feeder |
|---|---|
| Main Nutrient Priority | Balanced overall, with adequate nitrogen to drive vigorous growth |
| Best Feeding Period | From spring growth through the summer-to-autumn bloom season |
| Organic Options | Compost or well-rotted organic matter worked into the bed, refreshed with mulch |
| Micronutrients | Usually supplied by rich, organic-matter soil and a complete fertilizer; correct specific issues only when diagnosed |
| Soil pH | Tolerates a wide range; performs best in fertile, well-drained soil |
Feeding by Growth Stage
Spring growth and establishment
Build vigorous foliage and a strong root system ahead of the bloom season.
| Nutrient direction | A balanced complete fertilizer with adequate nitrogen to support fast leafy growth. |
|---|---|
| Timing | As new growth emerges in spring and through early stem and leaf development. |
| Frequency | A light feeding as growth resumes, worked in alongside compost or rich organic matter. |
| Fertilizer types | A balanced complete garden fertilizer, Compost or well-rotted organic matter |
| Precautions | Keep feeding moderate on young clumps; overly rich feeding on soft young growth can encourage floppy stems. |
Bud set and main bloom
Sustain the plant through heavy summer-to-autumn flowering, which pollinators rely on.
| Nutrient direction | Continue a balanced feeding approach; adequate nitrogen alongside other nutrients supports strong bloom rather than a phosphorus-heavy product. |
|---|---|
| Timing | As buds form and through the main summer-to-autumn flowering flush. |
| Frequency | A light, steady feeding through the bloom season, tapering off as flowering slows. |
| Fertilizer types | A balanced complete garden fertilizer, Compost worked around the root zone |
| Precautions | Avoid heavy nitrogen-only feeding, which can push leafy growth at the expense of flowers and reduce sun penetration to lower stems. |
Repeat bloom after deadheading
Support renewed budding after spent flowers are cut back, keeping the plant productive later in the season.
| Nutrient direction | A light, balanced follow-up feeding to help fuel another round of buds. |
|---|---|
| Timing | After deadheading spent flower stems, while the growing season is still active. |
| Frequency | A single light feeding is usually enough to support renewed budding; minimal feeding is needed beyond that. |
| Fertilizer types | A balanced complete garden fertilizer, applied lightly |
| Precautions | Do not overdo follow-up feeding late in the season, as it can push soft growth that is vulnerable as conditions turn cooler. |
Autumn dieback and winter rest
Let the plant harden off and go dormant naturally as top growth is cut back.
| Nutrient direction | None – withhold fertilizer while the plant is dormant. |
|---|---|
| Timing | From autumn dieback and pruning through winter dormancy. |
| Frequency | No feeding at this stage. |
| Fertilizer types | No feeding at this stage – allow the plant to rest until spring growth resumes |
| Precautions | Do not fertilize dormant clumps; wait for active spring growth before resuming feeding. |
Nutrient Deficiency Signs & Corrections
Older, lower leaves turn pale green to yellow and overall growth and flowering slow down.
| Possible causes | low available soil nitrogen, nitrogen leaching from heavy rain or watering, thin, low-organic-matter soil |
|---|---|
| Appears first on | older, lower leaves |
| What to check | recent feeding history, soil organic matter, watering and drainage |
| Possible correction | Apply a balanced fertilizer with adequate nitrogen and build soil organic matter with compost. |
Leaf edges show yellowing or scorch while stems weaken and flowering becomes sparse or undersized.
| Possible causes | low soil potassium, sandy or leaching-prone soil, an imbalanced, nitrogen-heavy feeding history |
|---|---|
| Appears first on | older leaf margins |
| What to check | recent feeding balance, soil texture and drainage, stem strength and flower size |
| Possible correction | Switch to a balanced complete fertilizer rather than a nitrogen-only product, and improve soil organic matter. |
New leaves emerge pale yellow with the veins remaining distinctly green.
| Possible causes | high soil pH limiting iron availability, waterlogged or compacted soil, root stress from poor drainage |
|---|---|
| Appears first on | newest leaves |
| What to check | soil pH and drainage, recent watering patterns, root health |
| Possible correction | Correct drainage issues and apply a chelated iron product per its label if the soil is alkaline. |
Pruning, Training & Seasonal Maintenance
Rudbeckia (Black-Eyed Susan, Coneflower) is a herbaceous perennial or annual that tolerates frequent cutting since all flowering happens on the current season’s growth – there is no persistent wood to protect. The main task is deadheading spent daisy-form flowerheads through the bloom season, which is worth doing both to extend flowering and because, as this genus grows tall and top-heavy, spent upper flowerheads shade out the lower part of the plant; a full cutback of the dead top-growth follows once the plant finishes for the year. Given its documented aggressive/spreading habit, periodic division also functions as a size-control pruning tool.
Quick Pruning & Maintenance Specs
| Pruning Tolerance | High – herbaceous, regrows freely from the base |
| Primary Pruning Window | Ongoing deadheading through Summer/Autumn bloom |
| Secondary Maintenance Window | Autumn/Winter cutback of dead top-growth |
| Typical Frequency | Deadhead every 1–2 weeks during bloom; one full cutback per year |
| Main Objective | Prolong bloom, keep the lower plant from being shaded out, control spread |
| Young Plant Priority | Pinch young stems once to encourage bushier, sturdier growth before bloom |
| Mature Plant Priority | Deadhead continuously; divide crowded clumps every few years |
| Best Tool Type | Precision snips / bypass secateurs |
| Avoid Heavy Pruning During | Early establishment after transplanting |
Pruning by Plant Age & Size
Newly Established
Avoid heavy pruning while the plant settles in; a single early pinch of the growing tip on a young plant can encourage sturdier, more branched growth that carries more flowers and is less prone to flopping later.
Young / Formative
No formal training system is used; pinching is the only shaping tool, and it is optional – most value comes from good spacing and sun rather than cutting.
Mature / Established
Ongoing deadheading is the main task; because upper flowers can shade the lower part of the plant and reduce bloom there, cutting spent flowerheads back promptly keeps the whole plant productive, not just the top.
Seasonal Pruning Schedule
Summer Canopy Management
Objective: sustain flowering and keep sun reaching the lower plant. Remove individual spent flowerheads, cutting the stem back to the next bud or leaf pair. Do not remove healthy, still-opening buds. Expected response: continued lateral flower production through the season. Flowering impact: prompt deadheading measurably extends bloom; leaving spent heads in place both stops rebloom and increases self-seeding of an already aggressive spreader.
Dormant/Winter
Objective: clean up for the dormant season. Remove dead top-growth once flowering has finished and foliage has died back. Do not cut into the crown itself. Expected response: fresh basal growth returns from the crown/roots in spring. Note: leaving some seedheads standing through early winter is an option for birds/winter interest where self-seeding spread is not a concern, but should be weighed against the plant’s documented aggressive habit.
Structural Pruning & Training
The main structural issue is height and flopping in taller cultivars/wild forms; deadheading and, where needed, an early-season pinch both help keep growth sturdier, and dividing crowded clumps every few years both renews vigor and controls the plant’s aggressive spread.
Special Growth to Remove
Spent flower stems are the primary growth to remove through the season; dead leaves and old flowering stems are removed at the seasonal cutback; given the plant’s noted aggressive habit, unwanted self-sown seedlings and excess divisions should also be removed to keep it contained.
Container & Small-Space Pruning
In containers, deadhead promptly to keep the plant compact for the pot, and divide and repot every couple of years since roots fill a container faster than an in-ground planting and crowding reduces flowering.
Tools
Precision snips or bypass secateurs for deadheading and stem cutback – no saw or lopper is needed on this herbaceous plant.
Tool Hygiene & Disease Risk
Routine – ordinary clean, sharp tools are sufficient; no major transmissible pruning-borne disease is documented, though removing any mildew-affected foliage promptly helps limit spread in crowded plantings.
Cut Placement & Technique
Deadhead by cutting the flowering stem back to the next side bud or leaf node so a new flower can form there, rather than just snapping off the flowerhead alone.
Heavy Pruning & Rejuvenation
Tolerated well: the whole plant can be cut back hard to the base once it finishes flowering for the season, and an overcrowded clump can be lifted and divided to rejuvenate vigor and control its aggressive spread.
Post-Pruning Care
Water as normal after deadheading or the seasonal cutback; no extra feeding is needed simply for deadheading, though a divided clump benefits from being replanted into refreshed, organically rich soil as the facts describe for planting.
Common Pruning Mistakes
Leaving spent flowerheads on the plant, which reduces rebloom and increases self-seeding of an already aggressive grower; never dividing a crowded clump, which reduces flower size and vigor over time.
When NOT to Prune
Avoid heavy cutback or division immediately after transplanting, while the plant is still establishing.
Recommended Tools (by task)
- precision_snips – deadheading individual spent flowerheads through the bloom season.
- bypass_secateurs – the full autumn/winter cutback of dead top-growth.
Pruning Troubleshooting
| Problem | Possible Cause | What to Check | Corrective Action |
| Fewer new flowers as the season goes on | Spent flowerheads left on the plant instead of deadheaded | Presence of faded, seed-forming flowerheads | Deadhead promptly, cutting back to the next bud or leaf node |
| Lower leaves sparse or bloom concentrated only at the top | Upper flowers/foliage shading the lower plant | Density of upper growth and flowerhead buildup | Deadhead regularly to open the plant to sun as recommended |
| Plant spreading beyond its bed | Self-seeding from unremoved spent flowers, or clump expansion | Volunteer seedlings nearby and clump size | Deadhead before seed drops; divide and remove excess growth |
Propagation Guide
Rudbeckia is most commonly and reliably started from seed, which germinates readily and stays close to the species type; named cultivars are best kept true by division or stem cuttings taken from vigorous new growth. Propagation is generally easy for both the annual and perennial types grown under this genus.
Quick Propagation Specs
| Best Propagation Method | Seed (species types); division or stem cuttings for named cultivars |
| Alternative Methods | Stem cuttings; clump division (perennial types) |
| Propagation Difficulty | Easy |
| Seed True-to-Type | Usually true-to-type for the species; cultivar-dependent for named selections |
| Vegetative True-to-Type | Yes |
| Best Propagation Season | Spring – sow after the last frost; take cuttings or divide before flowering begins |
| Seed Germination Time | 1–3 weeks |
| Cutting Rooting Time | Typically a few weeks |
| Germination Temperature | 20–26°C (68–80°F), best around 25°C (77°F) |
| Seed Sowing Depth | 0.5–1 cm (0.25–0.5 in) |
Growing from Seed
Seed Handling & Viability
Store seed in a dry, dark place at room temperature until sowing.
Sowing Season
Sow in spring after the last frost through summer in hardiness zones 3–10a (start indoors in late winter for an earlier start); in zones 10b–11a sow from autumn into spring; in zone 11b and warmer, sowing is possible year-round. Where grown as an annual, start seed indoors in winter and move seedlings outdoors after the last frost.
Sowing Depth & Orientation
Sow shallowly, about 0.5–1 cm (0.25–0.5 in) deep, spacing seedlings roughly 15×20 cm (6×8 in) apart.
Germination Conditions
Keep the soil moist and the tray or bed in full sun; ideal germination temperature is 20–26°C (68–80°F), with 25°C (77°F) cited as best.
Germination Time
1–3 weeks.
Seedling Care
Keep soil moist in full sun; growth is best once temperatures are above about 20°C (68°F).
Stem Cuttings
Cutting Type
Softwood stem cuttings taken from actively growing stems that show new buds.
Best Timing
Spring, before the plant begins to bloom.
Cutting Preparation
Take cuttings from stems that are actively putting out new growth (where buds are forming) rather than older, hardened stems.
Rooting Setup
Pot into moist, well-drained soil and keep consistently moist while roots establish.
Rooting Hormone
Not required, but a rooting hormone may help speed and even out rooting.
Rooting Time
Typically a few weeks under warm, humid conditions.
Division, Offsets, Pups & Suckers
Perennial Rudbeckia types form spreading clumps (the site notes this genus can be aggressive in the garden) and are easily multiplied by clump division in spring, lifting and splitting the crown into sections that each keep roots and shoots attached. Division is a fast, reliable way to bulk up or rejuvenate an established clump and reproduces the parent plant exactly.
Bloom & Flower Guide
Quick Details
- Bloom Season: Summer into autumn (spring in warmer climates)
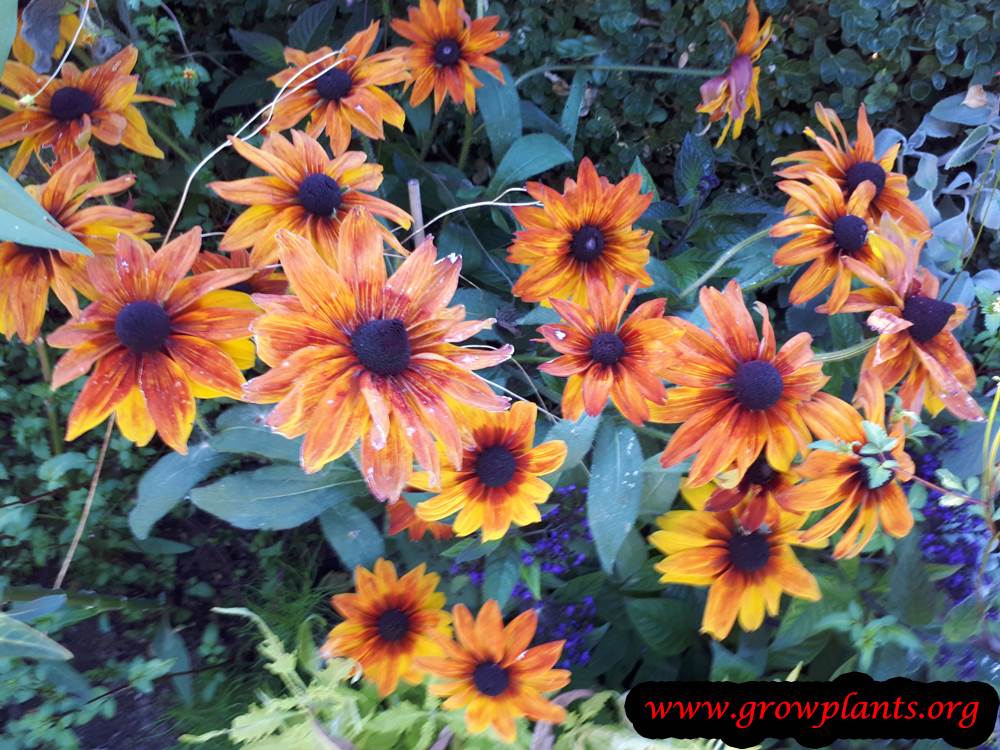
- Flower Appearance: Large daisy-like flowers with rings of ray petals – yellow, orange, red, purple or bicoloured – around a dark central cone, sometimes banded in contrasting colours
- Edibility: Ornamental only – grown for display and cutting, not for eating
Detailed Blooming Overview
Rudbeckia (black-eyed Susan, coneflower) is one of the mainstays of the late-season garden, flowering generously from summer into autumn. Each bloom is a classic daisy: a ring of ray petals around a raised dark central disk, and in many kinds the colour shades from a deeper centre out to lighter tips or runs in bands. It is a superb plant for pollinators and for cutting.
Flower Characteristics
- Daisy-shaped flowers in yellow, orange, red or purple, often with a near-black central cone
- Some kinds show banded or graded colour from centre to petal tip
- A strong draw for bees and butterflies, and long lasting in the vase
Bloom Care & Thinning
- Managing the bloom: deadhead regularly to keep new flowers coming; leaving some seed heads at the end of the season feeds birds and can self-sow
- Site: full sun and average, well-drained soil give the most flowers
- Pollination: the open flowers are a reliable source of nectar for bees and butterflies
Bloom Health & Protection
- Powdery mildew: in humid, crowded plantings a white film can coat the foliage and buds; better spacing and airflow help, and a sulfur-based fungicide is an option if it takes hold
Pests, Diseases & Troubleshooting
Overview: Rudbeckia (coneflower) (Rudbeckia) is a tough, largely trouble-free perennial daisy whose main weaknesses are foliar fungal diseases in humid, crowded plantings rather than insects; sap-feeding pests and leaf-chewers are usually minor. Applied at genus level, this covers the shared profile of black-eyed Susans and coneflowers. Grow it in full sun with good spacing and airflow, water at the base, and clear old foliage each dormant season – cultural hygiene prevents most problems before any spray is needed.
Quick Troubleshooting Overview
| Issue / Pest | Main Symptom | Primary Solution |
|---|---|---|
| Aphids | Sticky, curled shoot tips and buds | Water jet, beneficial insects, insecticidal soap |
| Slugs & snails | Ragged holes in seedlings and low leaves | Hand-pick at night, traps, grit/iron-phosphate baits |
| Powdery mildew | White powdery film on leaves | Space plants, improve airflow, sulphur if needed |
| Septoria / angular leaf spot | Dark brown-black spots spreading up the plant | Remove infected leaves, avoid overhead water |
| Rust | Orange-brown pustules on leaf undersides | Remove infected foliage, sanitation |
| Aster yellows | Green, deformed, tufted flowers | Remove and destroy whole affected plants |
Common Pests & Management
- Aphids (Aphis / Myzus spp.):
- Symptoms: Small green, black or yellow insects massing on tender shoot tips, buds and flower stems, causing distorted growth, sticky honeydew and sooty mould; they can also spread viruses.
- Prevention & Control: Dislodge with a water jet and support lady beetles, lacewings and hoverflies; avoid excess nitrogen that fuels soft growth. Treat stubborn colonies with insecticidal soap or a light horticultural oil on affected tips.
- Slugs and snails (Deroceras / Cornu spp.):
- Symptoms: Irregular ragged holes chewed in seedlings, basal leaves and flower stems, with slime trails visible in the morning; young plants can be stripped overnight.
- Prevention & Control: Hand-pick after dark, remove hiding places such as debris and boards, and set beer or shelter traps. A ring of grit, or iron-phosphate slug bait, protects vulnerable young plants; encourage ground beetles, frogs and birds.
- Leafminers (Liriomyza / Nemorimyza posticata):
- Symptoms: Pale, winding or blotchy tunnels within the leaf where larvae mine between the surfaces; heavy mining reduces vigour and looks unsightly but rarely kills established plants.
- Prevention & Control: Pick off and destroy mined leaves as they appear, keep plants vigorous, and conserve the tiny parasitic wasps that control miners by avoiding broad-spectrum insecticides. Floating row cover on young plants excludes egg-laying flies.
- Cucumber beetles / chewing beetles (Diabrotica / Acalymma spp.):
- Symptoms: Adults chew ragged holes in leaves and petals and may scar flowers; spotted and striped beetles are the usual culprits on late-summer blooms.
- Prevention & Control: Hand-pick beetles into soapy water in the cool of the day and use yellow sticky traps to monitor. Healthy, well-grown plants tolerate light feeding; reserve an approved botanical spray for heavy infestations and apply in the evening to spare pollinators.
- Sawfly larvae (Tenthredinidae):
- Symptoms: Caterpillar-like larvae feed in groups on leaf margins, chewing tissue back to the veins and skeletonising foliage in patches.
- Prevention & Control: Hand-pick larvae or dislodge with a water jet, and encourage birds and predatory insects. Spot-treat serious outbreaks with insecticidal soap; the caterpillar-specific Bt does not work on sawflies, which are not true caterpillars.
Diseases & Fungal Issues
- Powdery mildew (Golovinomyces / Erysiphe spp.):
- Symptoms: A white to grey powdery coating on upper leaf surfaces and stems, worst in late season, crowded plantings and damp nights with dry days; leaves may yellow and die back.
- Treatment & Management: Space and thin plants for airflow, site in full sun, and avoid overhead watering; remove badly affected leaves. Where needed, apply sulphur, potassium bicarbonate or a light horticultural oil, and choose mildew-tolerant selections.
- Septoria / angular leaf spot (Septoria rudbeckiae):
- Symptoms: Numerous small dark brown to black angular spots begin on lower leaves and spread upward in warm wet weather, causing leaves to yellow, brown and drop – a very common blemish on black-eyed Susan.
- Treatment & Management: Remove and destroy spotted leaves and all debris at season’s end, water at the base only, and mulch to stop soil splash. Improve spacing; a copper or approved fungicide protects new growth in wet climates but sanitation is the main tool.
- Rust (Coleosporium / Puccinia spp.):
- Symptoms: Orange to reddish-brown powdery pustules erupt on leaf undersides with yellow flecks above; heavy rust yellows and withers foliage.
- Treatment & Management: Pick off and destroy infected leaves promptly, avoid wetting foliage, and open up crowded clumps. Sulphur or an approved fungicide gives partial protection where rust is a recurring problem.
- Downy mildew (Plasmopara / Peronospora spp.):
- Symptoms: Pale yellow blotches on upper leaves with a grey-purple fuzzy growth on the undersides in cool, wet conditions; differs from powdery mildew, which coats the upper surface.
- Treatment & Management: Improve drainage and airflow, avoid overhead irrigation, and remove affected leaves. Copper-based products help in persistently wet weather; resistant plants and good spacing are the durable fix.
- Aster yellows (phytoplasma (vectored by leafhoppers)):
- Symptoms: Flowers turn green, deformed and tufted, growth is stunted and yellowed, and blooms fail – an incurable phytoplasma spread by leafhoppers.
- Treatment & Management: There is no cure: dig out and destroy affected plants promptly to stop spread, control leafhoppers, and remove weedy reservoirs such as wild asters and plantain around the bed.
- Botrytis grey mould (Botrytis cinerea):
- Symptoms: Fuzzy grey-brown rot on faded flowers, buds and soft stems in cool, wet, crowded conditions; spreads from dying tissue into healthy growth.
- Treatment & Management: Deadhead and remove faded flowers and debris, improve airflow and avoid overhead watering. Good hygiene usually suffices; a protectant fungicide is rarely needed outdoors.
Growing Difficulties & Abiotic Problems
- Root and crown rot from wet soil:
- Cause & Symptoms: Plants wilt, blacken at the base and collapse in heavy, poorly drained or overwatered soil where crown and root fungi thrive.
- Correction Strategy: Plant in free-draining soil or raised beds, water deeply but let the surface dry between waterings, and avoid mulch piled against the crown. Divide congested clumps to renew vigour.
- Flopping / leggy stems:
- Cause & Symptoms: Tall stems flop and flowering is sparse in too much shade, over-rich soil or excess nitrogen.
- Correction Strategy: Grow in full sun, keep feeding modest, and pinch or cut back early for a bushier, self-supporting habit; stake tall cultivars if needed.
- Leaf scorch and wilting in heat/drought:
- Cause & Symptoms: Leaf edges brown and flowers fade quickly during prolonged heat and dry soil.
- Correction Strategy: Mulch to conserve moisture and water deeply during dry spells; deadhead to prolong bloom and reduce stress.
- Short-lived clumps / self-sown spread:
- Cause & Symptoms: Some black-eyed Susans are short-lived perennials or biennials and either fade out or self-seed aggressively after a few years.
- Correction Strategy: Divide every two to three years to renew clumps, deadhead to limit self-seeding where unwanted, and leave a few seed heads for birds and re-sowing where more plants are welcome.
What Helps – Products & Tools
Useful helpers here are insecticidal soap or light horticultural/neem oil for aphids, mites and beetles; iron-phosphate slug bait and grit for slugs and snails; yellow sticky traps for monitoring; and fungicides – sulphur or potassium bicarbonate for powdery mildew and rust, copper for leaf spot and downy mildew – used only when hygiene and spacing are not enough. Apply oils and sprays in the evening to protect pollinators.