Plant Profile & Key Characteristics
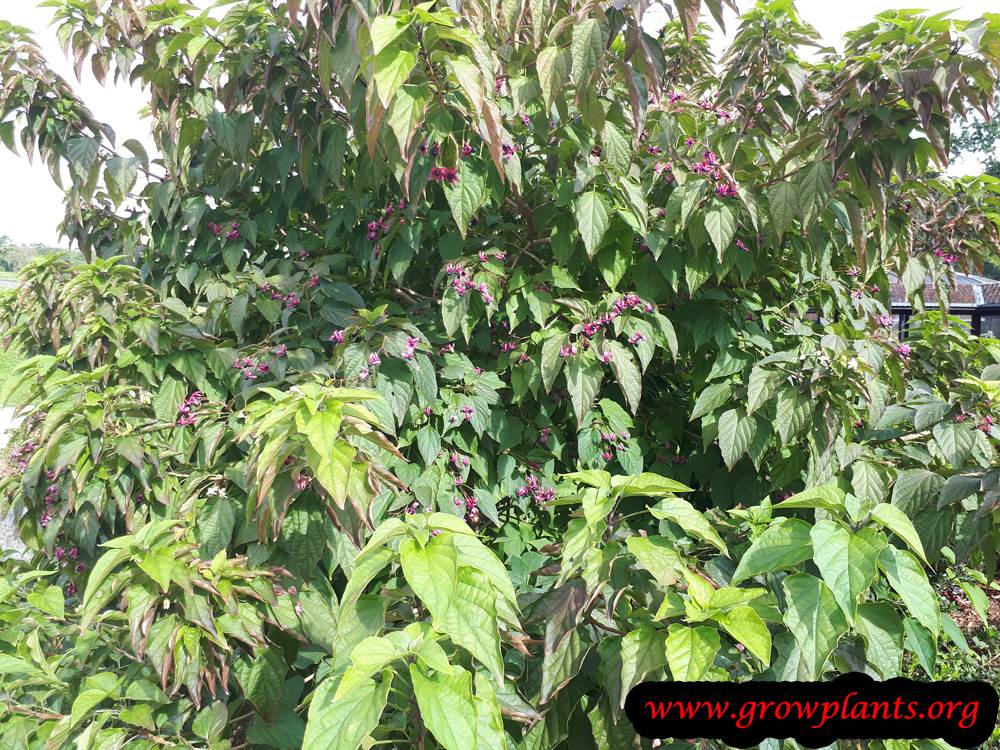
Overview: A diverse genus of ornamental shrubs and twining vines, typically 1-2.5 m, grown for showy clusters of bell- to bowl-shaped flowers in many colours. Most are evergreen in warm climates and deciduous where cool.
Quick Specifications
| Specification | Attribute |
|---|---|
| Plant Type / Life Cycle | Perennial (evergreen to deciduous shrub or vine) |
| Foliage Type | Evergreen in warm climates; deciduous where cool |
| Mature Size | 1-2.5 m (3-8 ft) |
| Growth Rate | Fast to moderate |
| Hardiness | USDA zone 7+ (depends on species) |
Growth Form & Structure
- Height & Spread: 1-2.5 m (3-8 ft) can be container-grown
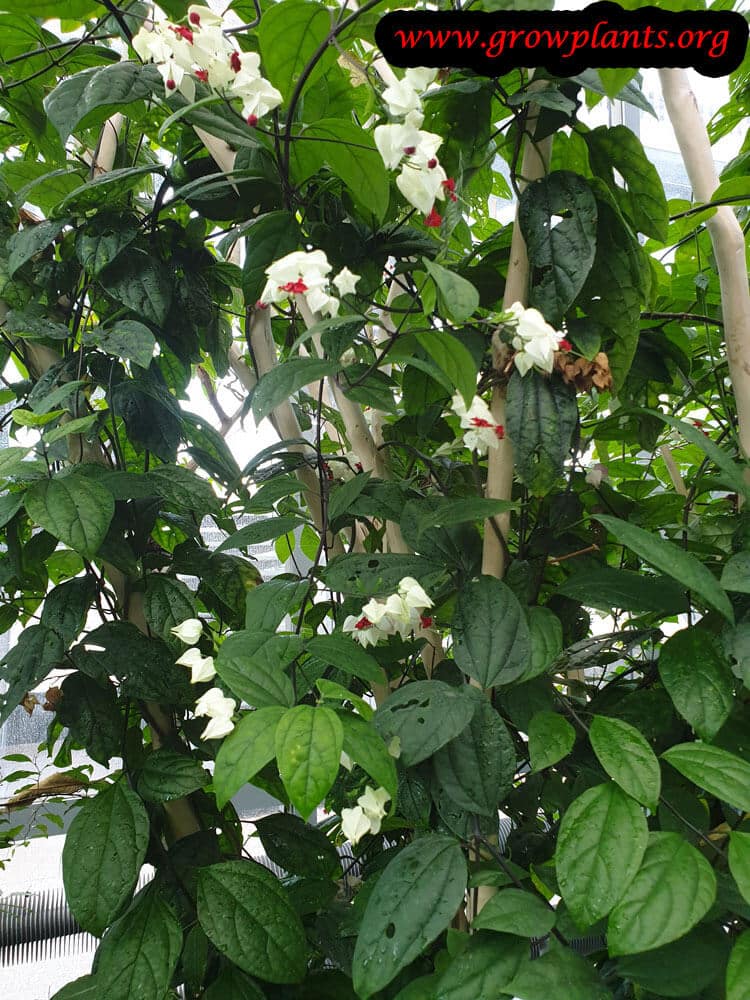
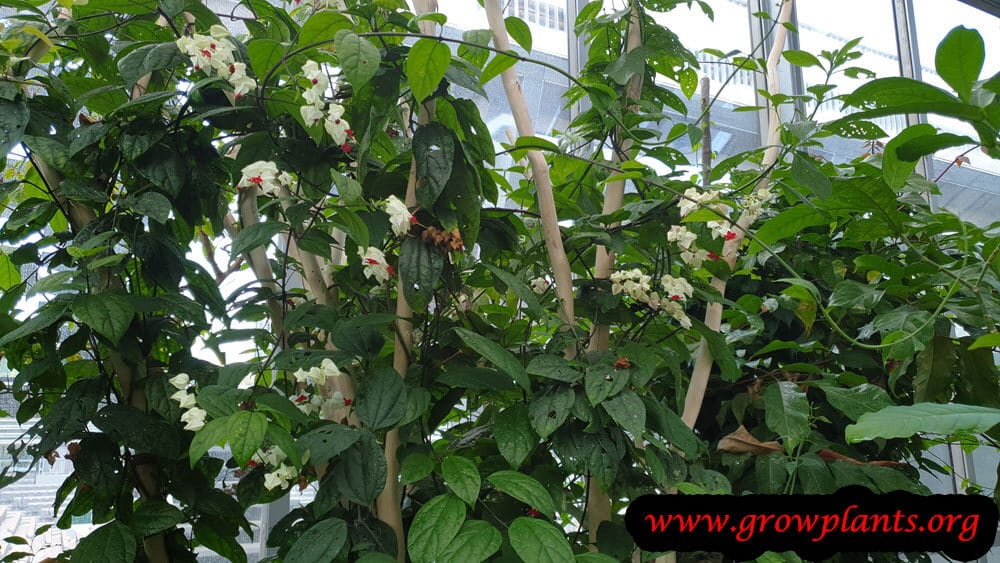
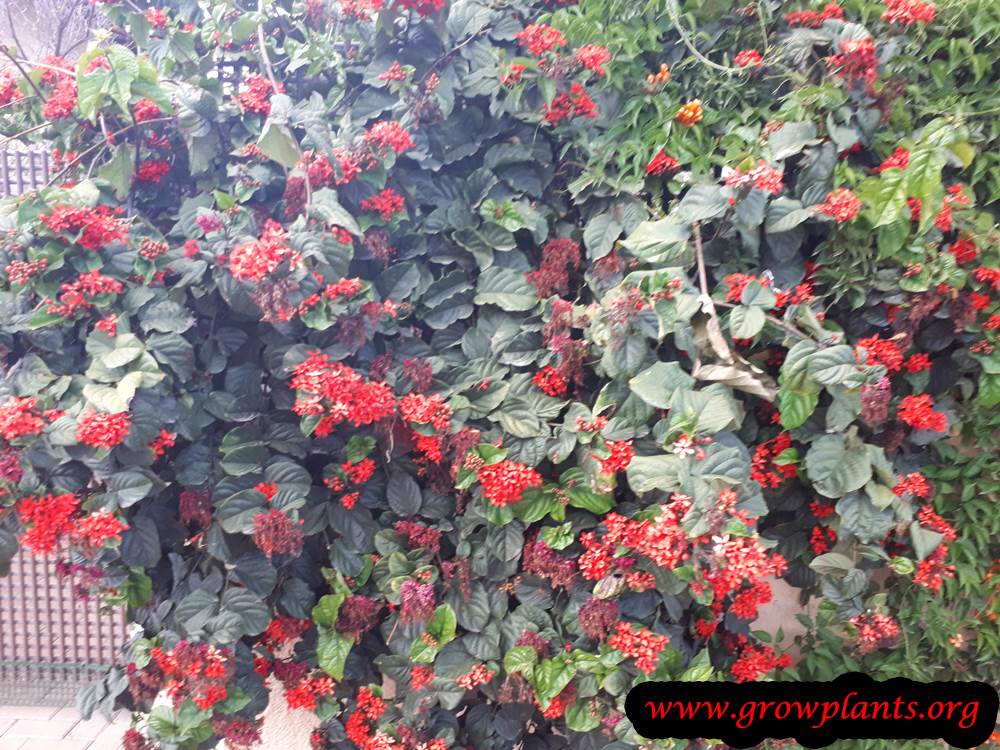
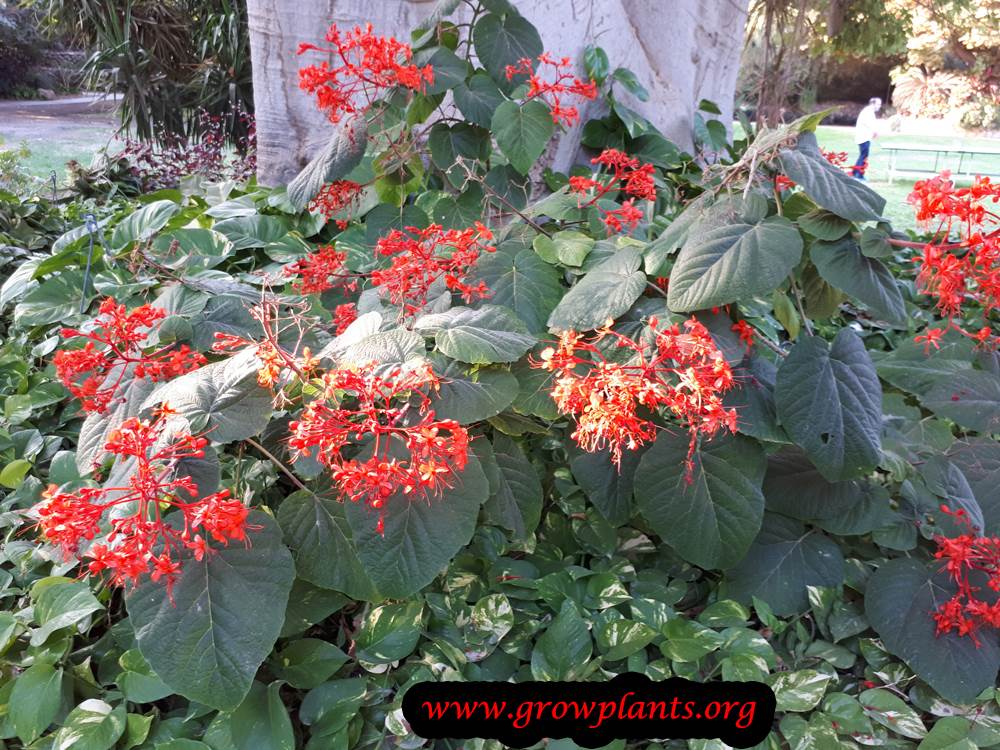
- Growth Habit & Form: Diverse genus of shrubs and twining vines, often needing support; grown as flowering screens and hedges
- Lifespan & Maturity: Fast-establishing flowering plant reaching size within a couple of seasons
Anatomy & Physical Features
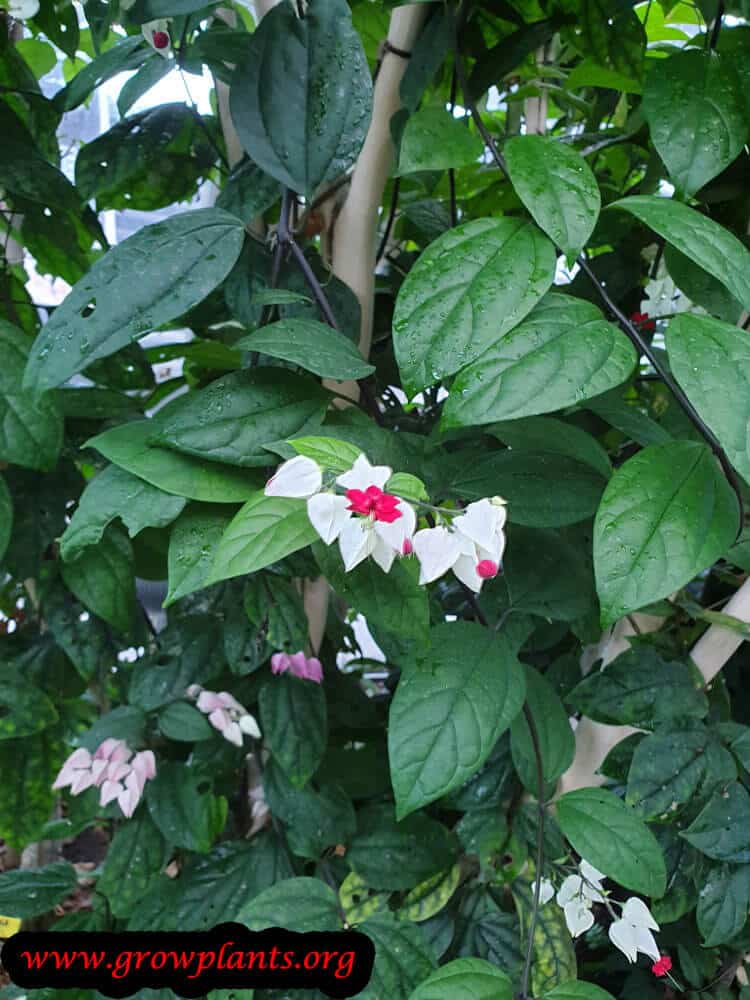
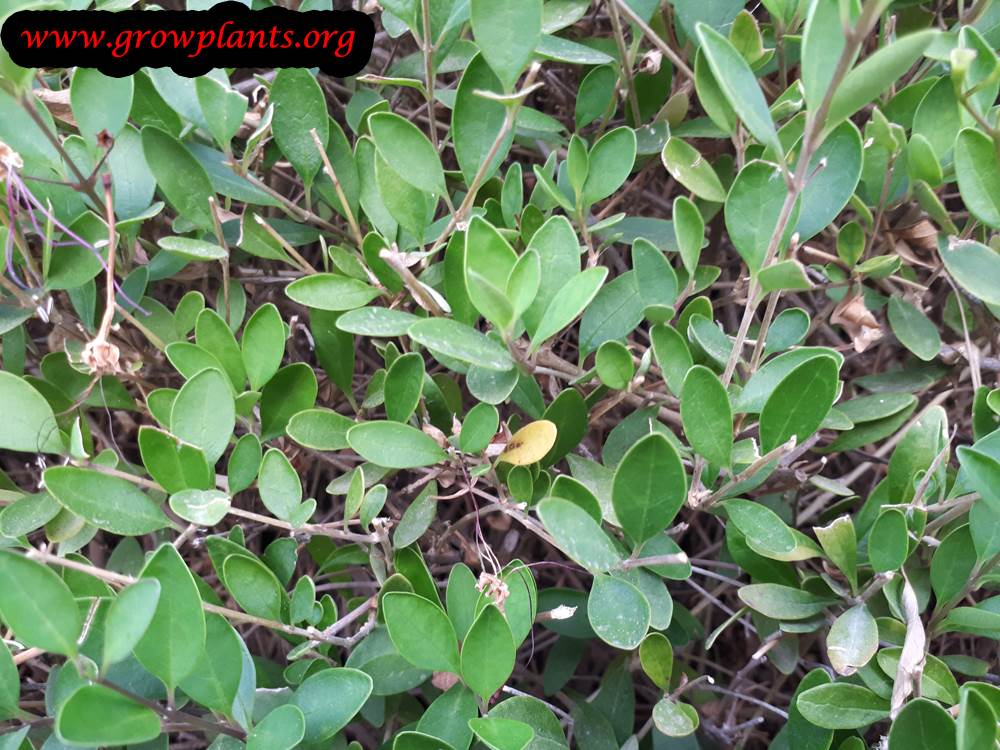
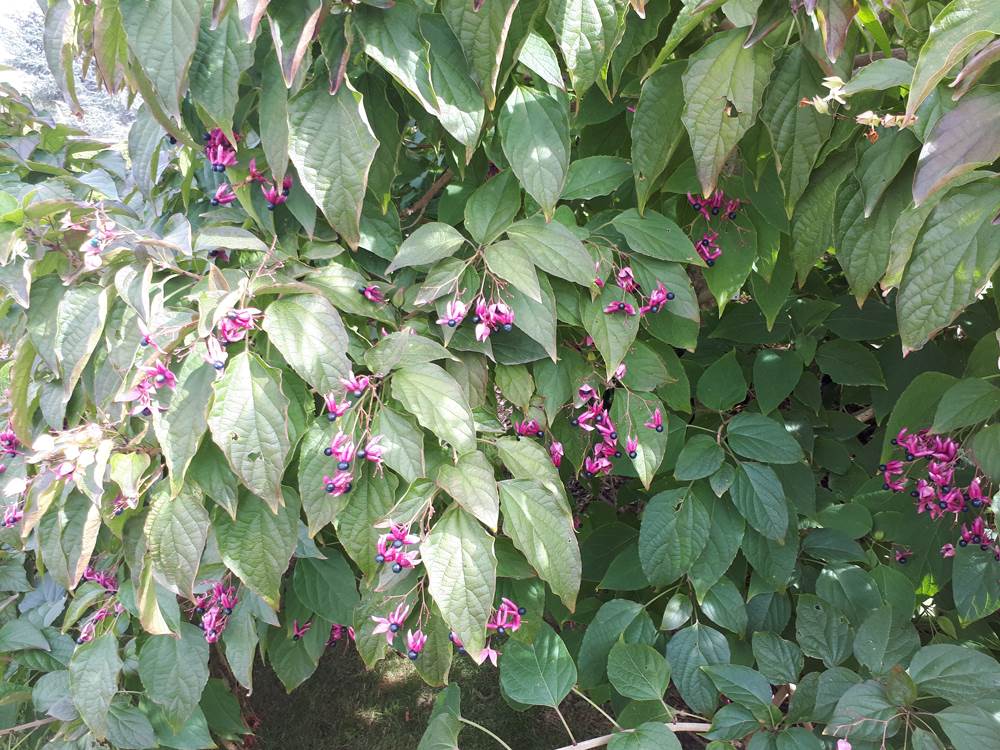
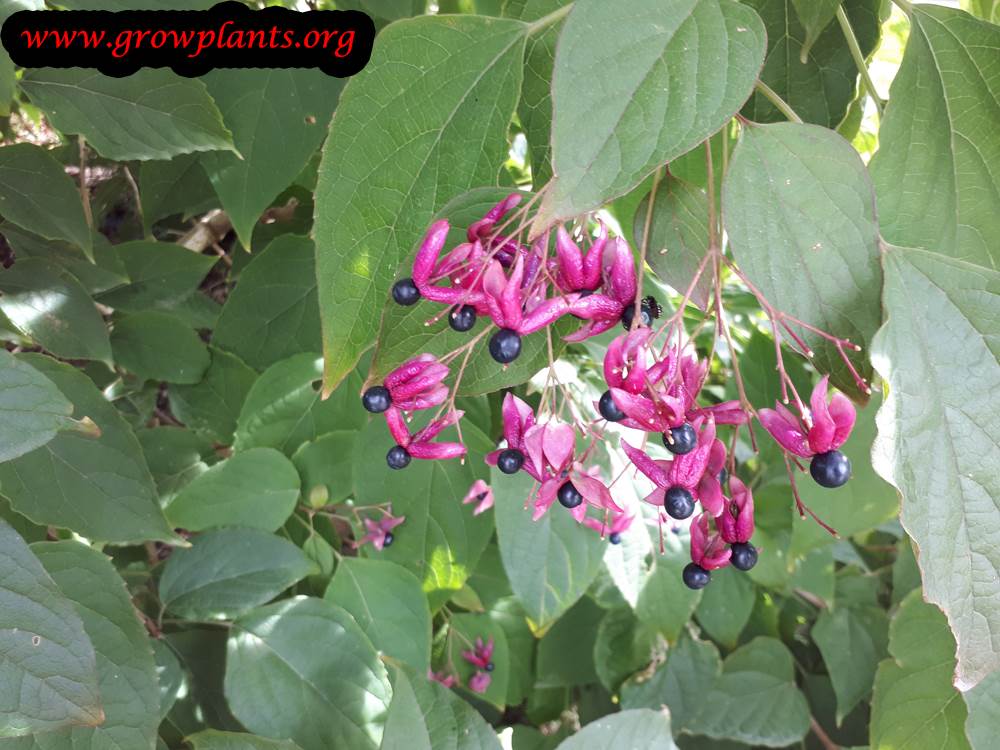
- Leaves & Foliage: Green to dark-green heart-shaped leaves
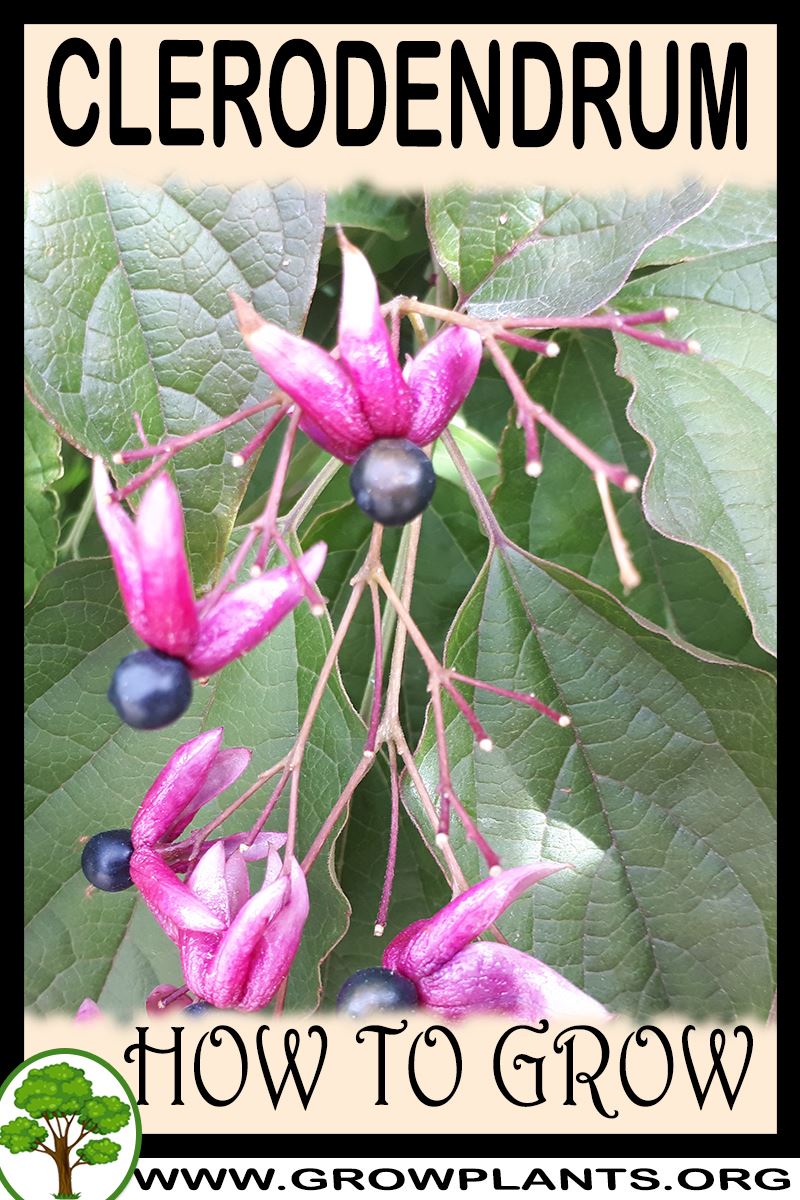
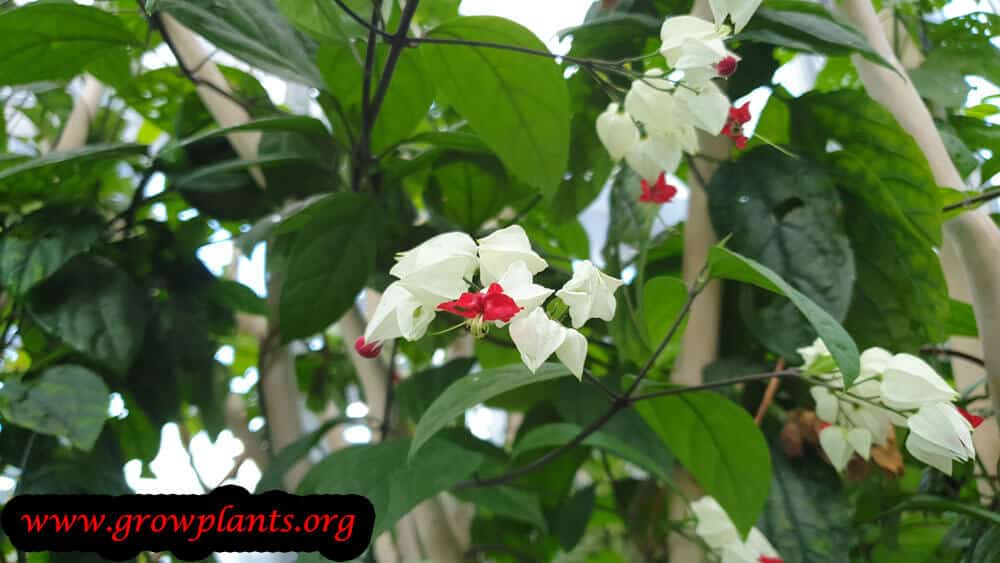
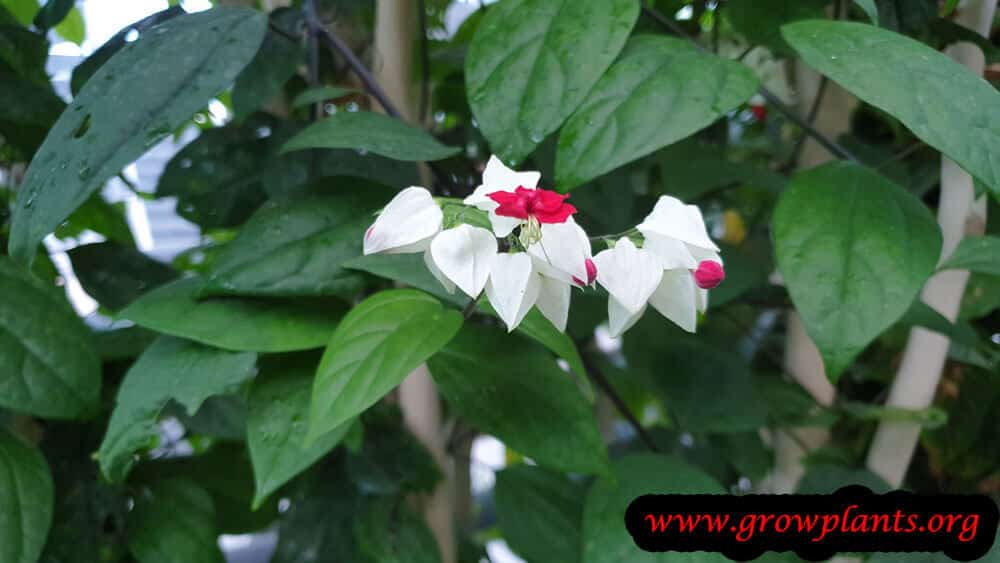
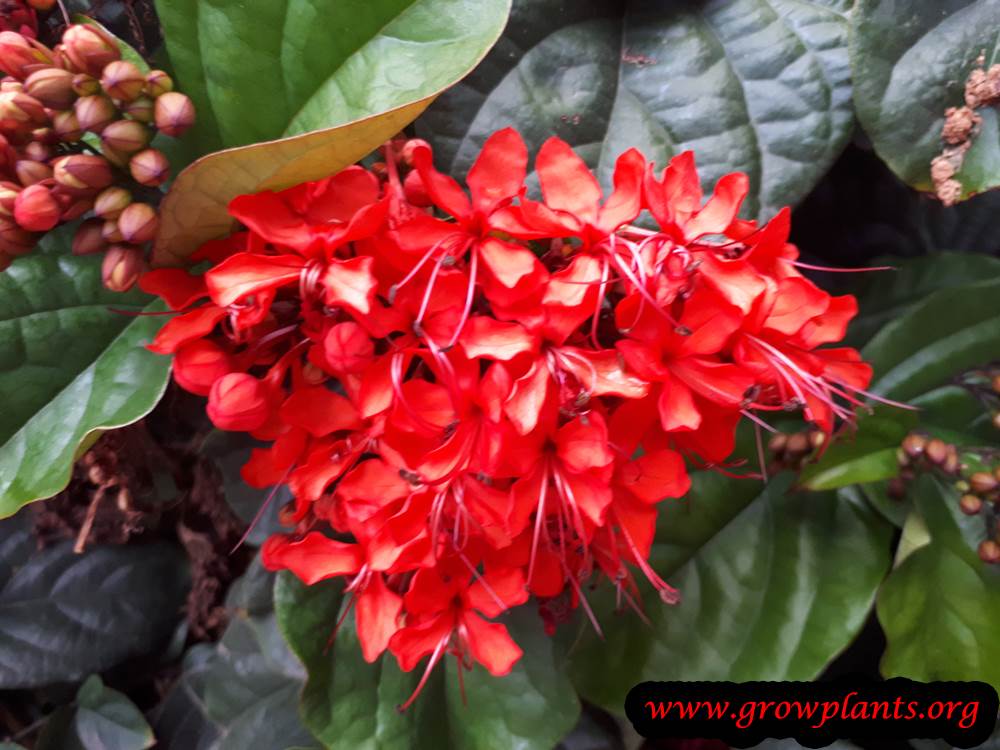
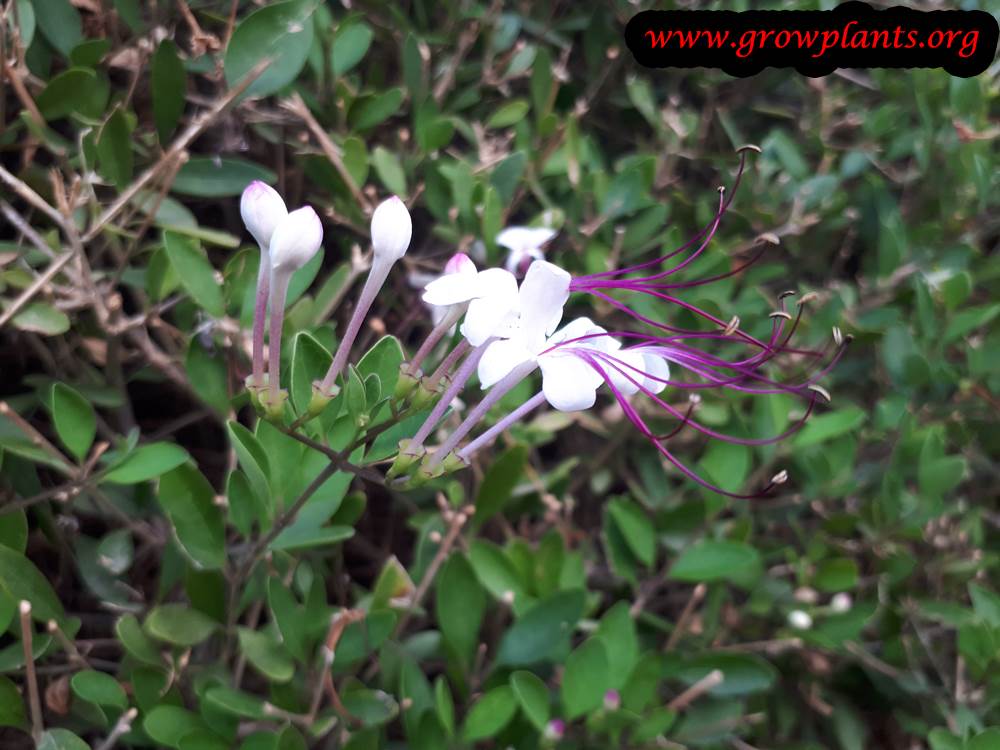
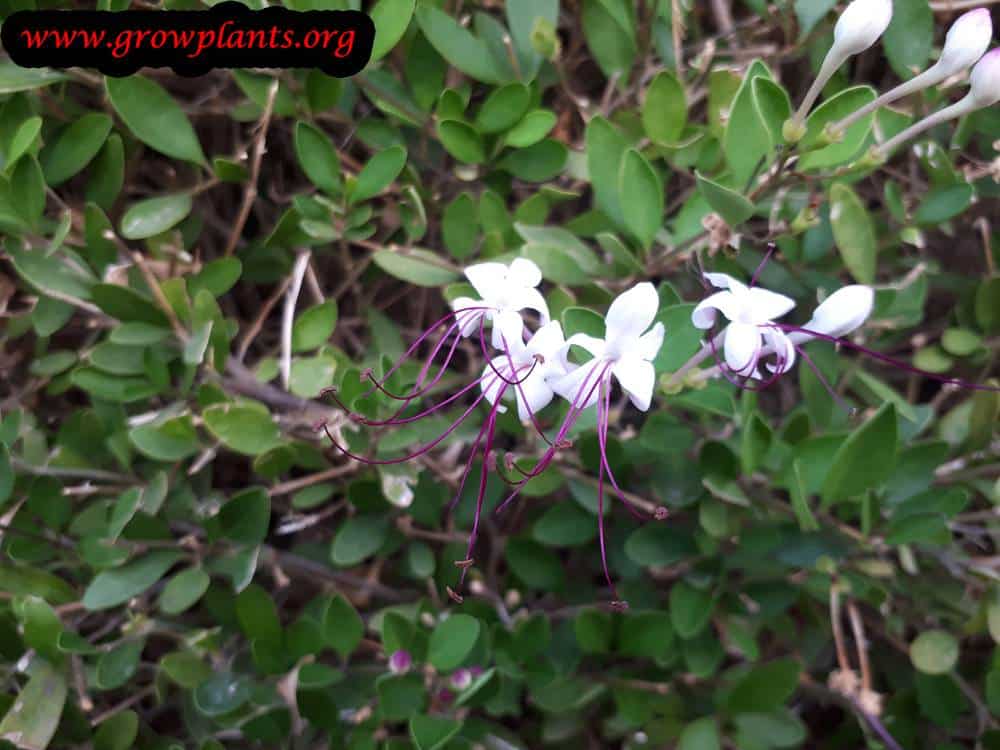
- Flower Characteristics: Showy clusters of bell- to bowl-shaped flowers in red, pink, orange, blue, white or purple
Primary Uses & Landscape Value
- Functional & Ornamental Roles: Ornamental flowering shrubs and climbers, hedges and screens; attract pollinators
Care Guide: Planting, Soil & Watering
Overview: Clerodendrum is a group of evergreen or deciduous flowering shrubs and vines (hardiness varies by species, roughly zone 7+) grown in full sun to half shade. Most want rich, well-draining soil kept steadily moist, often with a trellis or support.
Quick Care Requirements
| Requirement | Ideal Condition |
|---|---|
| Planting Season | Spring–summer in zones 7–10b, spring–autumn in 11, year-round in 12+ |
| Growth Rate | Moderate to Fast |
| Soil Type | Rich, well-draining |
| Water Need | Moderate to High – keep evenly moist |
Planting & Establishment
- Best Planting Season: Plant in spring to summer in zones 7–10b, spring to autumn in 11, and year-round in zone 12+.
- How to Plant:
- Hole Preparation: Dig a hole larger than the root ball.
- Soil Amendments: Mix in organic matter, chopped dead leaves and humus.
- Planting Depth: Set the plant in and cover it lightly, keeping the root collar at soil level.
- Growth Speed & Expectations: Moderate to fast, typically 1–2.5 m (3–8 ft) though size varies by species.
Soil, Watering & Drainage Care
- Soil Mix & Drainage Needs: Use soil that holds moisture without staying waterlogged, and mulch to keep roots cool and moist; in pots use potting mix or peat with perlite and refresh it every few years as drainage declines.
- Watering Schedule & Technique:
- Young / Newly Planted: Keep the soil moist for the first few weeks until the plant establishes.
- Established: Water regularly so the soil never fully dries; these plants like an average-to-generous supply.
- Seasonal Adjustments: Increase in summer heat; reduce in cooler months.
Note: Best grown in a container, since named cultivars are propagated by grafting or cuttings rather than seed.
Climate, Light & Hardiness
Clerodendrum (glorybower) spans tropical, subtropical, Mediterranean, and temperate climates in full sun to half shade, though exact cold hardiness depends on the species. As a genus it is documented from USDA zone 7 upward, with specific limits varying by species.
Quick Climate Specifications
| Climate Zones | Tropical, Subtropical, Mediterranean, Temperate |
|---|---|
| USDA Hardiness Zones | 7 and warmer (varies by species) |
| Light Conditions | Full Sun to Half Shade |
Sunlight & Light Exposure
Optimal Light Setup
Full sun to half shade both work; in hot climates some afternoon shade helps prevent leaf stress.
Temperature Extremes & Hardiness
USDA Hardiness & Regional Limits
Documented from USDA zone 7 and warmer, but the exact cold limit depends on the species - some Clerodendrum die back to the roots and resprout after a cold winter, while more tender species need essentially frost-free conditions.
Cold Damage & Winter Protection
At the cooler edge of its range, mulching the root zone over winter helps hardier species resprout even if top growth is lost to frost.
Frost Sensitivity
Varies by species; treat as frost-sensitive unless the specific species is confirmed to be root-hardy in your zone.
Growing in Pots, Balconies & Indoors
Glorybower (Clerodendrum) is a 1-2.5 m (3-8 ft) flowering shrub or vine that the grower grows well in containers but not as a houseplant. It makes a showy, clustered-flowered patio plant, and a pot lets you move tender types under cover for winter.
Quick Details
- Container Size: A container 100-200% larger than the root ball (the grower’s guide); a large tub for a mature plant
- Indoor Suitability: Not a houseplant; grow it outdoors in a container
- Best Spot: Full sun to half shade – warm and bright
- Soil & Drainage: Rich, well-drained mix – potting mix or peat soil with perlite
- Watering in Pots: Average to generous – keep the mix moist; mulch the surface to hold moisture
Indoors & On the Windowsill
- Houseplant limits: The grower does not list it as an indoor plant – it needs strong light to flower.
- Overwintering: Many types are frost-tender; in cold climates a pot lets you shelter it in a bright, frost-free spot over winter.
On a Balcony or Patio
- Light & wind: Give it the sunniest spot; walls, railings and paving throw back heat so pots dry quickly – check moisture often and shelter or stake it on an exposed, windy balcony.
- Practicalities: Account for the weight of a full pot and make sure drainage water can run away freely without staining the balcony.
Choosing the Pot, Soil & Long-Term Care
- Pot & drainage: Use a pot with strong drainage holes and skip a standing-water saucer to avoid root rot; terracotta breathes and dries faster, while glazed or plastic holds moisture longer.
- Potting mix: Well-aerated and organic-rich – a quality potting mix, or peat/coir with perlite or vermiculite.
- Feeding: Potted plants use up their soil faster as nutrients leach out with each watering – feed lightly through the growing season.
- Repotting: As the grower notes, container drainage declines after a few years – refresh with new mix, and add organic matter and fertilizer at least once a year.
Grower’s Container Tip
- Grower’s container method: Choose a container 100-200% bigger than the root ball, or use a smaller pot and cut the roots back at planting. Use potting mix or peat soil with perlite. After a few years the soil’s drainage stops working as well, so change it for fresh mix, and feed with organic matter and fertilizer at least once a year.
Fertilizing & Feeding
A moderate feeder: this vigorous, rich-soil-loving shrub or vine benefits from balanced feeding while it establishes and again as it builds toward its cluster flower display, tapering off once flowering is done for the season.
Quick Fertilizing Specs
| Feeding Level | Moderate feeder |
|---|---|
| Main Nutrient Priority | Balanced feeding with adequate nitrogen to support vigorous stem and leaf growth ahead of flowering |
| Best Feeding Period | From planting through the build-up to the flowering display |
| Organic Options | Organic matter, chopped leaves, and humus worked into the planting hole and soil |
| Reduce/Stop Feeding | Taper off once the flower clusters finish and growth slows |
| Micronutrients | Usually met by a complete fertilizer and rich organic soil; correct only a diagnosed deficiency |
| Soil pH | Tolerates a wide range, growing best in rich, evenly moist soil |
Feeding by Growth Stage
Newly planted establishment
Help a freshly planted shrub or vine establish roots in rich, organic-matter-amended soil.
| Nutrient direction | Rely mainly on organic matter worked into the planting hole; add only a light, balanced feeding once new growth confirms the roots have taken hold. |
|---|---|
| Timing | At planting and through the first weeks as the plant establishes. |
| Frequency | A single light feeding once new growth appears is usually enough at this stage. |
| Fertilizer types | Organic matter, chopped leaves, and humus worked into the planting hole, A balanced complete fertilizer at a light rate once established |
| Precautions | Wait for clear signs of new growth before feeding; freshly disturbed roots are easily stressed by fertilizer applied too soon. |
Vegetative growth ahead of flowering
Build a full framework of stems and leaves to support the coming flower clusters.
| Nutrient direction | A balanced, nitrogen-leaning feeding supports the vigorous growth this shrub or vine puts on before flowering. |
|---|---|
| Timing | Through the main growing season leading up to bloom. |
| Frequency | Regular light feedings through this stretch support steady growth. |
| Fertilizer types | A balanced complete fertilizer with a nitrogen lean, Organic matter or mulch refreshed around the root zone |
| Precautions | Provide support such as trellising for climbing types so vigorous new growth does not sprawl or break. |
Cluster flower display
Support the bell- to bowl-shaped flower clusters through their display.
| Nutrient direction | A balanced feeding sustains the flower clusters without swinging growth back toward all foliage. |
|---|---|
| Timing | As the flower clusters form and open. |
| Frequency | An occasional light feeding through the flowering period is usually enough. |
| Fertilizer types | A balanced complete fertilizer |
| Precautions | Ease off nitrogen slightly relative to earlier in the season so energy goes toward flowers rather than more leafy growth. |
Post-bloom rest
Let the plant rest once the flower display and its main growth flush are finished for the season.
| Nutrient direction | None – withhold fertilizer once active growth and flowering have wound down. |
|---|---|
| Timing | After flowering finishes, especially toward the cooler part of the year. |
| Frequency | No feeding at this stage. |
| Fertilizer types | No feeding at this stage; hold off fertilizing until active growth resumes. |
| Precautions | Do not fertilize while growth is slow or stopped; withhold feeding until new growth confirms the plant is active again. |
Nutrient Deficiency Signs & Corrections
Older leaves fade to pale green or yellow and the vigorous growth this plant is known for slows noticeably.
| Possible causes | low available soil nitrogen, nutrients leached by heavy watering this moisture-loving plant needs, soil low in organic matter |
|---|---|
| Appears first on | older, lower leaves |
| What to check | recent feeding history, soil organic matter and mulch, overall vigor compared with earlier in the season |
| Possible correction | Apply a balanced complete fertilizer with adequate nitrogen and refresh organic matter around the root zone. |
Interveinal yellowing shows on newer leaves while the smallest veins stay green, giving a netted look.
| Possible causes | alkaline or high-pH soil limiting manganese availability, cool, wet, poorly drained soil, naturally low soil manganese |
|---|---|
| Appears first on | newer, upper leaves |
| What to check | soil pH, drainage, since this plant prefers evenly moist but not waterlogged soil, whether the pattern matches nearby plants |
| Possible correction | Correct soil pH toward the acidic side where practical and apply a chelated manganese product per its label. |
Leaf margins brown or scorch and growth stalls even though the plant is watered as it likes, heavily and often.
| Possible causes | fertilizer salts accumulating from feeding too often, especially in containers, irregular watering concentrating salts, poor drainage holding salts near the roots |
|---|---|
| Appears first on | leaf margins and tips |
| What to check | recent fertilizer amount and frequency, watering consistency, drainage, especially if grown in a container |
| Possible correction | Ease off feeding and water thoroughly to flush accumulated salts before returning to a lighter routine. |
Pruning, Training & Seasonal Maintenance
Clerodendrum is a vigorous, woody shrub or scandent vine that tolerates being cut back hard. Most commonly grown garden species flower on the current season’s new growth, so a structural cutback done in late winter or very early spring, before growth resumes, typically increases the coming season’s bloom rather than sacrificing it; lighter deadheading and shaping after each bloom flush keeps the plant tidy through the rest of the year. Exact bloom timing does vary by species within this genus, so the after-flowering window noted for this plant is a safe secondary check against the general late-winter default.
Quick Pruning & Maintenance Specs
| Pruning Tolerance | High |
| Primary Pruning Window | Late winter/early spring, before new growth begins |
| Secondary Maintenance Window | After each flowering flush, for light deadheading/shaping |
| Typical Frequency | One structural cutback per year, plus periodic light shaping |
| Main Objective | Control vigorous size, renew flowering wood, manage suckering |
| Young Plant Priority | Establish framework; provide support for scandent/vining forms |
| Mature Plant Priority | Annual renewal pruning for size, vigor, and flowering wood |
| Best Tool Type | Bypass secateurs for shaping; loppers for thicker renewal wood |
| Avoid Heavy Pruning During | Active flowering flush, and late autumn in cooler marginal zones |
Pruning by Plant Age & Size
Newly Established
Remove only damaged or weak growth; for scandent/vining forms, set up a trellis or other support early so the plant can be trained onto it as it grows, per its own noted need for support.
Young / Formative
Select and tie in strong framework stems on climbing forms; on shrub forms, pinch or lightly cut back leggy young shoots to build a bushier base.
Mature / Established
Carry out an annual renewal cutback to control the plant’s vigorous size and refresh flowering wood, and thin congested or crossing stems for airflow.
Seasonal Pruning Schedule
Pre-Growth/Early-Spring
Objective: the main structural/renewal cut. Remove: up to a third to half of the previous season’s growth, weak or crowded stems, winter dieback. Do not remove: all of the framework at once on very overgrown plants — stage it over two seasons instead. Expected response: a strong flush of new growth. Flowering impact: none lost, and typically improved, since bloom forms on this new growth.
Post-Flowering
Objective: tidy the plant and prevent unwanted seed/berry set. Remove: spent flower clusters, lightly shape stray growth. Do not remove: developing buds elsewhere on the plant. Expected response: neater appearance, possible secondary flush. Flowering impact: minimal, since this is light maintenance rather than structural.
Ongoing Sanitary
Objective: plant health. Remove: dead, damaged, or weak branches at any time. Do not remove: healthy structural wood outside the main pruning windows.
Flowering & Fruiting Wood
Most cultivated Clerodendrum species flower on the current season’s new growth, which is why a hard structural cutback before spring growth begins does not cost that year’s bloom — it produces more of the wood that will carry it. Once flower buds are visible on new growth, avoid removing that growth.
Structural Pruning & Training
This is a vigorous grower that needs active size control: cut back framework branches annually to hold height and spread, and thin crossing or crowded stems to improve air circulation, which helps reduce fungal problems in humid climates. Maintain and tie in support for scandent/climbing forms as new growth extends.
Special Growth to Remove
- Root suckers — several Clerodendrum species spread readily by root suckers and can form a thicket if left unchecked; remove promptly at the source unless naturalizing is intended.
- Spent flower clusters.
- Weak, thin interior growth that won’t flower well.
Container & Small-Space Pruning
Grows well in containers but is vigorous enough to need repotting and root pruning roughly every two years, per its own care notes, alongside more frequent pinching and a firmer annual cutback than an in-ground plant to keep it in scale with the pot.
Tools
- Bypass secateurs — for routine shaping and deadheading.
- Loppers — for thicker renewal wood on the annual cutback.
- Soft ties/stakes — for training and supporting scandent/vining forms onto a trellis.
Tool Hygiene & Disease Risk
Routine: clean, sharp tools are sufficient; no major transmissible disease risk is documented for this genus beyond general good sanitation.
Cut Placement & Technique
Make thinning cuts back to a lateral bud or branch rather than leaving stubs; deadhead spent flower clusters back to a healthy leaf node; tie in new vining growth to its support rather than letting it self-attach haphazardly.
Heavy Pruning & Rejuvenation
Tolerates a hard renewal cutback, close to the main framework or even near ground level, in late winter/early spring to control size and rejuvenate vigor; expect a strong flush of new growth and bloom on it that same season.
Post-Pruning Care
Water well after a hard cutback to support the flush of regrowth, and watch for sunscald on previously shaded stems if the canopy was opened up significantly. Keep an eye on new sucker growth after cutting back, since renewal pruning can stimulate it.
Common Pruning Mistakes
- Pruning too late in the season, after flower buds have already formed on the new growth.
- Letting root suckers run unchecked until the plant becomes a dense thicket.
- Shearing it into a formal hedge shape, which suits its naturally loose, informal habit poorly and reduces flowering.
When NOT to Prune
Avoid major pruning during an active flowering flush if you want to enjoy the current bloom — wait until it finishes. In cooler marginal zones, avoid pruning in late autumn, since it stimulates tender new growth that can be damaged by early cold.
Recommended Tools (by task)
- bypass_secateurs — for routine shaping and deadheading cuts.
- loppers — for the thicker wood removed during the annual renewal cutback.
- soft_ties_stakes — for training and supporting scandent/vining forms on a trellis.
Propagation Guide
Clerodendrum can be propagated vegetatively from stem cuttings. Seed is also possible where viable seed is produced and is appropriate for the species or genus-level plant.
Quick Propagation Specs
| Best Vegetative Method | Stem cuttings |
| Seed | Possible where viable seed is produced |
| Grafting | Not required |
Cuttings root best in early spring at around 21-25°C (70-77°F), in moist, humid conditions using a peat-based mix and a rooting hormone; a greenhouse or a small perforated plastic box helps hold humidity, and the first roots typically take a few weeks to form. For seed, a peat mix with vermiculite (or another well-ventilated medium) in a sunny, humid spot at the same 21-25°C range works well.
Stem Cuttings
Take healthy non-flowering stem material with viable nodes. Remove lower leaves, place the cutting in a clean, free-draining propagation medium, and maintain humidity without keeping the medium waterlogged until roots develop.
Growing from Seed
Use mature, viable seed when seed propagation is desired, sown very shallowly (about 0.5-1cm/0.2-0.4in) since germination is light-dependent. Seed-grown plants may vary, especially on cultivated or genus-level pages.
Aftercare
Keep rooted cuttings protected from severe stress while they establish, then increase light and normal watering gradually.
Note: Germination is reported in the 2-6 week range for this genus, often around 2-4 weeks under warm conditions (above 25C/77F).
Bloom & Flower Guide
Quick Details
- Bloom Season: Autumn into winter in the tropics; spring in cooler areas
- Time to First Bloom: Once the plant is established, within a year or two
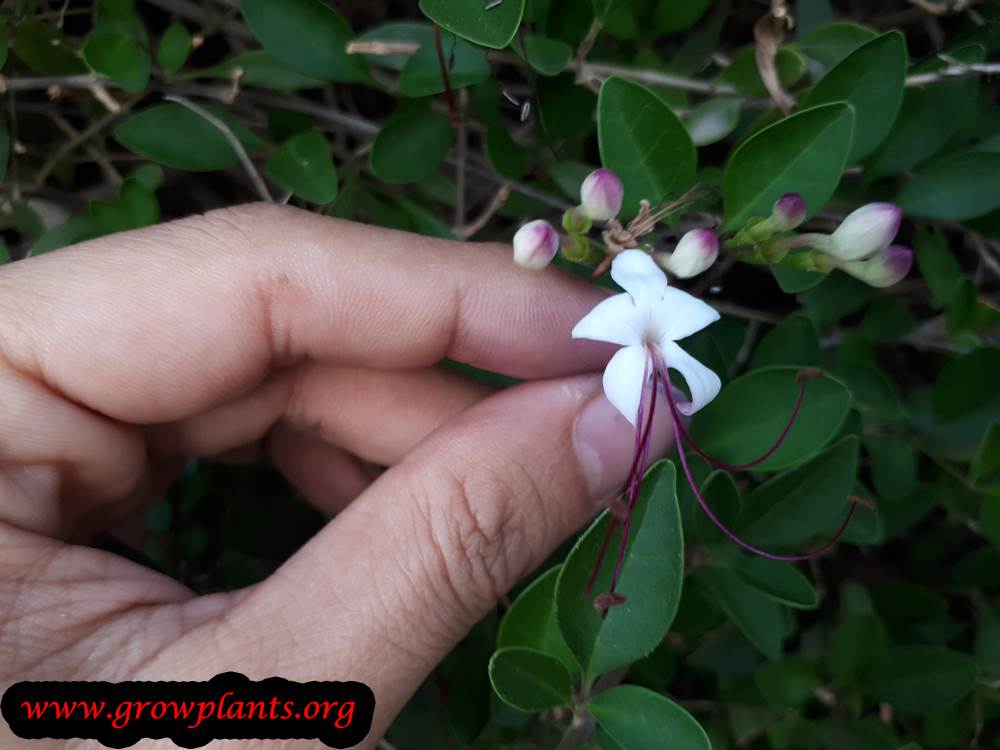
- Flower Appearance: Clusters of bell- to bowl-shaped flowers, sometimes butterfly-like, in red, pink, orange, blue, white or purple
- Edibility: Ornamental / none
Detailed Blooming Overview
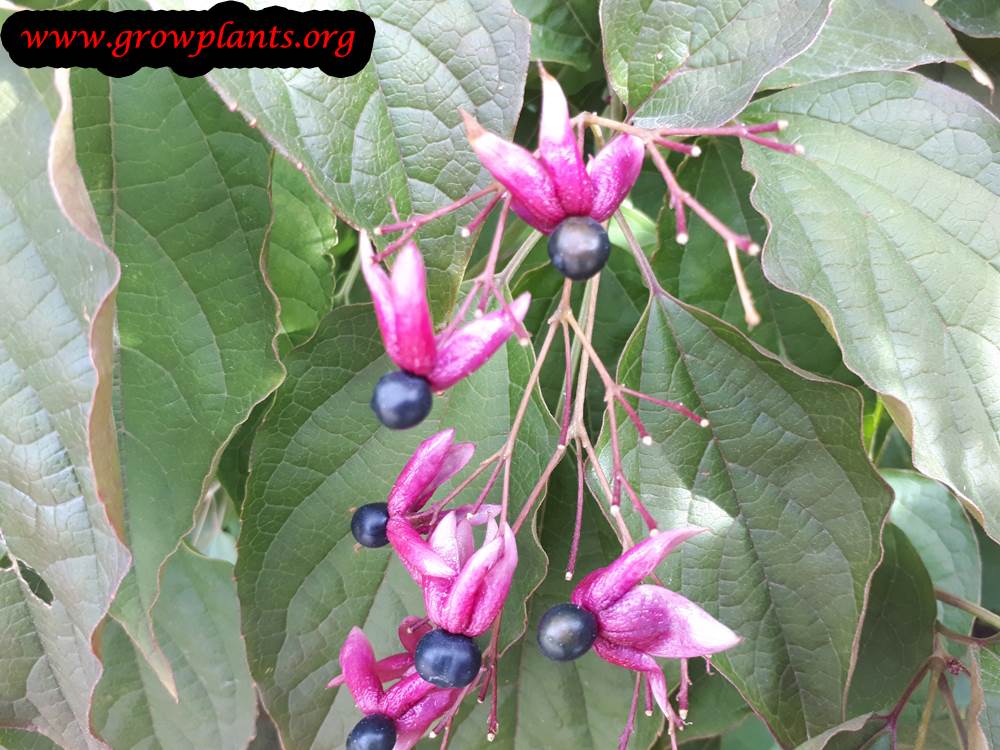
Glorybower is grown for its generous clusters of colourful flowers, which open in autumn and winter where it is warm and in spring in cooler gardens. Depending on the species the blooms may be bell- or bowl-shaped, or lighter and almost butterfly-like, in shades of red, pink, orange, blue, white and purple – often with showy contrasting calyces that hold their colour after the petals drop. Many are fragrant and draw butterflies.
Flower Characteristics
- Bell- to bowl-shaped flowers, sometimes butterfly-like, borne in clusters.
- Wide colour range: red, pink, orange, blue, white and purple.
- Frequently fragrant and attractive to butterflies.
Bloom Care & Thinning
- Managing the bloom: Deadhead spent clusters and prune after flowering to shape the plant and encourage the next flush.
- Pollination & wildlife: Leave the flowers to feed butterflies and other pollinators.
Pests, Diseases & Troubleshooting
Overview: Clerodendrum – especially the tender tropical species – are magnets for whitefly and other greenhouse sap-suckers, which in turn bring sticky honeydew and sooty mold; mealybugs, mites, aphids and scale round out the cast. Keep plants vigorous in bright, humid, airy conditions, watch the leaf undersides, and treat sap-suckers early with soaps and oils.
Quick Troubleshooting Overview
| Issue / Pest | Main Symptom | Primary Solution |
|---|---|---|
| Whitefly | Clouds of white flies under leaves; sticky honeydew and sooty mold | Yellow sticky traps, insecticidal soap, oil |
| Mealybugs | White cottony masses in leaf axils and stems | Dab with alcohol, insecticidal soap, oil |
| Spider mites | Fine stippling and webbing in warm, dry air | Raise humidity, hose foliage, horticultural oil |
| Aphids | Clustered on soft shoot tips; distorted growth | Water jet, insecticidal soap |
| Scale | Brown or waxy bumps on stems; honeydew | Scrape off, horticultural oil |
| Leaf spot | Brown/black spots and yellowing leaves | Improve airflow, avoid wetting foliage |
Common Pests & Management
- Whitefly (Trialeurodes vaporariorum / Bemisia tabaci):
- Symptoms: Signature pest: tiny white flies rising in clouds when disturbed, with nymphs and honeydew on leaf undersides leading to sooty mold and weakened, yellowing growth.
- Prevention & Control: Yellow sticky traps to monitor; insecticidal soap or horticultural/neem oil to undersides in the evening, repeated to catch hatches; encourage Encarsia parasitic wasps under glass.
- Mealybugs (Planococcus citri / Pseudococcus spp.):
- Symptoms: White cottony tufts wedged in leaf axils, stem joints and undersides, with honeydew and stunted, distorted growth.
- Prevention & Control: Spot-treat with a cotton bud dipped in alcohol; insecticidal soap or oil for wider infestations; isolate new plants and check regularly.
- Two-spotted spider mite (Tetranychus urticae):
- Symptoms: Fine pale stippling, a bronzed dull cast to leaves, and fine webbing beneath in warm, dry indoor air.
- Prevention & Control: Raise humidity and hose or wipe foliage; horticultural or neem oil and insecticidal soap; predatory mites in enclosed spaces.
- Aphids (Aphis spp.):
- Symptoms: Clusters of soft insects on tender shoot tips and buds, causing curling, honeydew and ants.
- Prevention & Control: Dislodge with water, insecticidal soap or oil on heavy colonies; conserve natural predators.
- Soft/brown scale (Coccus hesperidum):
- Symptoms: Flat brown or waxy bumps along stems and leaf veins, with sticky honeydew and sooty mold.
- Prevention & Control: Scrape off light infestations; horticultural oil to smother, repeated; prune out badly encrusted stems.
Diseases & Fungal Issues
- Leaf spot (Cercospora / Phyllosticta):
- Symptoms: Brown to black spots that enlarge and merge, with yellowing and leaf drop in humid, still conditions.
- Treatment & Management: Improve airflow and spacing, avoid overhead watering, remove affected leaves; copper fungicide only if persistent.
- Sooty mold (secondary fungi on honeydew):
- Symptoms: Black sooty film coating leaves and stems wherever sap-suckers have left honeydew, blocking light.
- Treatment & Management: Control the underlying whitefly/scale/mealybug; wipe or wash off the mold once the pests are gone.
- Root rot (Pythium / Phytophthora):
- Symptoms: Wilting, yellowing and collapse from soggy soil; roots dark and mushy.
- Treatment & Management: Use free-draining mix, water only when the surface dries, and never leave pots standing in water.
Growing Difficulties & Abiotic Problems
- Chlorosis / leaf yellowing:
- Cause & Symptoms: Yellowing between veins from high pH, cold, or overwatering locking up iron and magnesium.
- Correction Strategy: Correct watering, feed with a balanced feed plus chelated iron/magnesium, and keep tender types warm.
- Leaf drop & poor bloom:
- Cause & Symptoms: Insufficient light, cold drafts or sudden change causes leaf drop and few flowers on tender species.
- Correction Strategy: Give bright light, steady warmth (avoid drafts) and even moisture; feed in the growing season.
- Sunburn:
- Cause & Symptoms: Scorched, bleached patches when a shade-acclimated plant is moved abruptly into strong sun.
- Correction Strategy: Acclimate gradually and provide light shade in the hottest part of the day.
What Helps – Products & Tools
Lead with cultural control – bright airy conditions, clean foliage, yellow sticky traps and isolating new plants. When needed, insecticidal soap and horticultural/neem oil manage whitefly, mealybug, scale, mites and aphids, and a copper fungicide addresses stubborn leaf spot.