Plant Profile & Key Characteristics
Also known as: Hibiscus coccinea, Hibiscus biseptus
Overview: Hibiscus coccineus (scarlet or Texas Star hibiscus) is an evergreen shrub of 1-3 m grown mainly as an ornamental for its large red or white flowers, with edible leaves as a secondary use. It suits wet borders and rain gardens in zones 6-10b.
Quick Specifications
| Specification | Attribute |
|---|---|
| Plant Type / Life Cycle | Perennial (shrub) |
| Foliage Type | Evergreen |
| Mature Size | 1-3 m tall (3-10 feet) |
| Growth Rate | Fast to moderate |
| Toxicity | Non-toxic – leaves are edible |
| Hardiness | USDA zones 6-10b |
Growth Form & Structure
- Height and Spread: Reaches 1-3 m (3-10 feet); grows in containers of about 10-20 L (2-4 gallons) or larger; not suited as an indoor houseplant.
- Growth Habit and Form: Tall, upright, clumping shrub with slender stems.
- Lifespan and Maturity: Fast to moderate growing perennial.
Anatomy & Physical Features
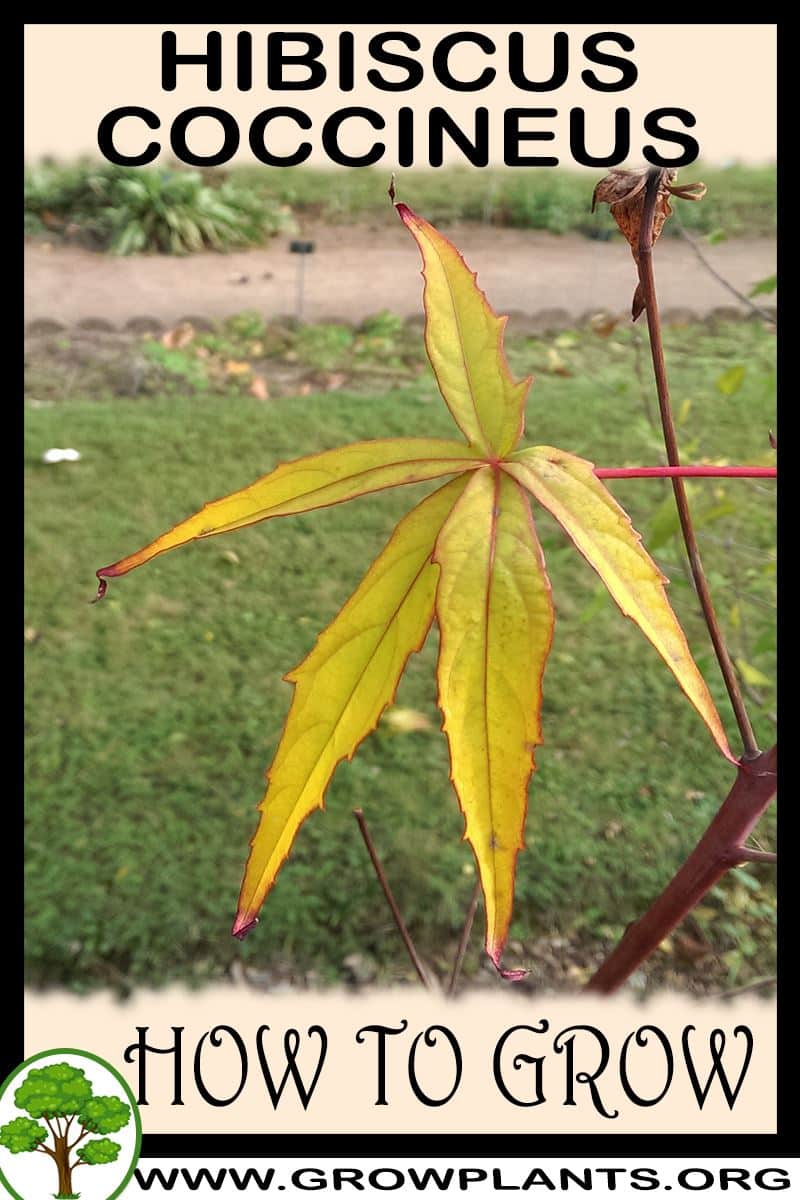
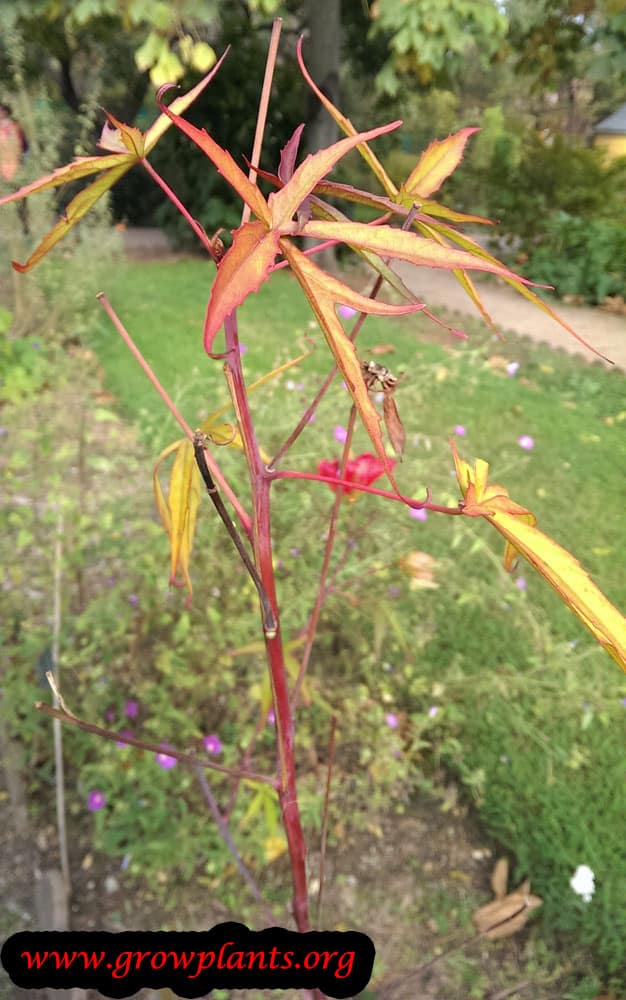
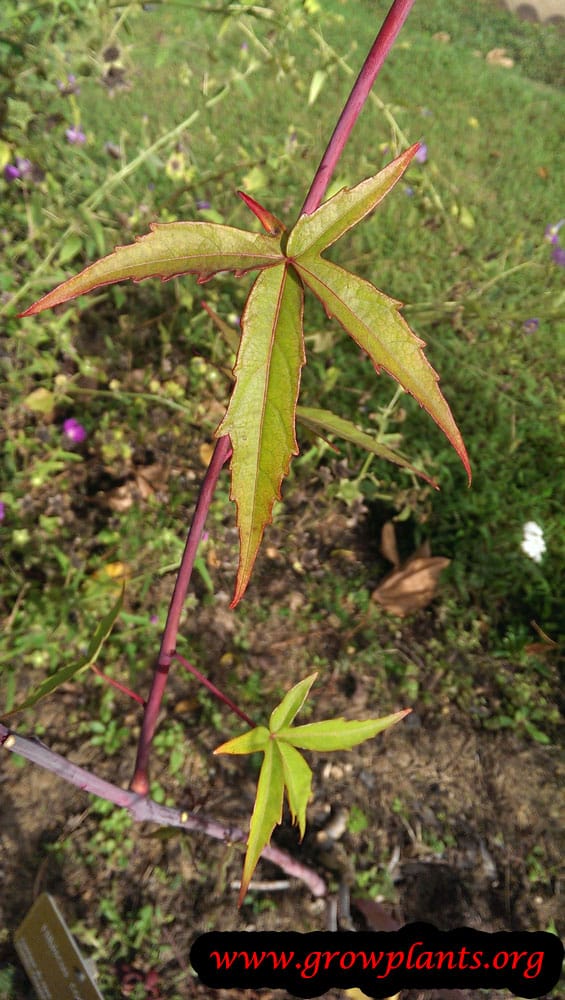
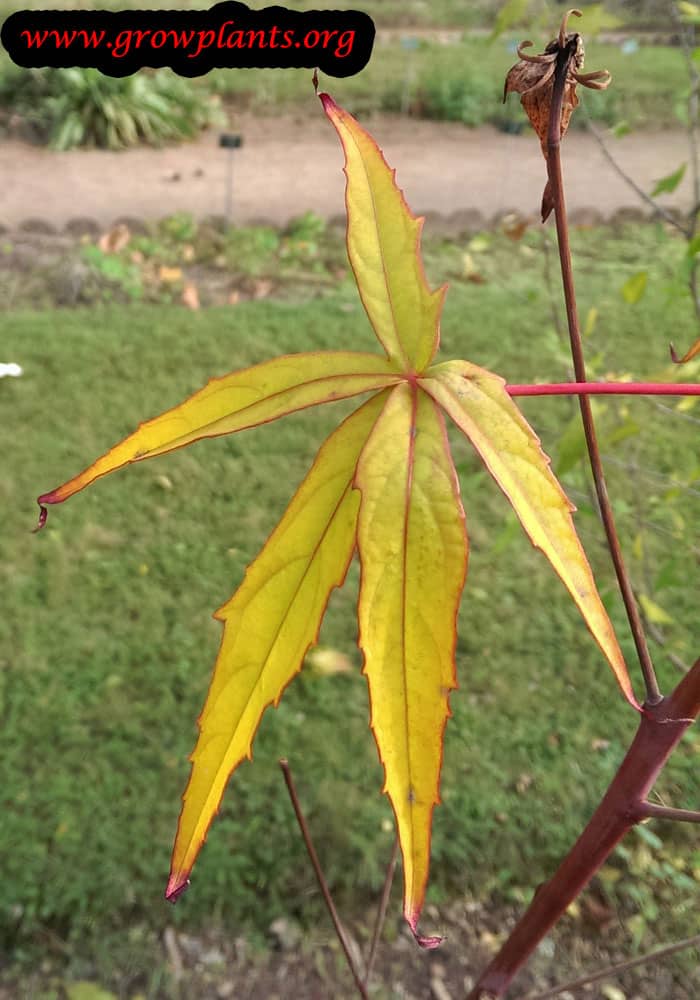
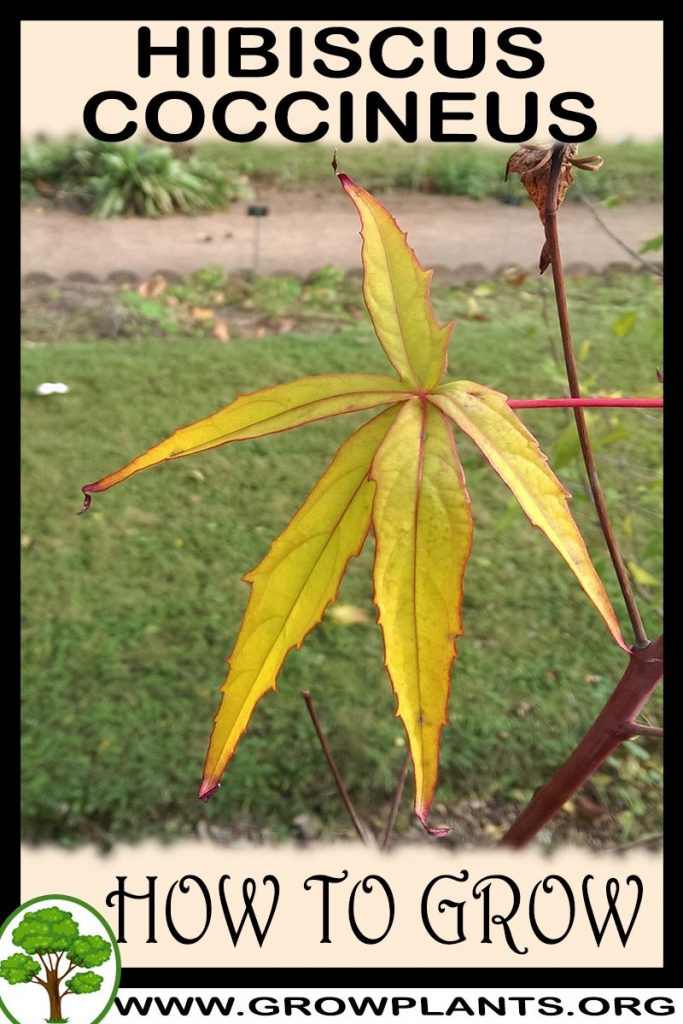
- Leaves and Foliage: Green, deeply digitate leaves with about five narrow, elliptic lobes (hand-like).
- Flower Characteristics: Red or white five-petalled flowers 4-10 cm across (full detail in the Bloom accordion).
Primary Uses & Landscape Value
- Edible Uses: Leaves used cooked or raw and for beverages.
- Functional and Ornamental Roles: Ornamental for borders, pond edges and rain gardens.
Care Guide: Planting, Soil & Watering
Overview: Scarlet (Texas star) hibiscus is a fast-growing hibiscus for full sun and rich, well-drained soil with organic matter. It enjoys steady moisture and needs far more water during extreme heat.
Quick Care Requirements
| Requirement | Ideal Condition |
|---|---|
| Planting Season | Cool season to spring (avoid peak summer heat in hot zones) |
| Growth Rate | Moderate to fast |
| Soil Type | Rich, well-drained soil with organic matter |
| Water Need | Moderate to high – much more on very hot days |
Planting & Establishment
- Best Planting Season: Plant from winter through spring into summer; in zone 10b avoid summer and favour the winter-to-early-spring window.
- How to Plant:
- Hole Preparation: Dig the hole about 50% wider than the root ball so roots can spread into loosened soil.
- Soil Amendments: Work plenty of organic matter into the backfill (compost, well-rotted leaves and humus), then mulch the surface to hold moisture; hold back on fertiliser until the plant has established.
- Planting Depth: Set the plant so the top of the root ball sits level with the surrounding soil, firm it in gently and stake if unstable, without burying the stem.
- Growth Speed & Expectations: Moderate to fast – reaches flowering size quickly in warm conditions.
Soil, Watering & Drainage Care
- Soil Mix & Drainage Needs: Rich, free-draining soil improved with organic matter and mulched to hold moisture; keep containers well-drained.
- Watering Schedule & Technique:
- Young / Newly Planted: Water twice on planting day, then daily for the first two weeks until established.
- Established: Water deeply and regularly; add much more water when temperatures rise above about 40C (104F).
- Seasonal Adjustments: Give plenty of water in summer heat; in winter water only lightly and wait for spring growth before resuming regular watering.
Climate, Light & Hardiness
Hibiscus coccineus (Texas star/scarlet hibiscus) is a cold-hardier perennial hibiscus for subtropical, Mediterranean, and tropical climates, reliably hardy through USDA zone 6–10a and workable in zone 10b with extra care. It wants full sun in most of its range, shifting toward half shade in the hottest, most intense-sun locations.
Quick Climate Specifications
| Climate Zones | Subtropical, Mediterranean, tropical |
|---|---|
| USDA Hardiness Zones | 6–10a, and 10b with the right care |
| Frost Tolerance | Moderate |
| Light Conditions | Full sun (half shade in the hottest zone 10b locations) |
Sunlight & Light Exposure
Optimal Light Setup
Full sun suits it through most of its range.
Shade & Heat Management
In zone 10b areas that regularly see days above about 40°C (104°F), half shade helps protect the plant from heat stress.
Temperature Extremes & Hardiness
USDA Hardiness & Regional Limits
One of the more cold-hardy ornamental hibiscus species on the site, reliably perennial from USDA zone 6 upward.
Extreme Heat Tolerance
Needs significantly more water once temperatures climb above roughly 38°C (100°F), so extreme heat is a real stress factor despite its sun-loving nature.
Growing in Pots, Balconies & Indoors
Scarlet rosemallow (Hibiscus coccineus) is a tall, sun-loving perennial for a sunny balcony, patio or large container – the grower does not grow it indoors, where the light is too weak for good flowering.
Quick Details
- Container Size: 10-20 L (2-4 gal), larger is fine
- Indoor Suitability: Not a houseplant – it is a tall perennial that needs full sun to bloom well
- Best Spot: Full sun (light half shade only in extreme heat)
- Soil & Drainage: Potting soil or a peat-and-perlite (or other light) mix, kept moist but free-draining
- Watering in Pots: Water regularly, average to generous – more on hot days above about 38C (100F) – but do not let water pool.
Indoors & On the Windowsill
- Houseplant limits: The grower marks it as not an indoor plant; a room cannot supply the light it needs.
- In hot climates: It appreciates some half shade only where days regularly top about 40C (104F); otherwise give it full sun outdoors.
On a Balcony or Patio
- Light and wind: Give it the sunniest, warmest spot for the best flowering; walls and railings reflect heat so pots dry quickly – check moisture daily in hot spells and shelter it from strong wind. A drip irrigation kit with a timer can take over that watering check automatically.
- Overwintering: Where winters are cold, a potted plant is easy to move into a bright, frost-free spot for the cold season and back out when it warms – a key reason to grow tender hibiscus in a container.
- Practicalities: A large watered pot is heavy – check the balcony can take it, and manage drainage runoff with a tray or pot feet.
Choosing the Pot, Soil & Long-Term Care
- Pot and drainage: 10-20 L (2-4 gal) with strong drainage holes. If it stands in a tray, do not let water pool there for days – that leads to root rot. Choose a pot with strong drainage holes; if you stand it on a saucer, empty the saucer promptly so the roots never sit in water. Terracotta breathes and dries faster, while glazed or plastic pots hold moisture longer.
- Potting mix: Use a well-aerated, organic-rich mix – a good potting soil, or peat/coir blended with perlite or vermiculite for drainage and air.
- Watering: Water regularly to keep the mix evenly moist – pots dry out far faster than open ground, so check often in heat – but never leave it standing wet.
- Feeding: Potted plants run through their soil faster because nutrients leach out with every watering, so feed a little more often than you would in open ground. Adding humus, organic matter and a mulch layer, as the grower advises, helps hold moisture and nutrients.
Grower’s Container Tip
- Pot up gradually and root-prune from the side: The grower’s own method: move up one pot at a time, only about 50% larger than the root ball, mixing in some fresh soil at each step until you reach the final container size. After that, every few years replace part of the soil and cut back some roots – you can do this from the side of the pot without lifting the whole plant out. Adding humus, organic matter, fertilizer and a mulch layer on top helps keep the soil moist and fed.
Fertilizing & Feeding
A fast-growing perennial hibiscus grown mainly for its large red flowers, with edible leaves as a secondary use: balanced feeding through spring growth and into bloom supports the display, tapering off as the plant slows heading into its cool-season rest.
Quick Fertilizing Specs
| Feeding Level | Moderate feeder |
|---|---|
| young_feeding | A balanced starter feeding with organic matter worked into the planting hole |
| mature_feeding | Regular, balanced feeding through spring growth and the summer-to-autumn bloom period |
| Main Nutrient Priority | Balanced nutrition with adequate nitrogen to support fast growth and the large flowers |
| Best Feeding Period | Spring through the summer-to-autumn bloom season |
| Organic Options | Compost, aged organic matter, and mulch worked in and maintained around the root zone |
| Soil pH | Prefers rich, moist, well-drained soil without an extreme pH |
| Reduce/Stop Feeding | Stop feeding as top growth dies back or slows heading into the cool season |
Feeding by Growth Stage
Spring Growth
Support new shoot and leaf growth as this fast-growing perennial resumes active growth.
| Nutrient direction | A balanced, complete fertilizer to build strong new growth. |
|---|---|
| Timing | As new growth resumes in spring, once the risk of hard frost has passed. |
| Frequency | Light, regular feeding through the spring flush supports this fast grower well. |
| Fertilizer types | Balanced complete fertilizer for flowering shrubs |
| Precautions | Wait until new growth is clearly underway before feeding, especially where the top growth died back over winter. |
Summer to Autumn Bloom
Sustain the large red flowers through the plant’s extended bloom period.
| Nutrient direction | Continue balanced feeding with adequate nitrogen through bloom. |
|---|---|
| Timing | Through summer into autumn, the plant’s main bloom period. |
| Frequency | Light, steady feeding through bloom keeps flowering going without forcing excess soft growth. |
| Fertilizer types | Balanced complete fertilizer for flowering shrubs |
| Precautions | Ease off feeding as autumn progresses so growth has time to harden before cooler weather. |
Cool-Season Rest
Let the plant rest through its cool-season slowdown, which can include top growth dying back to the ground in cooler parts of its range.
| Nutrient direction | None – withhold fertilizer once growth slows or top growth dies back. |
|---|---|
| Timing | From the point top growth dies back or clearly slows through the end of the cool season. |
| Frequency | No feeding at this stage. |
| Fertilizer types | No feeding at this stage – resume once new growth appears in spring |
| Precautions | Do not fertilize a resting or dieback plant; there is little active leaf or root demand to use it, and it can build up salts before growth resumes. |
Nutrient Deficiency Signs & Corrections
Pale green leaves and weaker-than-usual new growth during the growing season.
| Possible causes | Low available nitrogen in the soil, Nitrogen leached away by heavy rain or watering, A feeding program that lapsed during active growth |
|---|---|
| Appears first on | Older, lower leaves first. |
| What to check | Recent feeding history, Soil drainage and rainfall, Overall growth compared to prior seasons |
| Possible correction | Resume balanced feeding once active spring growth is underway. |
New leaves yellow between the veins while the veins remain green.
| Possible causes | High or alkaline soil pH limiting iron availability, Waterlogged or poorly drained soil, Cool, wet conditions slowing root uptake |
|---|---|
| Appears first on | Youngest leaves at the growing tips. |
| What to check | Soil pH, Drainage around the root zone, Whether symptoms follow cold or wet weather |
| Possible correction | Correct overly alkaline soil where practical and apply a chelated iron product per its label if the pattern persists. |
Flower buds dropping or petals scorching during periods of extreme heat.
| Possible causes | Extreme heat stress independent of feeding, Inconsistent watering during hot weather, Overfeeding compounding heat stress on tender buds |
|---|---|
| Appears first on | Open flowers and buds first, followed by leaf margins in severe cases. |
| What to check | Recent temperature extremes, Watering consistency during heat waves, Whether feeding was unusually heavy going into the heat |
| Possible correction | Keep watering consistent during heat waves and avoid heavy feeding right before or during extreme heat. |
Pruning, Training & Seasonal Maintenance
Hibiscus coccineus is a swamp-margin native that behaves as a cane-forming perennial: in most of its hardiness range it dies back to the ground each winter and sends up new 1–3m flowering canes each spring, while in the mildest frost-free zones (10b+) it can hold a more persistent, semi-woody base. Because it flowers on the current season’s new canes, an annual hard cutback is not just tolerated but the standard way this plant is managed, and it has essentially no impact on that year’s bloom.
Quick Pruning & Maintenance Specs
| Pruning Tolerance | High |
| Primary Pruning Window | Late winter–very early spring, before new canes emerge |
| Typical Frequency | Once a year (annual cane renewal), plus removal of storm-damaged canes as needed in summer |
| Main Objective | Clear old canes to make way for new flowering growth; control legginess |
| Young Plant Priority | Let the plant establish a strong root system before pinching for branching |
| Mature Plant Priority | Annual cutback of old canes; optional early pinch of new shoots to reduce height and encourage branching |
| Best Tool Type | Bypass secateurs / loppers for old cane bases |
| Avoid Heavy Pruning During | Active summer bloom, and any pruning that removes new growth right before an unexpected late frost |
Pruning by Plant Age & Size
Newly Established
In the first year, avoid cutting the plant back hard; let it build a strong root system, removing only damaged growth.
Young / Formative
No structural leader/vase training is used – this is a multi-caned herbaceous-to-semi-woody perennial. Where a bushier, shorter plant is wanted, pinch new spring shoots once early in the season to encourage branching and reduce final height.
Mature / Established
Each year, remove the previous season’s old canes down to near ground level (or to a low framework in frost-free zones where some base persists) before new growth starts.
Seasonal Pruning Schedule
Dormant/Late-Winter Cane Renewal
Objective: clear the way for a fresh flush of flowering canes. Remove: all of the previous year’s dead or spent canes, cut back to near ground level (or to live basal wood in frost-free zones). Do not remove: canes before they are clearly dead/dormant – wait until the coldest part of winter has passed. Expected response: vigorous new cane growth from the crown as the weather warms. Flowering impact: none – the coming season’s flowers form entirely on these new canes.
Ongoing Sanitary
Remove any storm-broken or damaged canes as they occur through the growing season.
Flowering & Fruiting Wood
Flowers form on the current season’s new canes, not on old wood, which is why the annual cutback to the ground (or to a low base) does not cost this year’s bloom – it is, in effect, what produces it.
Structural Pruning & Training
Height and spread control is the main structural concern, since unpinched canes can reach 3m; an early pinch of young shoots (before mid-spring) encourages a shorter, more branched, less top-heavy plant that needs less staking. Thinning is generally unnecessary – this plant’s open, multi-caned habit does not benefit from interior thinning the way a dense woody shrub would.
Special Growth to Remove
- Old, spent canes from the previous season – the main annual task, cut to near ground level (or low base) before new growth starts.
- Storm-damaged or broken canes at any time during the growing season.
- Not typically grafted, so no rootstock-sucker concern.
Container & Small-Space Pruning
This species can be grown in large containers, but its natural size (up to 3m of new growth each season) means container specimens benefit from the early-season pinch described above to keep height manageable; the same annual cane-clearing applies, and containers should not be allowed to dry out during the summer growing season given this plant’s wetland origins.
Tools
- Bypass secateurs – thinner canes and general cane-base cuts.
- Loppers – thicker cane bases on vigorous, well-established clumps.
Tool Hygiene & Disease Risk
Routine – clean, sharp tools are sufficient. The known pest issues (aphids, mealybugs) are not tool-transmitted pathogens, so no special blade disinfection is required.
Cut Placement & Technique
Cut old canes low, close to the crown, rather than leaving tall stubs, which can trap moisture and encourage rot at a swamp-margin plant’s naturally damp planting site; if pinching young shoots for height control, pinch just above a node.
Heavy Pruning & Rejuvenation
The annual cutback to near ground level is itself a full rejuvenation and is standard practice, not an occasional emergency measure – expect a full new flush of canes and normal flowering the same season.
Post-Pruning Care
Keep soil consistently moist after the late-winter cutback, reflecting this species’ wetland/swamp-margin origin; avoid heavy feeding immediately after cutting back, since regrowth is already vigorous on its own.
Common Pruning Mistakes
- Cutting the old canes back too early, before the coldest weather has passed, risking cold damage to any tender new growth that responds.
- Leaving old dead canes standing through a wet winter, which can encourage rot at the crown in this naturally moisture-loving species.
- Skipping the early-season pinch and then finding tall, floppy, wind-exposed canes that need staking later in the season.
When NOT to Prune
Avoid cutting back the previous year’s canes too early in winter, before hard frost risk has passed; avoid removing developing canes during active summer bloom if uninterrupted flowering is wanted.
Recommended Tools (by task)
- Annual old-cane removal (canes up to ~2cm): bypass_secateurs – clean cuts at the crown for most canes.
- Thick, well-established cane bases: loppers – extra leverage for older, thicker clump bases.
Propagation Guide
Hibiscus coccineus is not hard to raise from seed, but stem cuttings are used whenever a particular flower color or plant size needs to be guaranteed, since seedlings can vary in these traits. Neither grafting nor any other vegetative method is required, and propagation overall is easy.
Quick Propagation Specs
| Best Propagation Method | Seed |
| Alternative Methods | Stem cuttings |
| Propagation Difficulty | Easy |
| Seed True-to-Type | Variable – flower color and plant size are not guaranteed from seed |
| Vegetative True-to-Type | Yes – cuttings reproduce flower color and plant size exactly |
| Best Propagation Season | Spring, summer or autumn for seed (temperature matters more than the calendar month); early spring, before new growth resumes, for cuttings |
| Seed Germination Time | 10–20 days |
| Cutting Rooting Time | A few weeks |
| Germination Temperature | 20–26°C (68–80°F) |
| Seed Sowing Depth | 0.5–1 cm (0.2–0.4 in), covered but not pressed down – the site notes seeds do need to be covered rather than surface-sown |
Growing from Seed
Seed Handling & Viability
Store seed in a dry, dark place in the refrigerator until sowing.
Dormancy & Pre-Sowing Treatment
The site notes a chilling requirement of at least one month of cold temperature, with seed kept in peat soil during that cold period. This suggests a period of cold stratification benefits or is needed for reliable germination in this cold-hardier Hibiscus (hardiness zone 6-10a).
Sowing Season
Spring, summer or autumn – temperature matters more than the calendar month.
Sowing Depth & Orientation
Cover seed with about 0.5–1 cm of soil without pressing it down – the site specifies that seed does need to be buried rather than left on the surface. For transplants, space seedlings roughly 3×5 cm apart and hold off transplanting until they have about 5 leaves; direct-sown plants are spaced around 1×1 m (40×40 in).
Germination Conditions
Full sun and consistently moist soil at 20–26°C (68–80°F) with humidity; water at an average-to-generous rate.
Germination Time
10–20 days.
Seedling Care
Once seedlings reach about 5 leaves, fertilizer can be added.
Stem Cuttings
Best Timing
Early spring, or once temperatures reach about 15–26°C (59–79°F), and ideally before the plant resumes growth after dormancy.
Cutting Preparation
Choose stems that are not about to bloom.
Rooting Setup
Root in moist, peat-based soil with high humidity; a small greenhouse or a perforated plastic box is strongly recommended to hold humidity around the cutting.
Rooting Hormone
A rooting hormone is used in the site’s method and is beneficial for success.
Rooting Time
A few weeks.
Bloom & Edible Flower Guide
Quick Details
- Bloom Season: Spring through autumn
- Time to First Bloom: In its first year from an early start; established plants flower each warm season
- Flower Appearance: Large red (occasionally white) five-petalled flowers, about 4-10 cm across, with the slender central column typical of hibiscus
- Edibility: The flowers are edible, as with other hibiscus – used fresh or dried in teas and as a garnish
Detailed Blooming Overview
Scarlet rose mallow (Texas star hibiscus) opens a succession of big, star-like red flowers through the warm months. Each bloom is broad – up to about 10 cm – with five spreading petals and the long central column of fused stamens that marks the hibiscus family. Individual flowers last a day or so, but new ones keep coming.
Flower Characteristics
- Large red (sometimes white) flowers with five petals.
- About 4-10 cm across, with a prominent central staminal column.
- Each flower is short-lived, but bloom continues over a long season.
Bloom Care & Thinning
- Deadheading: Removing spent blooms keeps the plant flowering and tidy.
- Pollination: Worked by bees and flies, and the nectar also draws butterflies and hummingbirds.
- In the kitchen: The petals can be used fresh or dried in teas and as a garnish; use only unsprayed flowers.
Bloom Health & Protection
- Aphids and whiteflies: Often gather on buds and new growth; a water spray, insecticidal soap or neem oil keeps them in check.
- Japanese beetles: Where present, they chew petals and buds and can be picked off by hand.
Fruit & Uses
Hibiscus coccineus (Texas Star hibiscus) is grown chiefly for its striking red flowers, but its tender leaves are also edible and are used raw or cooked, much like other edible-leaved hibiscus relatives.
Quick Edible Specs
| Edible Parts | Leaves |
|---|---|
| Main Use(s) | Culinary — raw or cooked greens; also used for beverage |
| Eaten Raw or Cooked | Both |
| Preparation Required | None (raw) or Cook (optional) |
| Harvest Season | All year, once established |
| Time to First Harvest | Once the plant is established (qualitative — see Growing Info for planting timeline) |
| Storage | Best used fresh |
| Safety/Toxicity Caveat | No significant toxicity noted |
Leaves & Greens
Leaves are green, digitately lobed (arranged like fingers on a hand) with 5 elliptic lobes. Once the plant is established, leaves can be harvested; they are eaten cooked or raw, and are also used for beverage.
Preparation, Uses & Safety
No preparation is strictly required — leaves can be eaten raw or cooked according to preference. No specific safety concerns are noted for this species; only the leaves are described as edible, not the flowers.
Pests, Diseases & Troubleshooting
Overview: Hibiscus coccineus is a hardy, moisture-loving native perennial hibiscus (rose mallow) with very large flowers. Across the genus, hibiscus are magnets for sap-sucking insects — aphids, whitefly, mealybugs (including the serious pink hibiscus mealybug), spider mites and thrips — and they suffer bud drop, leaf spot and root rot when stressed. Manage them with vigilant scouting, strong plant health, and organic controls first (water jets, soaps, oils, beneficials), keeping stronger products for outbreaks.
Quick Troubleshooting Overview
| Issue / Pest | Main Symptom | Primary Solution |
|---|---|---|
| Aphids | Colonies on buds & shoot tips; honeydew, sooty mould | Hose off; insecticidal soap; beneficials |
| Whitefly | Clouds of tiny white flies under leaves; sticky honeydew | Yellow sticky traps; oil/soap; Encarsia |
| Mealybugs | White cottony masses; distorted growth | Alcohol/oil; control ants; ladybird predators |
| Hibiscus sawfly | Leaves skeletonised to lace by green larvae | Hose off / hand-pick; spinosad if severe |
| Spider mites | Stippling, bronzing and webbing in heat | Hose; raise humidity; horticultural oil |
| Japanese beetle | Skeletonised leaves and chewed flowers | Hand-pick into soapy water; protect blooms |
| Root rot / bud drop | Wilting in wet soil; buds yellow and drop | Improve drainage; reduce stress; steady watering |
Common Pests & Management
- Aphids (Aphis gossypii and others):
- Symptoms: Dense colonies of soft green, yellow or black aphids on shoot tips, buds and leaf undersides, coating growth in honeydew and sooty mould and distorting new leaves and flowers.
- Prevention & Control: Blast off with water, encourage ladybirds, lacewings and hoverflies, and use insecticidal soap or neem oil in the evening. Control ants, which farm and protect aphids.
- Whitefly (Bemisia tabaci / giant whitefly Aleurodicus dugesii):
- Symptoms: Clouds of tiny white moth-like flies rising when the plant is disturbed, with sticky honeydew and sooty mould on leaves; a chronic hibiscus pest under warm conditions.
- Prevention & Control: Hang yellow sticky traps, spray horticultural oil or insecticidal soap to the leaf undersides, and introduce the parasitic wasp Encarsia formosa under glass; keep plants unstressed.
- Mealybugs, incl. pink hibiscus mealybug (Maconellicoccus hirsutus):
- Symptoms: White cottony masses on shoot tips, buds and leaf axils; the pink hibiscus mealybug injects a toxic saliva that causes severely bunched, distorted “bonsai-like” growth and is a serious quarantine pest.
- Prevention & Control: Dab colonies with alcohol, wash off, use horticultural oil, and control tending ants. For pink hibiscus mealybug, biological control (the ladybird Cryptolaemus and parasitoid wasps) is the mainstay; report suspected outbreaks in regulated areas.
- Hibiscus sawfly (Atomacera decepta):
- Symptoms: The signature pest of hardy perennial hibiscus — small pale-green larvae skeletonise the leaves to lace, working from the undersides and rapidly defoliating plants in successive generations through the season.
- Prevention & Control: Scout leaf undersides from early in the season, hose off or hand-pick larvae, and encourage predators. For heavy attacks use insecticidal soap, spinosad or neem; repeat as new generations appear.
- Japanese beetle (Popillia japonica):
- Symptoms: Metallic beetles skeletonise leaves and chew the large flowers in summer.
- Prevention & Control: Hand-pick into soapy water, net prized blooms, and manage turf grubs; skip pheromone traps that attract more beetles.
- Spider mites (Tetranychus urticae):
- Symptoms: Fine pale stippling, bronzing and fine webbing on leaf undersides, worst in hot, dry, dusty conditions; leaves yellow and drop.
- Prevention & Control: Raise humidity and hose down foliage, introduce predatory mites, and apply horticultural oil or insecticidal soap; avoid drought stress.
- Thrips (Frankliniella spp.):
- Symptoms: Silvery flecking on leaves and, importantly, streaked, distorted flowers and buds that may drop before opening.
- Prevention & Control: Use blue sticky traps, remove weeds and spent blooms, and apply insecticidal soap or spinosad; encourage predatory mites.
Diseases & Fungal Issues
- Leaf spot & bacterial leaf spot (Cercospora, Pseudomonas spp.):
- Symptoms: Brown, tan or angular water-soaked spots on leaves, sometimes with yellow haloes, leading to yellowing and leaf drop in warm, wet weather.
- Treatment & Management: Remove affected leaves, improve airflow, avoid overhead watering, and use a copper fungicide for persistent bacterial or fungal spotting.
- Root & collar rot (Phytophthora / Pythium):
- Symptoms: Wilting despite moist soil, yellowing lower leaves, and dark, decayed roots and stem base in wet, poorly drained ground.
- Treatment & Management: Improve drainage, avoid overwatering, plant at the correct depth, and remove badly rotted plants; prevention through good drainage is far more effective than cure.
- Botrytis / grey mould (Botrytis cinerea):
- Symptoms: Fuzzy grey mould on flowers and soft growth in cool, damp, crowded conditions.
- Treatment & Management: Remove spent blooms and dead tissue, improve airflow, and avoid wetting the flowers.
- Hibiscus rust / leaf spot (regional fungi):
- Symptoms: Fungal spotting and, in some regions, rust pustules on the large leaves of perennial mallows in wet weather.
- Treatment & Management: Remove affected foliage, cut down and clear old stems in dormancy, and improve airflow.
Growing Difficulties & Abiotic Problems
- Bud drop:
- Cause & Symptoms: Flower buds yellow and drop before opening due to stress — sudden temperature swings, dryness, overwatering, low light or a check to growth (as well as gall midge or thrips). Correction Strategy: Keep watering, light and temperature steady, avoid moving plants in bud, and rule out midge/thrips.
- Chlorosis (iron / manganese deficiency):
- Cause & Symptoms: Yellowing leaves with green veins, common on hibiscus in alkaline or waterlogged soil where iron uptake is blocked. Correction Strategy: Improve drainage, acidify slightly, and apply chelated iron/manganese; feed with a balanced fertiliser.
- Overwatering & poor drainage:
- Cause & Symptoms: Yellow leaves, wilting and root rot from soggy soil. Correction Strategy: Let the top of the soil dry between waterings and ensure containers drain freely.
- Late emergence:
- Cause & Symptoms: These herbaceous perennials are slow to break dormancy and appear dead well into spring. Correction Strategy: Be patient and mark their position; do not dig them out prematurely.
- Dry-soil stress:
- Cause & Symptoms: Wilting, bud drop and mite attack when the soil dries, as these are moisture-loving marsh mallows. Correction Strategy: Keep soil reliably moist; they thrive in damp ground and beside water.
What Helps — Products & Tools
For hibiscus keep insecticidal soap and neem/horticultural oil for aphids, whitefly, mealybugs and mites; yellow sticky traps for whitefly; spinosad for thrips; copper fungicide for leaf spot; and chelated iron for chlorosis. Beneficials — ladybirds, lacewings, Encarsia and predatory mites — do much of the work if you avoid harsh sprays. Steady watering and good drainage prevent most of the abiotic troubles.