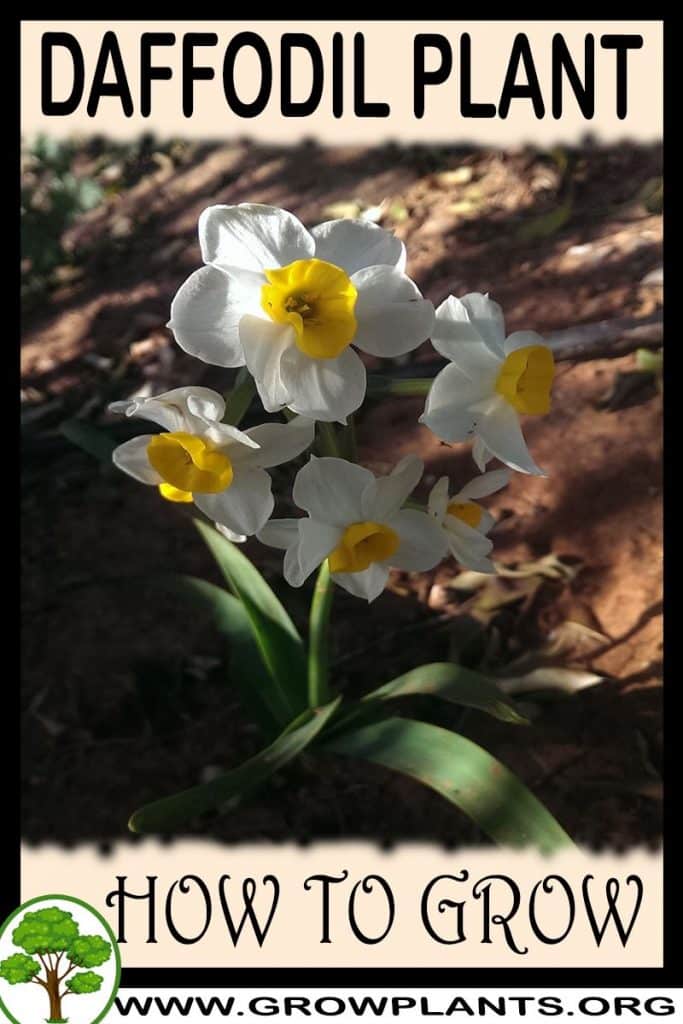
Plant Profile & Key Characteristics
Overview: The Daffodil (Narcissus) is a deciduous, bulb-forming perennial geophyte 5-80 cm (2-32 in) tall, grown as an ornamental and cut flower for its trumpet-shaped spring blooms. It performs in Mediterranean, desert, subtropical and temperate climates and can be forced indoors with care.
Quick Specifications
| Specification | Attribute |
|---|---|
| Plant Type / Life Cycle | Perennial geophyte (bulb) |
| Foliage Type | Deciduous (dies back to the bulb after flowering) |
| Mature Size | 5-80 cm (2-32 in) tall |
| Growth Rate | Slow to Moderate |
| Root System | Bulb with fibrous contractile roots |
| Toxicity | Toxic – all parts, especially the bulb, contain poisonous lycorine alkaloids |
| Hardiness | USDA zones 4-11 (lift/chill bulbs over winter in warm zones) |
Growth Form & Structure
- Height & Spread: 5-80 cm (2-32 in) tall in the ground; a single bulb grows well in a 1-2.5 L (0.2-0.5 gal) pot of free-draining mix.
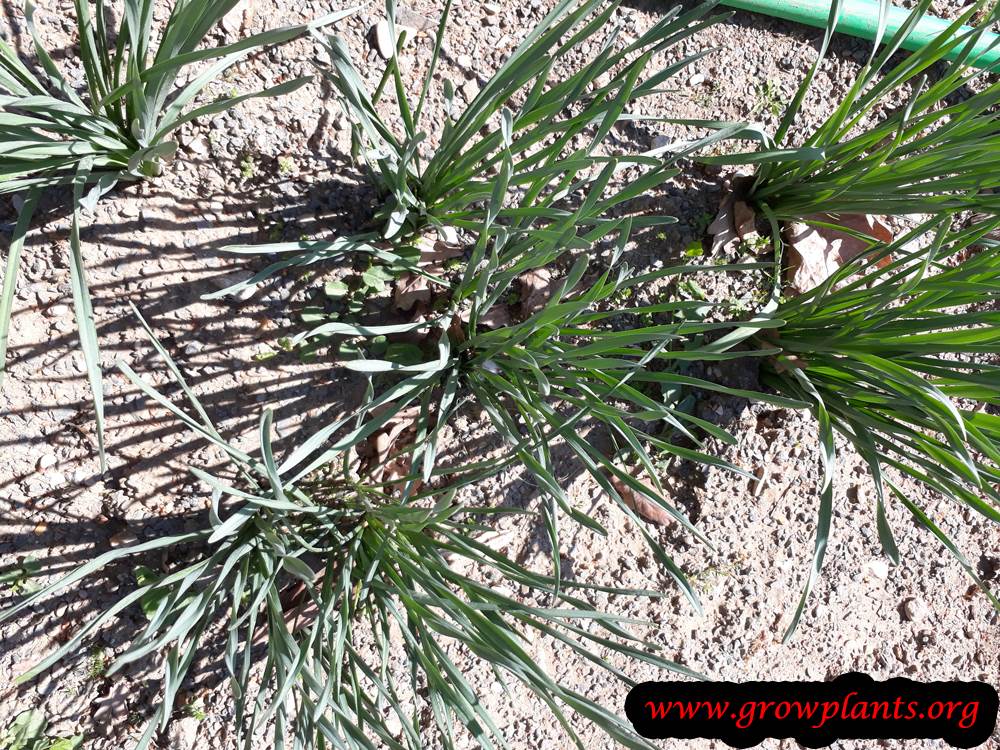
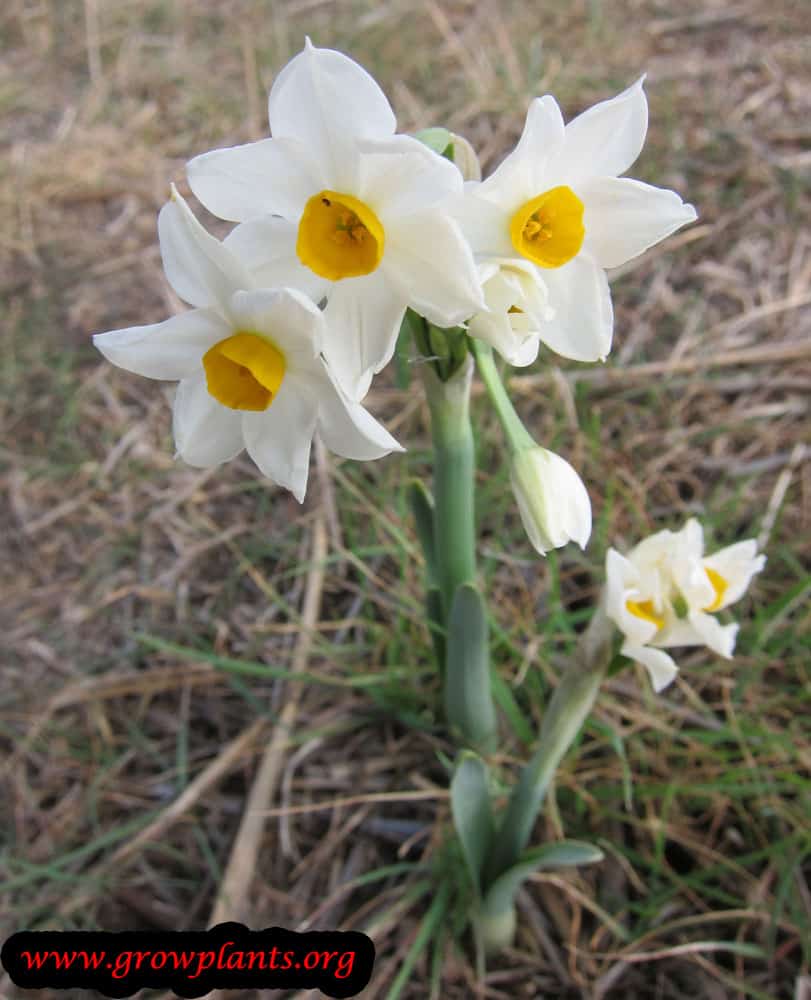
- Growth Habit & Form: Clump of upright linear leaves in a basal rosette, with flowers held on leafless stems above the foliage.
- Lifespan & Maturity: Long-lived perennial from the bulb; seed-grown plants take at least 2-4 years to reach flowering size.
Anatomy & Physical Features
- Leaves & Foliage: Green, strap-like linear leaves arranged in a rosette.
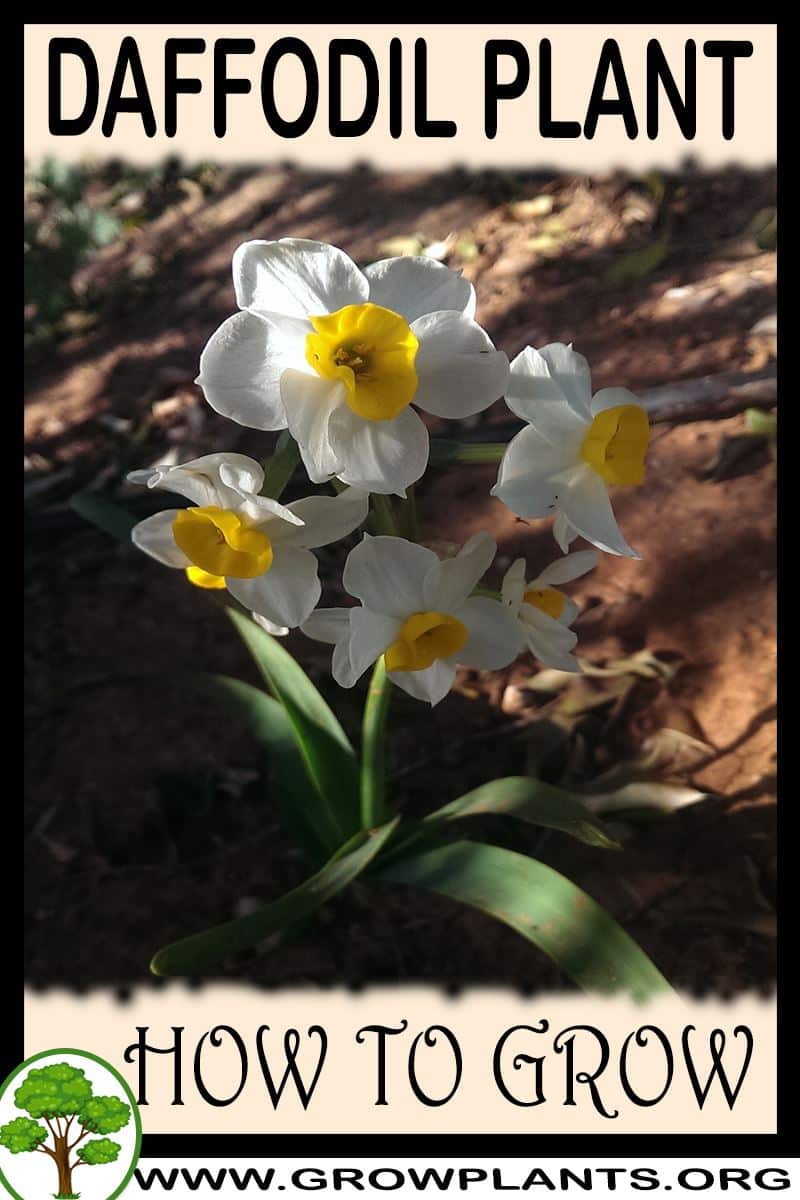
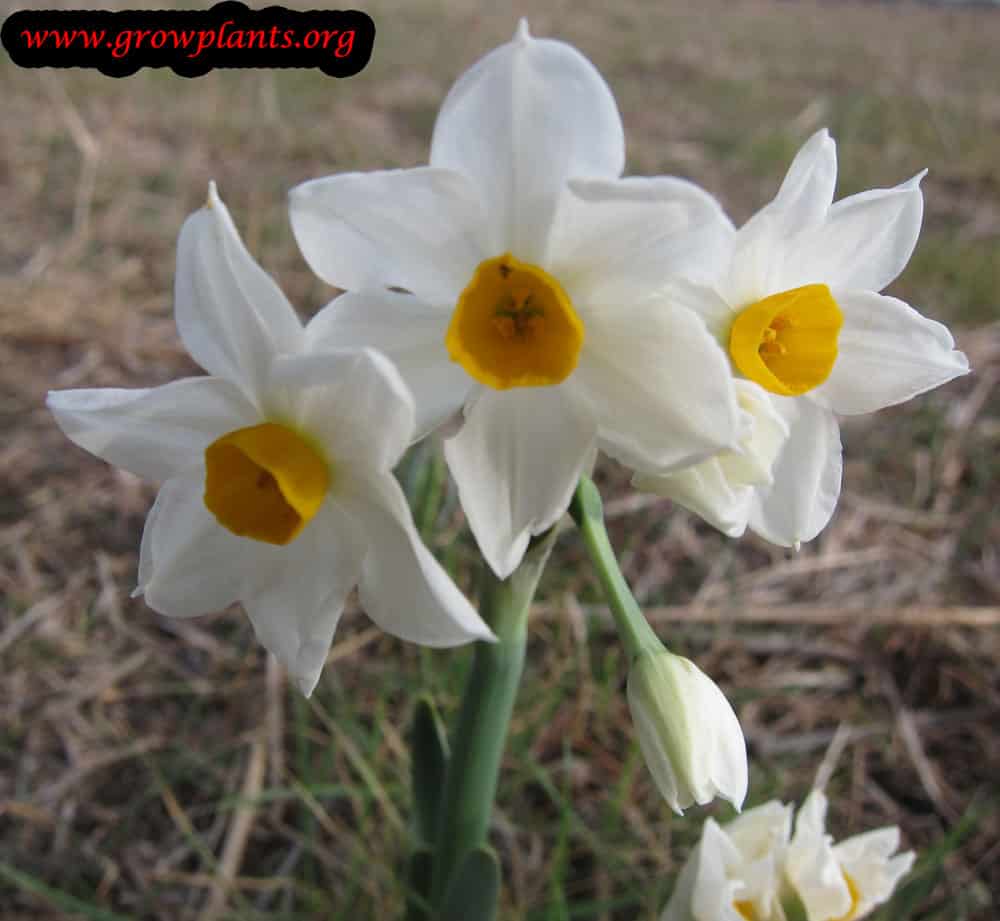
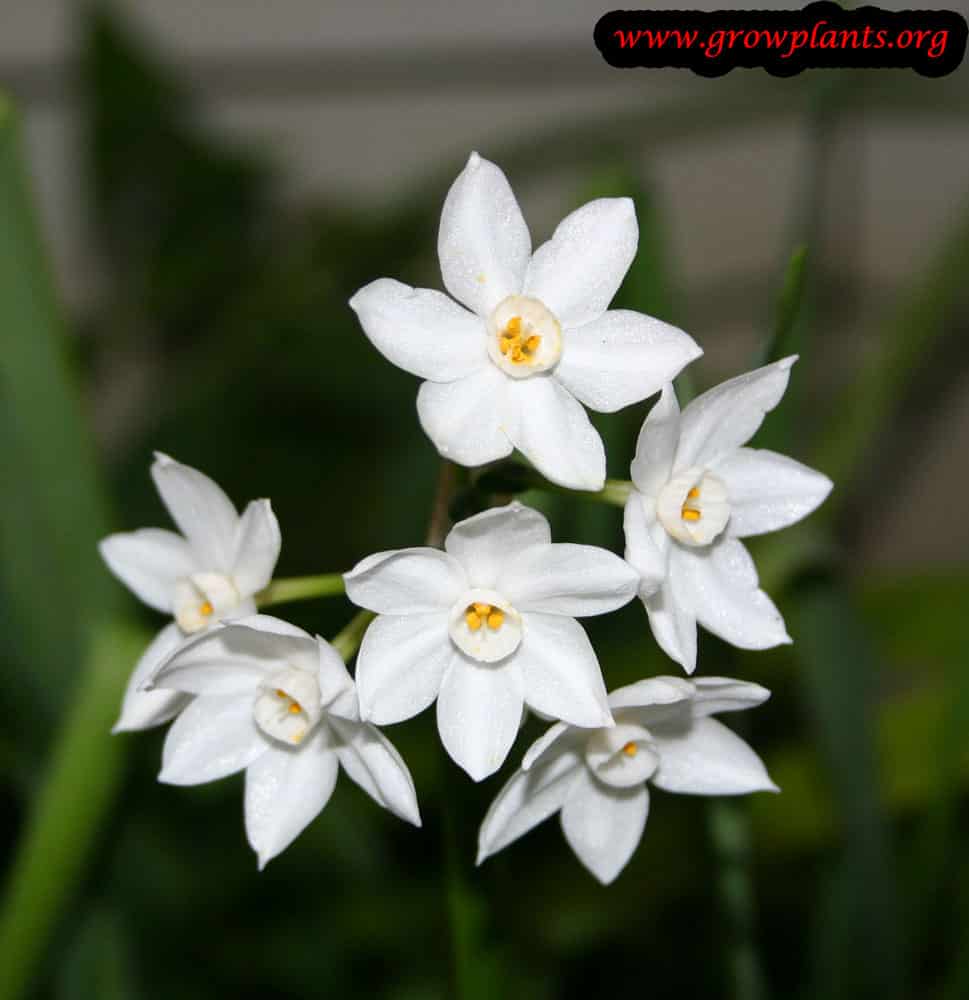
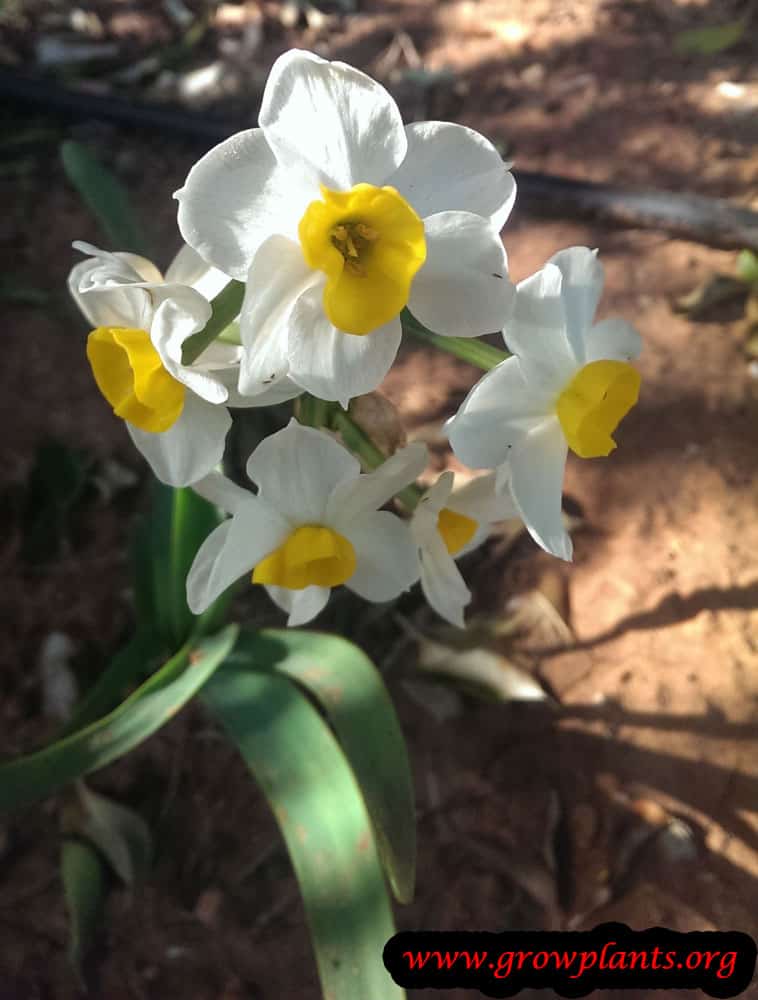
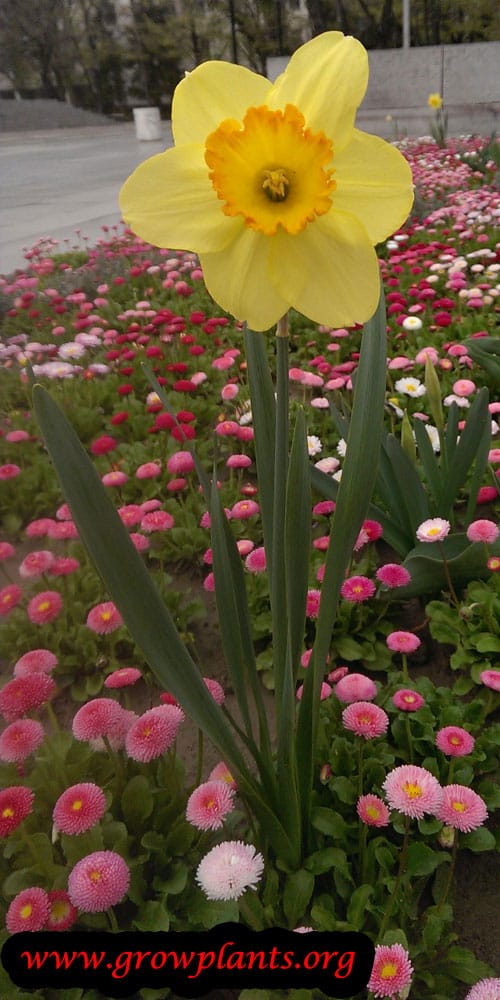
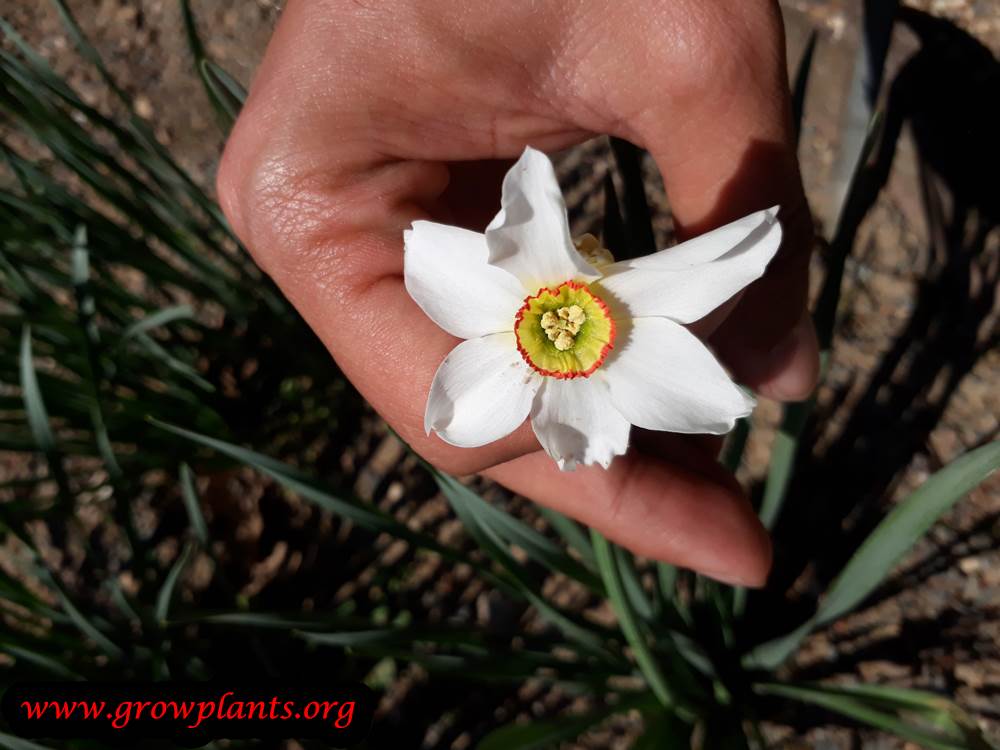
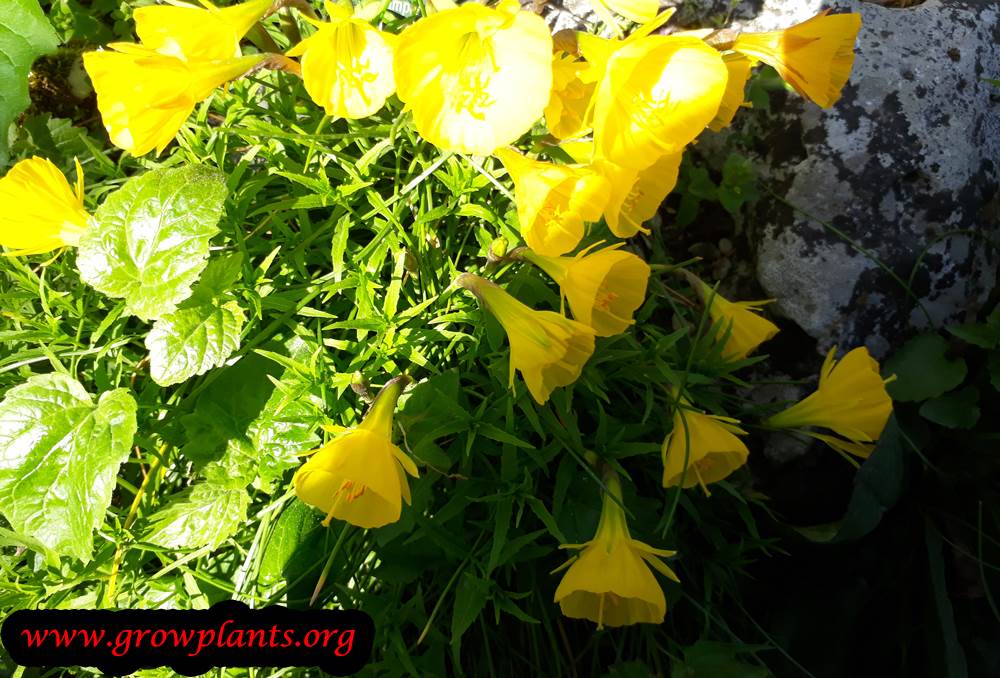
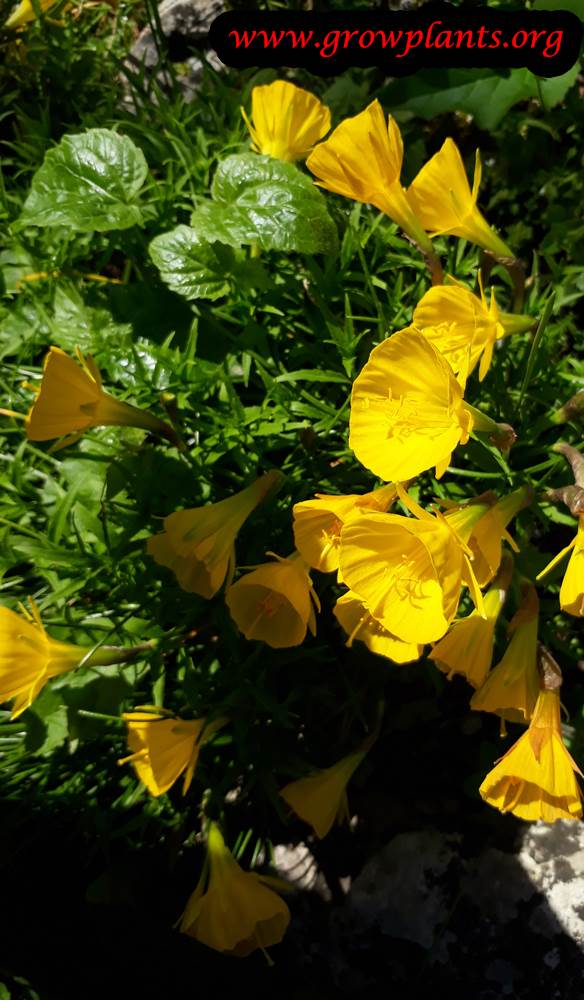
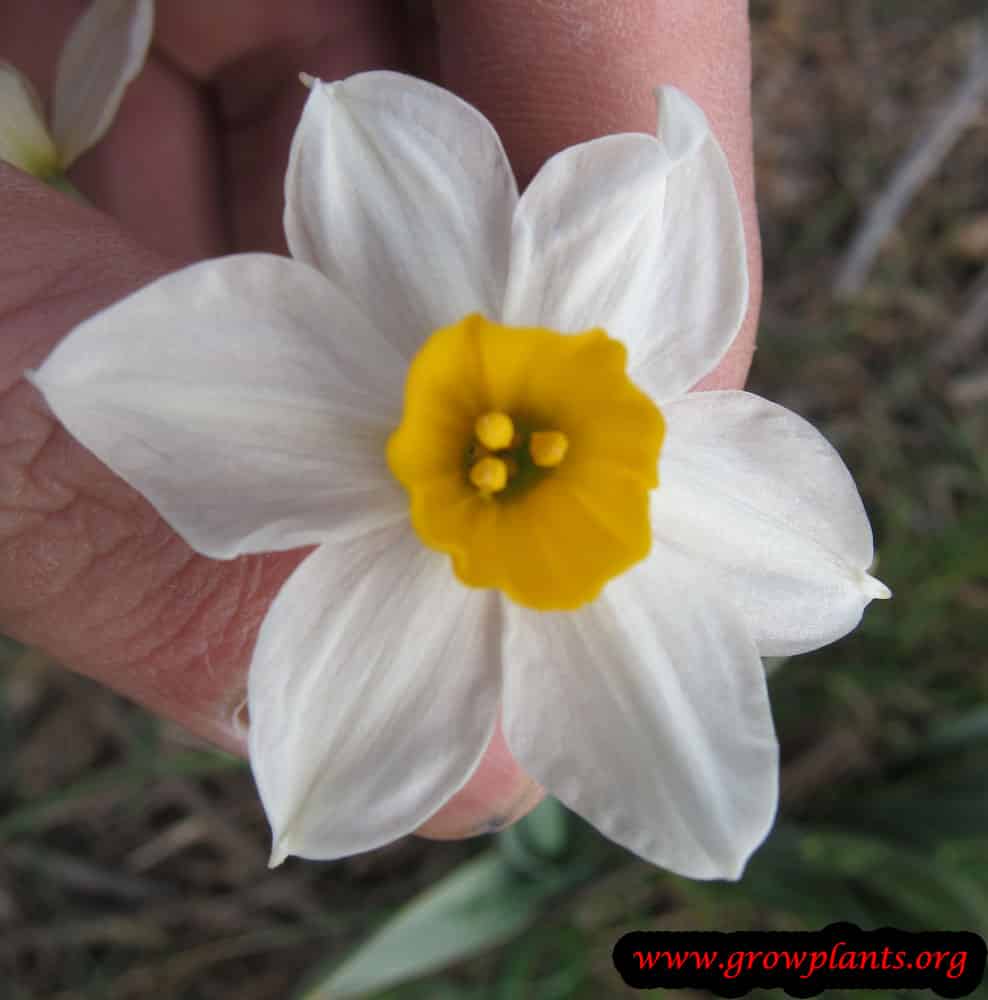
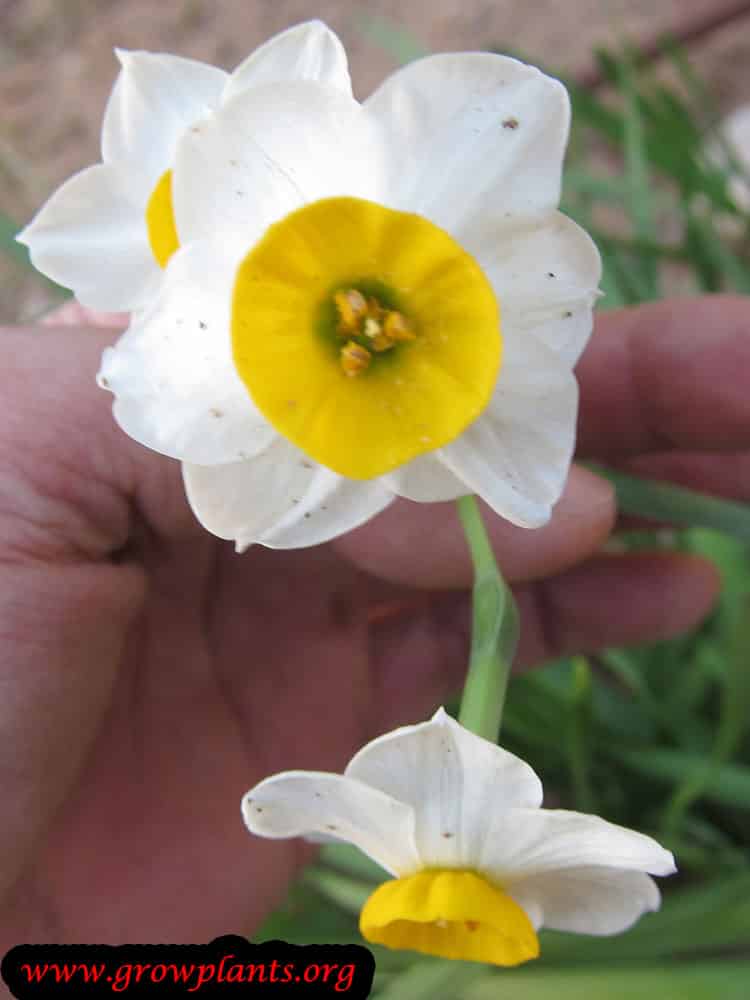
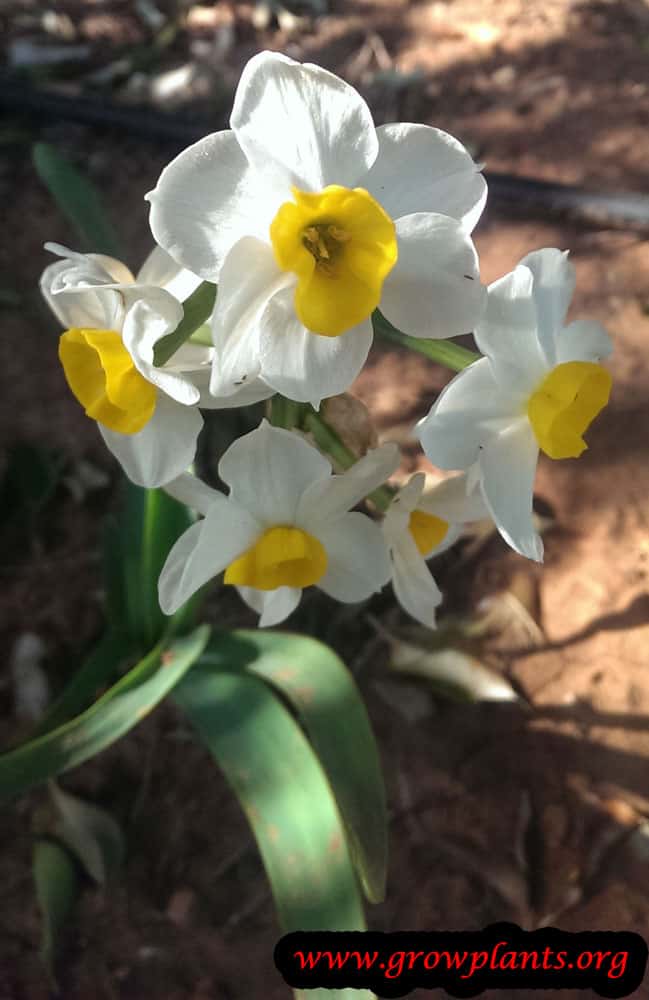
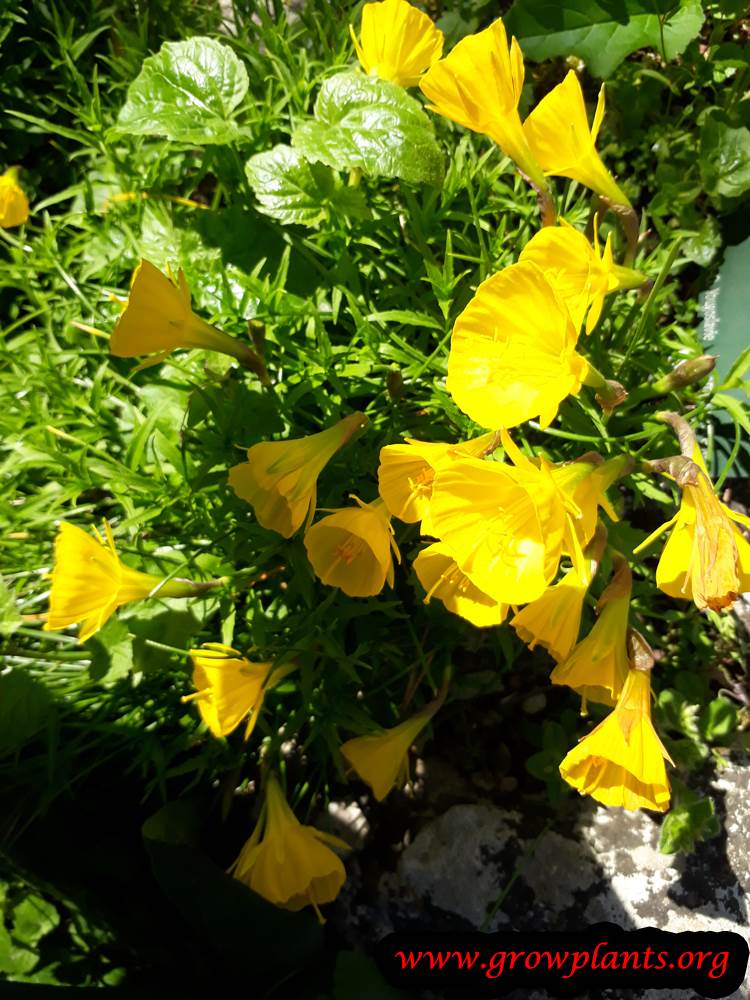
- Flower Characteristics: White, yellow or orange petals around a central trumpet cup, sometimes contrasting in colour; some varieties are fragrant.
Primary Uses & Landscape Value
- Functional & Ornamental Roles: Ornamental bulb for borders, naturalising, rockeries, containers and as a cut flower.
Care Guide: Planting, Soil & Watering
Overview: Daffodils are hardy bulbs that grow through a cool, moist season and rest dry through summer. They want full sun for good flowering and, above all, free-draining soil that never becomes waterlogged around the dormant bulbs.
Quick Care Requirements
| Requirement | Ideal Condition |
|---|---|
| Planting Season | In spring in cooler zones (4–10a); autumn to winter in warm zones (10b–11) |
| Growth Rate | Slow to moderate – slowest while the bulbs are young |
| Soil Type | Free-draining soil enriched with organic matter |
| Water Need | Moderate – moist in active growth, dry during summer dormancy |
Planting & Establishment
- Best Planting Season: Plant bulbs at the start of the growing season – spring in cooler zones (4–10a) and autumn to winter in warm zones (10b–11) – so they root before flowering; bulbs also need a cold rest of at least two months near 5°C to bloom.
- How to Plant:
- Hole Preparation: Dig a hole several times larger than the bulb and loosen the base so roots run down freely.
- Soil Amendments: Mix humus and organic matter through the backfill to enrich and lighten the soil; a chopped mulch on top helps hold moisture during growth.
- Planting Depth: Set the bulb pointed end up and cover it with about 2 cm of soil over its top; firm gently.
- Growth Speed & Expectations: Growth is slow to moderate, especially in young bulbs – clumps bulk up and flower more freely over several seasons.
Soil, Watering & Drainage Care
- Soil Mix & Drainage Needs: Sharp drainage is essential to stop the bulbs rotting; in pots use a well-drained potting mix (a single bulb is happy in 1–2.5 L) and always provide drainage holes.
- Watering Schedule & Technique:
- Young / Newly Planted: Keep the soil evenly moist once shoots appear and through rooting and flowering.
- Established: Water regularly while in leaf and flower, letting the surface dry slightly between waterings.
- Seasonal Adjustments: Reduce water as the foliage yellows and stop once the bulbs go dormant for a dry summer rest.
Climate, Light & Hardiness
Daffodil is a hardy spring-flowering bulb (geophyte) that grows in full sun to light shade during a cool season and rests dormant through summer. The site data lists hardiness zones 4–11 (with the bulb best chilled or lifted in the warmer part of that range): the bulb is very cold-hardy and needs a cool winter period to flower well.
Quick Climate Specifications
| Climate Zones | Mediterranean, desert, subtropics, temperate |
|---|---|
| USDA Hardiness Zones | Approximately 4–11 (chill or lift bulbs in warm-winter areas) |
| Optimal Temp Range | Cool growing conditions ~5–20°C (41–68°F) |
| Frost Tolerance | Dormant bulb high; emerged foliage moderate |
| Light Conditions | Full sun to partial shade |
| Wind Tolerance | Moderate |
Sunlight & Light Exposure
Optimal Light Setup
Full sun during the growing season gives the best flowering; it naturalises happily under deciduous trees, which are leafless while it grows and flowers. Deep shade prevents bloom.
Best Exposure / Orientation
In warm-winter areas it grows and flowers through autumn to winter and takes light shade in spring as it dies back.
Temperature Extremes & Hardiness
USDA Hardiness & Regional Limits
Very cold-hardy in the ground across a wide range. Warm winters are the limiting factor at the mild end, where bulbs are chilled before planting or lifted and stored to keep them flowering.
Cold Damage & Winter Protection
Dormant bulbs tolerate hard freezing; emerged grey-green foliage shrugs off light frost.
Extreme Heat Tolerance
Low during growth - heat ends the season early and drives dormancy; summers are passed as a resting bulb, kept dry and cool.
Chilling Requirement
Daffodils need a cool period to flower well - on the order of about two months near 5°C (41°F). In mild climates this chilling is supplied artificially before planting; without it, flowering is poor or fails.
Wind, Humidity & Microclimate
Rainfall & Seasonal Moisture
Suited to a cool, moist growing season followed by a drier, warm summer dormancy; wet summer soil can rot resting bulbs.
Microclimate Recommendations
A sunny to lightly shaded bed with good summer drainage suits it; store lifted bulbs cool and dry in areas with hot, wet summers.
Growing in Pots, Balconies & Indoors
Daffodils (Narcissus) are not classic houseplants, but the grower explains they can be brought indoors: give them sun on a windowsill before flowering, then move them inside to enjoy the blooms, even in shade, and stop watering as they go dormant. They also grow very well in pots for a patio, balcony or a bright sill.
Quick Details
- Container Size: About 1 L (0.2 gal) per bulb, and ideally 2.5 L (0.5 gal); well-drained potting mix
- Indoor Suitability: Not a permanent houseplant, but easily grown on a bright sill and moved indoors for the flowering display
- Best Spot: Full sun before and during bud; it can then flower on in half or even full shade indoors
- Soil & Drainage: Well-drained potting mix; refresh it when it tires
- Watering in Pots: Water steadily in growth; stop once the plant heads into dormancy
Indoors & On the Windowsill
- Grower’s indoor method: Because it is not a classic houseplant, first expose it to sun on the window so it can build to flower; once it starts to bloom, bring it indoors and enjoy it until it goes dormant, then stop watering.
- Windowsill growing: A bright, cool sill is ideal for building strong flower buds; cool nights make the blooms last longer.
- Overwintering / forcing: These hardy bulbs need a cold, dark chill to set flower; give potted bulbs that cool rest, then bring them into light and warmth to force them into bloom.
- Safety: All parts, especially the bulbs, are poisonous – keep pots away from children and pets, and never confuse the bulbs with edible ones.
On a Balcony or Patio
- Light & wind: A sunny, sheltered balcony is perfect for spring pots; reflected heat and wind dry containers quickly, so keep the mix evenly moist while in growth.
- Practicalities: Allow for the weight of a filled pot and for drainage runoff onto the balcony below – stand pots on feet or a tray you can empty.
Choosing the Pot, Soil & Long-Term Care
- Pot & drainage: Size the pot by the grower’s rule – about 1 L per bulb, better 2.5 L – with strong drainage and no standing saucer. Use strong drainage holes and skip a standing water saucer, which invites root rot; terracotta breathes and dries fast, while glazed or plastic pots hold moisture longer.
- Potting mix: A light, aerated mix – potting compost, or peat/coir with added perlite or vermiculite for drainage.
- Feeding: A light feed as leaves grow helps next year’s flowers; let the foliage die down naturally to recharge the bulb.
- Repotting: Every few years check the mix is still good, washing out and replacing tired soil; if the roots have filled the pot, thin the bulbs or move up to a larger container so it keeps flowering.
Grower’s Container Tip
- Keep the soil alive and un-crowded: Check the potting mix every so often; if it has broken down, wash the old soil off and replace it with fresh. To keep getting flowers year after year, make sure the root system has not filled the whole planter – if it has, reduce the number of bulbs or move up to a bigger container.
Fertilizing & Feeding
A moderate feeder: feeding as growth starts supports blooming, and continued feeding while the leaves stay green after flowering helps rebuild the bulb for next year.
Quick Fertilizing Specs
| Feeding Level | Moderate feeder |
|---|---|
| Main Nutrient Priority | Balanced feeding with adequate nitrogen to support both this year’s bloom and next year’s bulb reserves |
| Best Feeding Period | From when the bulb begins active growth through the period the leaves stay green after flowering |
| Organic Options | Humus and organic matter mixed into the planting hole |
| Reduce/Stop Feeding | Stop once the leaves begin to yellow and collapse toward dormancy |
| Micronutrients | Usually supplied by a complete fertilizer; correct only a diagnosed deficiency |
| Soil pH | Tolerates a range of well-drained soils; drainage matters more than exact pH |
Feeding by Growth Stage
Bulb growth through trumpet bloom and green-leaf recovery
Fuel the rosette of leaves and trumpet flowers, then help the bulb rebuild strength while the foliage is still green after flowering.
| Nutrient direction | A balanced fertilizer with adequate nitrogen as growth begins, continued at a lighter rate through the green-leaf period after bloom to strengthen the bulb. |
|---|---|
| Timing | From when the bulb begins active growth through flowering, and while the leaves remain green afterward. |
| Frequency | A feeding as growth resumes, with another lighter feeding once flowering finishes and the leaves are still green. |
| Fertilizer types | A balanced complete fertilizer, Humus and organic matter worked into the soil at planting |
| Precautions | Never cut back or braid the green leaves after flowering – the plant needs them to rebuild the bulb before dieback. |
Foliage yellowing and dormancy
Let the bulb complete its rest without new growth being pushed.
| Nutrient direction | None – withhold fertilizer once the leaves begin to yellow and collapse. |
|---|---|
| Timing | Once the leaves yellow and die back toward summer dormancy. |
| Frequency | No feeding at this stage. |
| Fertilizer types | No feeding at this stage; allow the foliage to finish dying back naturally before the bulb’s dormant rest. |
| Precautions | Do not fertilize once the leaves are yellowing; the bulb is shutting down and cannot use additional nutrients. |
Nutrient Deficiency Signs & Corrections
Leaves are pale green to yellowish and flowering is reduced or absent even in an established clump.
| Possible causes | low available soil nitrogen, depleted soil after years without feeding, nutrient leaching after heavy watering or rain |
|---|---|
| Appears first on | older, lower leaves |
| What to check | recent feeding history, how many years since the bed was last fed, soil organic matter content |
| Possible correction | Apply a balanced fertilizer as growth resumes and again while the leaves are still green after flowering. |
Flower stems are weak and blooms are smaller or fewer than in previous seasons.
| Possible causes | low soil potassium, an unbalanced, nitrogen-heavy feeding routine, leaching in well-drained soil |
|---|---|
| Appears first on | flower stems and older leaf margins |
| What to check | balance of the fertilizer used, clump crowding and division history, recent flowering performance |
| Possible correction | Switch to a balanced fertilizer and avoid nitrogen-only products, especially on established clumps. |
Interveinal yellowing appears on older leaves while the veins remain green.
| Possible causes | low soil magnesium, heavy potassium or nitrogen feeding competing with magnesium uptake, leaching in light, well-drained soil |
|---|---|
| Appears first on | older, lower leaves |
| What to check | soil magnesium status, recent fertilizer balance, soil texture and leaching |
| Possible correction | Apply a labeled magnesium source such as Epsom salt and rebalance the overall feeding program. |
Pruning, Training & Seasonal Maintenance
Daffodil (Narcissus) grows from a true bulb with no woody framework, so pruning means deadheading the spent flower stalk right after bloom and, much later, removing the foliage once it has fully yellowed – never cutting green leaves. The safe window shifts with climate: in colder zones (roughly 4-10a) leaves are cut back end of summer into autumn as they naturally die down; in warm zones (10-11) that die-back happens earlier, end of spring into summer, because the bloom cycle itself runs earlier there. All plant parts are toxic, so wear gloves when handling cut foliage and stems.
Quick Pruning & Maintenance Specs
| Pruning Tolerance | Low on green tissue / High once foliage is dead |
| Primary Pruning Window | End of summer–autumn (zone 4-10a) or end of spring–summer (zone 10-11), once foliage yellows |
| Secondary Maintenance Window | Immediately after each flower fades (deadheading) |
| Typical Frequency | Twice per growing cycle |
| Main Objective | Stop seed-set drain after bloom, then clear dead foliage once the bulb has finished recharging |
| Young Plant Priority | None – first-season foliage left fully intact so the young bulb can bulk up |
| Mature Plant Priority | Deadhead promptly; delay foliage removal until fully yellow |
| Best Tool Type | Precision snips |
| Avoid Heavy Pruning During | While foliage is still green and photosynthesizing |
Pruning by Plant Age & Size
Newly Established
Remove only damaged leaf tissue in the first season; leave all healthy foliage to mature fully – the bulb needs the full leaf cycle to build strength for next year’s bloom.
Young / Formative
No structural training applies – there is no woody framework or cane structure.
Mature / Established
Deadhead the flower stalk down near its base as soon as petals fade, before seed pods form; leave foliage untouched until it yellows, then cut at the base.
Seasonal Pruning Schedule
| Post-Flowering | Objective: stop energy loss to seed production. Remove: the spent flower stalk only. Do not remove: any green leaf. Response: bulb continues recharging through the foliage. Flowering impact: none this season; protects next year’s bloom. |
| Foliage die-back (timing per hardiness zone above) | Objective: clear dead material once the bulb has finished storing reserves. Remove: fully yellowed/browned leaves at the base. Do not remove: leaves still green, even if flopped over. Response: confirms dormancy. Flowering impact: cutting, braiding or tying green foliage significantly reduces next year’s flowering. |
Special Growth to Remove
- Spent flower stalk right after bloom, before seed pods develop
- Fully dead, yellowed foliage once die-back is complete
Container & Small-Space Pruning
Grows well in pots and is commonly forced indoors for winter bloom. The same deadhead-then-wait rule applies; for forced bulbs, keep foliage in bright light after flowering until it yellows before cutting back and withholding water, rather than discarding the bulb straight after bloom.
Tools
- Precision snips for deadheading individual flower stalks
- Hand shears for cutting back dead foliage clumps at season’s end
Tool Hygiene & Disease Risk
Routine – clean tools are sufficient. This species is toxic and its sap can irritate skin, so wear gloves when cutting; wipe blades if handling bulbs affected by basal rot or narcissus bulb fly/mite damage before reusing them elsewhere.
Cut Placement & Technique
Cut the flower stalk near its base, avoiding damage to the surrounding leaves. Cut dead foliage at soil level only once it has fully browned, not while any green remains.
Heavy Pruning & Rejuvenation
Not applicable – there is no woody structure to rejuvenate. The equivalent maintenance task is lifting and dividing congested bulb clumps every few years once flowering declines from overcrowding.
Post-Pruning Care
Continue watering normally while foliage is green and after deadheading. As leaves yellow, taper off watering to support dormancy; avoid extra fertilizer at this stage since the bulb is winding down, not putting on new growth.
Common Pruning Mistakes
- Cutting, braiding or rubber-banding green foliage to tidy the bed – this reduces the leaf area feeding the bulb and weakens next year’s bloom
- Leaving spent flowers to form seed pods, which diverts energy from the bulb
- Removing foliage on a fixed calendar date instead of waiting for it to actually yellow
When NOT to Prune
Do not cut green foliage, even after flowering has finished – it is still recharging the bulb. Handle cut material with gloves given the plant’s toxicity.
Recommended Tools (by task)
- precision_snips – clean deadheading cuts without damaging nearby leaves
- bypass_secateurs – for the thicker base of dead foliage clumps at season’s end
Propagation Guide
Daffodils are most reliably increased by dividing the offset bulbs that form naturally around a mature bulb, which guarantees identical flowers and is far faster than raising new bulbs to flowering size. Seed is a slower alternative – seedlings generally resemble the species parent but results are less predictable than division, especially for named garden varieties, so seed is best treated as a patient, longer-term option rather than the main propagation route.
Quick Propagation Specs
| Best Propagation Method | Bulb (offset) division |
| Alternative Methods | Seed |
| Propagation Difficulty | Easy (bulb division); Moderate, slow (seed) |
| Seed True-to-Type | Usually similar to the parent for species-type plants; less certain for named cultivars |
| Vegetative True-to-Type | Yes |
| Best Propagation Season | Divide bulbs during summer dormancy after foliage dies back; sow seed in spring (hardiness zone 4-10a) or autumn to winter (zone 10b-11) |
| Seed Germination Time | 2-10 weeks, sometimes longer |
| Germination Temperature | 6-18°C (43-65°F) |
| Seed Sowing Depth | About 0.5cm (0.25in), seed needs to be covered |
Growing from Seed
Seed Handling & Viability
Store seed in the refrigerator, kept dark and dry, until sowing.
Dormancy & Pre-Sowing Treatment
Soak seed for at least 24 hours before sowing.
Sowing Season
Spring in hardiness zone 4-10a; autumn to winter in zone 10b-11.
Sowing Depth & Orientation
Sow about 0.5cm (0.25in) deep and cover the seed. Space seedlings roughly 2x2cm (1x1in) apart when raised for transplanting, or about 10x10cm (4x4in) apart when sown directly.
Germination Conditions
Keep the soil moist with high humidity (misting/fogging helps), in half shade to full sun, at roughly 6-18°C (43-65°F).
Germination Time
2-10 weeks, and can take longer.
Seedling Care
Keep soil moist (water moderately to generously, do not let it dry out), grow in full sun, and avoid temperatures much above about 25°C (77°F). A peaty or other moisture-retentive soil suits this stage. Expect several years of growing-on before seedling bulbs reach flowering size.
Rhizomes, Tubers, Bulbs & Corms
Bulb Division
Divide during the dormant period once the foliage has died back (end of summer to autumn in hardiness zone 4-10a; end of spring to summer in zone 10b-11). Lift the clump and separate the offset bulbs from the mother bulb by hand at their natural break point.
When replanting, dig a hole roughly five times the bulb’s size, work humus and organic matter into the soil, and set the bulb so about 2cm (1in) of soil covers its top. If bulbs cannot be replanted right away, store them somewhere cool and dry; a layer of dry mulch (paper, dead leaves, or wood shavings) around stored bulbs helps buffer humidity swings.
Bloom & Flower Guide
Quick Details
- Bloom Season: Winter in warm climates (rarely late autumn); late winter into spring in cooler climates
- Time to First Bloom: Bulbs flower the first spring after planting; from seed it takes about 2 to 4 years
- Flower Appearance: Outer petals in white, yellow or orange around a central trumpet (corona) that may be a different colour; some varieties are fragrant
- Edibility: Toxic – do NOT eat; all parts, especially the bulb, are poisonous
Detailed Blooming Overview
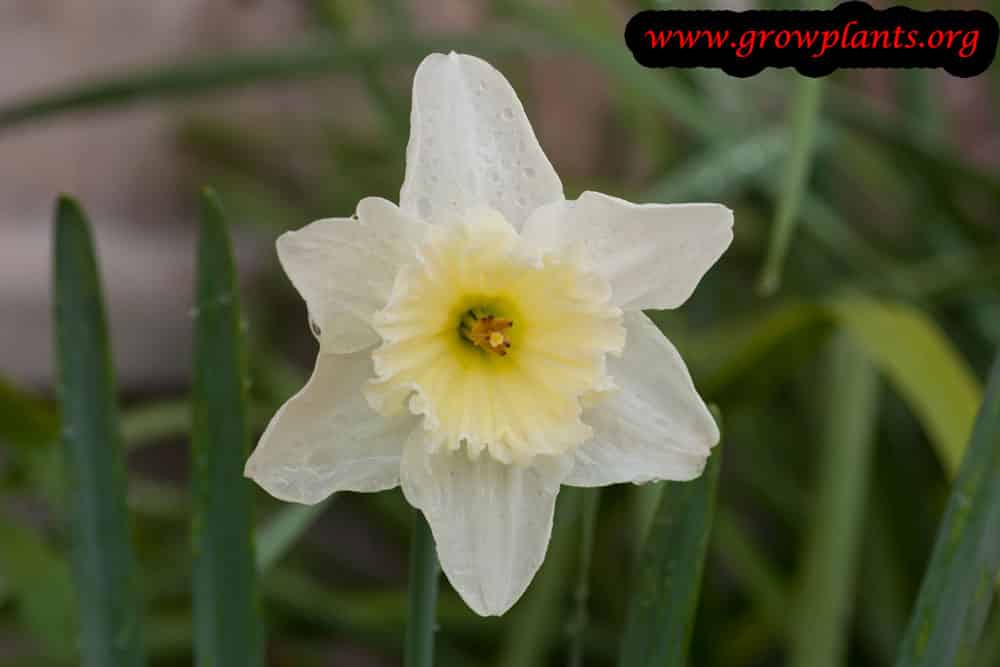
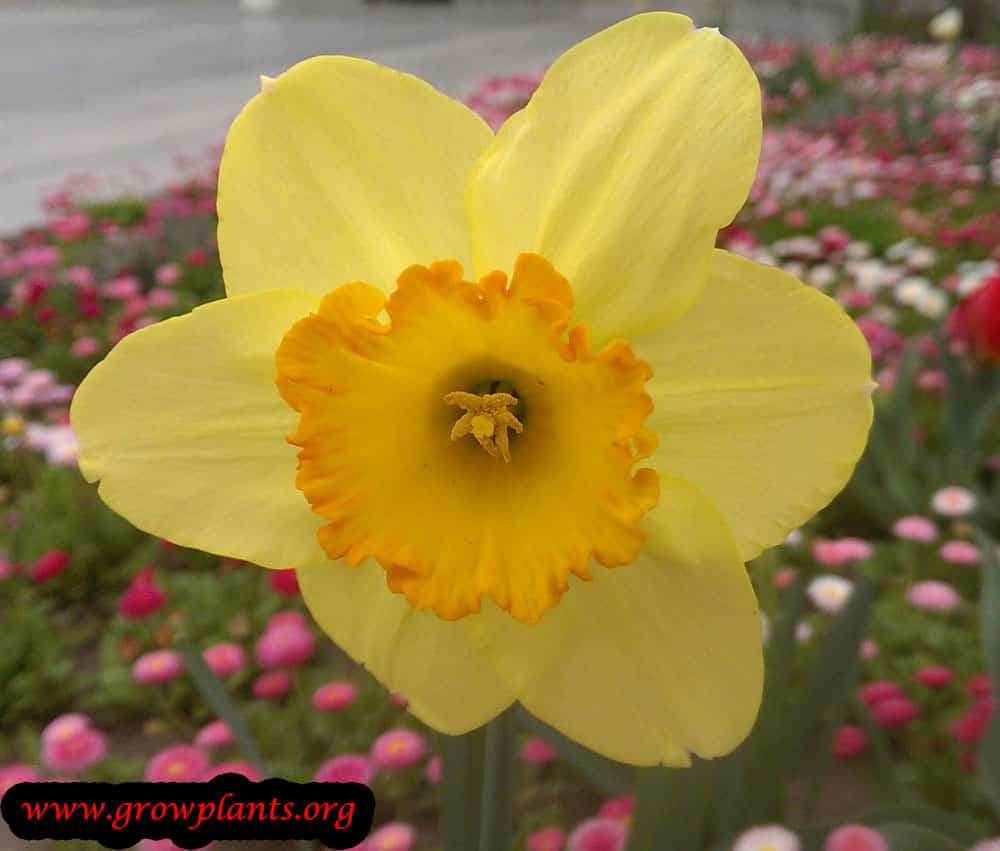
Daffodils are the signature bulb of late winter and spring, each flower pairing a ring of petals with a bold central trumpet. The trumpet often contrasts with the petals in colour, and its rim can be frilled or flared. Warm climates see them as early as winter, while colder gardens enjoy them from late winter into spring.
Flower Characteristics
- Petals in white, yellow or orange with a prominent central trumpet.
- Trumpet colour can differ from the petals; the rim may be ruffled.
- Some varieties are pleasantly fragrant.
Bloom Care & Thinning
- Safety: Every part is toxic if eaten, and the sap can cause skin irritation known as “daffodil itch” – wear gloves when cutting.
- In the vase: Freshly cut daffodils leak a sap that shortens the life of other flowers – condition their stems alone for a few hours before mixing them into an arrangement.
- After flowering: Deadhead but let the leaves die back naturally to feed the bulb.
Pests, Diseases & Troubleshooting
Overview: Daffodils (Narcissus) are among the most pest-resistant bulbs – their alkaloids deter deer, rodents and most chewing insects. Their real threats are soil-borne: bulb flies, mites and stem nematode, plus basal rot and Botrytis smoulder in wet ground. This is a general garden daffodil, so treat it with the standard Narcissus care. Buy firm, healthy bulbs and give sharp drainage.
Quick Troubleshooting Overview
| Issue / Pest | Main Symptom | Primary Solution |
|---|---|---|
| Narcissus bulb fly | Soft, hollow bulbs; few or blind leaves | Firm/mound necks after leaf-die; discard soft bulbs |
| Stem & bulb nematode | Swollen streaks on leaves; brown rings in bulb | Destroy infested bulbs; long rotation; hot-water treat |
| Bulb scale mite | Distorted, scarred leaves and flowers | Discard affected stock; hot-water treatment |
| Basal rot | Chocolate-brown rot from base; bulbs soft | Lift & discard; well-drained cool soil; clean stock |
| Narcissus smoulder (Botrytis) | Rotting shoots, gray mold in cool wet spring | Remove debris; space bulbs; avoid overhead wet |
| Yellow stripe virus | Yellow streaking; stunting | Rogue infected plants; control aphids |
Common Pests & Management
- Large narcissus bulb fly (Merodon equestris):
- Symptoms: A single fat grub hollows out the bulb; it produces few, thin, grassy leaves and no flower, and the bulb is soft when squeezed.
- Prevention & Control: After foliage dies down, firm or mound soil over the leaf-die holes so the fly cannot lay in the necks. Lift and destroy soft bulbs; hot-water treatment (about 44°C/111°F for a few hours) of dormant bulbs kills larvae.
- Small narcissus bulb flies (Eumerus spp.):
- Symptoms: Several small maggots in already-damaged or rotting bulbs, usually a secondary invader.
- Prevention & Control: Grow healthy, undamaged bulbs, discard any that are soft, and follow the same neck-firming and hot-water measures as for the large fly.
- Stem & bulb nematode (Ditylenchus dipsaci):
- Symptoms: Yellowish swellings (‘spickels’) along leaves, stunted twisted growth, and telltale brown concentric rings when a bulb is cut across.
- Prevention & Control: There is no home cure – dig and destroy infested bulbs and nearby stock, avoid replanting Narcissus in that ground for several years, and start again with certified clean, hot-water-treated bulbs.
- Bulb scale mite (Steneotarsonemus laticeps):
- Symptoms: Microscopic mites scar and distort emerging leaves and flowers, leaving saw-toothed reddish streaks, mainly in warm forced or stored bulbs.
- Prevention & Control: Discard visibly affected stock, keep storage cool and airy, and hot-water treat dormant bulbs; there is no practical spray.
- Aphids (Myzus persicae):
- Symptoms: Colonies on foliage and buds that distort growth and, more importantly, spread viruses between plants.
- Prevention & Control: Monitor and hose off small numbers, encourage ladybirds and hoverflies, and use insecticidal soap where virus spread is a concern.
- Slugs & snails (Gastropoda):
- Symptoms: Ragged holes in leaves and grazed flower buds, worst in damp shady beds.
- Prevention & Control: Handpick at night, clear damp hiding places, and use iron-phosphate bait around emerging shoots.
Diseases & Fungal Issues
- Basal rot (Fusarium oxysporum f.sp. narcissi):
- Symptoms: A chocolate-brown, dry rot spreading up from the base plate; bulbs soften and are often chalky inside, worst in warm, wet soils.
- Treatment & Management: Plant only firm, unblemished bulbs in cool, well-drained soil, avoid mechanical damage and hot wet conditions, and lift and destroy any rotting bulbs. Discard, don’t replant, affected stock.
- Narcissus smoulder (Botrytis narcissicola):
- Symptoms: Emerging shoots rot and are coated in gray mold in cool, wet springs; small black resting bodies form on decayed tissue.
- Treatment & Management: Remove and destroy rotted shoots and old debris, space bulbs for airflow, avoid overhead watering, and lift and inspect stored bulbs.
- Narcissus yellow stripe virus (Narcissus yellow stripe virus):
- Symptoms: Yellow streaking and mottling along the leaves, with stunting and poorer flowering over time.
- Treatment & Management: There is no cure – rogue out infected plants, control aphid vectors, and replant with virus-free stock.
- White mould / leaf scorch (Botrytis / Stagonospora curtisii):
- Symptoms: Reddish-brown scorched leaf tips and spotting, especially in tazetta types in wet warm weather.
- Treatment & Management: Cut off and destroy affected leaves after flowering, improve airflow, and apply a protectant fungicide only where it recurs badly.
Growing Difficulties & Abiotic Problems
- Blindness (no flowers):
- Cause & Symptoms: Bulbs that are overcrowded, too shallow, dry, poorly fed, or had leaves cut early store too little energy to form flowers.
- Correction Strategy: Let foliage die down naturally, feed after flowering, plant at the right depth, and lift and divide crowded clumps.
- Bulb rot from wet soil:
- Cause & Symptoms: Waterlogged ground rots dormant bulbs and invites basal rot.
- Correction Strategy: Choose free-draining sites or raised beds, and never leave bulbs sitting in saturated soil.
- Frost/weather flop:
- Cause & Symptoms: Heavy rain, wind or late frost can flatten or scorch open flowers.
- Correction Strategy: Site in some shelter and support tall types; damage is cosmetic and passes with the season.
What Helps – Products & Tools
Daffodils need little spraying: rely on clean firm bulbs, hot-water treatment for mites and nematodes, iron-phosphate slug bait, insecticidal soap for aphids, and a protectant fungicide only for persistent Botrytis smoulder. Standard trumpet/large-cup daffodils are very reliable and long-lived given good drainage.