



Plant Profile & Key Characteristics
Overview: Amaryllis (Hippeastrum) is a bulbous, deciduous perennial of about 20-70 cm grown as an ornamental for its large trumpet-shaped flowers. It is popular for containers and indoor forcing and grows in zones 4-11 depending on winter care.
Quick Specifications
| Specification | Attribute |
|---|---|
| Plant Type / Life Cycle | Perennial (bulbous geophyte) |
| Foliage Type | Deciduous |
| Mature Size | 20-70 cm tall (8-28 inches) |
| Growth Rate | Moderate to slow |
| Root System | Bulb (geophyte) with fibrous roots |
| Toxicity | Toxic – the bulb contains harmful alkaloids (lycorine); not for consumption |
| Hardiness | USDA zones 9-11 in ground; 4-9 with the bulb lifted over winter |
Growth Form & Structure
- Height and Spread: Reaches 20-70 cm (8-28 inches); grows well in containers from about 2 L (0.4 gallon), better 5 L (1 gallon), and is widely grown indoors.
- Growth Habit and Form: Bulb producing a fan of strap-like leaves and one or more stout flower stalks.
- Lifespan and Maturity: Long-lived bulb that returns each year; matures at a moderate to slow pace.
Anatomy & Physical Features
- Leaves and Foliage: Green, linear leaves growing in a connected, spike-like fan.
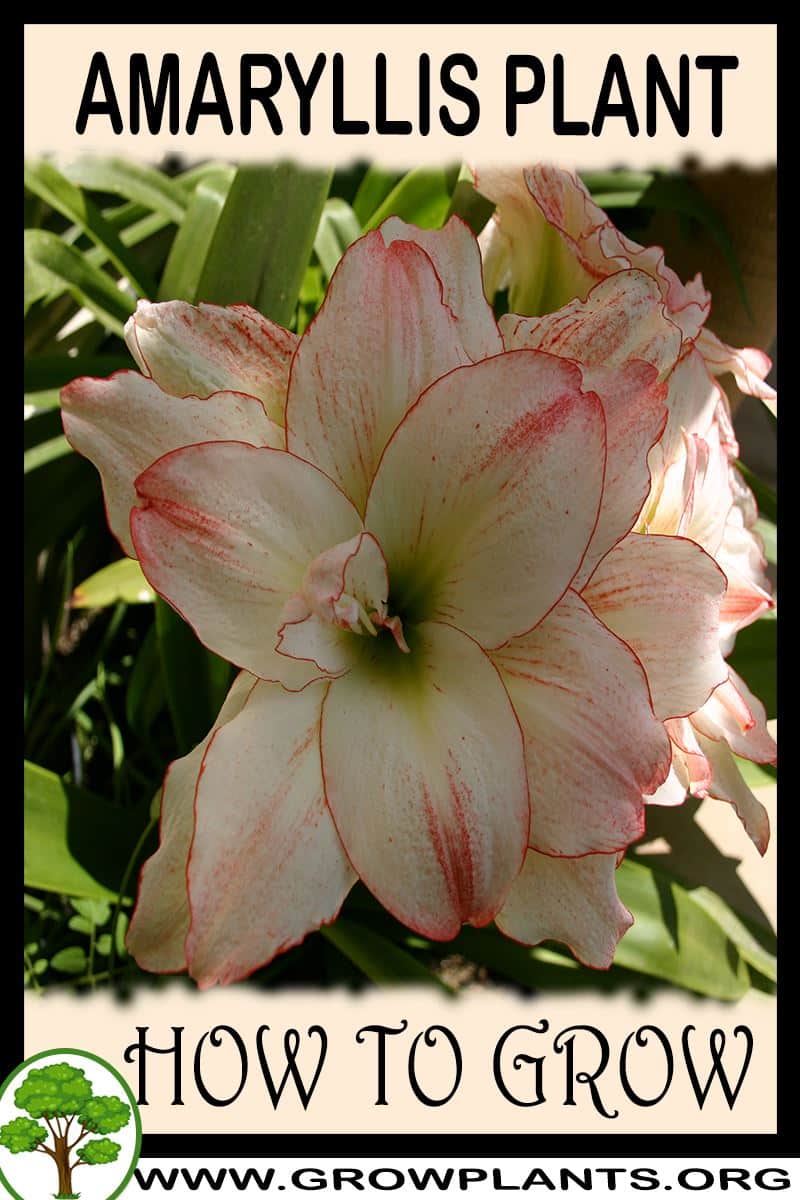
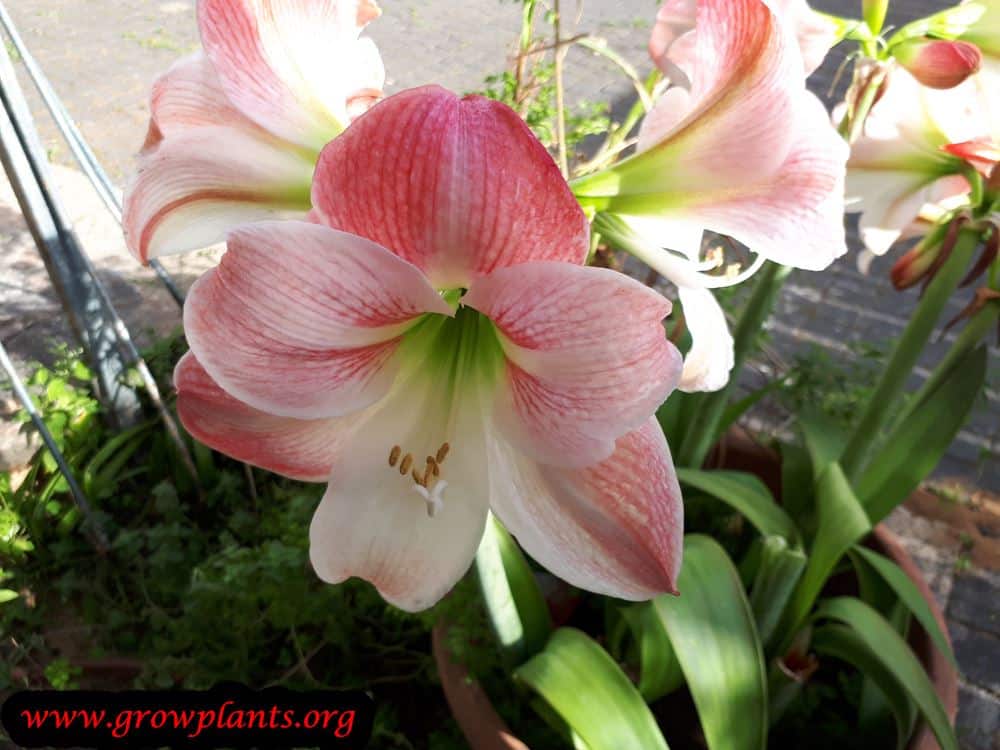
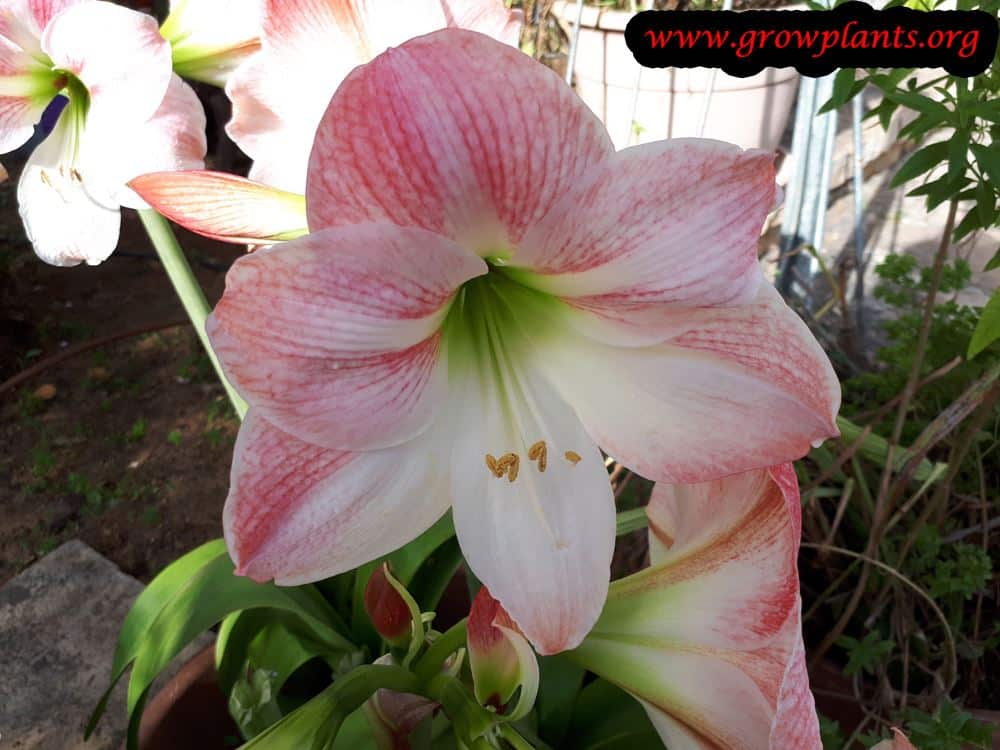
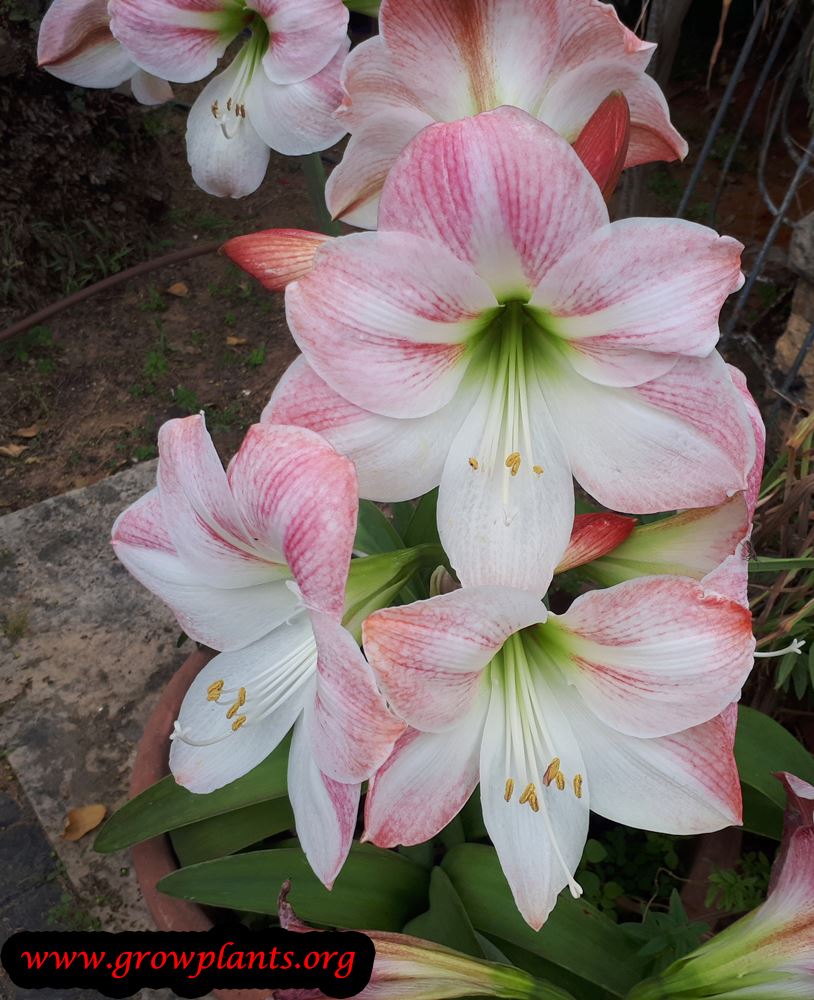
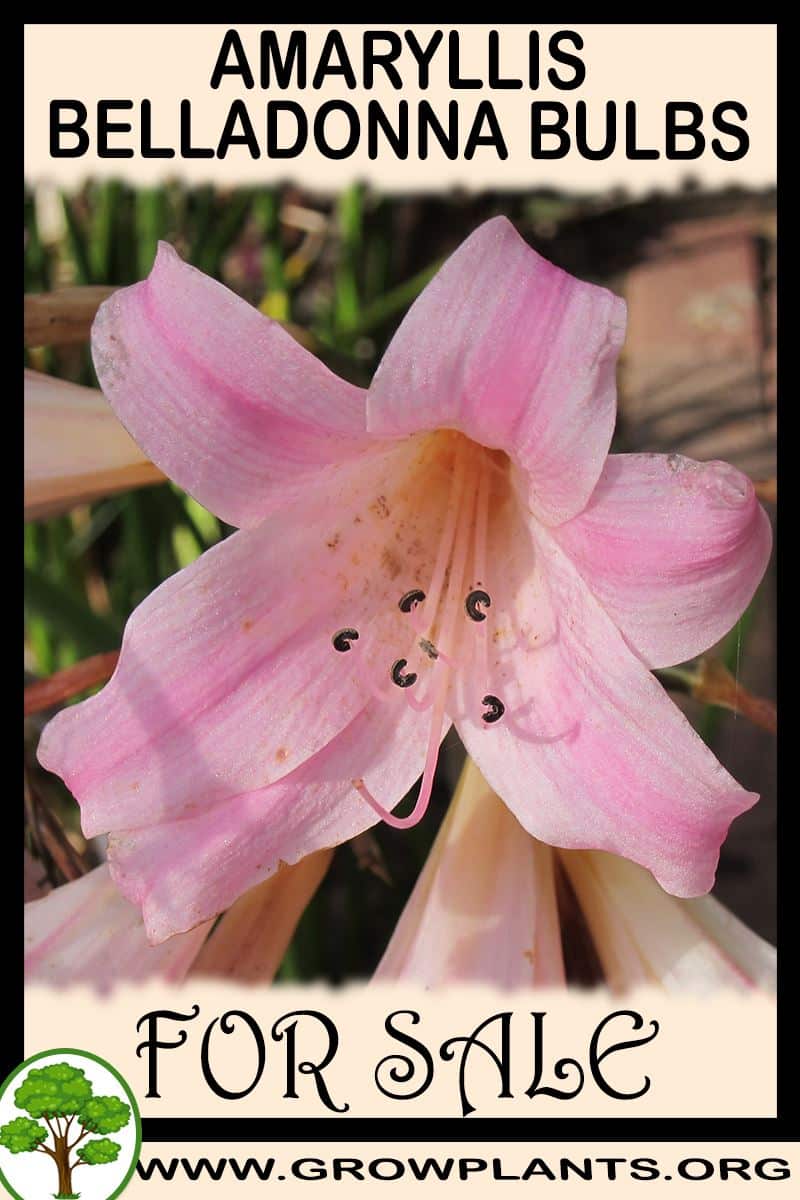
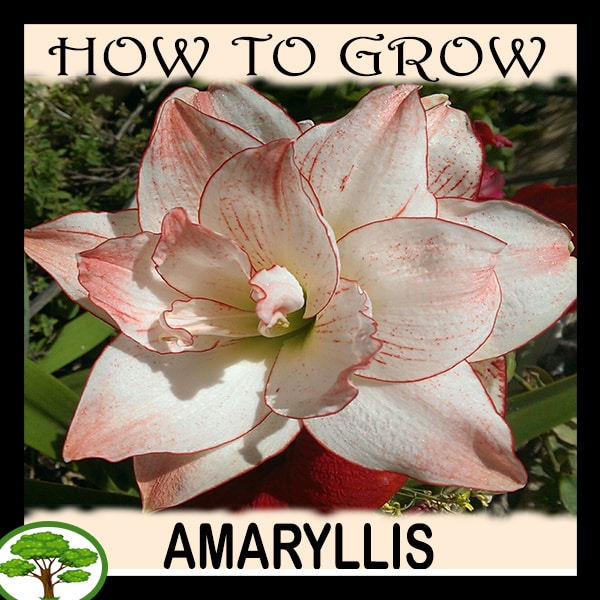
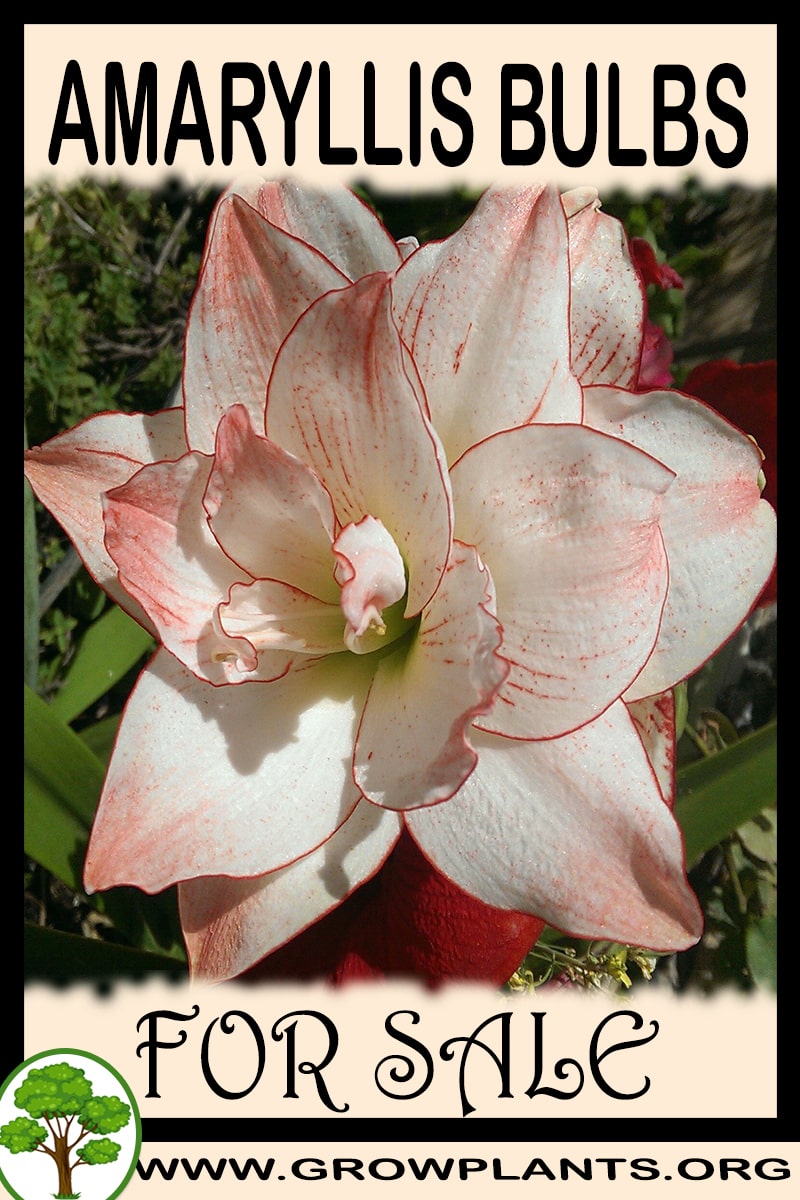
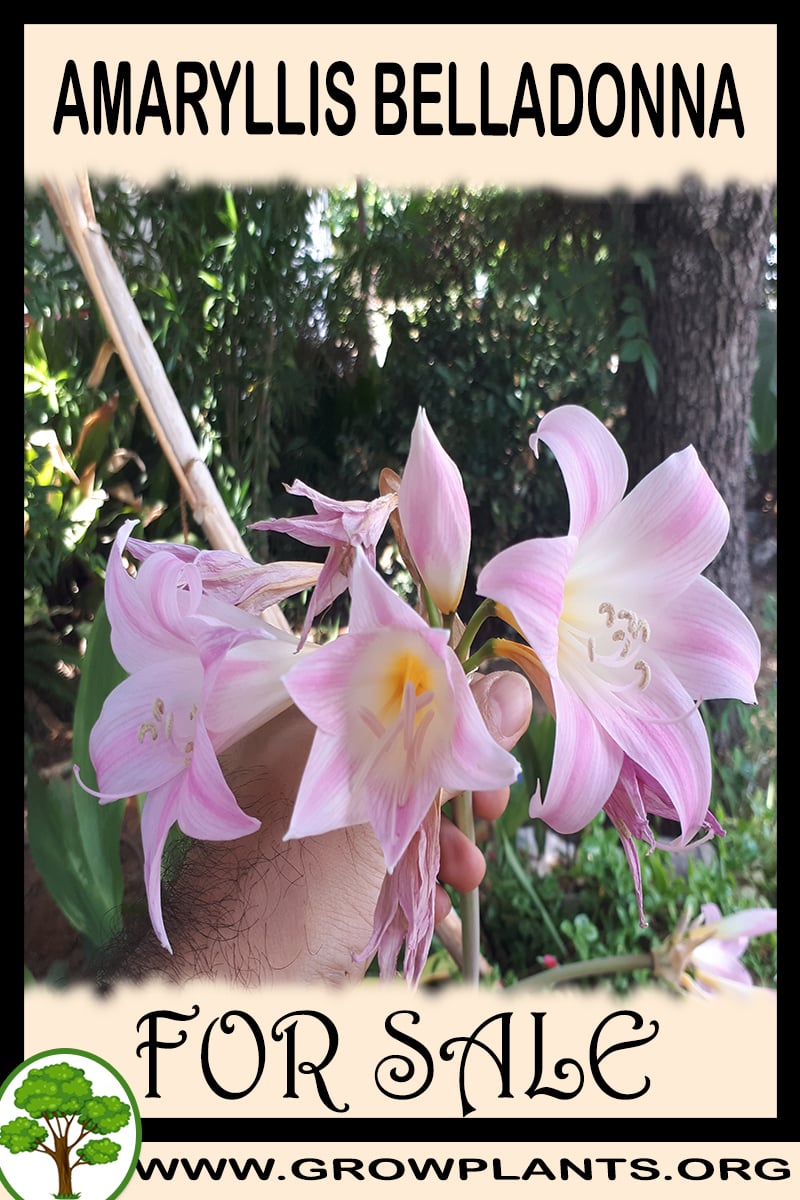
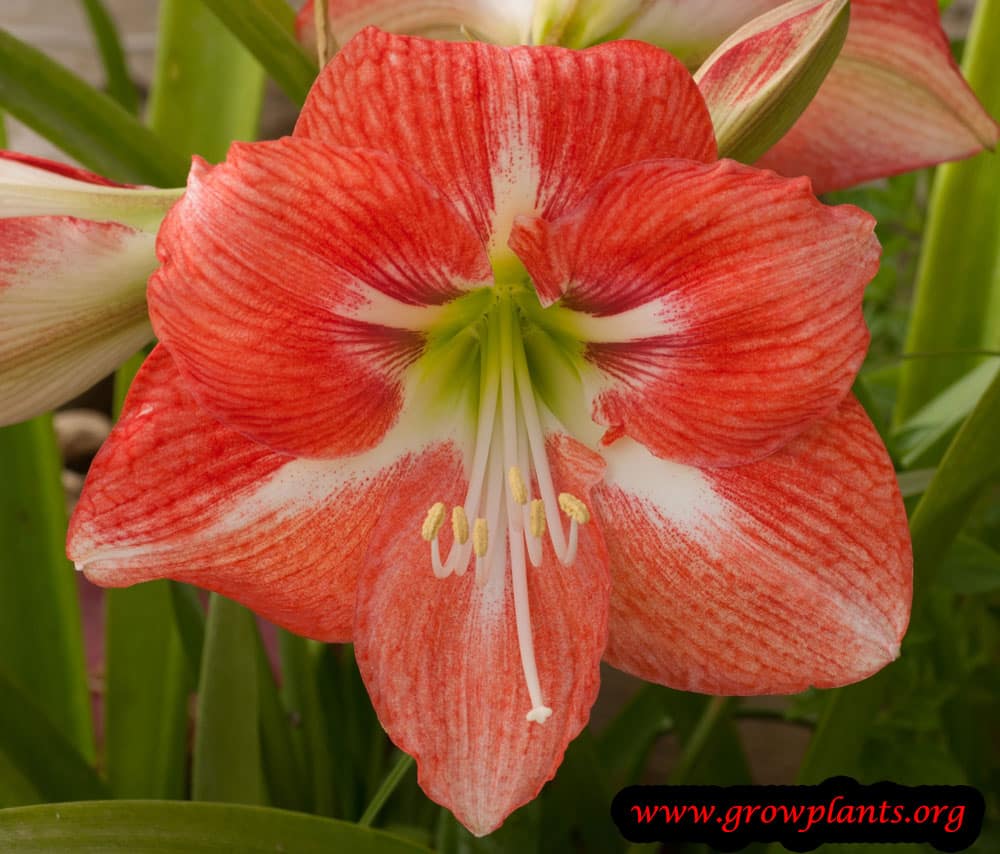
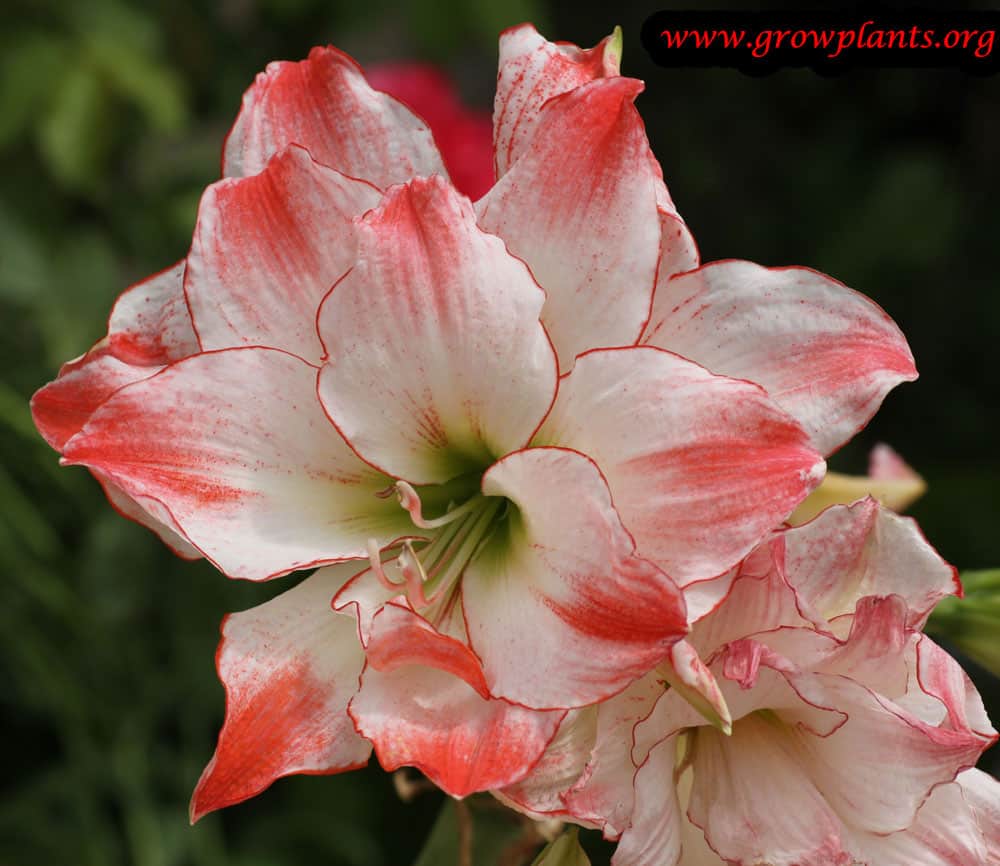
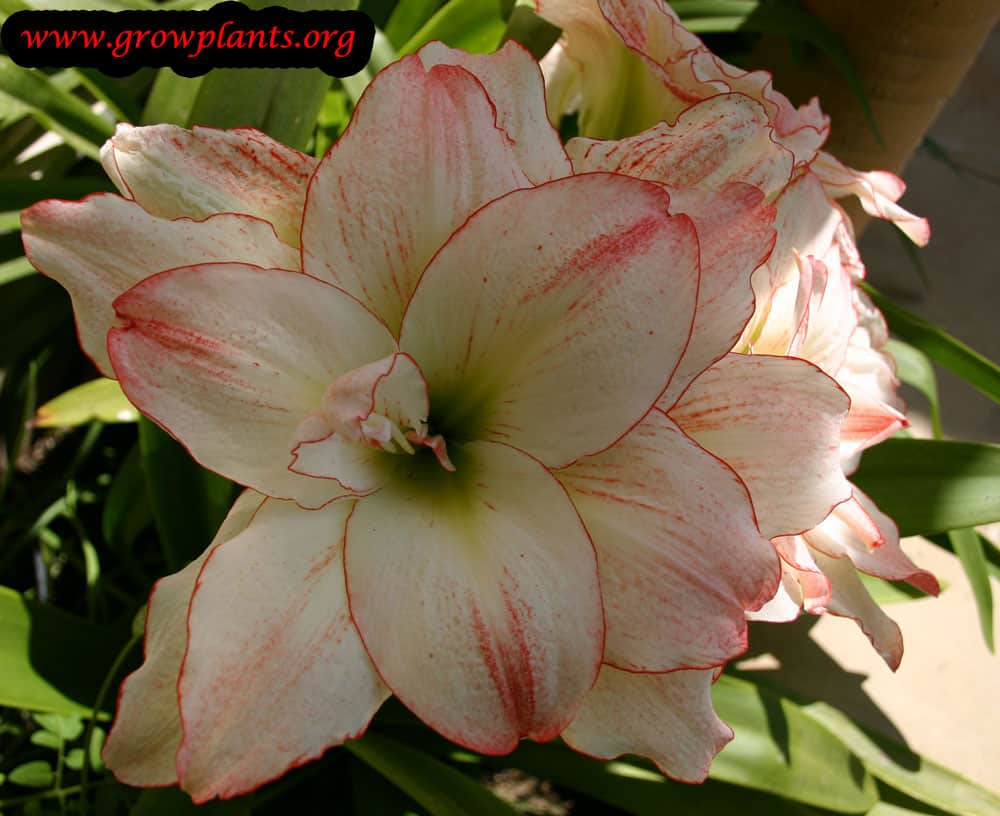
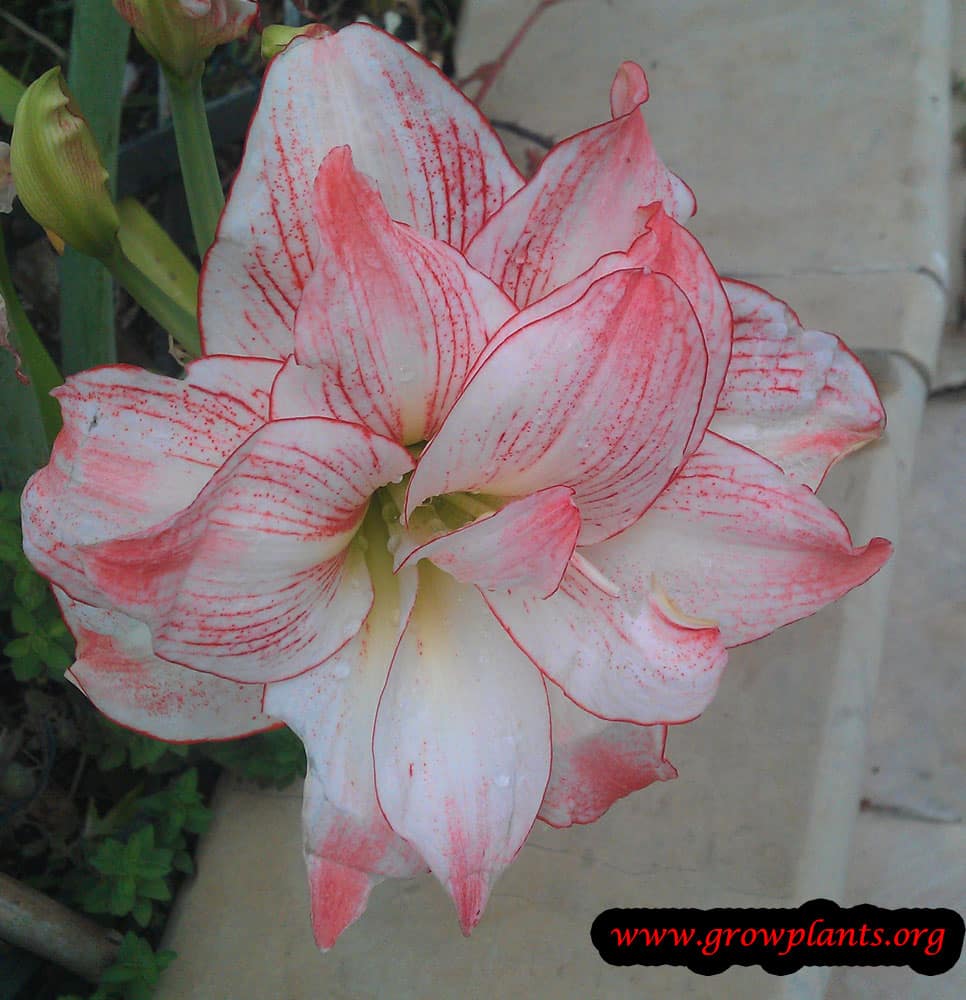
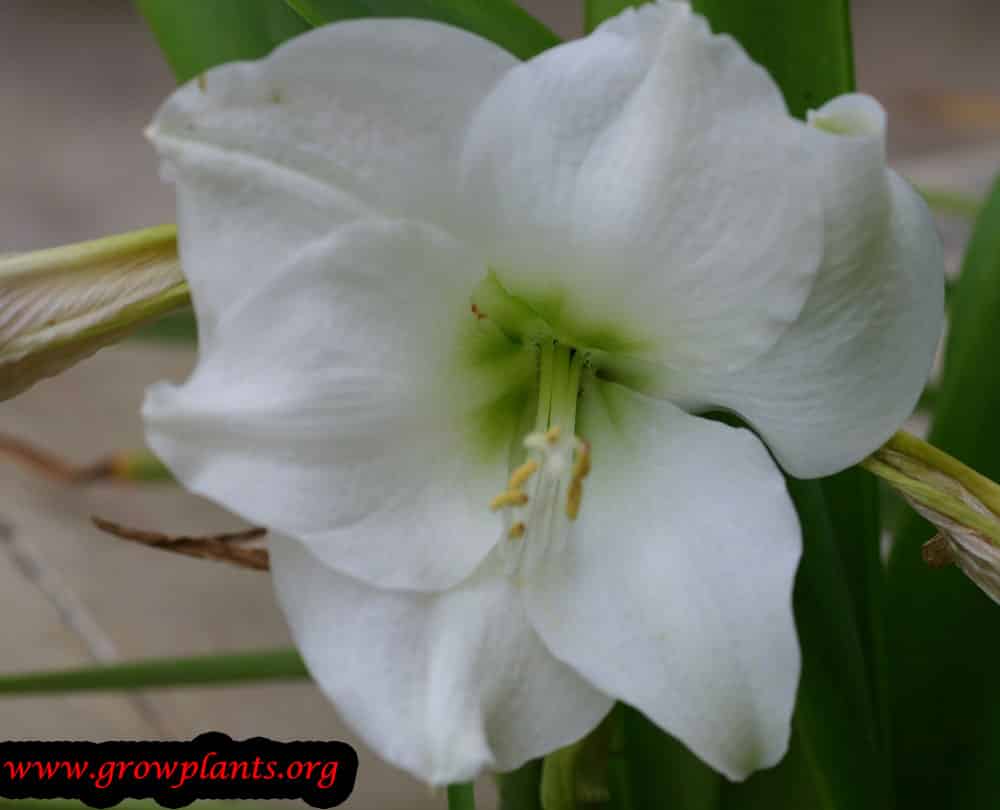
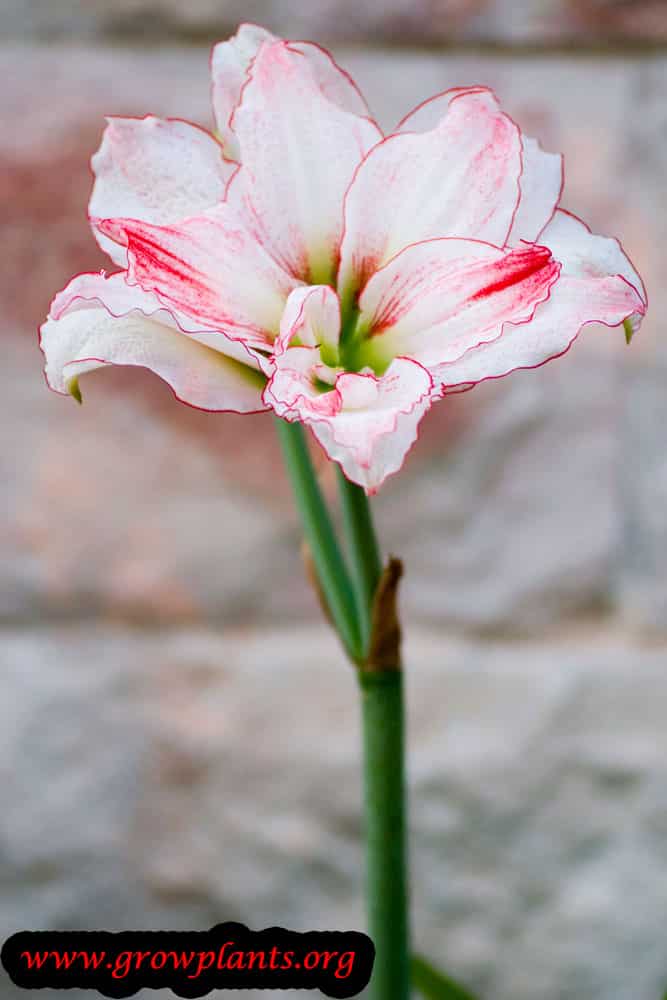
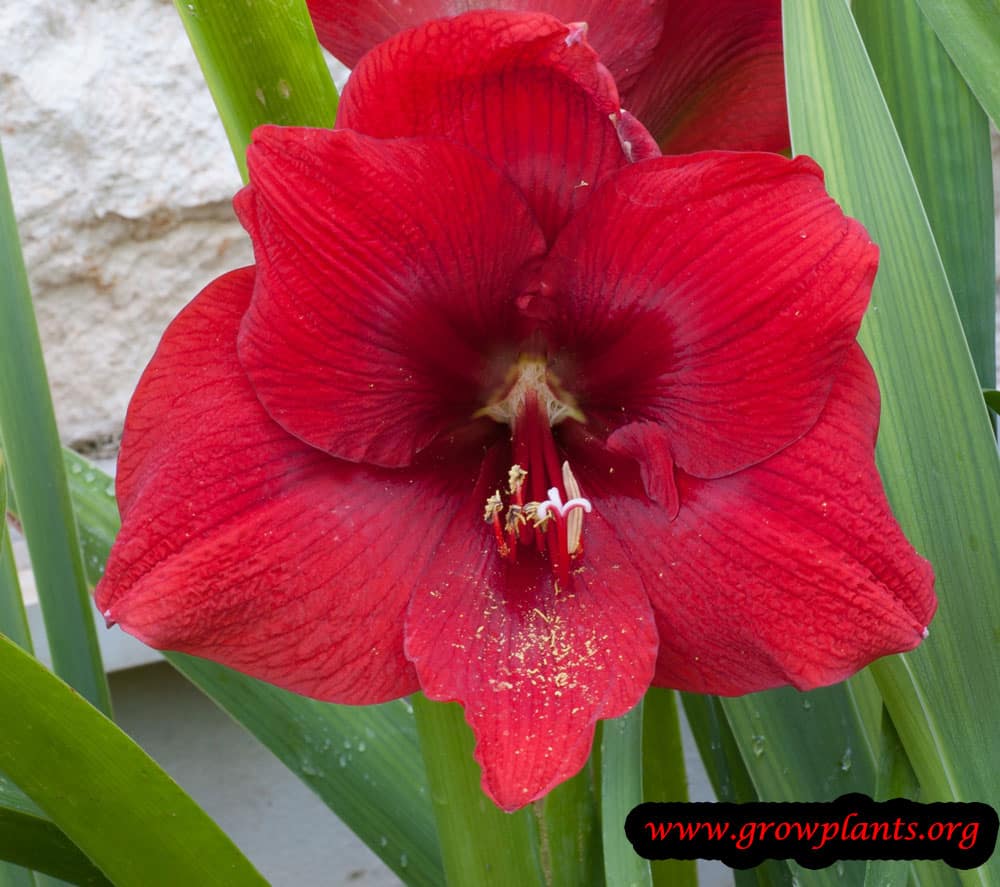
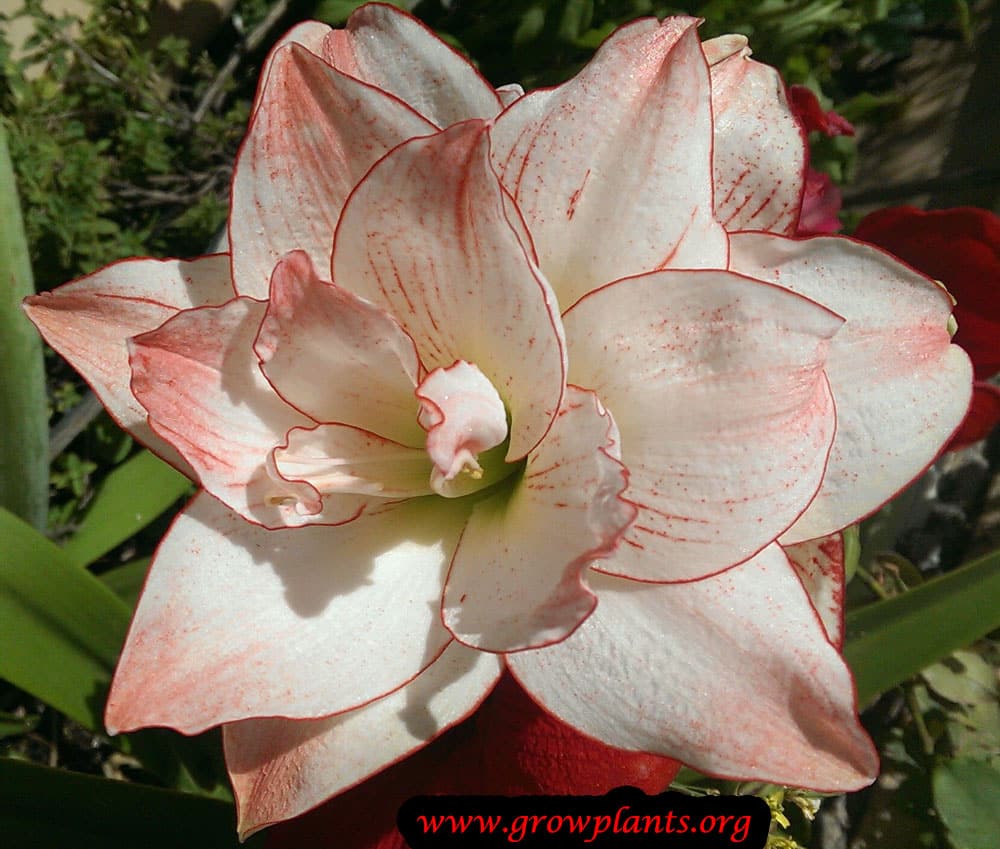
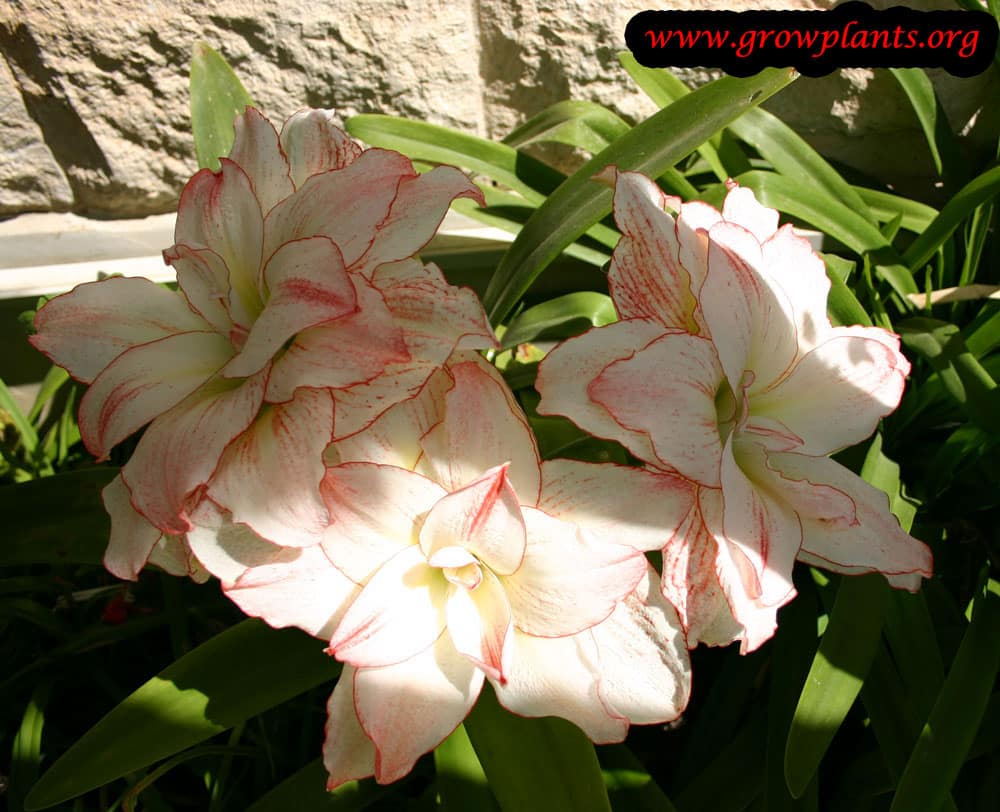
- Flower Characteristics: Large trumpet-shaped (or double) flowers in pink, white, red, purple, yellow, orange or bicolours, often with a darker petal margin (full detail in the Bloom accordion).
Primary Uses & Landscape Value
- Functional and Ornamental Roles: Ornamental for beds, containers, indoor forcing and cut flowers.
Care Guide: Planting, Soil & Watering
Overview: Amaryllis (Hippeastrum) is a bulbous perennial that grows best in bright light with well-drained, humus-rich soil. It needs only moderate moisture in growth and a drier rest afterwards, and in cold climates the bulb is lifted and stored frost-free over winter.
Quick Care Requirements
| Requirement | Ideal Condition |
|---|---|
| Planting Season | Start of the growing season (lift and store the bulb frost-free in zones colder than 9) |
| Growth Rate | Slow to moderate |
| Soil Type | Rich, well-drained soil or free-draining potting mix |
| Water Need | Low to moderate – sparing at first, more as leaves and flower stalk grow |
Planting & Establishment
- Best Planting Season: Plant at the beginning of the growing season; in zones 9–11 the bulb can stay in the ground, while in colder zones grow it in pots and overwinter the bulb indoors.
- How to Plant:
- Hole Preparation: Dig a hole several times wider than the bulb.
- Soil Amendments: Mix humus and organic matter through the soil for both fertility and drainage.
- Planting Depth: Plant the bulb shallow – leave roughly the top 2 cm (the neck and shoulders) above the soil rather than burying it.
- Growth Speed & Expectations: Slow to moderate – foliage and the flower stalk develop over the season from the stored bulb.
Soil, Watering & Drainage Care
- Soil Mix & Drainage Needs: Well-drained, humus-rich soil; in pots use a free-draining mix in a snug container, as bulbs flower best slightly pot-bound. Waterlogging rots the bulb.
- Watering Schedule & Technique:
- Young / Newly Planted: After planting, water lightly until growth appears, avoiding sogginess.
- Established: Water moderately during active growth and bloom, letting the top of the soil dry between waterings.
- Seasonal Adjustments: Reduce water as the foliage dies back, then keep the bulb dry and cool through its dormant rest.
Climate, Light & Hardiness
Amaryllis (Hippeastrum) is a tender, subtropical bulb (geophyte) grown for its large trumpet flowers, outdoors in warm climates or indoors as a potted bulb. The site data lists hardiness zones 9–11 for keeping the bulb in the ground, and zones 4–9 where the bulb must be lifted and stored indoors over winter.
Quick Climate Specifications
| Climate Zones | Subtropical, tropical, Mediterranean, desert, or indoor |
|---|---|
| USDA Hardiness Zones | 9–11 in the ground; 4–9 with the bulb lifted/kept indoors over winter |
| Optimal Temp Range | ~20–27°C (68–81°F) |
| Cold Damage Begins | Near 0 to 2°C (32–36°F) |
| Approx. Survival Minimum | The bulb is frost-tender - near freezing; it is not a hardy in-ground bulb in cold winters |
| Frost Tolerance | Low |
| Light Conditions | Full sun (especially before bloom) to partial shade |
| Wind Tolerance | Moderate |
Sunlight & Light Exposure
Optimal Light Setup
Bright light to full sun is needed, especially once the leaves and flower stalk emerge; indoor bulbs must be given a sunny window to build the bloom. Once buds show colour the plant can be moved to a shadier display spot.
Shade & Heat Management
Grown in full shade it makes leaves but will not flower.
Temperature Extremes & Hardiness
USDA Hardiness & Regional Limits
Outdoors the bulb stays in the ground only in essentially frost-free areas (about zone 9–11). In colder zones it is lifted and stored frost-free, or simply grown as an indoor pot bulb. Unlike hardy spring bulbs such as tulip and daffodil, it needs no winter chilling - a dry rest, not cold, drives its cycle.
Cold Damage & Winter Protection
The bulb and foliage are frost-sensitive; in marginal areas mulch over winter, and in cold climates keep the dormant bulb indoors.
Extreme Heat Tolerance
Good in warmth; very hot, dry conditions are best moderated with some shade and steady moisture during active growth.
Wind, Humidity & Microclimate
Wind Tolerance
The tall flower stalks are top-heavy and can lean or snap in wind, so a sheltered position or light staking helps.
Microclimate Recommendations
A warm, sheltered, sunny spot for active growth, with a frost-free place to rest the dormant bulb, gives the most reliable flowering.
Growing in Pots, Balconies & Indoors
Hippeastrum is the familiar indoor amaryllis, and the grower confirms it grows indoors – with one key rule: give the bulb real sun before its flowering season so it can build the blooms. Once the flower stems are up and budded, it can move back into shade. It is a superb, showy container bulb.
Quick Details
- Container Size: About 2 L (0.4 gal) per bulb, and better 5 L (1 gal) (grower)
- Indoor Suitability: A good houseplant – as long as it gets bright sun before flowering
- Best Spot: Full sun to half shade; bright light while leaves grow, then shade once budded
- Soil & Drainage: Well-drained mix – a potting mix or similar (grower)
- Watering in Pots: Small to average amounts; keep drier through dormancy
Indoors & On the Windowsill
- A houseplant with a sun rule (grower): When the leaves push up after dormancy, give the bulb strong light – ideally full sun on a bright sill. Once the flower stems are fully up and you can see the buds, you can move it back into shade to enjoy the display.
- Windowsill growing: A sunny windowsill is the perfect place to build the flower stem before the show.
- Safety: The bulbs and leaves are toxic if eaten – keep them out of reach of children and pets.
On a Balcony or Patio
- Light & warmth: A sunny, sheltered balcony or patio suits it while it grows and flowers; bring it in before frost.
- Moisture: Water moderately in growth and let pots dry as it goes dormant – wet dormant bulbs rot easily.
Choosing the Pot, Soil & Long-Term Care
- Pot & drainage: The grower allows about 2 L per bulb, better 5 L. Use a pot with strong drainage holes and skip a standing-water saucer to avoid root rot. Terracotta breathes and dries out faster, while glazed or plastic holds moisture longer.
- Potting mix: A free-draining potting mix or similar, per the grower.
- Keeping it flowering for years: Every few years the grower checks and renews tired mix by washing off the old soil, and makes sure the bulbs have not packed the pot solid; if roots fill the container, thin the bulbs or pot up, or blooms decline.
- Feeding: Potted plants need feeding a little more often than those in open ground, as regular watering leaches nutrients from the mix. Feed while in leaf to build next year’s flowers.
Growing this plant in a greenhouse
A greenhouse can give amaryllis plant frost protection and cold protection.
Greenhouse at a glance
| Greenhouse suitability | Good - clearly useful |
|---|---|
| Main benefits | frost protection, cold protection |
| Season extension | earlier spring & later autumn |
| Outdoor protection advisable below | about 5°C |
| Maintain greenhouse minimum | around 5°C for active growth |
| Suitable types | unheated greenhouse, polycarbonate greenhouse |
| Heating | Heating is optional - useful mainly for winter growing in cold areas. |
Related greenhouse guides
- Greenhouses: How to Choose the Right Greenhouse
- Polycarbonate Greenhouses: What to Look for Before Buying
Fertilizing & Feeding
A moderate feeder tied to its cycle: a balanced feeding as the bloom stalk grows, then a nitrogen-leaning feeding through the leaf-growth that follows, rebuilds the bulb for the next bloom.
Quick Fertilizing Specs
| Feeding Level | Moderate feeder, tied to its bloom-then-leaf cycle |
|---|---|
| Main Nutrient Priority | Balanced feeding as the bloom stalk grows, then nitrogen-leaning feeding through leaf growth |
| Best Feeding Period | Spring after the last frost, before and through leaf growth that follows bloom |
| Organic Options | Humus and organic matter worked into well-drained soil |
| Reduce/Stop Feeding | Stop feeding once the bulb goes dormant |
| Micronutrients | Usually met by a complete fertilizer and organic matter; correct only diagnosed deficiencies |
| Soil pH | Tolerates a wide range in well-drained soil |
Feeding by Growth Stage
Bloom-stalk growth
Support the thick flower stalk as it grows, ideally before it is fully formed.
| Nutrient direction | A balanced complete fertilizer supports strong stalk and bud development. |
|---|---|
| Timing | In spring after the last frost, ideally before the bloom stalk is fully grown. |
| Frequency | A light feeding as the bloom stalk develops is enough. |
| Fertilizer types | A balanced complete fertilizer, Humus and organic matter worked into the soil |
| Precautions | Avoid heavy feeding directly against the bulb; work fertilizer into the surrounding soil instead. |
Post-bloom leaf growth
Fuel the strap-like leaves that follow flowering so the bulb rebuilds its reserves for the next bloom cycle.
| Nutrient direction | A nitrogen-leaning complete fertilizer supports the leaf growth that recharges the bulb. |
|---|---|
| Timing | After flowering, through the leaf-growth period into autumn. |
| Frequency | A few light feedings through the leaf-growth period are usually enough. |
| Fertilizer types | A nitrogen-leaning complete fertilizer, Compost or humus worked into the soil |
| Precautions | Keep feeding moderate; overfeeding can encourage soft, weak leaves. |
Dormant rest
Let the bulb rest, whether stored indoors over winter in cold climates or resting in place in warm climates.
| Nutrient direction | None – withhold fertilizer while the bulb is dormant. |
|---|---|
| Timing | Once the leaves die back and the bulb enters its resting or storage period. |
| Frequency | No feeding during dormancy. |
| Fertilizer types | No feeding at this stage; do not fertilize a dormant or stored bulb. |
| Precautions | Do not fertilize while the bulb is dormant or in storage; resume only as new growth resumes the cycle in spring. |
Nutrient Deficiency Signs & Corrections
Post-bloom leaves emerge pale green or yellowish and grow weakly.
| Possible causes | low available soil nitrogen during the leaf-growth period, nitrogen leaching from watering, an undersized or exhausted bulb from a previous poor season |
|---|---|
| Appears first on | the newly emerging strap-like leaves |
| What to check | recent feeding history after bloom, bulb size and vigor, soil organic matter |
| Possible correction | Feed with a nitrogen-leaning complete fertilizer through the post-bloom leaf-growth period and work in organic matter. |
Interveinal yellowing appears on older leaves while the veins themselves stay green.
| Possible causes | low soil magnesium, heavy potassium-leaning feeding competing with magnesium uptake, leaching in light, well-drained soils |
|---|---|
| Appears first on | older leaves |
| What to check | soil magnesium status, how potassium-heavy recent feeding has been, soil texture and drainage |
| Possible correction | Apply a labeled magnesium source such as Epsom salt or a dolomitic amendment and rebalance feeding. |
Leaf tips brown or scorch, and the bloom stalk can weaken, despite adequate watering.
| Possible causes | fertilizer salt buildup around the bulb, especially in containers, underwatering that concentrates salts, feeding too heavily or too often for a single bulb |
|---|---|
| Appears first on | leaf tips and margins |
| What to check | recent feeding amounts, watering consistency, container or bed drainage |
| Possible correction | Ease off feeding and flush the soil thoroughly with plain water, then return to lighter feeding. |
Pruning, Training & Seasonal Maintenance
Hippeastrum, sold here as ‘Amaryllis plant’, is a bulb with two separate cuts to manage rather than ongoing pruning: the spent flower stalk is removed soon after bloom to stop the plant wasting energy on seed production, while the leaves are deliberately left to grow through the season and are only cut once they yellow, in summer to autumn per the source, ahead of the bulb’s rest period. This matters most for the many Hippeastrum grown as forced, repeat-reblooming houseplant bulbs, where the leaf-growing period after flowering is what recharges the bulb for its next bloom.
Quick Pruning & Maintenance Specs
| Pruning Tolerance | Low – two targeted cuts per cycle, not ongoing grooming |
| Primary Pruning Window | Summer to autumn, once leaves yellow |
| Secondary Maintenance Window | Soon after flowering, to remove the spent flower stalk |
| Typical Frequency | Twice per annual cycle |
| Main Objective | Remove the spent flower stalk promptly; keep leaves growing until they yellow |
| Young Plant Priority | Do not cut foliage on a newly planted or first-year bulb |
| Mature Plant Priority | Cut the flower stalk after bloom; cut leaves only once fully yellowed |
| Best Tool Type | Precision snips |
| Avoid Heavy Pruning During | While leaves are green and actively growing after bloom |
Pruning by Plant Age & Size
Newly Established
Leave a newly planted bulb’s foliage untouched through its first growth period so it can build reserves before any pruning decisions are made.
Young / Formative
No structural training applies to a bulb; management is entirely about the flower-then-leaf cycle rather than shaping growth.
Mature / Established
After each bloom, cut the spent flower stalk near its base; through summer, let the leaves grow fully and only remove them once they have yellowed, typically summer to autumn.
Seasonal Pruning Schedule
Post-Flowering
Objective: stop the plant diverting energy into seed production once flowering finishes. What to remove: the flower stalk, cut down close to the bulb once all blooms on it have faded. What not to remove: the leaves, which are only just fully developing or emerging at this point and are needed for the months ahead. Flowering impact: cutting the stalk promptly (rather than leaving it to set seed) supports stronger reflowering.
Summer to Autumn
Objective: prepare the bulb for its rest period, matching the source’s pruning season. What to remove: leaves once they have fully yellowed and died back. What not to remove: green, still-functioning leaves – the source calls for cutting ‘all the leaves’ but this is only appropriate once they have finished their natural cycle, not while actively growing. Expected response: bulb goes into dormancy cleanly, setting up the next bloom (spring–summer in cold climates, winter–spring in hot climates per the source).
Special Growth to Remove
- Spent flower stalks, cut close to the bulb soon after bloom fades.
- Fully yellowed leaves at the end of the growing season – never green leaves.
Container & Small-Space Pruning
This is the most common way this species is grown – as a potted, often forced-for-rebloom bulb (roughly 2–5 L pot per bulb per the source). The same two-cut approach applies indoors; the extra container-specific step is exposing the plant to strong light as new leaves regrow after dormancy, since indoor bulbs need this to rebuild enough reserve to flower again.
Tools
- precision_snips – for both the flower-stalk cut and the end-of-season leaf cut; all cuts are through soft, non-woody tissue.
Tool Hygiene & Disease Risk
Routine – clean, sharp snips are sufficient; the species’ noted pest risks (bulb mites, bulb flies, nematodes, borers) are soil/bulb-based, not spread by pruning cuts.
Cut Placement & Technique
Cut the flower stalk close to the bulb once all its blooms have faded, being careful not to nick emerging leaves nearby; cut dead leaves at the base only once fully yellowed.
Heavy Pruning & Rejuvenation
Not applicable: as a bulb, there is no woody growth to cut back hard. Strong rebloom depends on a full season of leaf growth after flowering, not on any pruning technique.
Post-Pruning Care
After cutting the spent flower stalk, keep watering and feeding as normal to support the leaves that follow – fertilizing in spring before the bloom stem grows, as the source notes, rather than right after this cut. After the end-of-season leaf removal, reduce watering to support the bulb’s rest period rather than continuing active-growth watering.
Common Pruning Mistakes
- Cutting the leaves back while still green, which starves the bulb of the reserves it needs to rebloom.
- Leaving the spent flower stalk to set seed instead of removing it promptly after bloom.
When NOT to Prune
Never cut leaves while they are green and actively growing after flowering, and avoid disturbing the bulb while the flower stalk is still actively blooming.
Recommended Tools (by task)
- precision_snips – for both the post-bloom flower-stalk cut and the end-of-season foliage cut on this soft-tissue bulb.
Propagation Guide
The quickest and most reliable way to increase amaryllis (Hippeastrum) is by separating offset bulbs from the mother bulb; seed is possible but slower and, for many cultivars, will not reproduce the exact flower color of the parent plant. Propagation is easy by bulb division and moderate by seed, since seed-grown plants also take several years to reach flowering size.
Quick Propagation Specs
| Best Propagation Method | Bulb division (offsets) |
| Alternative Methods | Seed |
| Propagation Difficulty | Easy (division); Moderate (seed) |
| Seed True-to-Type | Variable – hybrid cultivars may not come true, and some cultivars set seed of low viability |
| Vegetative True-to-Type | Yes |
| Best Propagation Season | Division: autumn to mid-winter, as the leaves die back; Sowing: end of summer to autumn |
| Seed Germination Time | 2–10 weeks, sometimes longer |
| Germination Temperature | 21–25°C (70–77°F) |
| Seed Sowing Depth | About 0.5cm (0.25 inch) |
Growing from Seed
Seed Handling & Viability
Soak the seed before sowing, especially if it is not fresh, since viability declines with age. Some cultivars are fertile but set seed that is not viable, so those must be increased by bulb division instead.
Dormancy & Pre-Sowing Treatment
Soak seed for at least 24 hours before sowing. If seed must be held before sowing, keep it in a dark, dry location; refrigerated storage is reported to give better results than storage at room temperature.
Sowing Season
End of summer through autumn.
Sowing Depth & Orientation
Sow about 0.5cm (0.25 inch) deep; the seed does not need to be buried, just settled onto moist soil.
Germination Conditions
Moist soil with high humidity, in half shade to full sun, at roughly 21–25°C (70–77°F); keep evenly moist to wet and never let it dry out.
Germination Time
Typically 2–10 weeks, and it can take longer – expect uneven, staggered emergence.
Seedling Care
Grow seedlings on in moist soil under full sun, ideally above 25°C (77°F). Space transplanted seedlings about 2x2cm (1×1 inch) apart, or sow direct at roughly 10x10cm (4×4 inch) spacing. Seed-grown plants can take several years to reach flowering size, and the flower color may differ from the parent.
Division, Offsets, Pups & Suckers
Amaryllis forms offset bulbs beside the mother bulb. Division can be done at any time of year but is best from autumn to mid-winter, once the leaves have died back – simply separate the offset bulbs from the mother plant. This is the method to use for named cultivars, since it preserves the exact flower color and form and brings the new plant to flowering size much faster than seed.
Bloom & Flower Guide
Quick Details
- Bloom Season: Spring to summer in cooler climates; winter to spring in warm climates
- Time to First Bloom: A planted bulb usually flowers within roughly six to ten weeks, as the flower spike pushes up
- Flower Appearance: Large trumpet-shaped flowers, often with a darker edge to the petals; single or double, in many colours
- Edibility: Not edible – the bulb and plant are toxic if eaten
Detailed Blooming Overview
Amaryllis (Hippeastrum) is grown for its bold, trumpet-shaped blooms. Each sturdy spike carries several large flowers in shades of pink, red, white, purple, yellow, orange or deep wine-red, sometimes marked with a darker rim along the petal edges like a delicate border, and some varieties are fully double. Grown indoors it needs good light to flower well – bring it into strong light as the leaf-and-flower spike begins to rise, and it can be moved back to a display spot once the buds show.
Flower Characteristics
- Large trumpet-shaped flowers in pink, white, red, purple, yellow, orange or wine-red – sometimes more than one colour.
- Petals often edged in a darker shade; some cultivars are double-flowered.
Bloom Care & Thinning
- Encouraging bloom: Give the bulb strong light as the spike emerges; too little light gives leaves but few or no flowers.
- Safety: The bulb and foliage contain toxic alkaloids – keep them away from children and pets, and handle after cutting with clean hands.
Pests, Diseases & Troubleshooting
Overview: Amaryllis (Hippeastrum) is a bulbous plant whose troubles centre on the bulb and the emerging leaves: the amaryllis (lily) borer caterpillar, bulb mites and bulb fly larvae attacking the bulb, sap-suckers on the foliage, and above all the fungal “red blotch” (leaf scorch) disease plus rot from overwatering. Good drainage, healthy firm bulbs, and prompt removal of infected tissue are the keys to success.
Quick Troubleshooting Overview
| Issue / Pest | Main Symptom | Primary Solution |
|---|---|---|
| Amaryllis / lily borer | Caterpillars tunnelling leaves & bulb; frass, collapse | Hand-pick larvae; destroy eggs; Bt / spinosad |
| Red blotch (leaf scorch) | Red spots/streaks on leaves, stalks & bulb | Remove infected tissue; fungicide dip; dry storage |
| Bulb mites & bulb fly | Soft, crumbling bulb; maggots or mites inside | Discard badly infested bulbs; buy firm clean stock |
| Mealybugs / spider mites | Cottony masses or stippling on leaves | Alcohol/oil; hose; horticultural oil |
| Bulb rot | Soft, mushy, smelly bulb in wet soil | Improve drainage; cut out rot; ease off water |
Common Pests & Management
- Amaryllis / lily borer caterpillar (Brithys crini):
- Symptoms: The signature pest — striped caterpillars mine and chew the leaves, then bore down into the neck and bulb, leaving frass and hollowed, collapsing tissue.
- Prevention & Control: Inspect leaves for eggs and young larvae and rub them off, hand-pick caterpillars, and treat with Bacillus thuringiensis or spinosad while larvae are small; remove and destroy badly bored leaves before larvae reach the bulb.
- Narcissus bulb fly (Merodon equestris):
- Symptoms: A single fat maggot tunnels and hollows out the bulb, which becomes soft and fails to sprout or produces weak, grassy leaves.
- Prevention & Control: Buy firm, healthy bulbs, cover the neck/soil to deter egg-laying as foliage dies back, and discard soft infested bulbs.
- Bulb mites (Rhizoglyphus spp.):
- Symptoms: Tiny pearly mites in the scales of soft, rotting or damaged bulbs, accelerating decay; usually secondary to injury or rot.
- Prevention & Control: Handle bulbs gently, store cool and dry, discard soft bulbs, and keep the growing medium from staying wet.
- Mealybugs, spider mites & thrips:
- Symptoms: White cottony tufts in leaf bases (mealybugs), fine stippling and webbing (mites), or silvery flecking and streaked flowers (thrips), especially on indoor-grown plants.
- Prevention & Control: Wipe mealybugs with alcohol, hose and raise humidity for mites, use sticky traps for thrips, and treat with insecticidal soap or horticultural oil.
- Aphids (Myzus / Aphis spp.):
- Symptoms: Colonies on flower stalks and new leaves with honeydew; important as vectors of mosaic virus.
- Prevention & Control: Wash off, use insecticidal soap, and control aphids promptly to limit virus spread.
Diseases & Fungal Issues
- Red blotch / leaf scorch (Stagonospora curtisii):
- Symptoms: The classic amaryllis disease — red spots, streaks and blotches on emerging leaves, flower stalks and the bulb scales; stalks may bend or snap and leaves distort.
- Treatment & Management: Remove and destroy affected leaves and outer scales, keep foliage dry, improve airflow, and dip or dust bulbs with a fungicide before planting; start with clean, healthy stock.
- Bulb rot (Fusarium / Botrytis / Sclerotium):
- Symptoms: Soft, brown, foul-smelling decay of the bulb, sometimes with grey or pink mould, in overwet or poorly drained conditions.
- Treatment & Management: Improve drainage, avoid overwatering (never let the bulb sit wet), cut away rot to clean tissue, dust with fungicide, and dry before replanting.
- Mosaic virus (Hippeastrum mosaic):
- Symptoms: Pale mottling, streaking and reduced vigour; permanent and spread by aphids and dirty tools.
- Treatment & Management: No cure — destroy badly affected bulbs, control aphids, and disinfect cutting tools between plants.
Growing Difficulties & Abiotic Problems
- Failure to flower:
- Cause & Symptoms: Leaves but no bloom, from insufficient rest, too little light while in leaf, or an undersized/overcrowded bulb. Correction Strategy: Feed and light the foliage well after flowering, give a proper dry dormant rest, and pot on tired bulbs.
- Overwatering & rot:
- Cause & Symptoms: Soft bulb and yellowing from soggy soil. Correction Strategy: Use free-draining mix, water sparingly (especially at planting and dormancy), and never leave standing water in the saucer.
- Floppy, leaning stalks:
- Cause & Symptoms: Tall flower stalks lean toward light and topple. Correction Strategy: Turn the pot regularly, give bright even light, and stake heavy stalks.
What Helps — Products & Tools
For amaryllis keep Bacillus thuringiensis or spinosad for the borer caterpillar, insecticidal soap and horticultural oil for mealybugs, mites and aphids, and a fungicide (for a bulb dip and for red-blotch control). The best “tools” are firm, clean, healthy bulbs, a free-draining mix and disciplined watering, which prevent most rot and disease.
Frequently Asked Questions
How do you grow and care for amaryllis?
Give amaryllis (Hippeastrum) bright light with well-drained, humus-rich soil, and plant the bulb shallow so the top 2 cm – the neck and shoulders – stays above the soil rather than being buried. Water lightly after planting until growth appears, then water moderately during active growth and bloom, letting the top of the soil dry between waterings, and reduce water as the foliage dies back so the bulb can rest dry and cool. In pots, use a free-draining mix in a snug container, since bulbs flower best slightly pot-bound.
Is amaryllis poisonous to pets or children?
Yes – the bulb and foliage contain toxic alkaloids, so keep the plant away from children and pets, and handle it with clean hands after cutting.
Why isn’t my amaryllis reblooming, and how can I encourage it to flower again?
Failure to rebloom is usually from insufficient rest, too little light while in leaf, or an undersized/overcrowded bulb. Give the bulb strong light as the spike emerges, since too little light gives leaves but few or no flowers, and cut the spent flower stalk promptly after bloom rather than letting it set seed, which supports stronger reflowering. Feed and light the foliage well after flowering, give a proper dry dormant rest, and pot on tired bulbs.
Can amaryllis be grown indoors in pots?
Yes – Hippeastrum is the familiar indoor amaryllis and grows well in containers. The grower allows about 2 L per bulb, better 5 L, in a pot with strong drainage holes and no standing-water saucer. When the leaves push up after dormancy, give the bulb strong light – ideally full sun on a bright sill – to build the flower stem before moving it to a shadier spot once buds show.
How long does it take for an amaryllis bulb to bloom?
A planted bulb usually flowers within roughly six to ten weeks as the flower spike pushes up. Bloom timing then follows the local climate – spring to summer in cooler climates, or winter to spring in warm climates.