Plant Profile & Key Characteristics
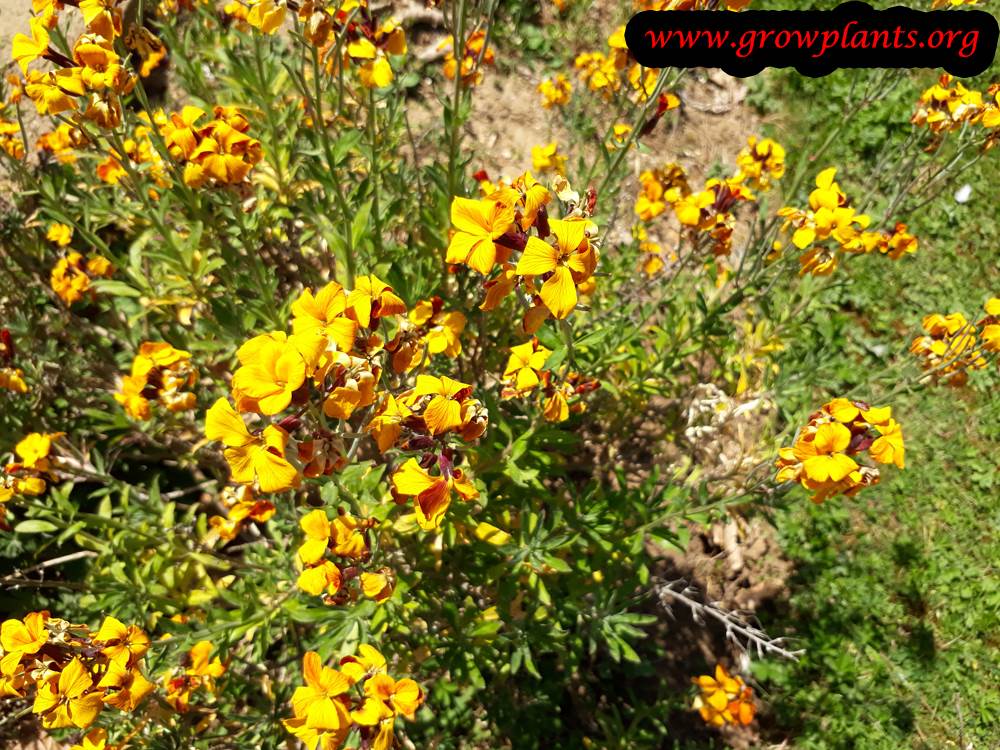
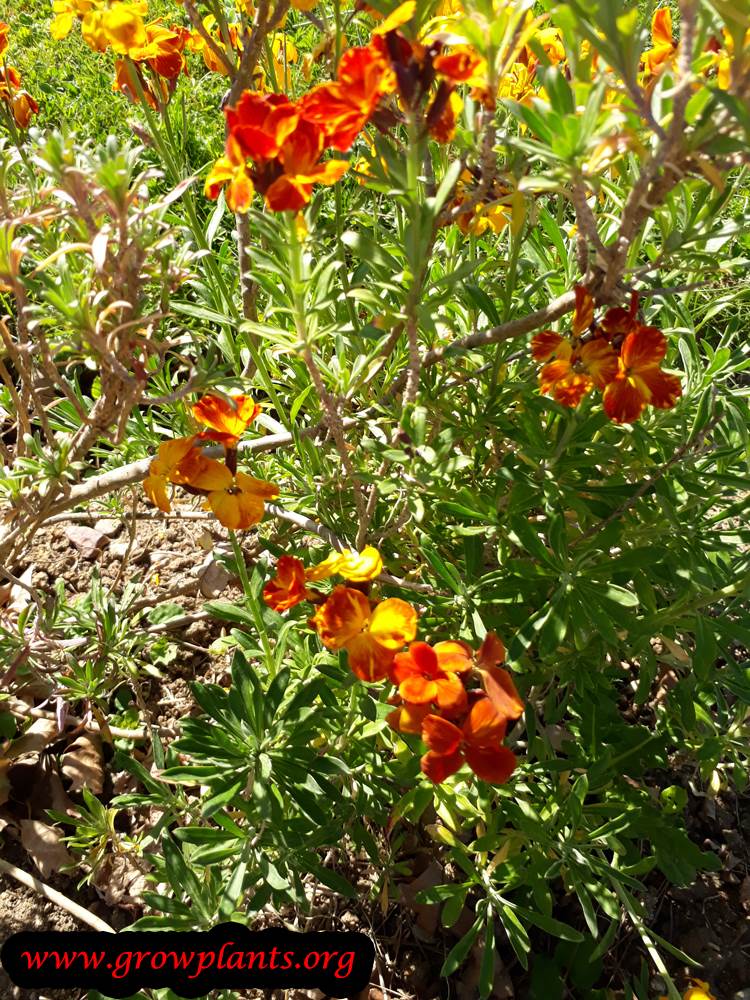
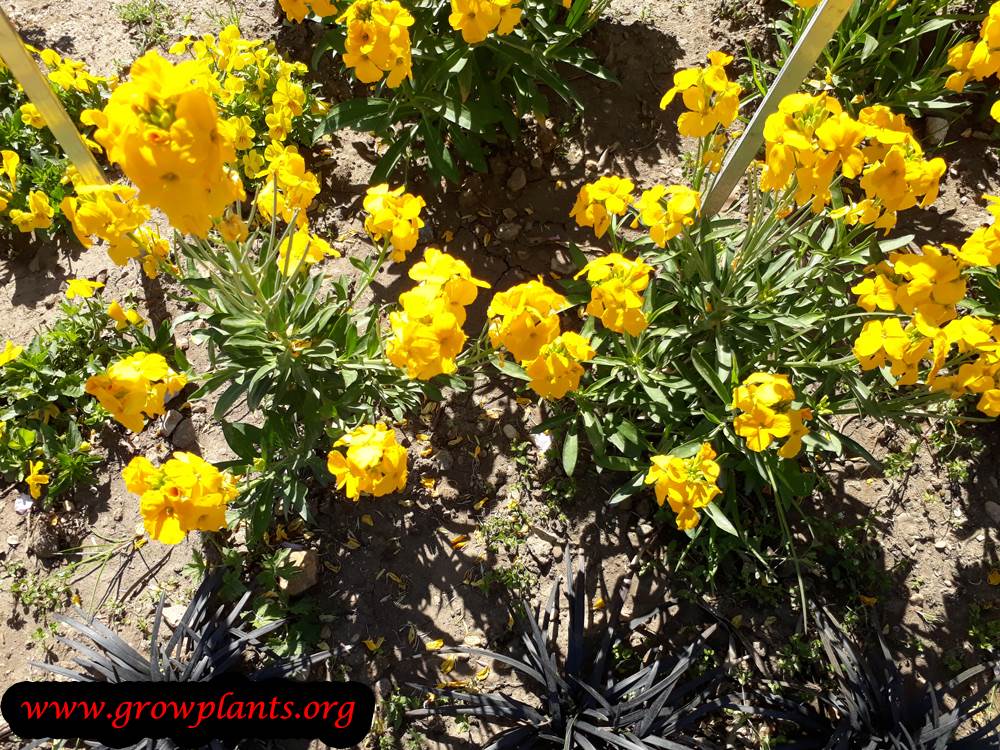
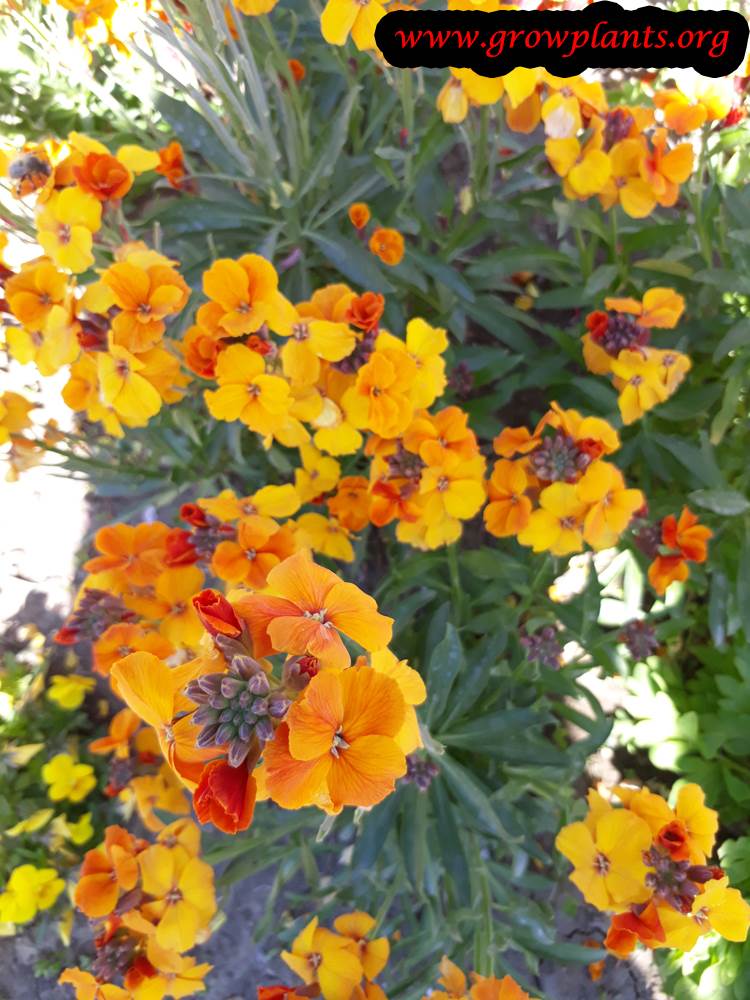
Overview: An evergreen perennial wallflower reaching 10-40 cm, grown as an ornamental groundcover. It is prized for its long season of fragrant four-petalled flowers in many colours.
Quick Specifications
| Specification | Attribute |
|---|---|
| Plant Type / Life Cycle | Perennial (short-lived, woody-based subshrub) |
| Foliage Type | Evergreen |
| Mature Size | 10-40 cm (4-16 in) tall and wide |
| Growth Rate | Moderate to fast |
| Toxicity | Toxic if ingested (contains cardiac glycosides) |
| Hardiness | USDA zones 5-9 |
Growth Form & Structure
- Height & Spread: A low bushy mound 10-40 cm (4-16 in) high and wide; good for borders, walls and containers.
- Growth Habit & Form: Woody-based evergreen subshrub forming a spreading groundcover.
- Lifespan & Maturity: Short-lived perennial, quick to reach flowering size and often renewed every few years.
Anatomy & Physical Features
- Leaves & Foliage: Narrow linear green leaves, sometimes variegated green-and-white.
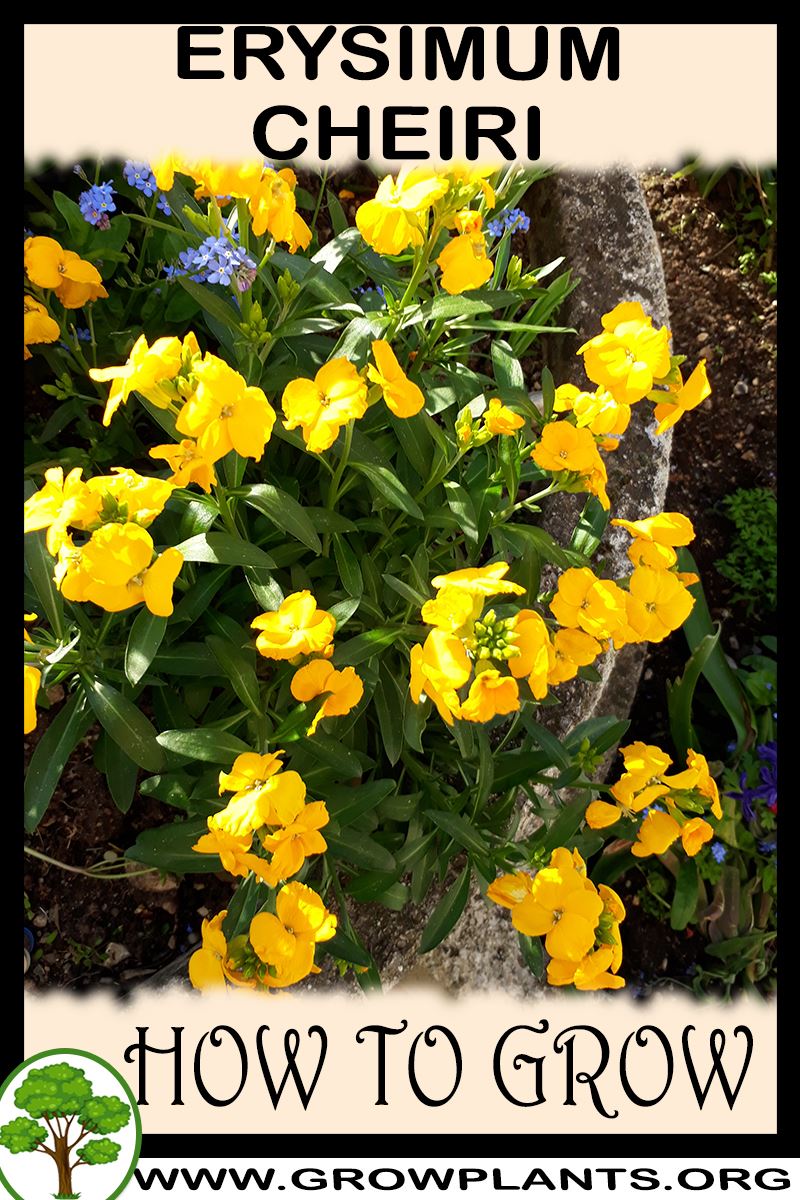
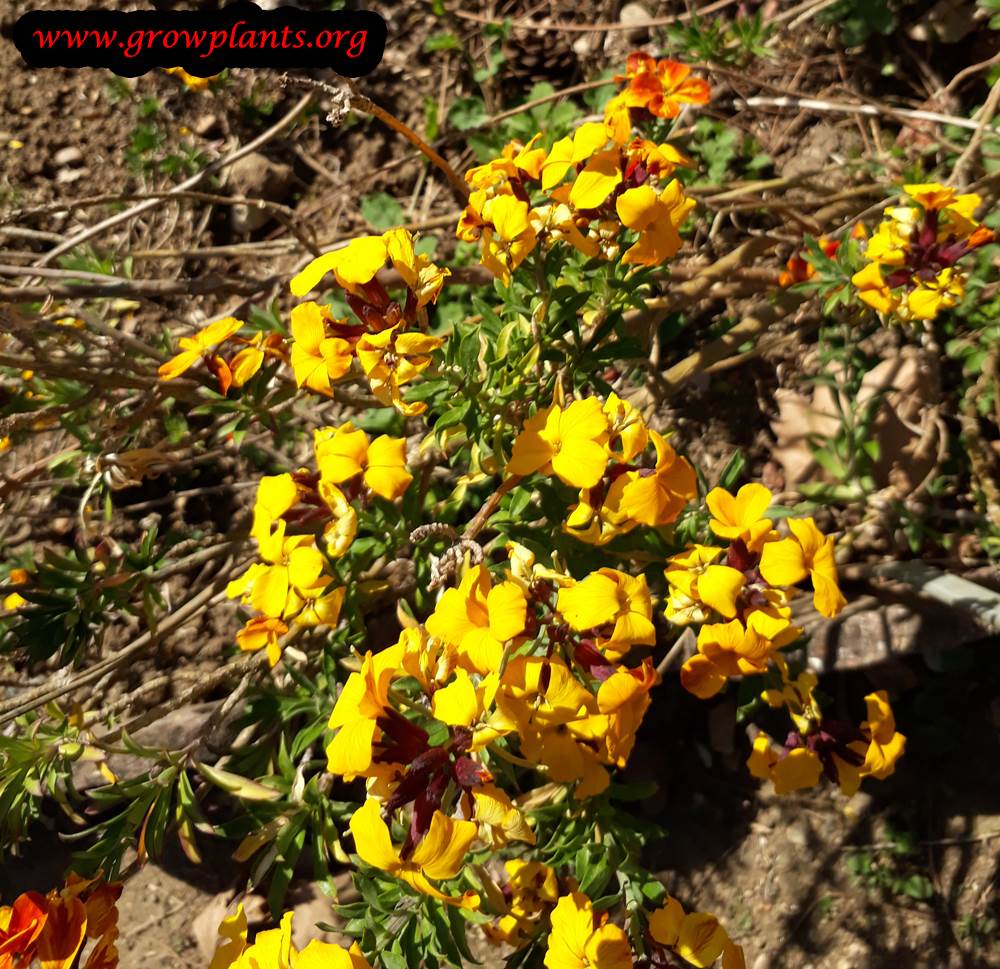
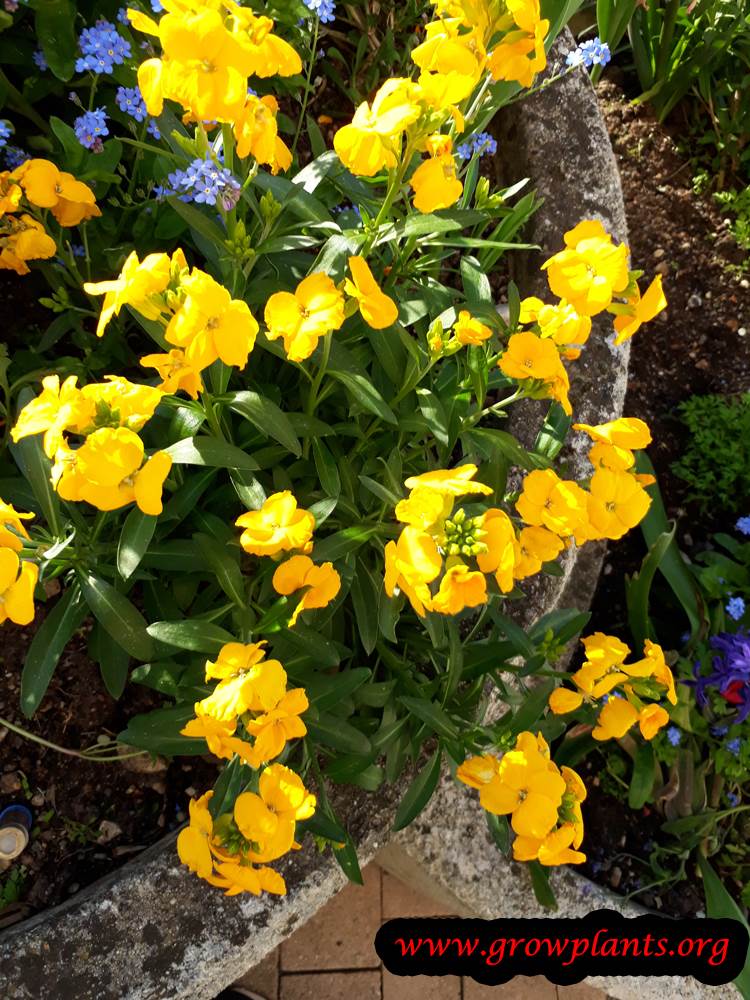
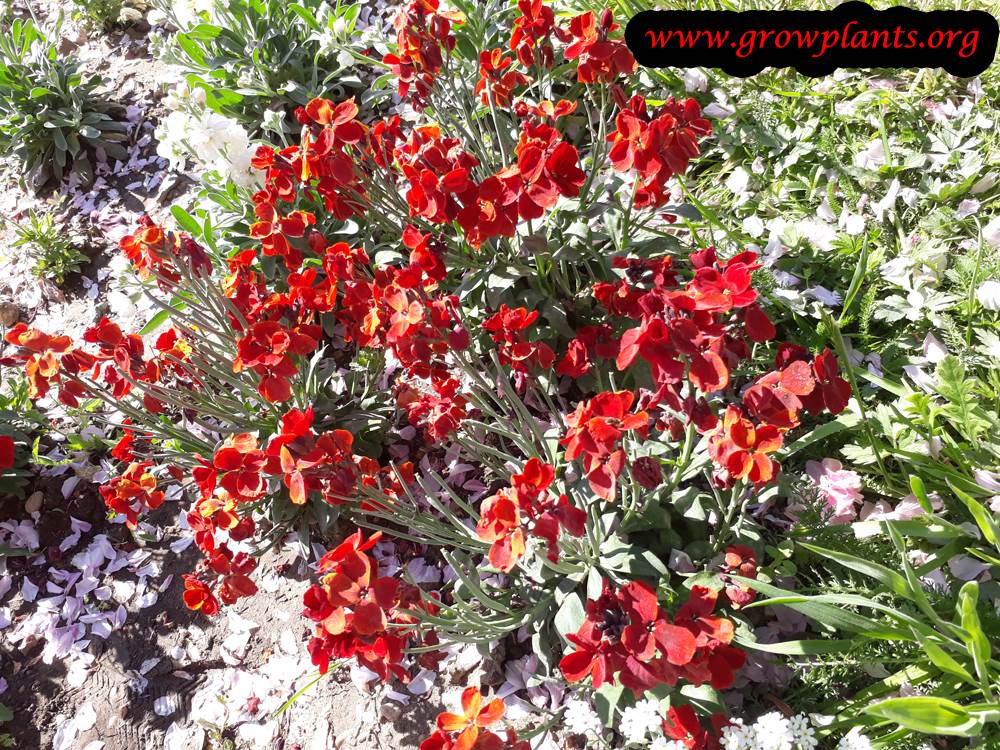
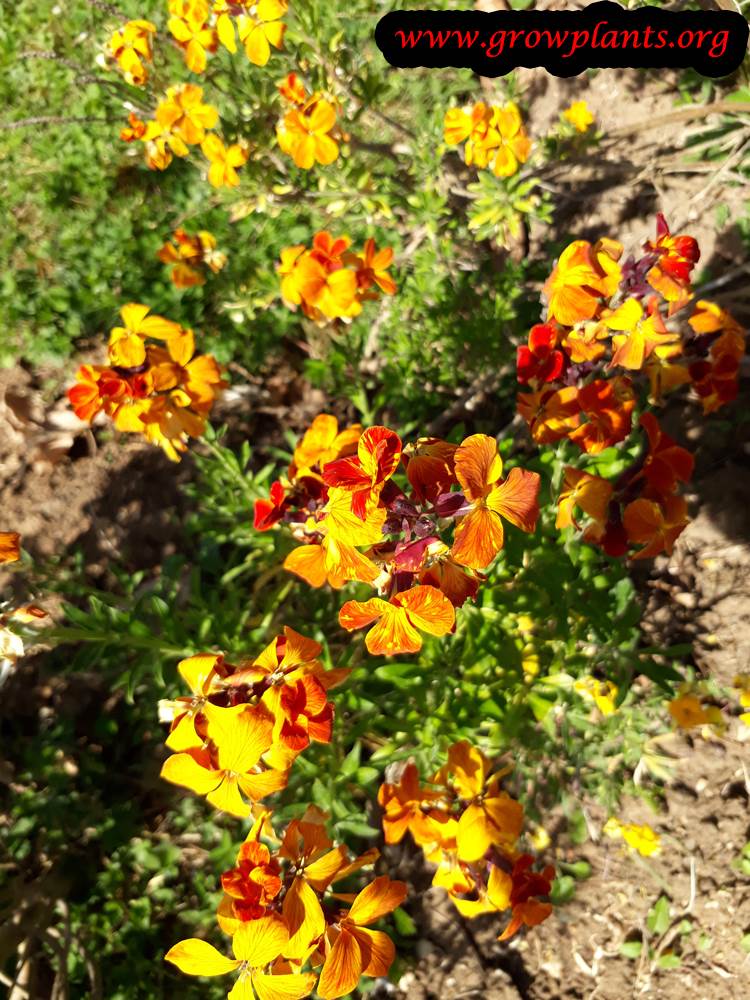
- Flower Characteristics: Four-petalled cross-shaped flowers in purple, pink, white, brown, yellow, orange, red or mixes, often fragrant, in spring and summer.
Primary Uses & Landscape Value
- Functional & Ornamental Roles: Ornamental groundcover, border and container plant for walls and rockeries; flowers provide nectar for pollinators.
Care Guide: Planting, Soil & Watering
Overview: Erysimum cheiri (wallflower) is a short-lived evergreen perennial that blooms best in full sun and fertile, free-draining soil. It enjoys a cool winter and steady moisture through the growing season but dislikes wet, boggy roots.
Quick Care Requirements
| Requirement | Ideal Condition |
|---|---|
| Planting Season | Cool season – autumn through spring |
| Growth Rate | Moderate to Fast |
| Soil Type | Fertile, moisture-retentive yet well-drained |
| Water Need | Moderate to High (dry slightly between waterings) |
Planting & Establishment
- Best Planting Season: Plant in the cooler months – autumn, winter, or early spring – so roots establish before flowering; it appreciates a cold winter.
- How to Plant:
- Hole Preparation: Dig a hole as wide as, and no deeper than, the root ball.
- Soil Amendments: Work in compost for fertility, plus grit in heavy soil to improve drainage.
- Planting Depth: Set the root collar level with the soil surface.
- Growth Speed & Expectations: Moderate to fast, forming a bushy mound that flowers freely in its first or second year.
Soil, Watering & Drainage Care
- Soil Mix & Drainage Needs: Free-draining soil or a quality potting mix; drainage is essential to prevent root rot in this short-lived plant.
- Watering Schedule & Technique:
- Young / Newly Planted: Water regularly to establish the young plant.
- Established: Water moderately, keeping the soil lightly moist but letting the surface dry slightly between waterings.
- Seasonal Adjustments: Less water in winter; more during summer heat.
Climate, Light & Hardiness
Erysimum cheiri (common wallflower) is a short-lived evergreen subshrub (a wallflower) of Mediterranean, subtropical and temperate gardens, valued for fragrant, long-lasting spring flowers. It grows in full sun to half shade and, with a cold-winter preference, is hardy to about zone 5–9, doing best where summers are not oppressively hot.
Quick Climate Specifications
| Climate Zones | Mediterranean, subtropical and temperate |
| USDA Hardiness Zones | Site lists zone 5–9 |
| Optimal Temp Range | Cool to mild conditions of roughly 10–20 °C (50–68 °F) |
| Cold Damage Begins | Hardy through most winters in range; the soft newest growth can be nipped by severe cold |
| Approx. Survival Minimum | Established plants tolerate cold consistent with a zone 5 limit, roughly −23 to −29 °C (−10 to −20 °F); short-lived, and older plants weaken with age |
| Frost Tolerance | Moderate to High |
| Light Conditions | Full sun to half shade |
Sunlight & Light Exposure
Optimal Light Setup
Full sun gives compact growth and the best flowering; half shade is tolerated with looser, taller stems.
Best Exposure / Orientation
An open, sunny, well-drained bed or wall crevice suits it - wallflowers are classic for sunny walls and banks.
Temperature Extremes & Hardiness
USDA Hardiness & Regional Limits
Zone 5–9 with a cold-winter preference means it takes real frost but is naturally short-lived, often best renewed every few years from cuttings or seed.
Cold Damage & Winter Protection
Little protection is needed within its zones; sharp drainage through winter matters more than cold itself, as wet cold shortens its life.
Frost Sensitivity
Frost-tolerant across its range; only the softest new growth is at risk in severe cold.
Extreme Heat Tolerance
It prefers cool to mild conditions; prolonged hot, humid weather shortens its already brief life.
Wind, Humidity & Microclimate
Humidity Preferences
It favours drier air with good drainage over damp, humid conditions.
Microclimate Recommendations
A sunny, sharply-drained, airy position - a wall, raised bed or slope - keeps it healthiest and longest-lived.
Growing in Pots, Balconies & Indoors
The common wallflower is a short-lived, sun-loving perennial prized for its richly fragrant spring flowers, and it grows well in balcony and patio pots with sharp drainage. It is an outdoor plant, not a houseplant.
Quick Details
- Container Size: Small to medium – about 5-15 L (1-4 gal), general guidance
- Indoor Suitability: Not a houseplant – needs full sun and cool, fresh air
- Best Spot: Full sun to light shade
- Soil & Drainage: Free-draining, even slightly lean mix; add grit
- Watering in Pots: Keep lightly moist; it dislikes sitting wet
Indoors & On the Windowsill
- Not a houseplant: The grower marks it ‘no’ – it needs full sun and cool air and soon grows leggy indoors. Grow it outside.
- Hardy outdoors: It is fairly hardy and overwinters outdoors in most climates, so pots can stay outside.
On a Balcony or Patio
- Light & wind: Give it full sun and free-draining soil, and set pots near seating for the perfume. Pots dry fast, so keep them lightly moist.
- Practicalities: Shear back after the main flush to prolong this short-lived plant.
Choosing the Pot, Soil & Long-Term Care
- Pot & drainage: A 5-15 L pot with strong drainage holes; skip a standing-water saucer to avoid root rot. Terracotta breathes and dries fast, while glazed or plastic pots hold moisture longer.
- Potting mix: A free-draining mix with added grit or perlite; it prefers lean, sharp conditions.
- Feeding: Feed sparingly – lean conditions give more flowers.
- Repotting: Refresh the mix or pot up about every couple of years; for perennials, lightly prune the root ball and top growth at the same time.
Fertilizing & Feeding
A light feeder; balanced feeding with adequate nitrogen supports flowering, and high-phosphorus bloom-booster products are not needed.
Quick Fertilizing Specs
| Feeding Level | Light feeder |
|---|---|
| Main Nutrient Priority | Balanced feeding with adequate nitrogen; skip high-phosphorus bloom products |
| Best Feeding Period | During spring growth and the bloom period |
| Organic Options | Compost or other organic matter |
| Soil pH | Near neutral; tolerates slightly alkaline soil |
| Reduce/Stop Feeding | Stop feeding as the plant rests after bloom |
Feeding by Growth Stage
Spring growth
Support fresh leafy growth as the plant wakes up before bloom
| Nutrient direction | A balanced complete feed with adequate nitrogen |
|---|---|
| Timing | As new growth resumes in spring |
| Frequency | A light feeding as growth starts |
| Fertilizer types | Balanced complete fertilizer, Compost or other organic matter |
| Precautions | Keep feeding light; wallflowers do well in lean soil and rarely need heavy feeding |
Bloom period
Support a full, colorful flush of flowers
| Nutrient direction | Stay with balanced feeding and adequate nitrogen; skip high-phosphorus bloom products |
|---|---|
| Timing | Through the spring-to-summer flowering period |
| Frequency | Light feeding is usually enough during bloom |
| Fertilizer types | Balanced complete fertilizer |
| Precautions | Avoid special high-phosphorus bloom boosters; balanced feeding and adequate nitrogen drive flowering |
Rest after bloom
Let the plant rest without added nutrients once flowering finishes
| Nutrient direction | None – withhold fertilizer during the rest period |
|---|---|
| Timing | After the main bloom finishes, through the plant’s rest |
| Frequency | No feeding at this stage |
| Fertilizer types | No feeding at this stage – do not fertilize until active growth resumes |
| Precautions | Do not fertilize until active growth resumes the following season |
Nutrient Deficiency Signs & Corrections
Overall pale, light-green to yellow foliage with slow, stunted growth
| Possible causes | Low available nitrogen in the soil, Cold or waterlogged soil limiting root uptake, Nitrogen leached away after heavy rain or over-watering |
|---|---|
| Appears first on | Older, lower leaves |
| What to check | Soil fertility and recent feeding history, Drainage and how wet the root zone stays, Whether heavy rain may have leached nutrients |
| Possible correction | Side-dress with a nitrogen-forward complete fertilizer and make sure the soil drains well so roots can take it up. |
Yellowing between the veins on new leaves, veins remaining green
| Possible causes | Low available iron, High (alkaline) soil pH tying up iron, Cold or waterlogged soil slowing uptake |
|---|---|
| Appears first on | Young, newest leaves |
| What to check | Soil pH, Drainage and soil temperature, Whether new growth is affected first |
| Possible correction | Correct soil pH toward neutral and, if needed, apply a chelated iron product per its label. |
Yellowing between the veins while the veins stay green (interveinal chlorosis)
| Possible causes | Low available magnesium, High potassium in the soil competing with magnesium uptake, Acidic, leached soil short on magnesium |
|---|---|
| Appears first on | Older, lower leaves |
| What to check | Soil pH, Recent heavy potassium feeding, Leaching history of the bed |
| Possible correction | Correct soil pH if needed and apply a magnesium source per its label. |
Pruning, Training & Seasonal Maintenance
The common wallflower is a short-lived woody-based subshrub grown for its dense, fragrant, cross-shaped spring flowers, so pruning has one main job — keeping the mound compact and floriferous while slowing the legginess that ends its useful life in two to three years. It flowers on the tips of shoots made the previous season, so the safest and most productive cut is a light shear immediately after the main bloom flush fades. Like lavender and other Brassicaceae subshrubs it will not reliably resprout from bare old wood, so pruning shapes and prolongs the plant rather than rejuvenating it.
Quick Pruning & Maintenance Specs
| Pruning Tolerance | Moderate on leafy growth; Low on old bare wood |
| Primary Pruning Window | Right after the spring bloom flush |
| Secondary Maintenance Window | Ongoing deadheading through the flowering season |
| Typical Frequency | One shaping shear per year plus deadheading |
| Main Objective | Compact habit, repeat flowering, longer plant life |
| Young Plant Priority | Pinch tips once or twice to build a bushy mound |
| Mature Plant Priority | Shear back spent flowering shoots into green growth only |
| Best Tool Type | Precision snips or light hand shears |
| Avoid Heavy Pruning During | Peak bloom, and any cut into leafless old wood |
Pruning by Plant Age & Size
Newly Established
Remove only damaged or broken shoots. A single soft pinch of the growing tips a few weeks after planting encourages branching and a fuller cushion.
Young / Formative
No structural framework is needed — this is a mounding subshrub, not a trained plant. Pinch tips once or twice in the first season so the base carries many flowering shoots rather than a few leggy ones.
Mature / Established
After the main spring display, shear the whole mound back by about a third, always cutting into leafy green growth and never into the hard, leafless lower stems. This keeps the plant dense and often coaxes a lighter second flush.
Seasonal Pruning Schedule
Post-Flowering (after the spring flush)
Objective — renew compact flowering wood. Remove — spent flower spikes and the top third of leafy shoots. Do NOT remove — bare woody stems with no green, which rarely reshoot. Expected response — fresh basal and lateral growth that carries next season’s bloom. Flowering impact — this cut sets up the following spring’s display; skipping it leads to a sparse, woody plant.
Ongoing Sanitary
Snip out any winter-damaged or aphid-fouled shoots as seen; aphids cluster on soft new growth and spent heads.
Flowering & Fruiting Wood
Wallflower blooms on the tips of shoots produced the previous season. Cutting hard in autumn or winter therefore removes the coming spring’s flowers, which is why shaping is done just after bloom. Deadheading spent spikes before they set seed redirects energy from seed production back into foliage and further flowering, and noticeably extends the life of this naturally short-lived plant.
Structural Pruning & Training
Keep the plant as a low, self-supporting mound; the only real structural aim is preventing the open, bare-centred sprawl that develops with age. Light annual shearing into green growth controls both height and spread far better than occasional hard cutting.
Special Growth to Remove
Deadhead faded flower spikes routinely — seed set is the main thing that exhausts a wallflower and shortens its already brief life. There are no suckers, runners or watersprouts to manage on this plant.
Container & Small-Space Pruning
In pots the same after-bloom shear keeps the mound tidy and in scale, and container plants tend to go woody even faster, so consistent deadheading and a yearly trim matter more. Do not compensate with harder cuts into old wood — it will not resprout in a pot any better than in the ground.
Tools
Selective work needs precision snips or bypass secateurs for individual spent spikes; a pair of light hand shears is acceptable for the after-bloom trim because this is a genuine small mounding subshrub rather than a plant needing individual selective cuts. No loppers or saw are ever required.
Tool Hygiene & Disease Risk
Routine hygiene — clean, sharp blades are enough. Wallflower’s common problems (aphids, and the soil-borne clubroot it shares with other brassicas) are not spread on pruning blades, so blanket between-cut sterilising is unnecessary; wipe tools if you have just cut obviously diseased tissue.
Cut Placement & Technique
Use heading-style shear cuts just above a set of healthy leaves so the plant breaks from that point. Deadhead by cutting each spent spike back to the first strong leafy side shoot. The one rule that overrides all others — keep every cut within green, leafy wood.
Heavy Pruning & Rejuvenation
Hard renovation is NOT tolerated. Cutting back into the old leafless base usually kills the stem or the whole plant, so a tired, woody wallflower is best replaced rather than rejuvenated — it is cheap and quick from seed or cuttings.
Post-Pruning Care
After the after-bloom shear, water in dry spells to support the new flush; heavy feeding is not needed and can push soft, floppy growth. Watch the fresh shoots for aphids.
Common Pruning Mistakes
- Cutting into bare old wood expecting it to reshoot — it will not.
- Skipping deadheading, letting the plant set seed and burn out early.
- Pruning hard in autumn or winter and removing the spring flowers.
- Leaving it unpruned until it splays open and goes woody at the centre.
When NOT to Prune
Do not shear during peak bloom, do not cut back going into cold winter weather (leave that shaping for after the spring flush), and avoid cutting a drought-stressed plant in summer heat.
Recommended Tools (by task)
- precision_snips — deadheading individual spent flower spikes back to a leafy shoot.
- hedge_shears — the single light after-bloom shear over this small mounding subshrub, staying in green growth.
Pruning Troubleshooting
| Problem | Possible Cause | What to Check | Corrective Action |
| Leggy, bare, open centre | Never sheared, or cut only into old wood | Whether green growth remains low on the stems | Shear lightly into green growth after each bloom; if only bare wood is left, replace the plant |
| Few flowers this spring | Hard-pruned in autumn/winter, removing bloom shoots | When the last cut was made | Shift shaping to just after flowering so next season’s tip growth is retained |
| Short-lived, dies out in a year or two | Allowed to set heavy seed | Presence of seed pods forming | Deadhead consistently before seed sets to prolong the plant |
Propagation Guide
The common wallflower is grown mainly from seed, sown in late spring or early summer to flower the following spring as a biennial, while double-flowered and named forms that come poorly from seed are increased from cuttings. Seed of a single-colour strain is fairly uniform, whereas mixed strains vary; propagation is easy.
Quick Propagation Specs
| Best Propagation Method | Seed |
| Alternative Methods | Soft / semi-ripe cuttings (double and named forms) |
| Propagation Difficulty | Easy |
| Seed True-to-Type | Mostly uniform within a single-colour strain; mixed strains variable |
| Vegetative True-to-Type | Yes |
| Best Propagation Season | Sow late spring to early summer; cuttings summer |
| Seed Germination Time | Typically 1–2 weeks |
| Cutting Rooting Time | A few weeks |
| Germination Temperature | 13–18°C (55–64°F) |
| Seed Sowing Depth | Lightly cover |
Growing from Seed
Sowing Season
Sow in late spring to early summer in a seedbed or modules, growing plants on through summer to flower the next spring – the biennial cycle behind its autumn-to-spring display.
Sowing Depth & Germination
Cover the seed lightly and keep moist at about 13–18°C (55–64°F); germination is usually within 1–2 weeks.
Seedling Care
Prick out or thin, pinch the growing tips to encourage bushy plants, and transplant to flowering positions in autumn. All parts are reported toxic if eaten.
Stem Cuttings
For sterile double-flowered and named forms, take non-flowering shoot tips in summer and root them in a free-draining medium in bright shade; rooting takes a few weeks.
Bloom & Flower Guide
Quick Details
- Bloom Season: Spring to summer, and near year-round in mild climates
- Time to First Bloom: On established plants; can flower in the first season if started early
- Flower Appearance: Four-petalled, cross-shaped flowers in short spikes, in purple, pink, white, brown, yellow, orange, red or mixes
- Edibility: Ornamental only; wallflowers contain cardiac glycosides and should not be eaten
Detailed Blooming Overview
The common wallflower (Erysimum cheiri) is beloved for its warmly fragrant, long-blooming flowers in rich colours. As lovely as it is, it is strictly ornamental and should not be eaten.
Flower Characteristics
- Four-petalled “cross” flowers, typical of the cabbage family, in clustered spikes across a broad colour range.
- Sweetly scented, opening in succession over several weeks.
Bloom Care & Thinning
- Encouraging bloom: Full sun, lean well-drained soil and deadheading keep it flowering; a light trim after the main flush tidies and renews the plant.
- Pollination: Nectar and scent draw bees and butterflies.
- Safety: The plant contains cardiac glycosides, so enjoy the flowers for their display and do not eat them.
Pests, Diseases & Troubleshooting
Overview: Wallflower (Erysimum cheiri) is a member of the cabbage family, so despite its ornamental role it shares brassica pests – flea beetles, mealy cabbage aphid and caterpillars – and is notably prone to clubroot, the classic wallflower disease. Plants are short-lived and best grown hard in well-drained, limed soil and replaced once they turn woody, rather than nursed through decline.
Quick Troubleshooting Overview
| Issue / Pest | Main Symptom | Primary Solution |
|---|---|---|
| Clubroot | Stunting and wilting with swollen, distorted roots | Lime soil toward neutral, rotate, use clean stock, improve drainage |
| Flea beetle | Shot-holes on young leaves | Row cover on young plants, keep vigorous, mulch |
| Mealy cabbage aphid | Grey-waxy colonies distorting growing tips | Hose off, insecticidal soap, beneficials |
| Caterpillars | Chewed leaves and frass | Handpick, Bt spray, row cover |
| Downy / powdery mildew | Leaf blotching or white powdery coating | Airflow, spacing, sulfur if needed |
| Wet-soil rot | Blackening at the base and collapse | Sharp drainage, avoid overwatering woody plants |
Common Pests & Management
- Flea beetles (Phyllotreta spp.):
- Symptoms: Tiny jumping beetles pit young leaves with numerous small shot-holes, worst on new plantings in warm dry spells; established wallflowers shrug off light damage.
- Prevention & Control: Protect young plants with insect mesh, keep them growing strongly, mulch to conserve moisture, and rotate away from brassicas; mature plantings rarely need treatment.
- Mealy cabbage aphid (Brevicoryne brassicae):
- Symptoms: Grey, mealy-waxed aphid colonies pack the growing tips and leaf undersides, curling and stunting new growth and fouling it with honeydew and sooty mould; green peach aphid also occurs.
- Prevention & Control: Dislodge with water, encourage and protect ladybirds, hoverflies and parasitic wasps, and use insecticidal soap or neem on stubborn colonies; remove badly infested tips.
- Cabbage white caterpillars (Pieris rapae / Pieris brassicae):
- Symptoms: Green caterpillars chew leaves and leave green frass, sometimes reducing plants to ribs on heavily attacked wallflowers.
- Prevention & Control: Handpick eggs and larvae, exclude butterflies with mesh where practical, and spray Bt, which is selective and effective on caterpillars while sparing beneficials.
- Diamondback moth (Plutella xylostella):
- Symptoms: Small green larvae graze the leaf underside making pale windows and fine holes, wriggling backwards when touched.
- Prevention & Control: Bt or spinosad controls larvae, mesh excludes the moths, and removing brassica debris and volunteers cuts the fast-breeding population.
- Cabbage whitefly (Aleyrodes proletella):
- Symptoms: Tiny white flies rise in clouds when foliage is disturbed; nymphs on leaf undersides suck sap and excrete honeydew that blackens with sooty mould.
- Prevention & Control: Tolerate light populations, hose off, use yellow sticky traps and insecticidal soap or neem, and clear old brassica debris where the flies overwinter.
Diseases & Fungal Issues
- Clubroot (Plasmodiophora brassicae):
- Symptoms: The signature wallflower disease: plants are stunted and wilt in warm weather, leaves yellow and redden, and the roots are grotesquely swollen and distorted; a persistent soil pathogen worst in acid, wet ground.
- Treatment & Management: Rotate strictly away from all brassicas (including stocks and ornamental cabbages), lime the soil toward neutral or slightly alkaline, improve drainage, and use only clean, container-raised plants; the resting spores persist for many years, so avoid ever introducing it.
- Downy mildew (Hyaloperonospora parasitica):
- Symptoms: Yellow angular patches on the upper leaf with grey mould beneath in humid conditions, disfiguring foliage and weakening seedlings.
- Treatment & Management: Space plants for airflow, water early in the day, remove infected leaves and debris, and rotate; good culture usually controls it without fungicide.
- White blister / white rust (Albugo candida):
- Symptoms: Shiny white pustules on leaf undersides with distortion of leaves and flower stems.
- Treatment & Management: Remove and destroy infected material, rotate, avoid overhead watering, and improve spacing and airflow.
- Verticillium wilt & leafy gall (Verticillium / Rhodococcus fascians):
- Symptoms: Wilting and one-sided dieback (wilt) or a mass of distorted, fasciated shoots at the base (leafy gall) on affected plants.
- Treatment & Management: Remove and destroy affected plants, do not compost them, use clean stock and fresh soil, and rotate; there is no chemical cure for either problem.
Growing Difficulties & Abiotic Problems
- Short-lived legginess:
- Cause & Symptoms: Wallflowers are naturally short-lived and become woody, sparse and bare at the base after a year or two, flowering less.
- Correction Strategy: Treat them as short-term plants, grow hard in lean soil for compact growth, trim lightly after flowering, and replace with fresh young plants rather than nursing old woody specimens.
- Winter-wet root rot:
- Cause & Symptoms: Heavy, waterlogged soil in winter rots the roots and crowns of these Mediterranean-adapted plants even where they tolerate the cold.
- Correction Strategy: Plant in well-drained soil or raised beds, add grit to heavy ground, avoid overwatering, and give a sunny, airy position that dries out between rains.
- Poor flowering from rich soil:
- Cause & Symptoms: Over-rich, over-fed soil drives lush leafy growth at the expense of the scented flowers.
- Correction Strategy: Grow in lean, well-drained, ideally limy soil in full sun; avoid high-nitrogen feeding, which promotes foliage over the flowers wallflowers are grown for.
What Helps – Products & Tools
Wallflower care leans on culture: lime to raise pH against clubroot, insect mesh / row cover (flea beetle, caterpillars, whitefly), Bt and spinosad (caterpillars), insecticidal soap or neem (aphids, whitefly), and sulfur or potassium bicarbonate for mildew. Good drainage, crop rotation and simply replacing short-lived plants prevent most trouble. The classic scented English wallflower behaves as a short-lived perennial/biennial; the same brassica cautions apply.