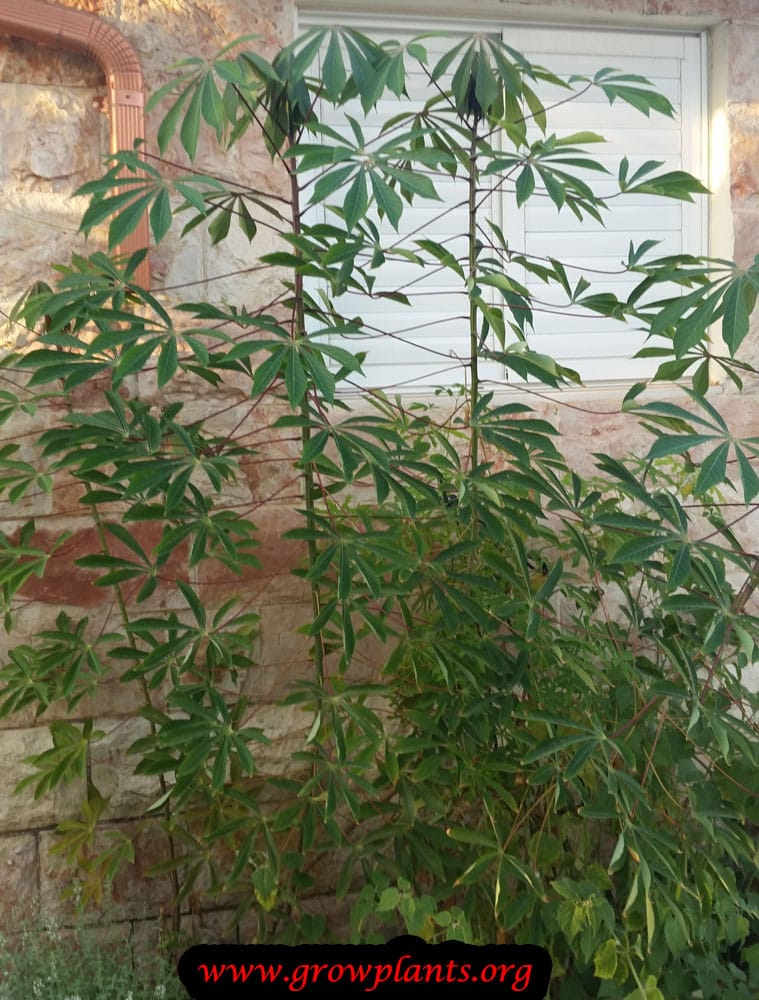
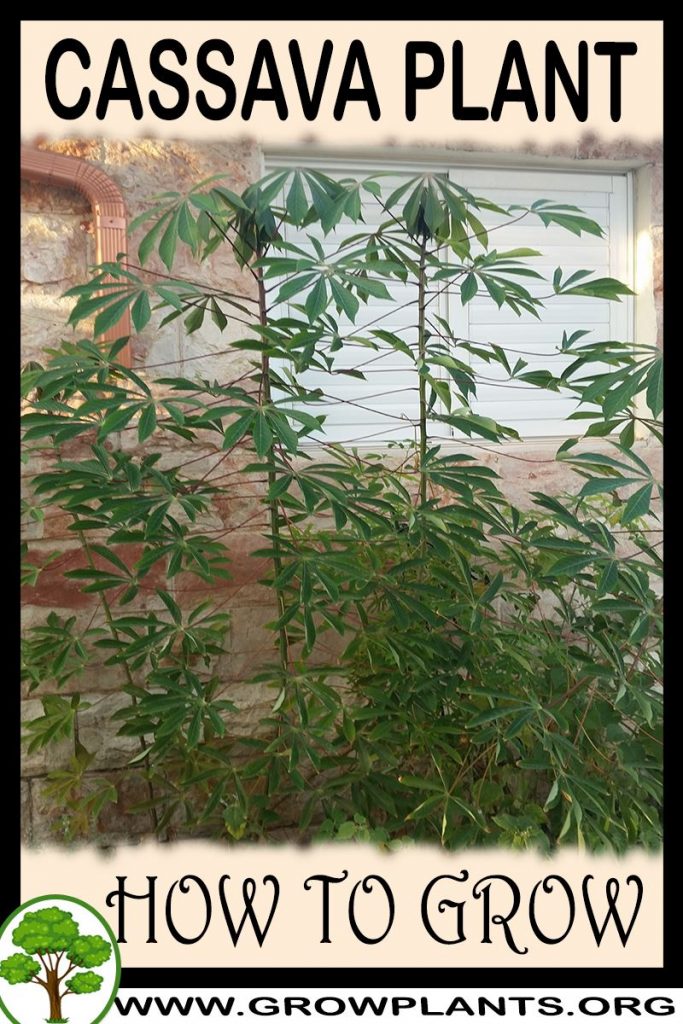
Plant Profile & Key Characteristics
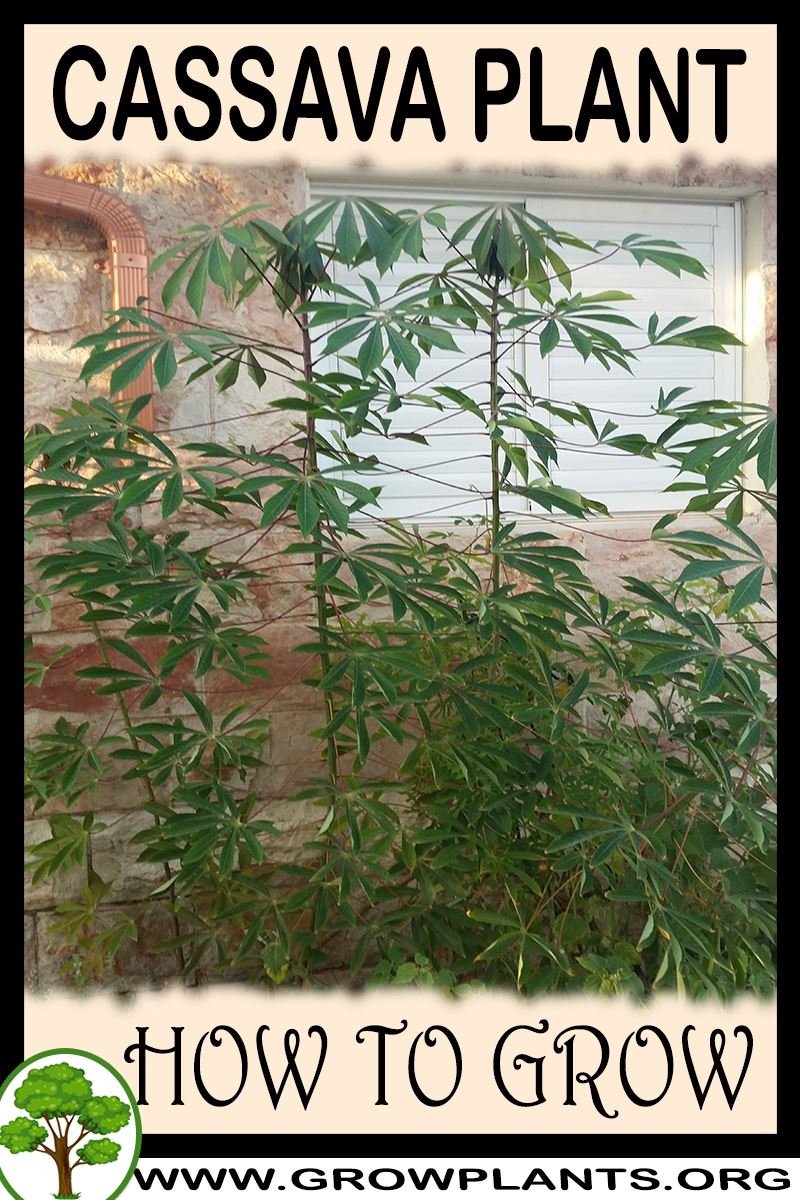
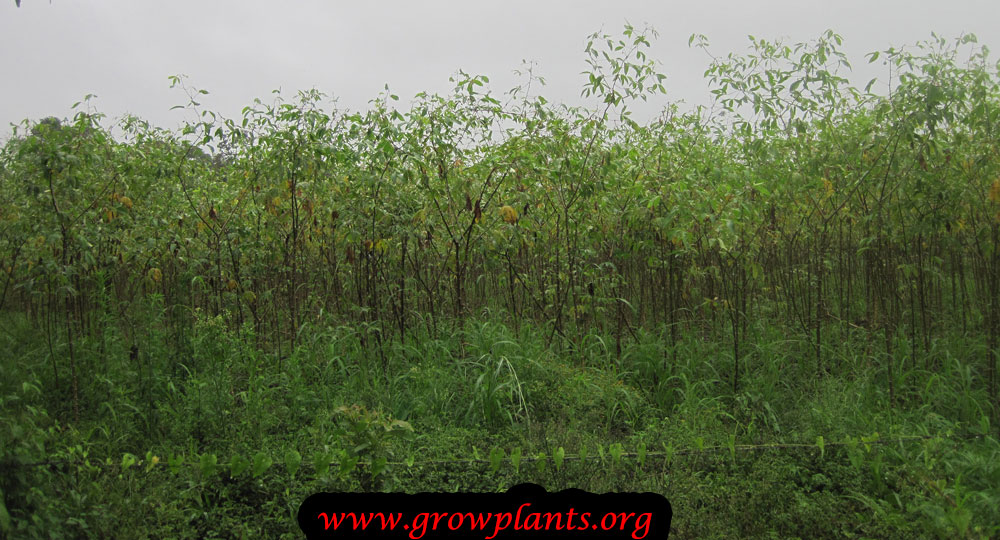
Overview: Cassava (Manihot esculenta) is a woody shrub 1-3 m grown for its large edible starchy tuber (the source of tapioca) and its edible leaves; evergreen in the tropics and deciduous where winters are cool.
Quick Specifications
| Specification | Attribute |
|---|---|
| Plant Type / Life Cycle | Perennial (evergreen; deciduous in cold) |
| Foliage Type | Semi-evergreen (deciduous in cold) |
| Mature Size | 1-3 m (3-10 ft) |
| Growth Rate | Fast to moderate |
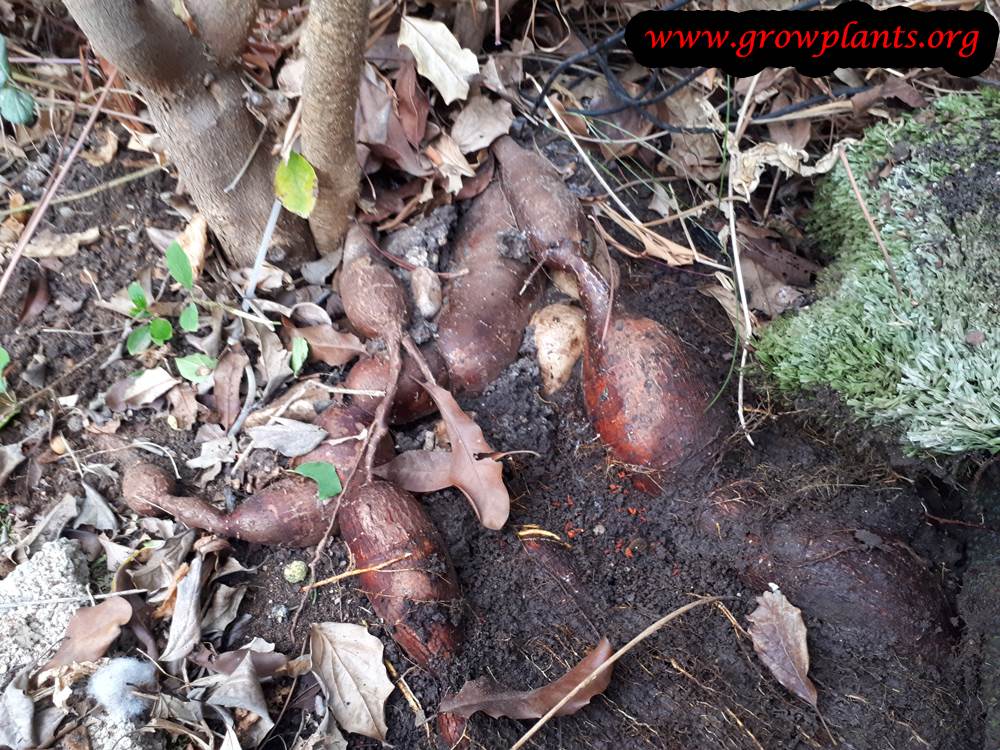
| Root System | Tuberous storage roots |
| Toxicity | Raw tuber and leaves are toxic (cyanogenic glycosides) – must be cooked before eating |
| Hardiness | USDA 10+ |
Growth Form & Structure
- Height & Spread: 1-3 m (3-10 ft); can be grown in large containers.
- Growth Habit & Form: Upright woody shrub with cane-like stems, often reddish.
- Lifespan & Maturity: Fast-growing; tubers ready to harvest from about 10 months after planting.
Anatomy & Physical Features
- Leaves & Foliage: Palmately lobed leaves (5-9 lobes) to 15 cm, green – some cultivars yellow-white or red-purple, with red-purple stems.
- Flower Characteristics: Small white or purple five-petalled flowers in clusters (see Bloom guide).
Primary Uses & Landscape Value
- Edible Uses: Tuber cooked, roasted or processed into tapioca; young leaves cooked, stuffed or stir-fried (always cooked, never raw).
- Functional & Ornamental Roles: Staple food crop; colourful-leaved cultivars grown ornamentally.
Care Guide: Planting, Soil & Watering
Overview: Cassava (Manihot esculenta) is a fast-growing tropical, frost-tender shrub (zone 10+) grown for its starchy tubers, thriving in full sun with well-draining soil. It prefers loose, slightly acidic ground and moderate to generous watering while producing its crop.
Quick Care Requirements
| Requirement | Ideal Condition |
|---|---|
| Planting Season | Spring and summer (year-round in the tropics) |
| Growth Rate | Fast to Moderate |
| Soil Type | Loose, well-draining |
| Soil pH | Slightly acidic |
| Water Need | Moderate to High with good drainage |
Planting & Establishment
- Best Planting Season: Plant in spring and summer once frost has passed; in the tropics it can be planted year-round.
- How to Plant:
- Hole Preparation: Cassava is usually started from stem cuttings set into loosened, free-draining soil; space to allow the tubers to swell.
- Soil Amendments: Work in organic matter and keep the soil loose so the tubers can develop and water drains away.
- Planting Depth: Set stem cuttings so several nodes are buried and the cutting stands firm.
- Growth Speed & Expectations: Fast to medium — reaches 1–3 m (3–10 ft), with tubers ready to lift roughly 10 months after planting.
Soil, Watering & Drainage Care
- Soil Mix & Drainage Needs: Loose, well-draining, slightly acidic soil suits it best; it can also be grown in a large container with good drainage.
- Watering Schedule & Technique:
- Young / Newly Planted: Keep the soil moist while cuttings root and shoots establish.
- Established: Water moderately to generously, letting the surface dry slightly between waterings; established plants tolerate some dryness.
- Seasonal Adjustments: More water in hot, dry weather and less in cool spells.
Climate, Light & Hardiness
Cassava is a tropical shrub that needs frost-free conditions to thrive, growing as an evergreen perennial in warm climates and losing its leaves if exposed to cold. It performs best in full sun to bright morning sun and is limited to USDA zone 10 and warmer.
Quick Climate Specifications
| Climate Zones | Tropical, mediterranean, subtropical |
|---|---|
| USDA Hardiness Zones | 10 and warmer |
| Light Conditions | Full sun, or morning sun with lighter afternoon exposure |
| Frost Tolerance | None |
Sunlight & Light Exposure
Optimal Light Setup
Full sun is ideal; where afternoon sun is very intense, morning sun with lighter afternoon exposure is preferred.
Temperature Extremes & Hardiness
USDA Hardiness & Regional Limits
Needs essentially frost-free conditions, limiting reliable outdoor culture to USDA zone 10 and warmer.
Frost Sensitivity
Cold causes the plant to drop its leaves and become deciduous; hard frost can kill top growth or the whole plant, so a frost-free site or winter protection is essential outside the tropics.
Growing in Pots, Balconies & Indoors
Cassava (Manihot esculenta) is a tall, warmth-loving root crop, not a houseplant – it grows in a large container on a sunny balcony or patio while young, but needs strong sun and space to yield well and indoor light is too weak.
Quick Details
- Container Size: A large, deep pot with free drainage for the tuberous roots (the grower confirms container growing but gives no set size)
- Indoor Suitability: Not a houseplant; it needs full sun and room for its roots
- Best Spot: Full sun (morning sun, easing off in the afternoon in very hot climates)
- Soil & Drainage: Loose, deep, free-draining mix so the roots can swell
- Watering in Pots: Average to generous while growing; let the pot drain and avoid waterlogging the roots.
Indoors & On the Windowsill
- Houseplant limits: The grower marks cassava as not an indoor plant – it is a large, sun-hungry crop that will not perform in a room.
- Windowsill option: A young plant may sit on a very bright sill briefly, but it soon needs a large sunny outdoor spot.
- Safety: Raw cassava roots and leaves contain natural cyanide-forming compounds and are toxic until properly peeled, soaked/cooked and prepared – keep raw parts away from children and pets, and never eat them raw.
On a Balcony or Patio
- Light and warmth: Give it the sunniest, warmest, most sheltered spot; large leaves in a pot lose water fast, so check moisture often.
- Practicalities: A big, deep, watered pot is heavy – make sure the balcony can take it and manage drainage runoff.
Choosing the Pot, Soil & Long-Term Care
- Pot and drainage: A large, deep container with strong drainage holes. Choose a pot with strong drainage holes; if you stand it on a saucer, empty the saucer promptly so the roots never sit in water. Terracotta breathes and dries faster, while glazed or plastic pots hold moisture longer.
- Potting mix: Use a well-aerated, organic-rich mix – a good potting soil, or peat/coir blended with perlite or vermiculite for drainage and air.
- Watering: Water regularly to keep the mix evenly moist – pots dry out far faster than open ground, so check often in heat – but never leave it standing wet.
- Feeding: Potted plants run through their soil faster because nutrients leach out with every watering, so feed a little more often than you would in open ground.
Fertilizing & Feeding
Cassava is a moderate feeder: nitrogen builds the canopy early on, then feeding shifts toward potassium as the plant channels energy into its starchy tubers, tapering off completely as harvest approaches.
Quick Fertilizing Specs
| Main Nutrient Priority | Nitrogen while the canopy is developing, shifting to potassium during tuber bulking |
|---|---|
| Best Feeding Period | The early-to-mid growing season while the canopy is forming |
| Soil pH | Tolerates a range but does best in soil that’s neutral to slightly acidic |
| Reduce/Stop Feeding | Taper as tuber bulking progresses and stop feeding as harvest approaches |
| Organic Options | Compost or aged manure worked into well-drained soil at planting and as a side-dress during canopy growth |
Feeding by Growth Stage
Establishment After Planting
Help a newly planted stem cutting root in and put out its first leaves
| Nutrient direction | Balanced feeding to support root establishment |
|---|---|
| Timing | At planting through the first flush of new leaf growth |
| Frequency | A light initial feeding at planting, then minimal feeding until active growth is clearly underway |
| Fertilizer types | A balanced, complete fertilizer or finished compost worked into well-drained soil at planting |
| Precautions | Cassava wants well-drained, frost-free conditions; avoid waterlogging or heavy fertilizer touching the new cutting directly |
Canopy and Shoot Growth
Build a strong leaf canopy and woody shoot framework before the plant commits energy to its tubers
| Nutrient direction | Nitrogen-forward feeding to fuel leaf and shoot growth |
|---|---|
| Timing | Through the early-to-mid growing season while the plant is building its canopy |
| Frequency | Several light feedings spread through this active growth window |
| Fertilizer types | A nitrogen-forward complete fertilizer, or nitrogen-rich compost or aged manure |
| Routine trace nutrients | iron, manganese, zinc |
| Precautions | Very high nitrogen late in this phase can favor lush foliage over tuber formation later on |
Tuber Bulking
Shift energy from leafy growth into sizing the starchy storage tubers
| Nutrient direction | Shift toward a potassium-emphasis feed as the plant channels energy into its tubers |
|---|---|
| Timing | Once the canopy is established and the plant moves into its main tuber-bulking period |
| Frequency | Feeding tapers off through this stage as tubers size up |
| Fertilizer types | A potassium-emphasis or low-nitrogen complete fertilizer |
| Routine trace nutrients | iron, manganese, zinc |
| Precautions | Keep soil well-drained through bulking; waterlogged soil around the tubers invites rot regardless of feeding |
Tuber Maturation Before Harvest
Let tubers finish sizing and their starch content mature without pushing new top growth
| Nutrient direction | None – withhold fertilizer as the plant approaches harvest |
|---|---|
| Timing | In the period leading up to harvest, once tuber bulking is well advanced |
| Frequency | No feeding at this stage |
| Fertilizer types | No feeding at this stage; let the plant finish naturally ahead of harvest |
| Precautions | Do not fertilize as harvest approaches; fresh top growth at this point comes at the tubers’ expense |
Nutrient Deficiency Signs & Corrections
Leaves are pale green to yellow and the canopy grows slowly during the early growing season
| Possible causes | Insufficient nitrogen availability, Poor soil fertility or heavy leaching in sandy, well-drained soil, Waterlogged soil limiting root function |
|---|---|
| Appears first on | Older, lower leaves first |
| What to check | Soil fertility and drainage, Recent feeding history |
| Possible correction | Apply a nitrogen-forward feed and confirm the soil is well-drained but not depleted |
Older leaf margins yellow and scorch, and tubers stay small or poorly developed despite a healthy-looking canopy
| Possible causes | Insufficient potassium during the tuber-bulking period, Drought stress limiting nutrient uptake, Soil nutrients depleted by a previous heavy-feeding crop |
|---|---|
| Appears first on | Older leaves, margins first |
| What to check | Feeding balance through the bulking stage, Watering consistency, Soil fertility history |
| Possible correction | Shift to a potassium-emphasis feed during bulking and keep watering consistent |
New leaves are small, narrow, and mottled pale between the veins
| Possible causes | Zinc deficiency, more common in sandy or heavily leached soils, High soil pH limiting micronutrient availability, General nutrient depletion from continuous cropping |
|---|---|
| Appears first on | New, upper leaves |
| What to check | Soil type and pH, History of cropping and fertilization on the site |
| Possible correction | Correct pH toward the plant’s preferred slightly acidic range and apply a chelated zinc product per its label if the pattern persists |
Pruning, Training & Seasonal Maintenance
Cassava is a fast-growing, semi-woody shrub whose economic value is its starchy tuber and edible leaves, not fruit or ornamental flowers, so pruning here serves two practical purposes: cutting stem sections to propagate new plants, and regularly harvesting leaves. It tolerates cutting well and readily produces multiple new stems from a cut point, so a plant can be shaped or cut back hard during the active growing season (spring through autumn) without risking the tuber crop, which develops below ground independently of top growth.
Quick Pruning & Maintenance Specs
| Pruning Tolerance | Moderate–High – resprouts readily from cut stems |
| Primary Pruning Window | Spring through autumn, during active growth |
| Typical Frequency | Ongoing leaf harvest; periodic stem cutting for propagation |
| Main Objective | Supply clean propagation cuttings; harvest leaves; manage plant size |
| Young Plant Priority | Minimal – let the young plant establish a strong stem before heavy cutting |
| Mature Plant Priority | Take stem cuttings for propagation; harvest leaves from the base; thin crowded stems for airflow |
| Best Tool Type | Bypass secateurs for stems; precision snips for leaf harvest |
| Avoid Heavy Pruning During | Cool weather when the plant turns semi-deciduous and growth slows |
Pruning by Plant Age & Size
Newly Established
Minimal pruning – let a young plant grown from a cutting or seedling put on height and leaf area before any cuts are taken from it.
Young / Formative
No formal training system is needed; cassava naturally branches from where a stem is topped. Light tipping can encourage a bushier, multi-stem habit if a shorter, fuller plant is wanted.
Mature / Established
Harvest leaves from the base of the plant on an ongoing basis, and cut sections of mature stem for propagation cuttings during the growing season. Thin crowded or crossing stems if the clump becomes dense.
Structural Pruning & Training
Because cassava resprouts vigorously below a cut, cutting a stem back partway during the growing season is a legitimate way to control height and encourage a bushier, multi-stem plant rather than one tall cane – useful where space is limited or wind exposure is a concern for a 1–3 m shrub.
Special Growth to Remove
- Stem cuttings: the main stem is deliberately cut into sections for propagation – this is the plant’s normal, preferred means of increase.
- Leaves: harvested from the base of the leaf continuously through the growing season.
- Damaged or pest-affected stems/leaves: remove promptly, particularly given cassava’s susceptibility to mites and aphids.
Container & Small-Space Pruning
Cassava can be grown in a large container; regular tip pruning keeps it compact and encourages a bushier, more manageable multi-stem shape than the taller single-cane habit it takes in open ground.
Tools
Bypass secateurs for cutting stem sections up to finger-thickness for propagation; loppers for any thicker basal stems on an older plant; precision snips for routine leaf harvest.
Tool Hygiene & Disease Risk
Increased risk – cassava is propagated almost entirely by stem cuttings, and cassava mosaic disease and bacterial blight are both well known to spread through infected planting material and contaminated cutting tools. Only take cuttings from visibly healthy stock, and clean tools between plants, especially when propagating from more than one source.
Cut Placement & Technique
Cut stem sections cleanly across the stem, avoiding crushing the tissue (crushed cut ends root poorly); harvest leaves at their base without tearing the stem’s bark.
Heavy Pruning & Rejuvenation
Tolerated well during active growth – cassava can be cut back hard to encourage a fresh flush of multiple stems, and this is routinely done when taking a full set of propagation cuttings. Avoid hard cutback in cool weather when the plant is semi-deciduous and slow to recover.
Post-Pruning Care
Wear gloves when handling cut cassava tissue – the sap and raw plant material contain cyanogenic compounds. Keep the plant consistently watered after a hard cutback to support fast regrowth; no extra feeding is needed purely because of pruning.
Common Pruning Mistakes
- Taking cuttings from stressed, diseased, or very young stock, which roots poorly and can spread disease.
- Cutting back hard in cool weather when the plant is semi-deciduous and slow to recover.
- Crushing rather than cleanly cutting stem sections meant for propagation.
When NOT to Prune
Avoid heavy cutting during cool weather when growth has slowed and the plant may be semi-deciduous, and avoid taking cuttings from any plant showing mosaic-type leaf mottling or dieback.
Recommended Tools (by task)
- bypass_secateurs – for cutting stem sections for propagation and for routine thinning of pencil-to-finger-thick stems.
- precision_snips – for ongoing leaf harvest at the leaf base.
- blade_disinfectant – genuinely warranted here given cassava’s real risk of spreading mosaic disease and bacterial blight through cutting tools and material.
Pruning Troubleshooting
| Problem | Possible Cause | What to Check | Corrective Action |
| Cuttings fail to root | Stock too young/thin, crushed cut, or stressed source plant | Age and diameter of the stem section; cleanliness of the cut | Take cuttings only from mature, healthy stems with a clean bypass cut |
| Mottled/distorted new leaves after propagation | Cassava mosaic disease carried in from infected planting material | Source plant’s leaf pattern before cutting | Discard suspect stock; don’t propagate from it; disinfect tools used on it |
| Dieback after a hard cutback | Cutting performed in cool weather during the semi-deciduous slow period | Season and recent growth rate | Limit hard cutback to the active spring–autumn growing period |
Propagation Guide
Cassava is propagated from stem cuttings or stakes, not by dividing its storage roots.
Quick Propagation Specs
| Primary Method | Stem cuttings / stakes |
| Storage Roots | Not used for division propagation |
Stem Cuttings
Use healthy mature stem sections with viable nodes. Plant the cutting in suitable soil so that nodes can produce new shoots and roots. Avoid using diseased, damaged or desiccated stem material. New roots typically form within about 2-5 weeks.
Aftercare
Keep newly planted cuttings warm and evenly moist without waterlogging until vigorous new growth confirms establishment. Vegetative propagation is easier than growing from seed, and cuttings establish well in half shade.
Bloom & Flower Guide
Quick Details
- Bloom Season: Irregular – flowers only in warm conditions, and many plants are harvested before they ever bloom
- Flower Appearance: Small flowers with five petal-like lobes in white or purple, borne in loose clusters
- Edibility: Toxic – do NOT eat any part raw; the whole plant contains cyanogenic compounds and even the roots must be properly processed before eating
Detailed Blooming Overview
Cassava is grown for its starchy roots, and its flowering is very much a sideshow – it blooms irregularly, mostly in warm conditions, and plenty of plants are lifted before they ever flower. When it does bloom, it is monoecious, carrying separate small male and female flowers on the same plant, gathered into loose clusters.
Flower Characteristics
- Small flowers with five petal-like lobes, white or purple, in clusters.
- Separate male and female flowers on the same plant.
Bloom Care & Thinning
- Safety: All parts contain cyanogenic compounds – never eat the flowers, leaves or raw roots; the roots need proper processing before use.
- Crop note: Flowering is not required for a root harvest, so no bloom management is needed.
Fruit & Uses
Safety first: raw cassava leaves and tuber contain cyanogenic (cyanide-producing) compounds and must be thoroughly cooked before eating — never eaten raw. Once properly cooked, the starchy tuber is a major staple food (also the source of tapioca) and the young leaves are used as a cooked green vegetable.
Quick Edible Specs
| Edible Parts | Tuber, Leaves |
|---|---|
| Main Use(s) | Culinary staple (starch / tapioca); cooked leafy green |
| Eaten Raw or Cooked | Cooked only — never raw |
| Preparation Required | Cook thoroughly (destroys cyanogenic compounds); peel the tuber |
| Harvest Season | Tuber: from about 10 months after planting, then diggable through the year · Leaves: All year |
| Time to First Harvest | Roughly 10 months from planting for the tuber (site-stated); leaves can be picked earlier |
| Storage | Tubers deteriorate quickly once dug and are best used soon after harvest or processed (e.g. into tapioca or flour) |
| Safety/Toxicity Caveat | Raw tuber and raw leaves are toxic (cyanogenic glycosides); bitter cultivars carry higher levels than sweet cultivars, but both require thorough cooking |
Leaves & Greens
The lobed leaves (5–9 lobes, to about 15 cm) are an edible cooked green — used stuffed or stir-fried — but like the tuber they must be cooked, never eaten raw. Pick from the base of the leaf; available year-round.
Roots & Tubers
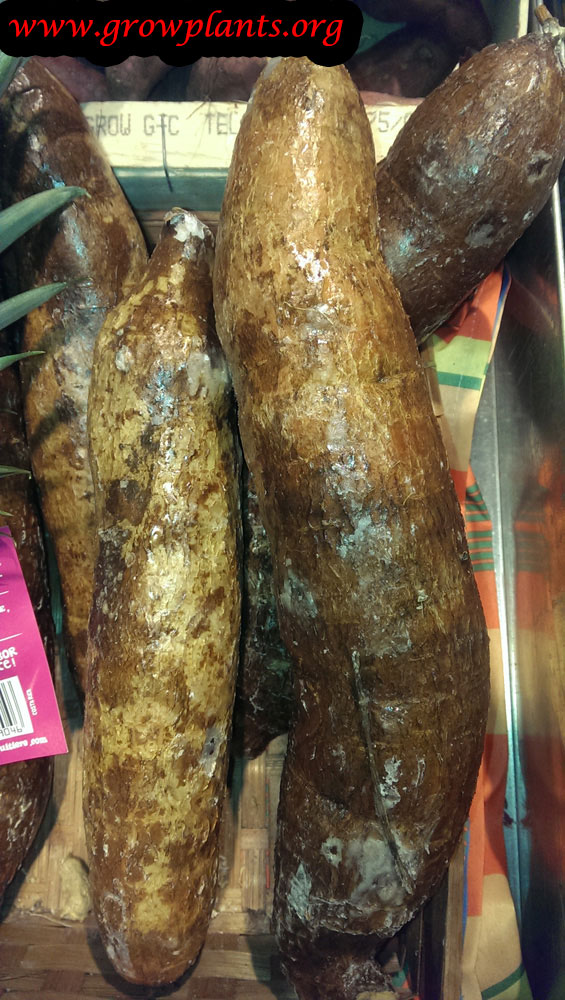
The tuber is the plant’s main crop: a starchy root that develops several tubers connected to the main stem. The site distinguishes ‘bitter’ cassava (more strongly toxic raw) from ‘sweet’ cassava (lower toxin levels, milder) — both still require full cooking. Tubers can be dug from around 10 months after planting and, depending on climate, left in the ground and lifted through the year. After harvest they are peeled and thoroughly cooked (boiled, roasted, or cooked over a fire) before eating; cooked cassava is also processed into tapioca pearls and cassava flour.
Harvesting
Tuber harvest is essentially a one-time lift per planting (dig the root clump) from about 10 months onward; leaves can be trimmed repeatedly through the growing season without waiting for the tuber to mature — see Pruning for how this affects the plant.
Preparation, Uses & Safety
Both leaves and tuber must be cooked before eating to break down cyanogenic compounds — raw cassava is toxic and should never be eaten. The tuber is peeled, then boiled, roasted, or fried, and is also processed into tapioca pearls and cassava/tapioca flour; leaves are typically stuffed or stir-fried. Bitter cultivars need more thorough processing than sweet ones, but treat all cassava as requiring full cooking regardless of type.
Pests, Diseases & Troubleshooting
Overview: Cassava (Manihot esculenta) is a hardy staple root crop whose most damaging problems are the whitefly-transmitted cassava mosaic virus and the cassava mealybug and green-mite complex, alongside bacterial blight, anthracnose and root rot in wet soils. Because the disease drivers are planting material and vector insects, management centres on clean cuttings, resistant varieties, sanitation and encouraging natural enemies rather than routine spraying.
Quick Troubleshooting Overview
| Issue / Pest | Main Symptom | Primary Solution |
|---|---|---|
| Cassava mealybug | White cottony masses on shoot tips; bunched, stunted “candle-tip” growth | Clean cuttings, biological control, remove infested tips |
| Cassava green mite | Yellow speckling and leaf loss on top leaves in dry season | Resistant varieties, predatory mites, avoid drought stress |
| Whiteflies | Clouds of white flies; yellowing and virus spread | Resistant varieties, sticky traps, insecticidal soap |
| Cassava mosaic virus | Yellow-green mosaic, distorted, stunted leaves | Virus-free cuttings, resistant varieties, rogue infected plants |
| Bacterial blight | Angular water-soaked leaf spots, wilting, gummy stems | Clean cuttings, resistant varieties, crop rotation |
| Root rot | Rotten, foul storage roots in waterlogged soil | Well-drained ridges, rotation, avoid wet ground |
Common Pests & Management
- Cassava mealybug (Phenacoccus manihoti):
- Symptoms: White cottony masses smother shoot tips and leaf undersides; feeding stunts and bunches the growing tips into a distorted “candle-tip”, severely reducing growth and yield.
- Prevention & Control: Plant clean, pest-free cuttings and resistant varieties; remove and destroy infested tips. Classical biological control by the parasitoid wasp Anagyrus lopezi is the proven, sustainable solution, so conserve natural enemies and avoid disruptive sprays.
- Cassava green mite (Mononychellus tanajoa):
- Symptoms: Fine yellow speckling and mottling on the youngest top leaves, which become stunted and shed in the dry season, giving a candle-like bare tip; heavy attacks cut yields sharply.
- Prevention & Control: Grow tolerant varieties, avoid drought stress, and conserve predatory mites such as Typhlodromalus aripo, which are effective natural controls; use clean planting material.
- Whiteflies (Bemisia tabaci):
- Symptoms: Clouds of tiny white flies on leaf undersides suck sap, yellow the foliage and secrete honeydew, but their greatest harm is transmitting cassava mosaic and brown-streak viruses.
- Prevention & Control: Use resistant varieties and clean cuttings to break virus cycles, monitor with yellow sticky traps, and spray insecticidal soap or neem for heavy populations while conserving natural enemies.
- Spider mites (Tetranychus / Oligonychus spp.):
- Symptoms: Additional stippling, bronzing and webbing on leaves in hot, dry conditions, compounding green-mite damage.
- Prevention & Control: Reduce drought stress, and where needed rinse foliage and apply insecticidal soap or a miticide; conserve predatory mites.
- Grasshoppers & variegated locust (Zonocerus / Acrididae):
- Symptoms: Chewed, ragged and stripped leaves and green stems, sometimes defoliating young plants during outbreaks.
- Prevention & Control: Hand-pick or knock down local outbreaks, clear weedy egg-laying sites, and use targeted baits only during severe infestations.
Diseases & Fungal Issues
- Cassava mosaic disease (Cassava mosaic geminiviruses (whitefly-vectored)):
- Symptoms: Yellow-green mosaic mottling, leaf distortion, reduced leaf size and stunting, cutting root yield heavily; spread through infected cuttings and whiteflies.
- Treatment & Management: Plant certified virus-free, resistant varieties; rogue out (remove and destroy) infected plants early, and control whitefly vectors. Never propagate from symptomatic plants — clean planting material is the foundation of control.
- Cassava bacterial blight (Xanthomonas axonopodis pv. manihotis):
- Symptoms: Angular water-soaked leaf spots that coalesce, blighting and wilting leaves, with gum exudation, stem dieback and vascular streaking; severe in wet weather.
- Treatment & Management: Use resistant varieties and clean cuttings, rotate crops, remove infected debris, and disinfect cutting tools; avoid moving material from infected fields.
- Cassava anthracnose (Colletotrichum gloeosporioides f. sp. manihotis):
- Symptoms: Cankers and sunken lesions on stems and leaf spotting, worse in humid conditions and often linked to bug feeding wounds.
- Treatment & Management: Use clean, resistant planting material, improve airflow, and manage the bugs whose wounds admit the fungus; remove infected stem debris.
- Root rot (Phytophthora / Fusarium / Botryodiplodia):
- Symptoms: Storage roots decay, soften and smell foul in waterlogged or poorly drained soils, ruining the harvest.
- Treatment & Management: Grow on well-drained ridges or mounds, rotate away from infected land, avoid wet heavy ground, and harvest promptly at maturity.
Growing Difficulties & Abiotic Problems
- Cyanogenic toxicity (bitter cassava):
- Cause & Symptoms: Not a pest but a safety issue — roots and leaves contain cyanogenic glycosides, high in bitter types and worsened by drought stress.
- Correction Strategy: Grow sweet varieties for direct use, and process bitter cassava properly (peeling, grating, soaking/fermenting, thorough cooking) to remove cyanide before eating.
- Waterlogging root rot:
- Cause & Symptoms: Rotting roots and yellowing tops where soil stays wet.
- Correction Strategy: Plant on raised ridges or mounds and choose free-draining sites; avoid low, flood-prone ground.
- Nutrient depletion:
- Cause & Symptoms: Declining vigour and yield on continuously cropped, exhausted soils.
- Correction Strategy: Rotate with legumes, return organic matter, and feed with a balanced fertiliser including potassium for root bulking.
What Helps – Products & Tools
Clean planting material and biological control are the primary tools. Supporting products are yellow sticky traps and insecticidal soap or neem for whiteflies and mites, a labelled miticide for severe spider-mite outbreaks, and tool disinfectant for bacterial blight. Resistant varieties and the Anagyrus lopezi parasitoid remain the backbone of cassava mealybug management.
Varieties & Cultivars
- Bitter Cassava: The tuber is bitter.
- Sweet Cassava: The tuber is sweeter. — Shop Sweet Cassava on Amazon