Plant Profile & Key Characteristics
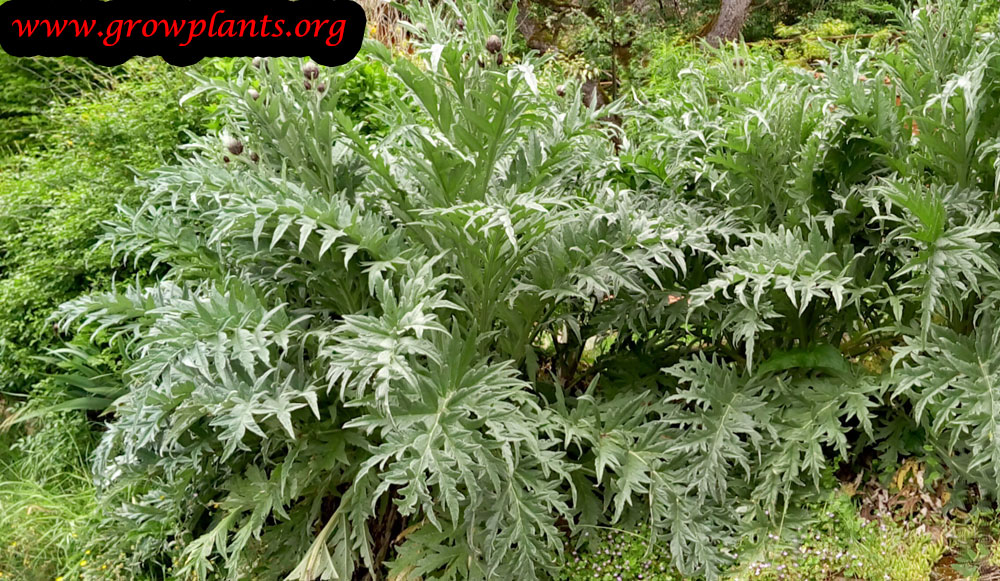
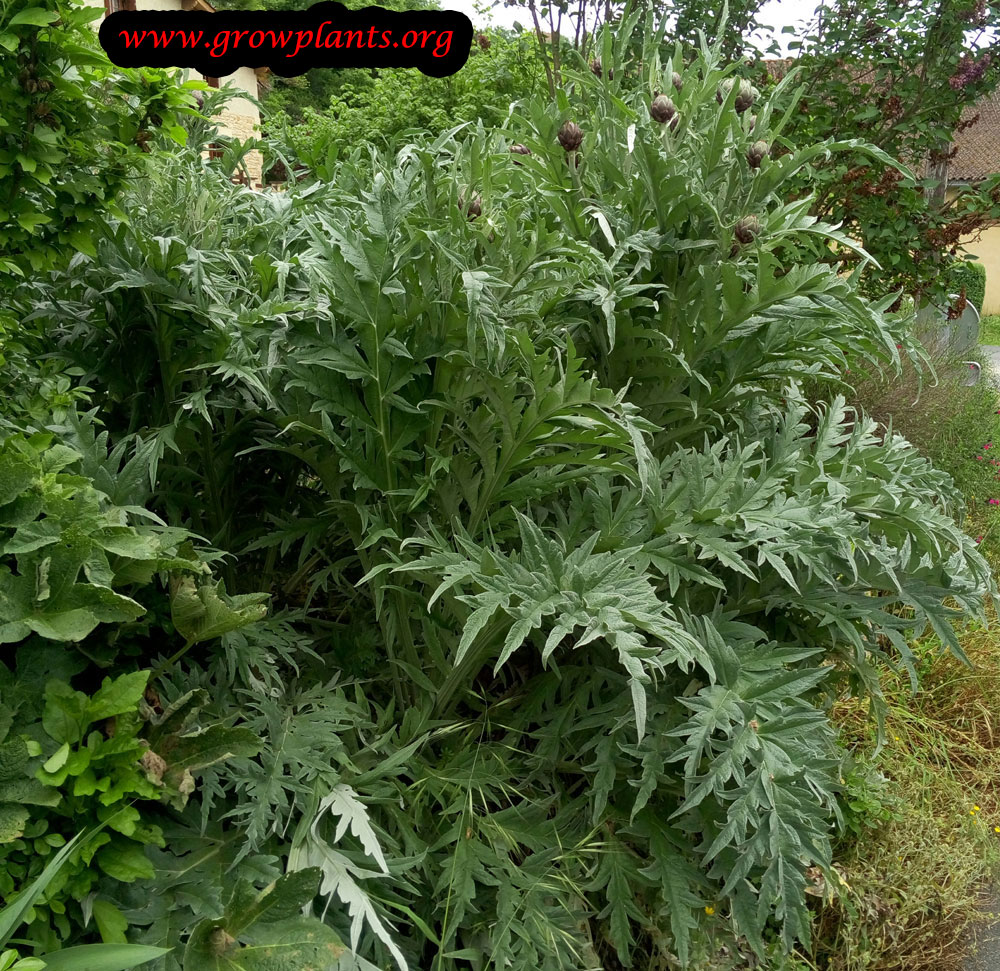
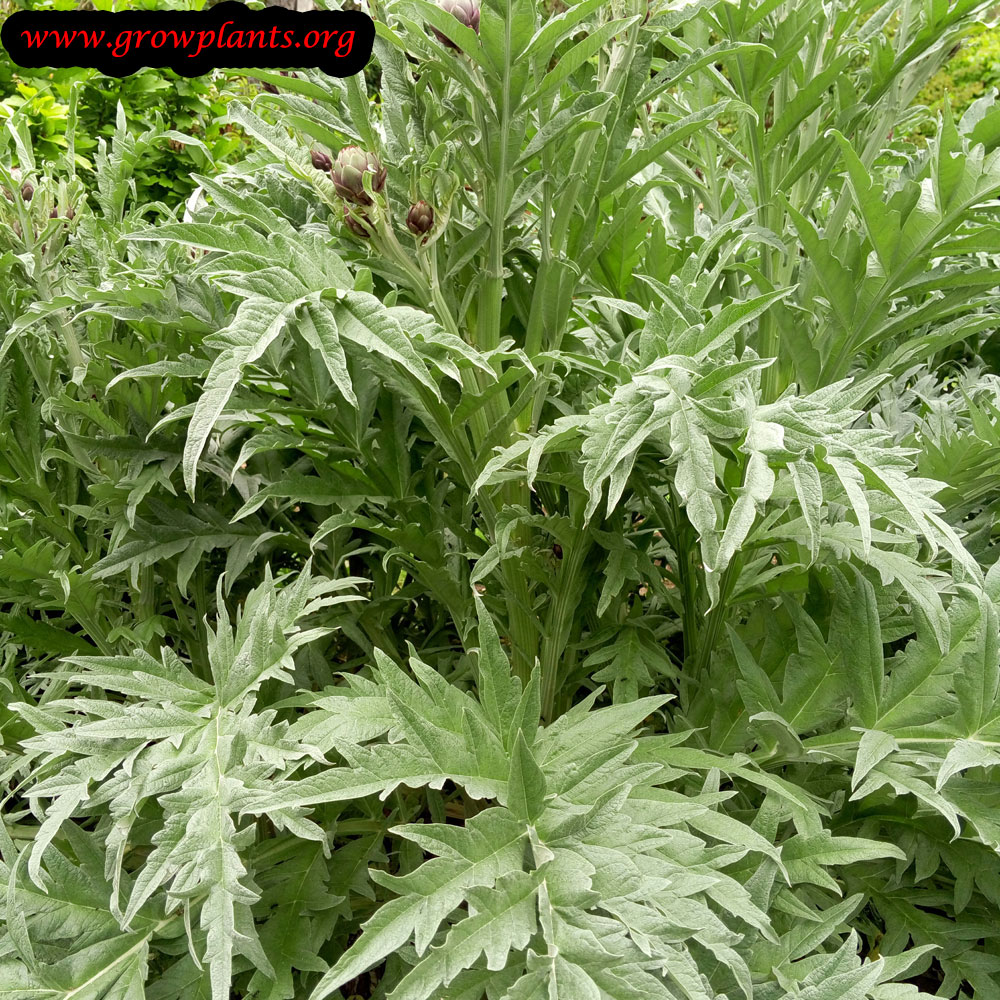
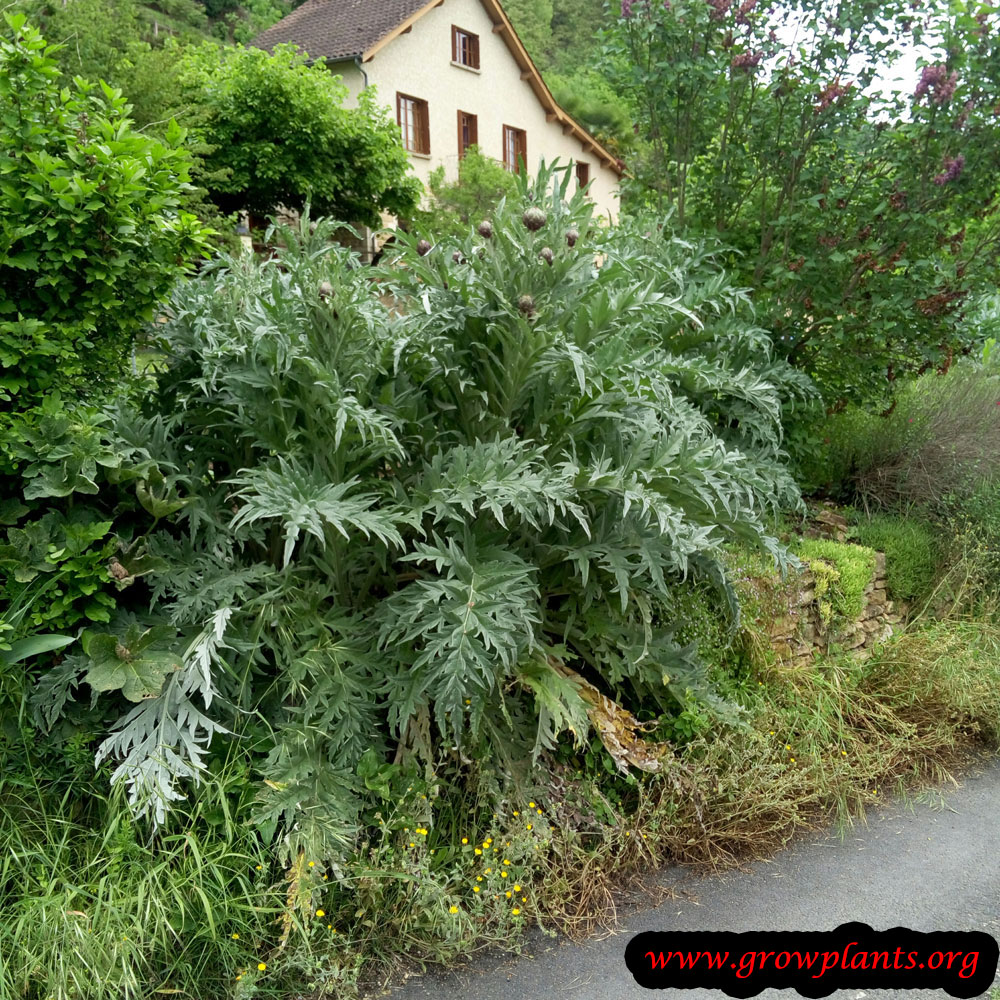
Overview: The globe artichoke is a large, thistle-like perennial 1-2 m tall grown for its edible flower buds, with bold silvery-grey foliage that also makes it ornamental. It is evergreen and perennial in mild climates but grown as an annual where winters are cold.
Quick Specifications
| Specification | Attribute |
|---|---|
| Plant Type / Life Cycle | Perennial (evergreen in mild climates; grown as an annual in cold ones) |
| Foliage Type | Evergreen |
| Mature Size | 1-2 m tall |
| Growth Rate | Moderate to fast |
| Root System | Deep, fleshy taproot |
| Toxicity | Non-toxic / edible |
| Hardiness | USDA zones 8-10 |
Growth Form & Structure
- Height & Spread: 1-2 m tall in the ground; can be grown in large containers but is not an indoor plant.
- Growth Habit & Form: Large, clump-forming thistle-like shrub with an architectural rosette of arching leaves.
- Lifespan & Maturity: Fast-growing, cropping in its first or second season.
Anatomy & Physical Features
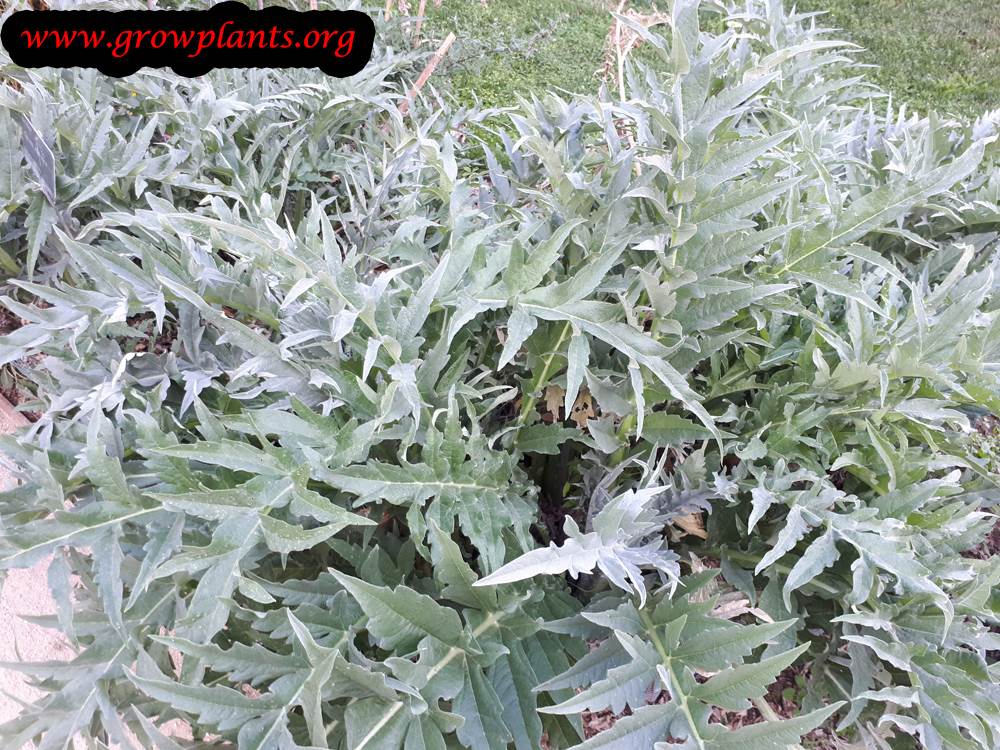
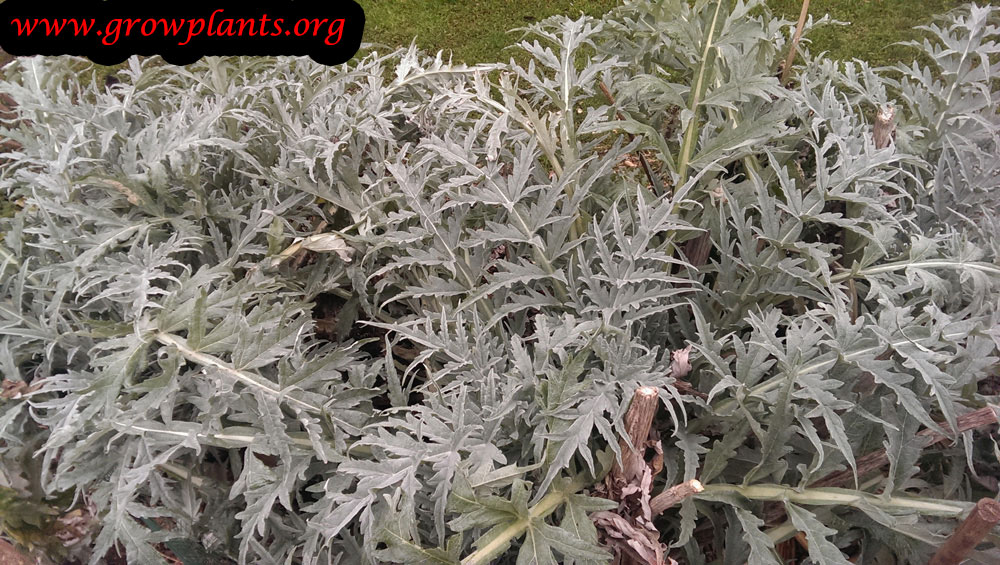
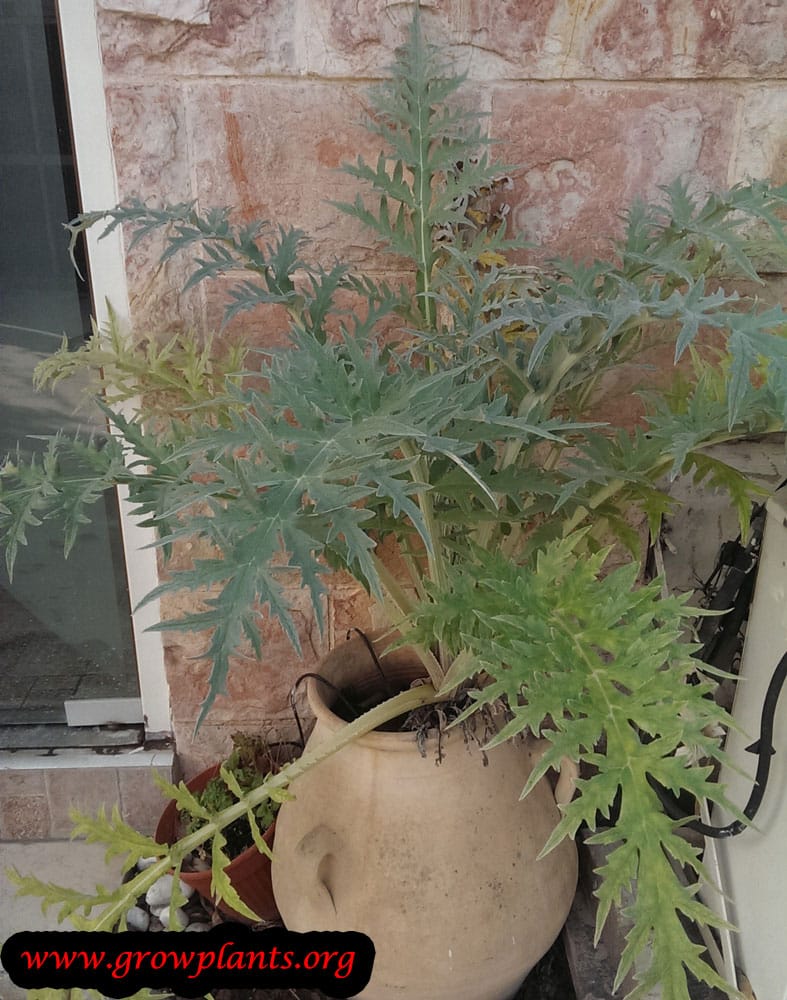
- Leaves & Foliage: Large (20-60+ cm), deeply lobed, spiny-serrated green-grey leaves.
- Flower Characteristics: Large purple thistle flowers in rounded heads; the immature bud is the harvested part.
Primary Uses & Landscape Value
- Edible Uses: Immature flower buds eaten cooked – the fleshy bud base (heart) and the bases of the bracts.
- Functional & Ornamental Roles: Architectural ornamental for borders; a bee plant if allowed to flower.
Care Guide: Planting, Soil & Watering
Overview: The globe artichoke is a large perennial that grows best in full sun and deep, rich, well-draining soil. It is a heavy feeder and drinker that likes steady moisture and a moisture-holding mulch.
Quick Care Requirements
| Requirement | Ideal Condition |
|---|---|
| Planting Season | Spring; in warmer, frost-free climates also autumn |
| Growth Rate | Fast to Moderate |
| Soil Type | Deep, rich, well-draining soil |
| Water Need | Moderate to High – keep consistently moist in active growth |
Planting & Establishment
- Best Planting Season: plant in spring; in warmer, frost-free climates it can also be planted in autumn.
- How to Plant:
- Hole Preparation: dig a wide, generous hole so the large root system has room to establish.
- Soil Amendments: work in plenty of compost or well-rotted manure and mulch to feed the plant and keep the soil moist.
- Planting Depth: set the crown level with the soil surface – do not bury the crown.
- Growth Speed & Expectations: fast to moderate – it forms a large clump around 1–2 m in a season.
Soil, Watering & Drainage Care
- Soil Mix & Drainage Needs: deep, rich but free-draining soil with a moisture-holding mulch; it can also be grown in a large container.
- Watering Schedule & Technique:
- Young / Newly Planted: water regularly to help it settle and build strong roots.
- Established: water deeply and consistently, particularly in hot, dry weather.
- Seasonal Adjustments: increase water in summer heat and reduce it in cool weather or dormancy.
Climate, Light & Hardiness
Globe artichoke is a Mediterranean-climate perennial that behaves as an evergreen shrub in mild-winter regions but is grown as a cold-climate annual anywhere winters are harder than that, since the crown needs mild winters to persist year to year.
Quick Climate Specifications
| Climate Zones | Temperate, Mediterranean, subtropical |
|---|---|
| USDA Hardiness Zones | Approximately 8–10 as a returning perennial; grown as an annual in colder climates |
| Light Conditions | Full sun; half shade in warmer climates |
Sunlight & Light Exposure
Optimal Light Setup
Full sun gives the strongest growth and best bud production.
Shade & Heat Management
In warmer climates, half shade is tolerated and can ease heat stress.
Temperature Extremes & Hardiness
USDA Hardiness & Regional Limits
Reliably perennial and evergreen in roughly zones 8–10. Outside that range winters are too cold for the crown to reliably persist, so it is commonly grown as a cold-climate annual, replanted each year.
Growing in Pots, Balconies & Indoors
Globe artichoke is a large, thistle-like perennial of 1-2 m; the grower confirms container growing but not as a houseplant. Grow it in a big tub on a sunny patio, where potting also lets you shelter it from hard frost.
Quick Details
- Container Size: A large tub of 30-50 L (8-13 gal) per plant
- Indoor Suitability: Not an indoor plant – too large and needs full outdoor sun
- Best Spot: Full sun (part shade in warmer climates), outdoors
- Soil & Drainage: Well-aerated, organic-rich mix (potting mix or peat/coir with perlite or vermiculite); must drain freely
- Watering in Pots: Water generously and keep the mix consistently moist – pots dry fast; ensure excess drains away and never leave it standing in water
Indoors & On the Windowsill
- Not a houseplant: The grower marks it No – the plant is large and sun-hungry.
- Overwintering: In cold regions a potted artichoke can be moved to a frost-free, unheated shelter and mulched over winter, then returned outdoors in spring – a good reason to grow this tender perennial in a pot.
On a Balcony or Patio
- Light, wind & heat: Give it the sunniest spot you have. Walls and paving reflect heat so pots dry quickly – check moisture often in warm weather. On an exposed balcony, stake tall stems and shelter from strong wind.
- Practicalities: A full pot is heavy once watered – make sure the balcony can take the load and that drainage runoff has somewhere to go.
Choosing the Pot, Soil & Long-Term Care
- Pot & drainage: Use a pot with strong drainage holes and skip a standing-water saucer to avoid root rot. Terracotta breathes and dries faster; glazed or plastic pots hold moisture longer.
- Potting mix: A well-aerated, organic-rich mix – potting mix or peat/coir blended with perlite or vermiculite for free drainage.
- Feeding: Potted plants need feeding more often than those in open ground, as nutrients leach out with each watering – feed regularly through the growing season.
- Long-term care: Every couple of years refresh the top of the mix or pot up; divide congested clumps and lightly trim roots to keep the plant vigorous.
Fertilizing & Feeding
A heavy feeder for a large, architectural perennial vegetable: generous nitrogen-forward feeding builds the leafy rosette, then balanced feeding with adequate potassium supports the edible flower buds through harvest.
Quick Fertilizing Specs
| Feeding Level | Heavy feeder |
|---|---|
| young_feeding | A generous, balanced starter feeding with organic matter worked into the bed |
| mature_feeding | Regular, nitrogen-forward feeding through leafy growth, shifting to balanced with potassium at bud formation |
| Main Nutrient Priority | Nitrogen for the leafy rosette, then balanced feeding with adequate potassium for bud production |
| Best Feeding Period | From establishment through bud formation and harvest |
| Organic Options | Compost or aged organic matter worked into the soil, plus mulch |
| Soil pH | Prefers slightly acidic soil |
Feeding by Growth Stage
Establishment after planting
Help young plants root in before they grow into a large, architectural perennial vegetable.
| Nutrient direction | A balanced complete fertilizer with plenty of organic matter worked into the bed. |
|---|---|
| Timing | At planting, mainly in spring or, in warmer climates, autumn. |
| Frequency | A generous starter feeding as plants establish, given how much this plant ultimately produces. |
| Fertilizer types | Balanced complete fertilizer, Compost or aged organic matter worked into the soil, plus mulch |
| Precautions | Watch for ant colonies near the planting site; a heavy ant presence is a known problem for this plant. |
Leafy rosette growth
Build the large, gray-green leafy rosette that powers bud production.
| Nutrient direction | A nitrogen-forward complete fertilizer to drive vigorous leaf growth. |
|---|---|
| Timing | Through the main growing period before buds form. |
| Frequency | Feed generously and regularly through active growth. |
| Fertilizer types | Complete fertilizer with a nitrogen emphasis |
| Precautions | This is a demanding feeder; keep soil consistently moist alongside regular feeding. |
Bud formation and harvest
Support development of the purple-flowered globe buds, the harvested edible part.
| Nutrient direction | Shift toward balanced feeding with adequate potassium as buds form and are harvested. |
|---|---|
| Timing | As buds form through the summer-to-autumn harvest window. |
| Frequency | Continue regular feeding through bud formation and harvest. |
| Fertilizer types | Balanced complete fertilizer with adequate potassium |
| Precautions | Avoid letting the plant dry out or go hungry during bud swell, which can cause buds to open prematurely or turn tough. |
Nutrient Deficiency Signs & Corrections
Overall pale, yellow-green leaves with a smaller, weaker rosette.
| Possible causes | Low available nitrogen in the soil, Nitrogen leached away after heavy watering or rain, Prolonged lack of feeding for this demanding feeder |
|---|---|
| Appears first on | Older, lower leaves. |
| What to check | Recent feeding history, Soil moisture and drainage, Rosette size compared to prior seasons |
| Possible correction | Feed with a nitrogen-forward complete fertilizer during active leafy growth. |
Older leaves show yellowing and browning along the margins, with smaller or tougher buds.
| Possible causes | Low available potassium in the soil, Sandy soils that hold few nutrients, Drought stress limiting uptake during bud formation |
|---|---|
| Appears first on | Older, lower leaves, starting at the margins. |
| What to check | Leaf margins on older leaves, Soil type and organic matter, Watering consistency during bud swell |
| Possible correction | Apply a complete fertilizer that also supplies potassium and keep the soil evenly moist. |
New leaves yellow between the veins while the veins stay green.
| Possible causes | High or alkaline soil pH limiting iron availability, Waterlogged or poorly drained soil, Genuine iron shortage in poor soil |
|---|---|
| Appears first on | Youngest leaves at the growing tips. |
| What to check | Soil pH, Drainage and root health, Whether symptoms follow cold, wet spells |
| Possible correction | Correct soil pH where it is too high and, if needed, apply a chelated iron product per its label. |
Pruning, Training & Seasonal Maintenance
Globe artichoke is a perennial thistle relative grown for its immature flower buds. It tolerates, and actually needs, an annual hard cutback for renewal. “Pruning” here covers two separate jobs: routine dead-leaf and spent-stalk removal (year-round, per the plant’s own data) and a seasonal structural cutback plus offset/sucker thinning that directly controls bud size and the following season’s yield.
Quick Pruning & Maintenance Specs
| Pruning Tolerance | Moderate–High |
| Primary Pruning Window | Post-harvest, and the autumn/winter dormancy cutback |
| Secondary Maintenance Window | Spring offset/sucker thinning |
| Typical Frequency | Ongoing dead-leaf removal plus one annual hard cutback |
| Main Objective | Bud yield and size, winter protection, and controlled propagation |
| Young Plant Priority | Let the crown build a full season of leaves before it is allowed to bud |
| Mature Plant Priority | Thin offsets to 2–4 strong shoots per crown; cut spent bud stalks after harvest |
| Best Tool Type | Bypass secateurs/loppers for stalks; spade for offset division |
| Avoid Heavy Pruning During | Active bud formation/harvest – cutting now sacrifices the crop |
Pruning by Plant Age & Size
Newly Established
Minimal—let the plant build a full crown of leaves before it buds; remove only dead or damaged leaves.
Young / Formative
No trellis or framework training is needed (basal clump habit). “Formative” work instead means selecting which offsets to keep as the plant multiplies.
Mature / Established
Each spring, thin new basal offsets/suckers to the strongest 2–4 per crown—this is the artichoke equivalent of formative pruning, since excess suckers crowd the crown and shrink bud size. Remove spent flower/bud stalks at the base once the last side buds are harvested.
Seasonal Pruning Schedule
Ongoing Sanitary
Objective: matches the plant’s own “all year” pruning-window fact. Remove: dead or yellowing outer leaves continually. Why it matters: decaying leaf litter at the crown is where the plant’s own flagged ant problem establishes.
Post-Harvest
Objective: redirect energy to new growth. Remove: the spent stalk down to the crown once the terminal and side buds are cut, before it opens into the purple thistle flower. Expected response: a new flush of growth.
Dormant/Winter
Objective: protect the crown and reset for spring. Essential toward the cooler end of zone 8–10; skip in the mildest zone-10 gardens where the plant stays evergreen and lighter tidying suffices instead. Remove: cut the whole plant back hard to a low stub and mulch heavily. Expected response: vigorous spring regrowth and a full crop the following season.
Structural Pruning & Training
Renewal via offset thinning is the main structural decision here—keeping the strongest new shoots and removing the rest concentrates resources into fewer, larger buds; there is no branch architecture to manage.
Special Growth to Remove
- Basal offsets/suckers—really a selection task: keep 2–4 of the strongest per crown and remove the rest, which can be transplanted for propagation.
- Spent bud/flower stalks after harvest.
- Dead outer leaves.
Container & Small-Space Pruning
Possible, but the plant is large (1–2 m per its own size data) and spreads via offsets, so container culture means more frequent, harder offset removal to keep the crown from outgrowing the pot. Deep winter mulch-cutback is usually unnecessary since a pot can simply be moved to shelter instead.
Tools
- Bypass secateurs for bud-stalk harvest cuts.
- Loppers for thick basal stalks and the hard winter cutback.
- Garden spade for dividing or removing offsets.
Tool Hygiene & Disease Risk
Routine—no transmissible disease is flagged in the plant’s own data.
Cut Placement & Technique
Cut spent stalks close to the crown without gouging into it. When removing offsets, sever cleanly with a spade close to the parent crown, keeping some root attached if replanting.
Heavy Pruning & Rejuvenation
Well tolerated, and necessary in cooler parts of its range: an annual hard cutback to a low stub in autumn/winter is standard practice, followed by vigorous regrowth and a full crop the next season. Skip it in mild zone-10 gardens grown as continuously evergreen.
Post-Pruning Care
Mulch heavily after a winter hard cutback for frost protection. Keep the crown clear of decaying leaf litter afterward to discourage the plant’s own flagged ant problem. No extra feeding is needed right after a hard cutback—the plant is already being pushed to regrow.
Common Pruning Mistakes
- Leaving too many offsets/suckers on a mature crown, producing many small buds instead of fewer large ones.
- Skipping the winter cutback in marginal zones, leaving the crown more exposed to cold.
- Letting spent stalks stand and flower when continued bud harvest was intended, diverting energy to seed.
When NOT to Prune
- Don’t remove leaves or cut stalks while buds are actively forming or being harvested.
- Avoid a hard cutback during hot, dry summer stress.
Recommended Tools (by task)
- Task: Bud-stalk harvest/removal – medium fibrous stalk → bypass_secateurs – clean single cuts through fibrous but non-woody stalks.
- Task: Hard winter cutback of a mature crown → loppers – thick basal stalks need more leverage than secateurs.
- Task: Offset/sucker division and thinning → garden_spade – needed to sever an offset cleanly from the parent crown, with root attached if replanting.
Pruning Troubleshooting
| Problem | Possible Cause | What to Check | Corrective Action |
| Small or few buds | Too many offsets competing on one crown | Count of basal shoots per crown | Thin to the strongest 2–4 shoots each spring |
| Crown killed over winter | No protective cutback/mulch in a marginal zone | Local minimum temperatures against the plant’s zone 8–10 range | Cut back hard and mulch heavily before frost |
| Ant/pest buildup at the base | Decaying leaf litter left at the crown | Base of the plant for debris | Clear dead leaves promptly, matching the plant’s own pest note |
Propagation Guide
Artichoke is most easily started from seed, which the site confirms is sufficient without grafting; because seed-grown plants vary in bud quality and spininess, named varieties are usually kept true by dividing rooted offshoots (‘stumps’) from an established plant. Difficulty is easy from seed and moderate from division.
Quick Propagation Specs
| Best Propagation Method | Seed (for a new planting); division of rooted offshoots (to keep a named variety true) |
| Propagation Difficulty | Easy (seed); Moderate (division) |
| Seed True-to-Type | Variable in bud size/quality and spininess |
| Vegetative True-to-Type | Yes |
| Best Propagation Season | Spring, or autumn in warmer climates, per the site; division in the dormant or early-growth period |
Growing from Seed
Sowing Season
Sow in spring, or in autumn in warmer climates, per the site’s planting season.
Germination Conditions
Germinates in average, well-drained-to-moist soil in full sun to half shade (half shade in warmer climates, per the site); avoid siting near ant nests, which the site flags as a serious threat to this plant’s survival.
Seedling Care
Grow seedlings on until well rooted before planting out, and keep the area free of ants, per the site’s noted growing difficulty.
Division, Offsets, Pups & Suckers
Established plants produce rooted basal offshoots (‘stumps’) that can be separated during the dormant or early active-growth period; select offshoots with an existing root system, trim back the leaves at separation to reduce moisture loss, and grow the division on in a sheltered, ant-free spot until re-established. This is the standard way to preserve a specific variety’s bud characteristics.
Bloom & Edible Flower Guide
Quick Details
- Bloom Season: Summer into autumn
- Time to First Bloom: In warm climates often in its first year; otherwise typically from the second year
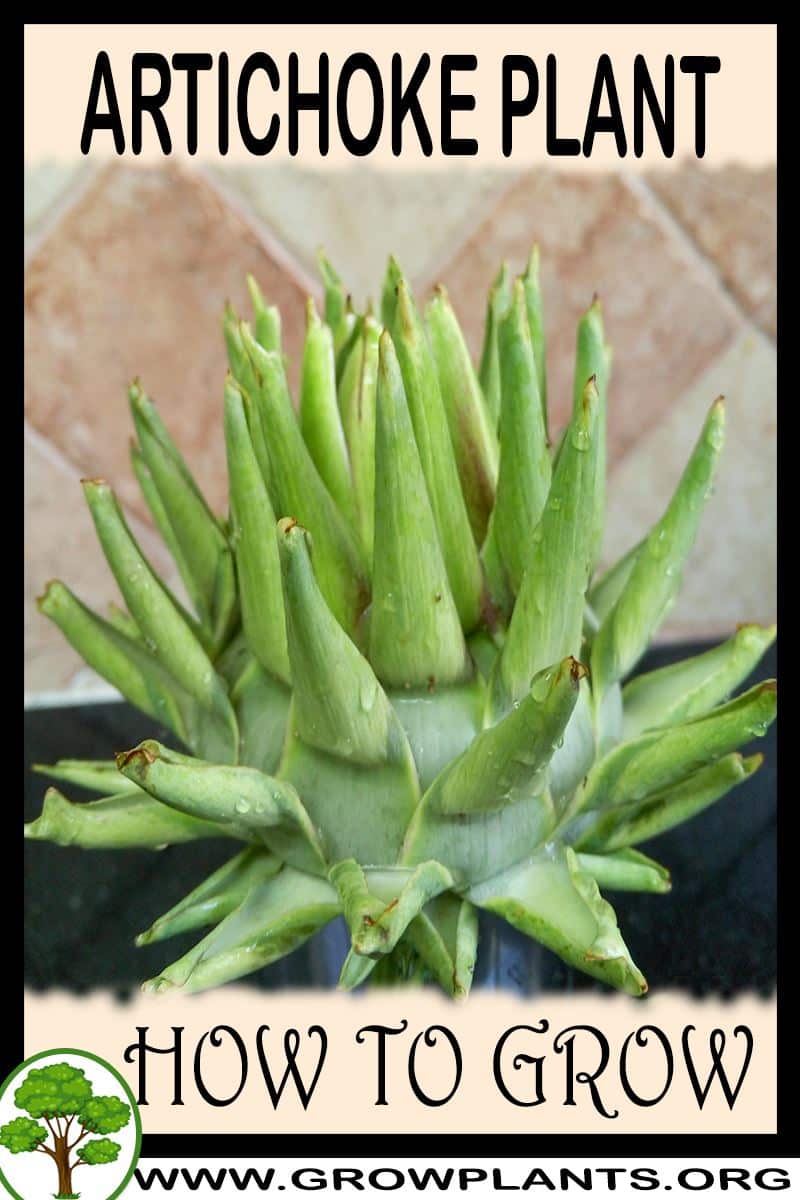
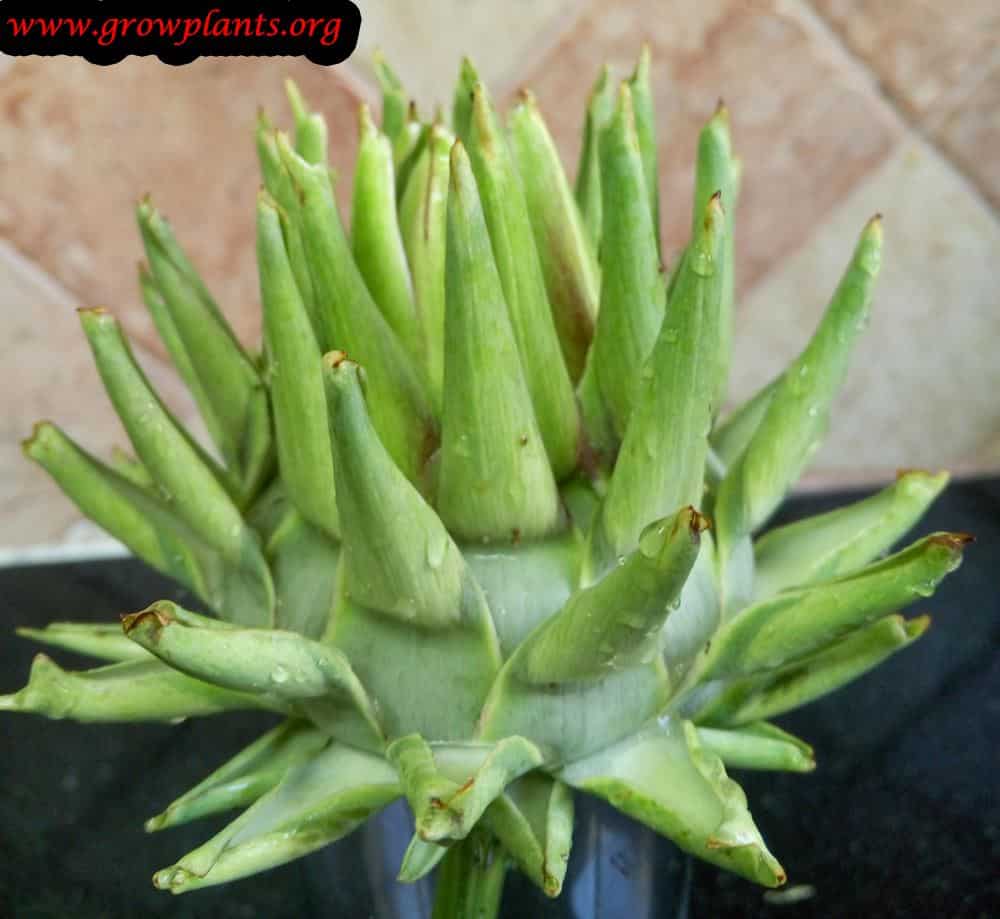
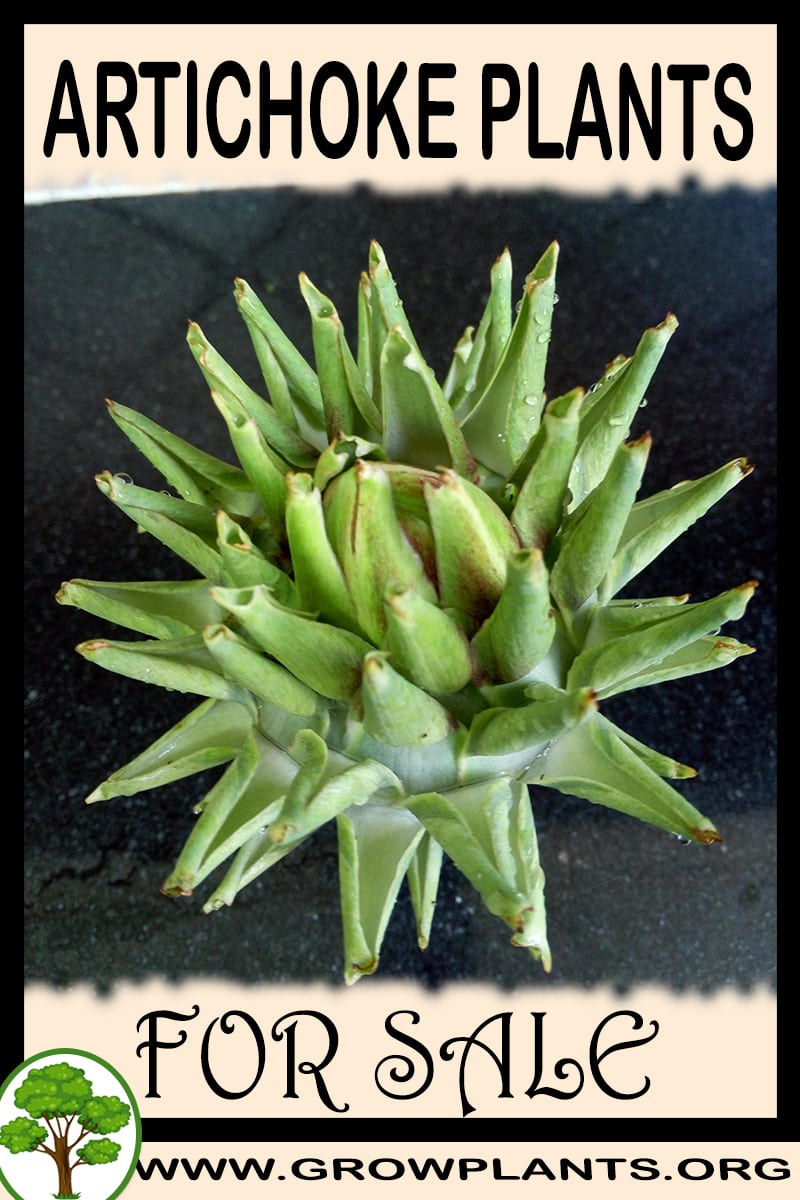
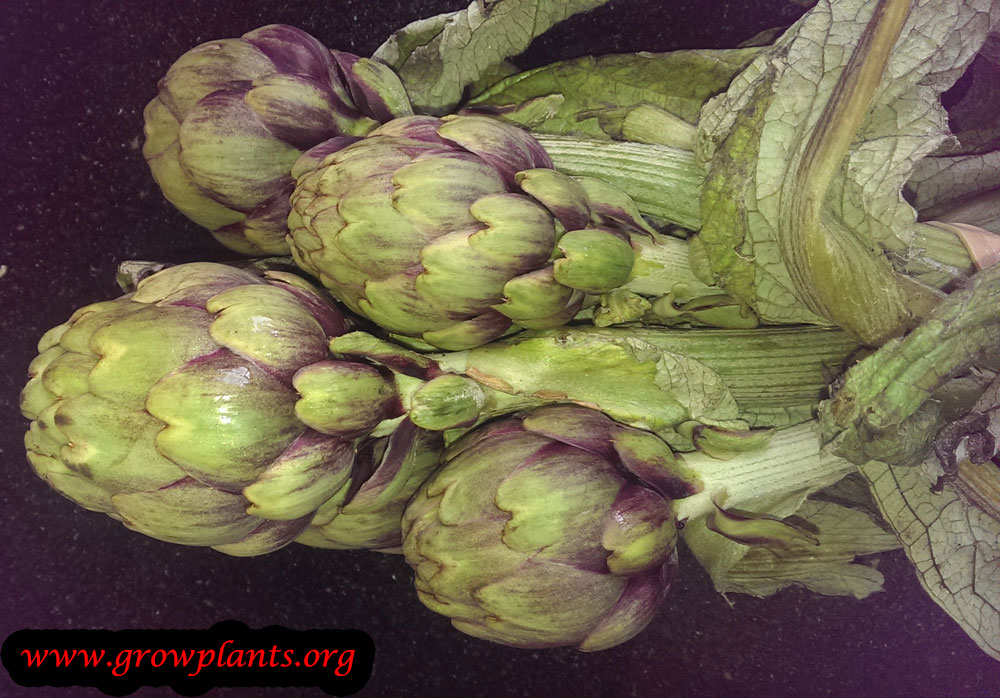
- Flower Appearance: A large green, spiny globe-shaped bud that opens to a striking purple thistle flower
- Edibility: Yes – the artichoke we eat is the unopened flower bud itself; once it blooms it becomes fibrous and inedible
Detailed Blooming Overview
The globe artichoke is one of the few vegetables that is, quite literally, an unopened flower. The plump green bud is harvested and eaten before it opens; leave it on the plant and it unfurls into a magnificent purple thistle flower that bees flock to. This double life – crop when young, showstopper when mature – is exactly why gardeners so often let a few buds go to flower.
Flower Characteristics
- A large, rounded, spiny green bud – the edible stage.
- Opens into a bold purple, brush-like thistle flower on a tall stem.
- Architectural and dramatic once allowed to bloom.
Bloom Care & Thinning
- Harvesting the buds: Cut buds while still tight and green; the terminal bud is largest, with smaller side buds following.
- Letting some flower: Leave a few buds to open for their spectacular blooms and to feed pollinators, but expect those heads to be inedible.
- Pollination: The open flowers are strongly attractive to bees.
Fruit & Uses
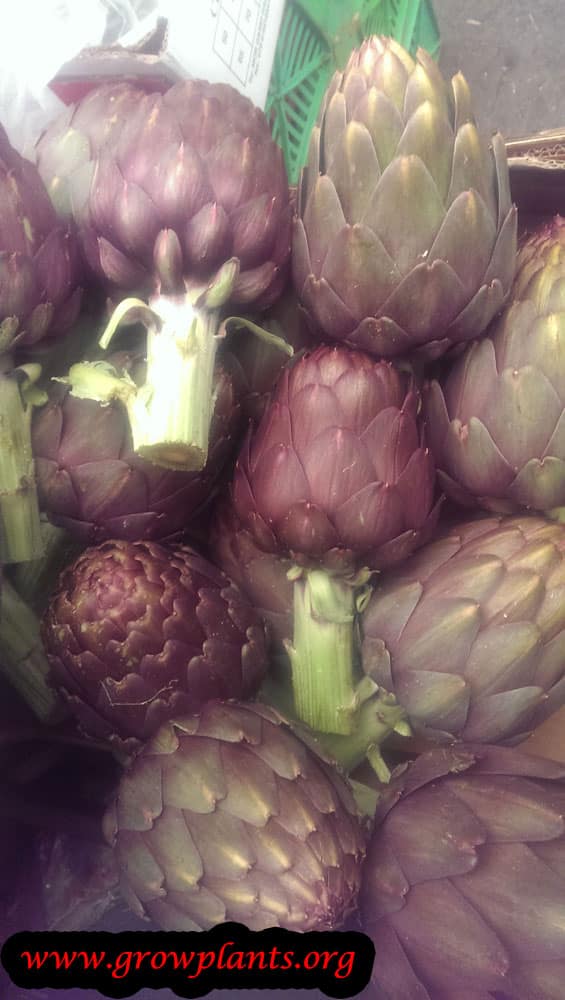
The globe artichoke is grown for its immature flower buds: the fleshy base of the bud (the heart) is the largest edible portion, along with the tender base of each surrounding bud-leaf. Buds are eaten cooked.
Quick Edible Specs
| Edible Parts | Flower buds – heart and base of the bud-leaves |
|---|---|
| Main Use(s) | Culinary vegetable, the classic globe artichoke |
| Eaten Raw or Cooked | Cooked (very young, tender buds can be shaved and eaten raw, but are usually cooked) |
| Preparation Required | Trim the spiny tips and tough outer bracts; remove the inedible fibrous choke once cooked |
| Harvest Season | Buds form during the bloom season, summer to autumn |
| Time to First Harvest | Buds are picked while still tight and closed, before the purple flower opens; see Propagation for how the plant establishes before its first bud set |
| Storage | Best used fresh, shortly after picking |
| Safety/Toxicity Caveat | No significant toxicity; the bud is spiny and the mature flower’s fibrous choke is not eaten |
Flowers & Flower Buds
The edible part is the immature flower bud, 5–20 cm, harvested while still closed and before the purple globe-shaped flower opens. The bottom of the bud forms the heart – the largest and most prized edible portion – and the base of each bud-leaf is also edible once cooked. Once the bud is allowed to open into flower it toughens and is no longer good eating, so timing the harvest matters more than for most vegetables.
Harvesting
Cut buds while they are still tight, before the purple flower shows, during the summer–autumn bloom season; leaving buds too long on the plant lets them open and become fibrous.
Preparation, Uses & Safety
Trim the spiny tip and tough outer bracts, then cook (boiled, steamed, roasted, or braised) to soften the heart and the base of the inner bracts; once cooked, scrape away the fibrous choke before eating the heart. No significant toxicity is documented; the main precaution is mechanical, from the spines.
Pests, Diseases & Troubleshooting
Overview: The globe artichoke (Cynara scolymus) and its relatives are large thistle-family perennials whose main foe is the artichoke aphid that colonises the crowns and buds, alongside caterpillars, slugs and a few soil-borne wilts. Vigorous, well-spaced plants in fertile, free-draining soil shrug off most problems; the approach is to keep colonies knocked back early, encourage predators, and rotate away from Verticillium-prone ground.
Quick Troubleshooting Overview
| Issue / Pest | Main Symptom | Primary Solution |
|---|---|---|
| Artichoke / black aphid | Dense colonies in bud scales and leaf axils, honeydew and sooty mould | Hose off; insecticidal soap or neem; encourage ladybirds |
| Artichoke plume moth | Larvae boring into buds and stalks; frass and holes | Remove debris; hand-pick; Bacillus thuringiensis on young larvae |
| Slugs and snails | Ragged holes in leaves and grazed young plants | Hand-pick; iron-phosphate bait; remove hiding places |
| Verticillium wilt | Yellowing, one-sided wilt, browned vascular tissue | Remove plants; rotate; use resistant stock and clean ground |
| Powdery mildew | White powdery film on leaves in mild, humid conditions | Improve airflow; sulfur or potassium-bicarbonate spray |
Common Pests & Management
- Artichoke aphid (Capitophorus elaeagni):
- Symptoms: The signature pest – dense colonies of pale green aphids pack into the bud scales, leaf axils and undersides, sapping vigour, distorting growth and coating everything in honeydew and sooty mould; they also foul edible buds.
- Prevention & Control: Blast off with water, spray insecticidal soap or neem into the crowns and buds, and support ladybirds, lacewings and hoverflies; treat early before colonies bury deep in the bud.
- Black bean aphid (Aphis fabae):
- Symptoms: Black aphids swarm shoot tips and flower stalks, often tended by ants, causing curling, stunting and sticky honeydew.
- Prevention & Control: Same as above – water jets, insecticidal soap or neem, and control ant trails (which farm and protect the aphids) with barriers or bait.
- Artichoke plume moth (Platyptilia carduidactyla):
- Symptoms: Small greenish caterpillars tunnel into buds, leaf stalks and crowns, leaving entry holes, frass and ruined buds; the tan adult moths have deeply divided plume-like wings.
- Prevention & Control: Clear crop debris and old stalks where they overwinter, hand-pick larvae, and spray Bacillus thuringiensis (Bt) or spinosad onto young caterpillars before they bore in.
- Slugs and snails (various species):
- Symptoms: Ragged holes and slime trails on leaves; young plants and emerging shoots can be grazed heavily in damp weather.
- Prevention & Control: Hand-pick after dark, remove mulch hiding places near the crown, set beer traps or copper barriers, and use iron-phosphate bait sparingly.
- Ants (aphid tenders) (various species):
- Symptoms: Ant trails running up the plant indicate they are farming aphids for honeydew and driving off the aphids’ natural enemies.
- Prevention & Control: Treat the aphids and interrupt the ants with sticky bands around stalks or ant bait; controlling ants lets predators clean up the aphids.
- Thrips and leaf miners (Frankliniella / Liriomyza species):
- Symptoms: Silvery flecking from thrips and pale winding tunnels from leaf-miner larvae on the large leaves; mostly cosmetic but can weaken heavy infestations.
- Prevention & Control: Remove badly mined leaves, use sticky traps to monitor, encourage parasitic wasps, and spray insecticidal soap or spinosad only if damage is severe.
Diseases & Fungal Issues
- Verticillium wilt (Verticillium dahliae):
- Symptoms: Lower leaves yellow, wilt and brown from the margins, often on one side; cut stems show brown-streaked vascular tissue. The soil-borne fungus persists for years.
- Treatment & Management: There is no cure; remove and destroy affected plants, do not replant Cynara or other susceptible crops on that ground for several years, choose tolerant varieties and keep plants vigorous.
- Powdery mildew (Leveillula taurica):
- Symptoms: White to greyish powdery patches on leaves (this species can also show as yellow blotches with sporulation on the underside), reducing photosynthesis in mild humid weather.
- Treatment & Management: Space plants for airflow, avoid excess nitrogen, remove badly affected leaves, and apply sulfur or potassium-bicarbonate sprays; grow resistant cultivars where possible.
- Grey mould (Botrytis cinerea):
- Symptoms: Fuzzy grey rot on buds, crowns and damaged tissue in cool, wet, crowded conditions, spoiling edible heads.
- Treatment & Management: Improve spacing and airflow, remove faded and damaged tissue promptly, avoid overhead watering, and apply a biofungicide if pressure is high.
- Ramularia / leaf spot (Ramularia cynarae):
- Symptoms: Brown to grey angular spots and blotches on the large leaves, sometimes coalescing and killing leaf areas in wet seasons.
- Treatment & Management: Remove infected leaves and debris, avoid wetting foliage, improve airflow, and use a protectant copper fungicide only if severe.
- Curly dwarf virus (Artichoke curly dwarf virus):
- Symptoms: Stunted, distorted, curled foliage and reduced yield; spread through infected planting stock and weeds.
- Treatment & Management: No cure; plant certified clean stock, rogue out symptomatic plants, and control nearby weed reservoirs such as milk thistle.
Growing Difficulties & Abiotic Problems
- Frost damage to buds:
- Cause & Symptoms: Cold snaps blacken bud tips and blister the outer bract surfaces (frost etching), disfiguring edible heads though flavour is usually unaffected.
- Correction Strategy: Protect developing buds during cold spells with fleece, site plants where they escape hard frost, and simply harvest damaged heads early.
- Bolting and poor bud quality:
- Cause & Symptoms: Heat, drought stress or premature flowering causes tough, quickly opening buds and reduced quality.
- Correction Strategy: Keep soil evenly moist, mulch the crowns, feed adequately, and harvest buds while still tight and firm.
- Nutrient and drainage stress:
- Cause & Symptoms: Waterlogged crowns rot, while poor fertility or boron shortage yellows and weakens the large leaves.
- Correction Strategy: Plant on free-draining, fertile soil, avoid waterlogging, and feed with balanced nutrition during active growth.
What Helps – Products & Tools
Start with water jets, hand-picking and good airflow. Keep insecticidal soap and neem oil for aphids, Bacillus thuringiensis (Bt) or spinosad for plume-moth caterpillars, and iron-phosphate bait plus copper barriers for slugs. For disease, sulfur or potassium-bicarbonate sprays address powdery mildew and a copper fungicide addresses leaf spot, while resistant varieties and crop rotation are the real defence against Verticillium. Apply oils and sprays in the evening and follow label directions to protect pollinators.