Plant Profile & Key Characteristics
Overview: Gladiolus (sword lily) is a cormous perennial 40-150 cm (16-60 in) tall that dies back after flowering, grown as an ornamental and one of the classic cut flowers. Tall spikes carry many funnel-shaped blooms in a wide colour range.
Quick Specifications
| Specification | Attribute |
|---|---|
| Plant Type / Life Cycle | Cormous perennial (geophyte) |
| Foliage Type | Deciduous (dies back after flowering) |
| Mature Size | 40-150 cm (16-60 in) tall |
| Growth Rate | Fast to moderate |
| Root System | Corm (underground storage organ) |
| Toxicity | Toxic — gladiolus (especially the corms) is listed as toxic to cats, dogs and horses and can irritate skin on handling |
| Hardiness | USDA zones 5-10 |
Growth Form & Structure
- Height & Spread: An upright, narrow plant 40-150 cm (16-60 in) tall from a single corm; grows well in pots.
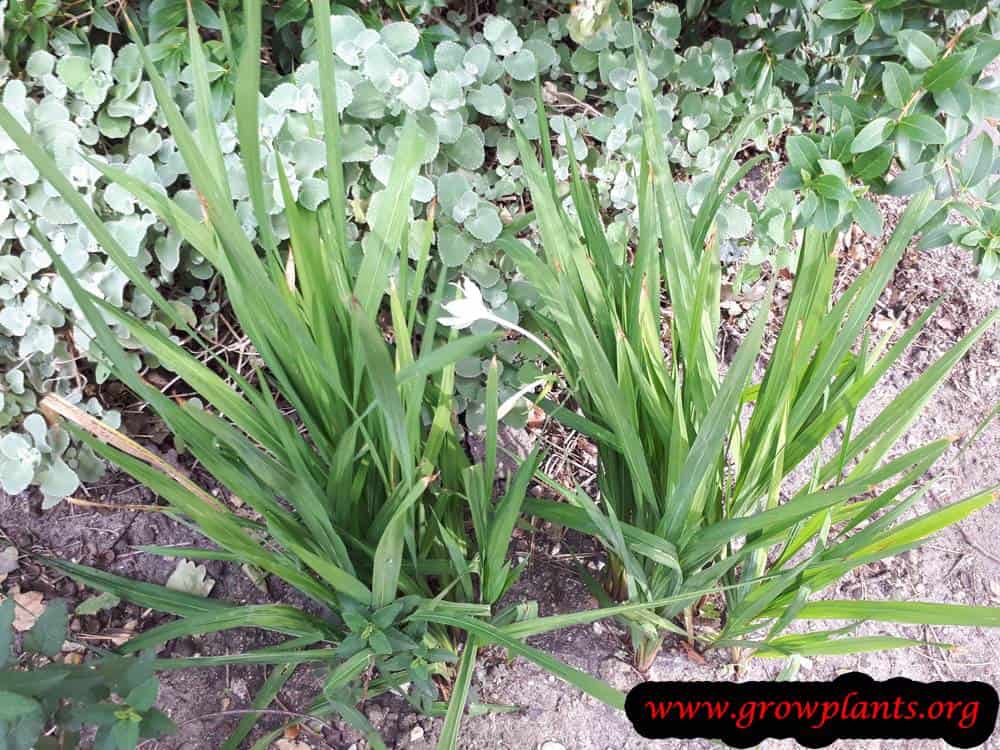
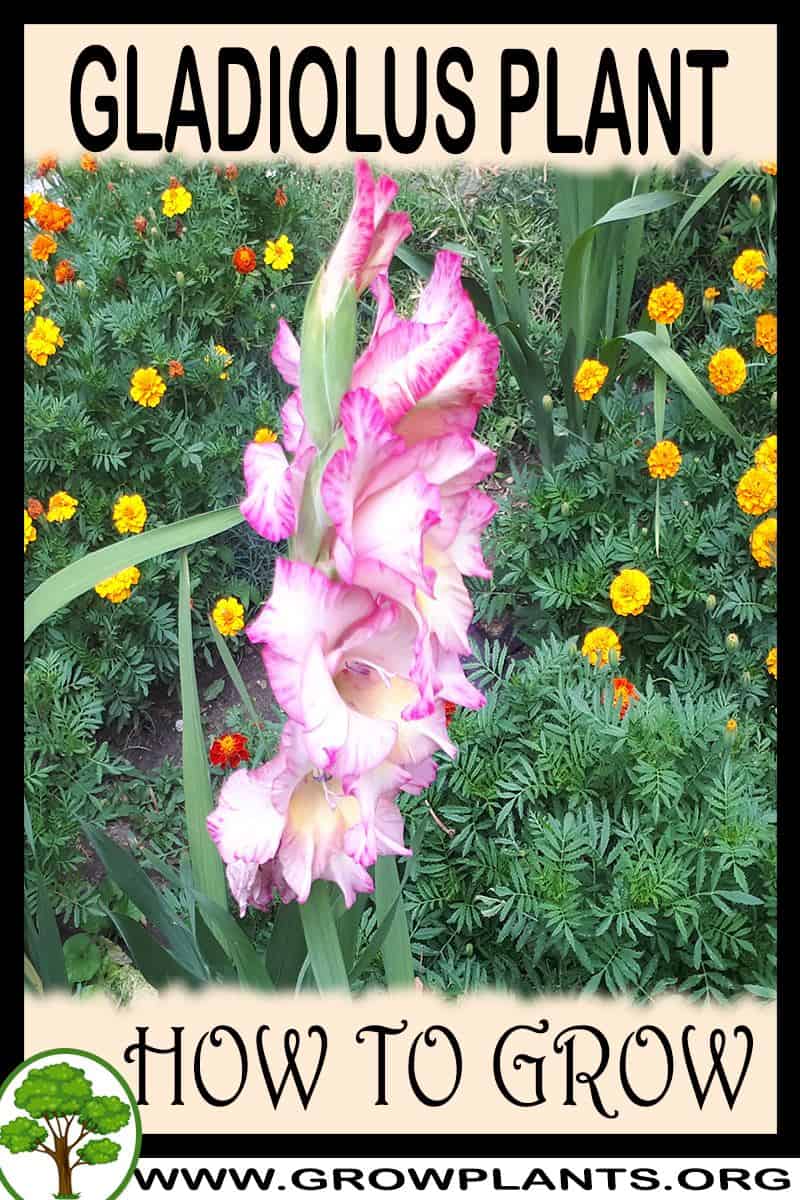
- Growth Habit & Form: Erect fans of sword-shaped leaves topped by a tall, one-sided flower spike.
- Lifespan & Maturity: The corm is perennial, multiplying over the years; the foliage dies back after summer flowering.
Anatomy & Physical Features
- Leaves & Foliage: Green, stiff, sword-shaped (linear) leaves in a flat fan.
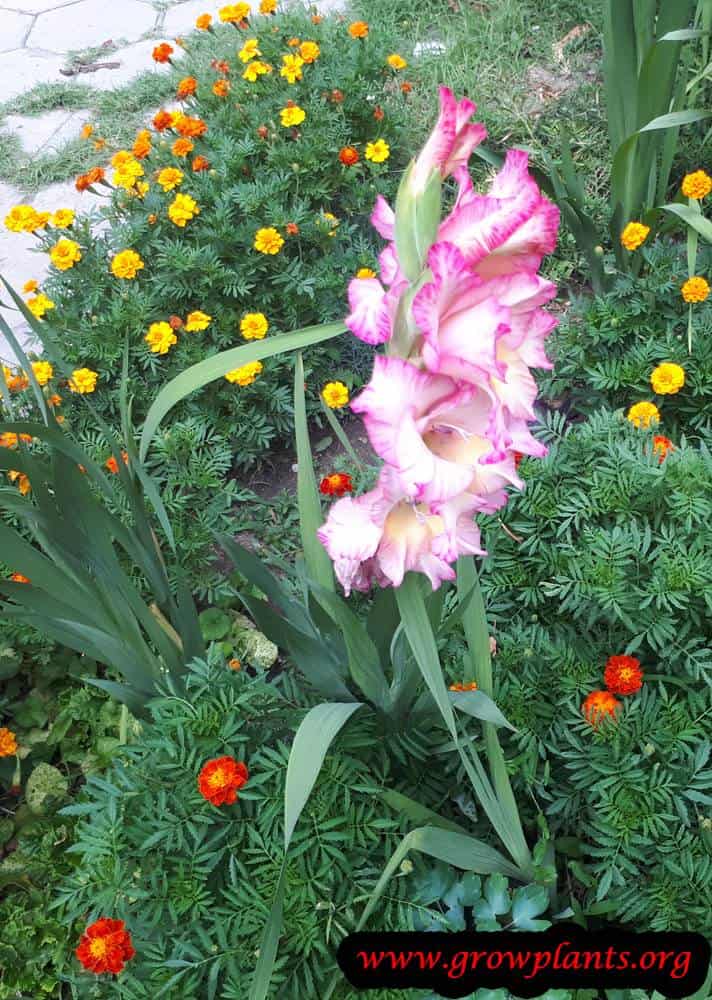
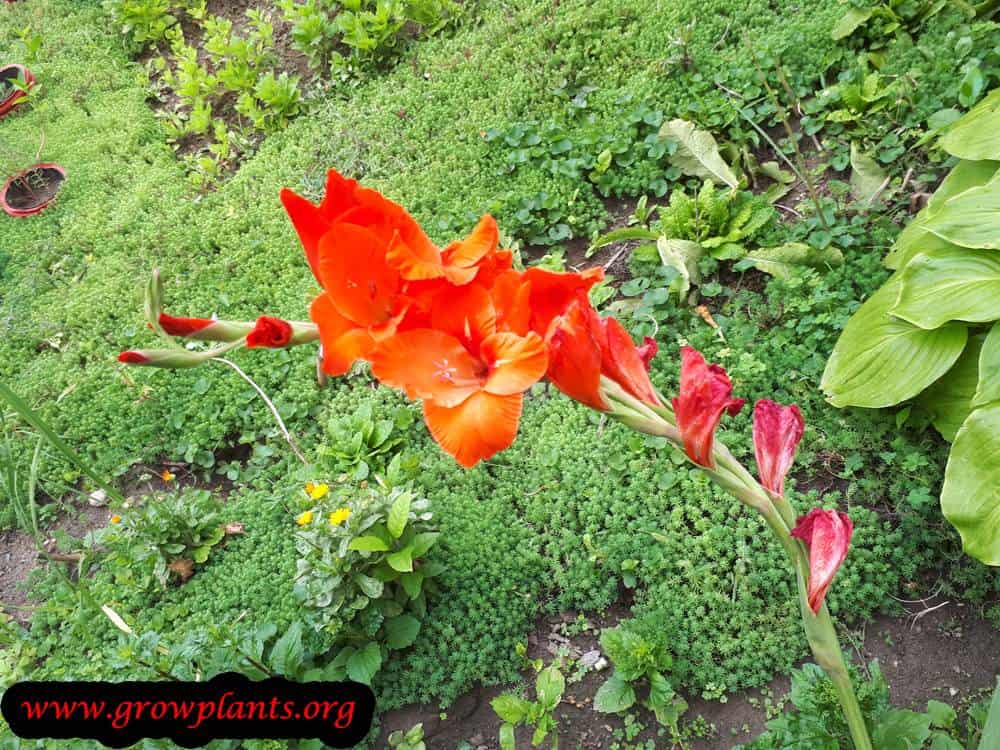
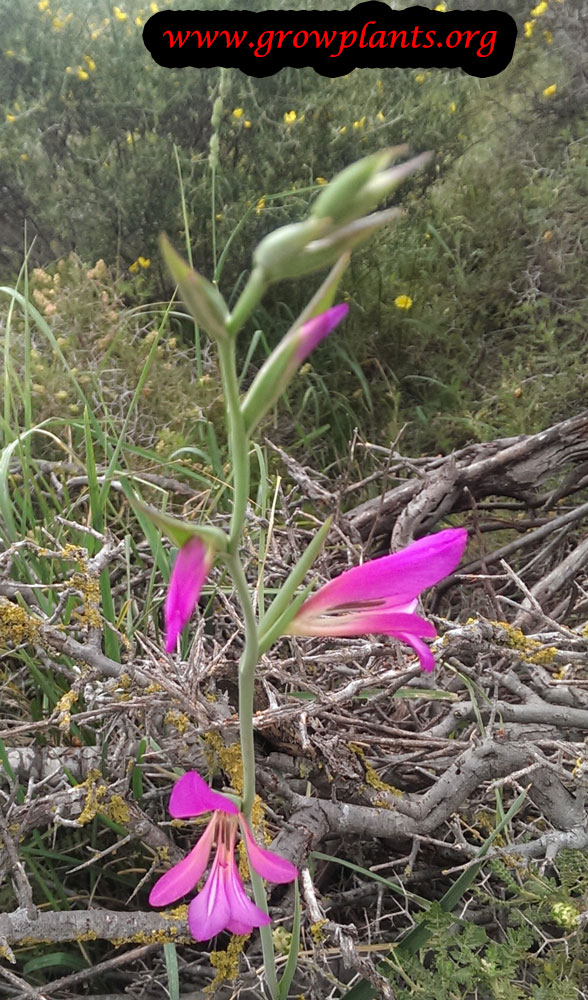
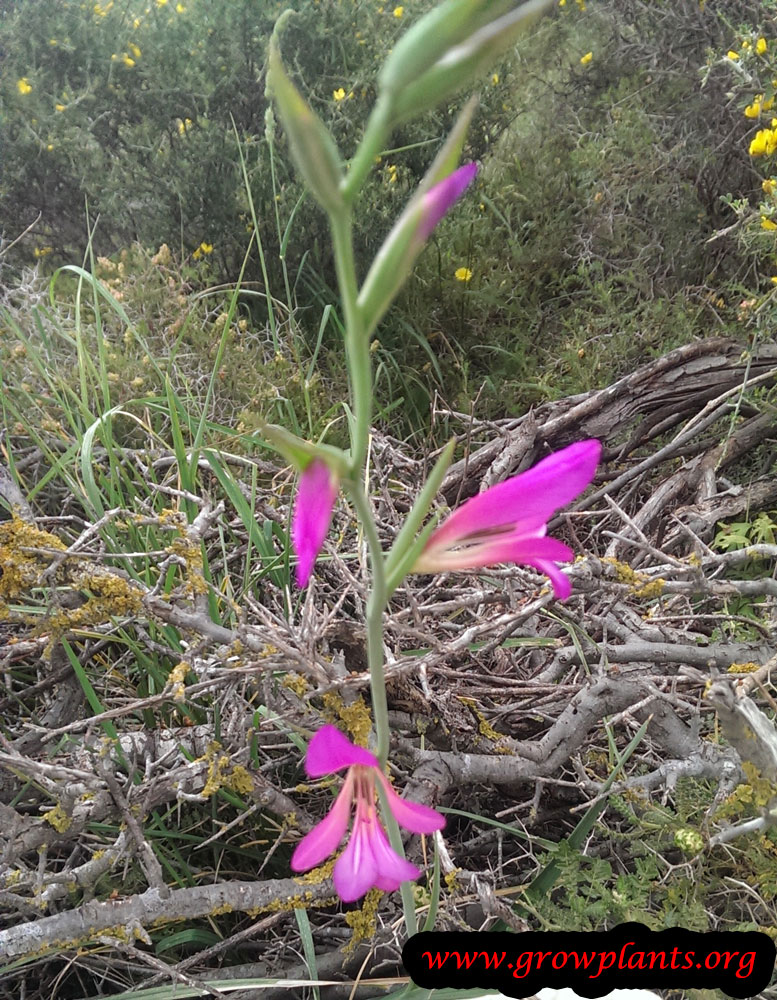
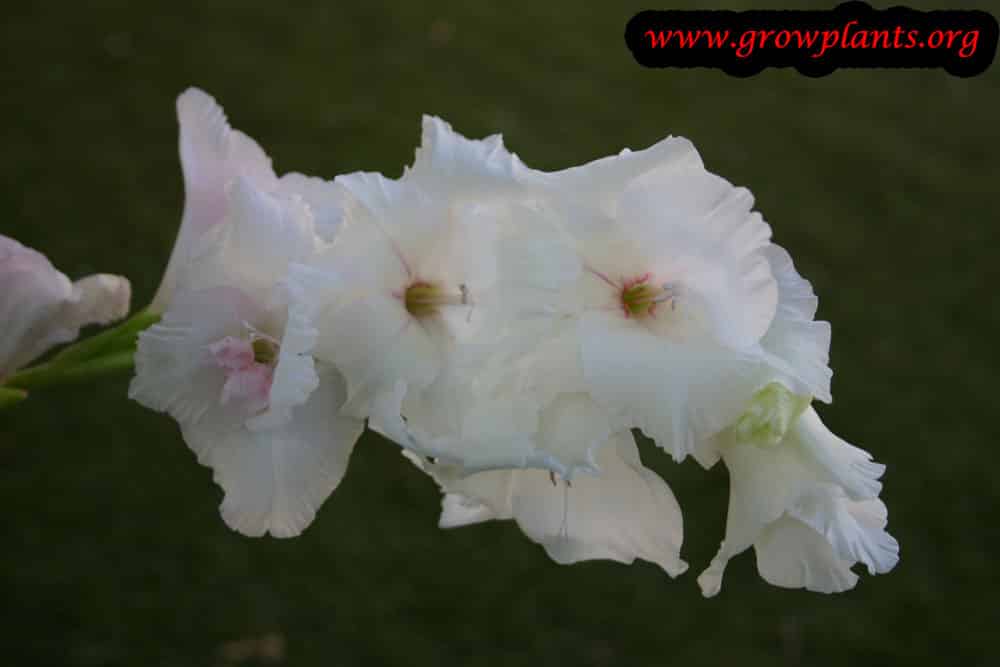
- Flower Characteristics: Six-petalled flowers in red, white, yellow, purple, pink or orange (often bicoloured) on a spike opening from the base upward.
Primary Uses & Landscape Value
- Functional & Ornamental Roles: A border and cut-flower ornamental prized for its tall flower spikes.
Care Guide: Planting, Soil & Watering
Overview: Gladiolus (sword lily) is a fast-growing, cormous perennial (hardiness zone 5–10) for full sun and fertile, free-draining soil. It wants even moisture while it grows and flowers, then drier conditions once the leaves die down.
Quick Care Requirements
| Requirement | Ideal Condition |
|---|---|
| Planting Season | Spring, once the soil has warmed |
| Growth Rate | Fast to Moderate |
| Soil Type | Fertile, well-draining soil (sandy loam ideal) |
| Water Need | Low to Moderate — steady moisture in growth, drier as it dies back |
Planting & Establishment
- Best Planting Season: Plant corms in spring once the soil has warmed and frost has passed.
- How to Plant:
- Hole Preparation: Loosen the bed deeply and plant corms about 10–15 cm (4–6 in) deep and 10–15 cm apart, pointed growing tip facing up.
- Soil Amendments: Work in compost and, on heavy ground, coarse sand or grit to guarantee the sharp drainage corms need.
- Planting Depth: The 10–15 cm planting depth also helps support the tall flower spikes; taller types benefit from staking.
- Growth Speed & Expectations: Fast — corms sprout and reach flowering size within a single season.
Soil, Watering & Drainage Care
- Soil Mix & Drainage Needs: Corms must have free-draining soil; waterlogged ground rots them. In containers use a free-draining mix and a deep pot.
- Watering Schedule & Technique:
- Young / Newly Planted: Water in newly planted corms and keep the soil lightly moist as shoots emerge.
- Established: Water regularly and deeply through active growth and flowering, keeping the soil evenly moist.
- Seasonal Adjustments: Taper off watering as the foliage yellows and dies back; keep corms dry during dormancy, and lift them where winters are wet or freezing.
Climate, Light & Hardiness
Gladiolus is hardy to roughly zone 5–10 across Mediterranean, subtropical, and temperate climates; it needs full sun and well-drained soil, and the corms are commonly lifted in colder areas outside its hardy range.
Quick Climate Specifications
| Climate Zones | Mediterranean, subtropics, temperate |
|---|---|
| USDA Hardiness Zones | Approximately 5–10 |
| Light Conditions | Full sun |
Temperature Extremes & Hardiness
USDA Hardiness & Regional Limits
Hardy roughly zone 5–10; in colder zones, corms are commonly lifted in autumn and stored indoors over winter rather than left in the ground, a standard practice for this genus.
Growing in Pots, Balconies & Indoors
Gladiolus is a tall, sun-loving corm grown for its flower spikes – not a houseplant. The grower confirms it will not grow indoors as one, but it does well in a deep pot, so you can enjoy the spikes on a sunny patio or balcony.
Quick Details
- Container Size: A deep pot of about 5-10 L (1.3-2.6 gal) so the tall spikes stay stable; group several corms
- Indoor Suitability: Not a houseplant – too tall and too sun-hungry for indoor life
- Best Spot: Full sun, sheltered from strong wind
- Soil & Drainage: Rich but free-draining; never waterlogged
- Watering in Pots: Water moderately and steadily while growing and flowering; keep drier at dormancy
Indoors & On the Windowsill
- Houseplant limits: Marked as not an indoor plant – the flower spikes need full sun and more headroom than a windowsill offers.
- Overwintering: In cold climates the corms are tender: lift and store them dry and frost-free over winter, which is much easier when they are grown in a pot you can move under cover.
On a Balcony or Patio
- Light, wind & staking: Give it full sun and stake the tall spikes – on an exposed balcony wind can snap them, and reflected heat from walls dries the pot fast, so check moisture daily in hot spells.
- Practicalities: Allow for the weight of a filled pot and for drainage runoff onto the balcony below – stand pots on feet or a tray you can empty.
Choosing the Pot, Soil & Long-Term Care
- Pot & drainage: A deep 5-10 L pot with strong drainage; depth also anchors the tall stems. Use strong drainage holes and skip a standing water saucer, which invites root rot; terracotta breathes and dries fast, while glazed or plastic pots hold moisture longer.
- Potting mix: A light, aerated mix – potting compost, or peat/coir with added perlite or vermiculite for drainage.
- Feeding: Feed while in active growth to fuel the spikes; taper off as the foliage yellows.
- Repotting: Lift the corms at dormancy, clean and store them dry, then replant into fresh mix at the start of the next growing season.
Fertilizing & Feeding
A moderate feeder: the tall, multicolored flower spikes benefit from steady balanced feeding through active growth to build sturdy stems and full blooms.
Quick Fertilizing Specs
| Feeding Level | Moderate feeder |
|---|---|
| Main Nutrient Priority | Balanced feeding with adequate potassium to build strong, upright flower spikes |
| Best Feeding Period | From shoot emergence in spring through flowering |
| Organic Options | Compost or well-rotted organic matter worked into the soil before planting |
| Reduce/Stop Feeding | Stop once flowering finishes and the sword-shaped leaves begin to fade |
| Micronutrients | Usually supplied by a complete fertilizer; correct only a diagnosed deficiency |
| Soil pH | Tolerates a range of well-drained soils; drainage matters more than exact pH |
Feeding by Growth Stage
Sword-leaf growth through multicolor spike bloom
Build the sword-shaped foliage and the tall flower spike that opens progressively from bottom to top.
| Nutrient direction | A balanced fertilizer with adequate potassium supports strong, upright spikes; nitrogen alone can leave stems weak and prone to bending. |
|---|---|
| Timing | From shoot emergence in spring through flowering, and while the leaves stay green afterward. |
| Frequency | A light feeding as shoots emerge, followed by another feeding as the flower spike begins to form. |
| Fertilizer types | A balanced complete fertilizer, Compost worked into the soil before planting |
| Precautions | Watch for spider mites, thrips, and aphids, which can weaken the plant independently of nutrition; do not mistake pest stress for a feeding problem. |
Post-bloom foliage dieback
Let the corm build reserves for the next season and settle into dormancy.
| Nutrient direction | None – withhold fertilizer once flowering ends and the leaves begin to yellow. |
|---|---|
| Timing | After flowering, once the sword-shaped leaves begin to yellow toward autumn or winter dieback. |
| Frequency | No feeding at this stage. |
| Fertilizer types | No feeding at this stage; allow the foliage to die back naturally before lifting or dormancy. |
| Precautions | Do not fertilize during dieback; a corm shutting down for dormancy cannot use the nutrients. |
Nutrient Deficiency Signs & Corrections
Sword-shaped leaves are pale and undersized and the flower spike is shorter than expected.
| Possible causes | low available soil nitrogen, light or depleted soil, nutrient leaching after heavy watering or rain |
|---|---|
| Appears first on | older, lower leaves |
| What to check | recent feeding history, soil organic matter content, watering and drainage pattern |
| Possible correction | Apply a balanced fertilizer and work in organic matter to improve nutrient-holding capacity. |
Flower spikes bend or flop and individual blooms are smaller or shorter-lived than expected.
| Possible causes | low soil potassium, an unbalanced, nitrogen-heavy feeding routine, leaching in well-drained soil |
|---|---|
| Appears first on | flower spikes and older leaf margins |
| What to check | balance of the fertilizer used, staking and support needs, recent flowering performance |
| Possible correction | Shift toward a balanced fertilizer with adequate potassium and avoid excess nitrogen-only feeding. |
Interveinal yellowing appears on older leaves while the veins remain green.
| Possible causes | low soil magnesium, heavy potassium feeding competing with magnesium uptake, leaching in light, well-drained soil |
|---|---|
| Appears first on | older, lower leaves |
| What to check | soil magnesium status, recent fertilizer balance, soil texture and leaching |
| Possible correction | Apply a labeled magnesium source such as Epsom salt and rebalance the overall feeding program. |
Pruning, Training & Seasonal Maintenance
Garden Gladiolus is a corm geophyte with no woody framework, so pruning is limited to deadheading spent spikes and removing foliage once it dies back – never cutting green leaves. Because this genus blooms across Spring, Summer and Autumn (typically from corms planted in succession every few weeks for a long cut-flower season), maintenance is a rolling task through the growing season rather than a single event, with the last plantings still being deadheaded into autumn while earlier ones are already dying back.
Quick Pruning & Maintenance Specs
| Pruning Tolerance | Low on green tissue / High once foliage is dead |
| Primary Pruning Window | Autumn/Winter, as each planting’s foliage yellows |
| Secondary Maintenance Window | Ongoing deadheading through Spring–Autumn as successive plantings finish flowering |
| Typical Frequency | Rolling – deadhead per planting batch, foliage cutback once per corm at season’s end |
| Main Objective | Prevent seed-set drain after each bloom flush, then clear dead foliage for corm dormancy/lifting |
| Young Plant Priority | None – first-season foliage left fully intact to build the corm |
| Mature Plant Priority | Deadhead each batch promptly; remove foliage only once fully yellowed |
| Best Tool Type | Precision snips / hand shears |
| Avoid Heavy Pruning During | While any batch’s foliage is still green |
Pruning by Plant Age & Size
Newly Established
Remove only damaged or diseased leaf tissue in the first season; leave all healthy foliage to mature so the new corm can build reserves.
Young / Formative
No structural training applies – no woody framework or canes to shape.
Mature / Established
Deadhead each spike just above the topmost leaf as its flowers finish; leave foliage standing until it yellows, then cut at the base.
Seasonal Pruning Schedule
| Post-Flowering (rolling, per planting batch) | Objective: stop energy loss to seed production. Remove: the spent flower stalk only. Do not remove: green leaves. Response: the corm keeps bulking up through the foliage. Flowering impact: none this season; protects next year’s bloom. |
| Autumn/Winter foliage die-back | Objective: clear dead material as each corm enters dormancy. Remove: fully yellowed/browned foliage at the base. Do not remove: any leaf still green. Response: confirms dormancy, ready for lifting in cold-winter areas. Flowering impact: cutting too early reduces next season’s flower size. |
Special Growth to Remove
- Spent flower stalks after each batch finishes blooming
- Fully dead, yellowed foliage at season’s end
- Cormels can be separated at lifting time for propagation – not a pruning task
Container & Small-Space Pruning
Suits pots well; apply the same rule – deadhead promptly but leave foliage until it yellows. In containers, taper watering as leaves yellow to encourage dormancy and ease lifting/storage.
Tools
- Precision snips for deadheading individual spikes
- Hand shears for cutting back dead foliage clumps
Tool Hygiene & Disease Risk
Routine – clean, sharp tools suffice for healthy plants. Given known susceptibility to spider mites, rust, thrips and aphids, wipe the blade between plants if any rust spotting or pest damage is visible, to avoid spreading it along a row of successive plantings.
Cut Placement & Technique
Cut each flower stalk just above the highest leaf. Cut dead foliage at the base, close to the corm, only once fully browned.
Heavy Pruning & Rejuvenation
Not applicable – no woody structure to rejuvenate. Renewal means lifting and dividing congested corm clumps every few years, a propagation task rather than pruning.
Post-Pruning Care
Keep watering normally while any foliage is still green. As each batch’s leaves yellow, taper watering for that group; avoid fertilizing dying-back foliage since it is shutting down, not regrowing.
Common Pruning Mistakes
- Cutting back green foliage right after flowering, which weakens next year’s corm and bloom
- Treating the whole bed as one cutback date instead of tracking each succession planting separately
- Leaving spent spikes to set seed, diverting energy from the corm
When NOT to Prune
Do not cut green foliage on any planting batch – it is still feeding that corm. Avoid cutting wet foliage when rust or pest damage is present, to limit spread between successive plantings.
Recommended Tools (by task)
- precision_snips – clean deadheading cuts on flower spikes without crushing the stem
- bypass_secateurs – for the thicker base of dead foliage clumps at season’s end
Propagation Guide
Garden Gladiolus is best propagated by dividing the cormels that form around the base of each mature corm, since these hybrids have been bred in many flower colors and vegetative propagation is the only reliable way to keep a specific color true. Corm division is easy; growing new hybrids from seed is possible but slow and the resulting flower color is unpredictable.
Quick Propagation Specs
| Best Propagation Method | Corm (cormel) division |
| Alternative Methods | Seed (mainly for breeding new forms) |
| Propagation Difficulty | Easy (division); Moderate (seed to flowering size) |
| Seed True-to-Type | Hybrid offspring vary – color and form not guaranteed |
| Vegetative True-to-Type | Yes |
| Best Propagation Season | Lift and divide corms in autumn/winter once foliage has died back; replant in spring |
Growing from Seed
Seed-grown Gladiolus are useful mainly for breeding new color combinations, not for reproducing an existing hybrid. Sow in a well-drained bed or trays; seedling corms are tiny at first and generally need at least a season or two of growing-on before reaching flowering size.
Division, Offsets, Pups & Suckers
Each season the old corm is replaced by a new corm on top, ringed by a cluster of small cormels.
- Lift the corms once the foliage yellows and dies back (autumn/winter), then separate the cormels from the parent corm by hand.
- Keep only firm, disease-free cormels; discard shriveled or soft ones.
- Small cormels typically need one to two growing seasons in a nursery row before they are large enough to bloom; the largest corms can be replanted directly for flowering the following season.
- Store lifted corms somewhere cool, dry, and well-ventilated until replanting time.
Bloom & Flower Guide
Quick Details
- Bloom Season: Spring through autumn, depending on when corms are planted
- Time to First Bloom: Roughly two to three months after the corms are planted
- Flower Appearance: Tall flower spikes opening from the bottom upward, in red, white, yellow, purple, pink or orange, often bicoloured
- Edibility: Ornamental and cut flower, not eaten
Detailed Blooming Overview
The gladiolus, or sword lily, is grown for its dramatic flower spikes, which open steadily from the lowest bud to the top over many days. By staggering corm plantings a few weeks apart, growers can keep the spikes coming from spring into autumn, which is part of why it is such a classic cut flower.
Flower Characteristics
- Upright spikes densely set with funnel-shaped flowers.
- Colours across red, white, yellow, purple, pink and orange, frequently combining more than one shade.
- Flowers open in sequence from the base upward.
Bloom Care & Thinning
- Support: Tall spikes are top-heavy and often need staking to stay upright.
- Cutting: For the vase, cut when the lowest one or two florets are just opening and the rest will follow indoors.
Bloom Health & Protection
- Gladiolus thrips: A common bloom-stage pest, leaving silvery flecks and distorted, browning flowers; neem oil or an appropriate insecticidal treatment helps, and clean storage of lifted corms breaks the cycle.
- Grey mould (Botrytis): Can spot flowers in cool, wet spells; airflow and removing damaged blooms keep it down.
Pests, Diseases & Troubleshooting
Overview: Gladioli are corm plants whose signature enemy is the gladiolus thrips, which can wreck both foliage and flower spikes, closely followed by soil- and corm-borne rots that are best beaten through clean stock, crop rotation and careful lifting and curing. The single most important habit is corm hygiene: inspect, dust and cure corms before storage, and never replant into infected ground. Lead with rotation, sanitation and healthy corms before any chemical control.
Quick Troubleshooting Overview
| Issue / Pest | Main Symptom | Primary Solution |
|---|---|---|
| Gladiolus thrips | Silvery-white flecking on leaves; streaked, browned, blasted flowers | Clean corms, hot-water/insecticidal corm treatment, blue sticky traps |
| Fusarium corm rot / yellows | Yellowing fans, stunting; brown rotted corms in store | Plant clean corms, rotate ground, cure corms dry; discard infected |
| Gladiolus rust | Orange-brown pustules on leaves | Remove infected leaves, airflow, avoid wet foliage; fungicide if severe |
| Botrytis | Spotted, rotting flowers and leaf/corm rot in wet weather | Airflow, deadhead, dry curing of corms; fungicide under persistent wet |
| Aphids | Sticky, distorted growth; spreads mosaic viruses | Hose off, encourage predators, soap/neem; control for virus |
| Spider mites | Fine stippling and bronzing in hot dry spells | Hose foliage, raise humidity, predatory mites; oil if severe |
Common Pests & Management
- Gladiolus thrips (Thrips simplex):
- Symptoms: The signature pest: tiny slender insects that rasp leaves and flowers, leaving silvery-white flecking and streaks; buds may fail to open, and blooms emerge browned, streaked and ‘blasted’. They also infest corms in storage.
- Prevention & Control: Start with clean, treated corms; set blue sticky traps and remove badly infested spikes. Under warm storage, thrips multiply on corms, so cure and store corms cool and dust or dip them; insecticidal soap, neem or a labelled insecticide during active growth if needed.
- Aphids (Myzus persicae / Aphis spp.):
- Symptoms: Soft-bodied colonies on leaves and flower stalks causing distortion and honeydew; importantly, they transmit mosaic viruses between plants.
- Prevention & Control: Hose off, support ladybirds and lacewings, and treat persistent colonies with insecticidal soap or neem; controlling aphids is central to limiting virus spread.
- Spider mites (Tetranychus urticae):
- Symptoms: Fine pale stippling that bronzes leaves, with webbing in hot, dry, still conditions; foliage dulls and dries prematurely.
- Prevention & Control: Raise humidity, hose foliage, and encourage predatory mites; use horticultural oil or a labelled miticide for heavy infestations.
- Bulb / corm mites (Rhizoglyphus spp.):
- Symptoms: Tiny pale mites that tunnel into stored or planted corms, especially those already damaged or rotting, worsening decay.
- Prevention & Control: Store only sound, cured corms in cool dry conditions, discard damaged ones, and rotate planting sites; a corm dip can help with valued stock.
- Cutworms & corn borers (Agrotis / Ostrinia spp.):
- Symptoms: Chewed stems at soil level (cutworms) or bored, weakened flower stalks that topple (borers).
- Prevention & Control: Clear weeds, use collars for cutworms, and remove and destroy bored stems; hand-pick and encourage predators.
Diseases & Fungal Issues
- Fusarium corm rot & yellows (Fusarium oxysporum f. sp. gladioli):
- Symptoms: Yellowing, curling leaf fans and stunting in the row; corms develop firm brown-to-black rot from the base and shrivel in storage. The commonest and most damaging disease.
- Treatment & Management: Plant only clean, firm corms, rotate away from infected ground for several years, and cure corms rapidly and dry after lifting. Discard any soft or discoloured corms; there is no cure once corms are infected.
- Botrytis blight & corm rot (Botrytis gladiolorum):
- Symptoms: Water-soaked, then brown spotting and rot of leaves and flowers in cool wet weather, and a soft brown corm rot in storage; grey mould in humidity.
- Treatment & Management: Space for airflow, deadhead, and avoid overhead watering; cure and store corms cool and dry. A preventive fungicide helps under persistent wet conditions.
- Gladiolus rust (Uromyces transversalis):
- Symptoms: Yellow flecks then orange-brown, transversely arranged pustules on leaves; heavy infection browns and kills foliage and weakens corms. A notifiable disease in some regions.
- Treatment & Management: Remove and destroy infected leaves, improve airflow, avoid wetting foliage, and use clean stock; apply a suitable fungicide under pressure and follow local quarantine guidance.
- Dry rot & core rot (Stromatinia gladioli / Penicillium):
- Symptoms: Dark sunken lesions and dry rot on corms in the ground or store, or blue-green mould core rot on bruised corms.
- Treatment & Management: Lift, cure and store carefully to avoid bruising, discard affected corms, and rotate ground; sanitation is the main defence.
- Mosaic & aster yellows viruses (Bean yellow mosaic / Cucumber mosaic virus):
- Symptoms: Mottling, streaking and ‘colour breaking’ in flowers, with stunting; spread by aphids (and leafhoppers for aster yellows).
- Treatment & Management: Control aphids and leafhoppers, rogue out symptomatic plants, and start from clean stock; viruses cannot be cured.
Growing Difficulties & Abiotic Problems
- Toppling flower spikes:
- Cause & Symptoms: Tall, top-heavy spikes lodge and snap in wind or rain, especially on rich soil or in shade.
- Correction Strategy: Stake individually or plant in blocks for mutual support, site in full sun, and plant corms deeply enough to anchor them.
- Crooked or one-sided spikes:
- Cause & Symptoms: Spikes bend toward the light or curve after being knocked over.
- Correction Strategy: Give even, full sun, avoid moving pots once buds show colour, and stand or stake spikes upright.
- Flower failure / bud blast:
- Cause & Symptoms: Buds fail to open or blooms are distorted from thrips, heat stress or dryness at spike development.
- Correction Strategy: Manage thrips, keep soil evenly moist during spiking, and avoid extreme heat; healthy large corms flower most reliably.
- Poor corm storage:
- Cause & Symptoms: Corms shrivel, rot or fail to sprout after a badly managed dormancy.
- Correction Strategy: Lift after foliage yellows, cure warm and airy for a couple of weeks, clean off old corms, and store cool, dry and airy over dormancy.
What Helps – Products & Tools
The most valuable ‘tools’ are cultural: clean firm corms, a rotation plan, and good curing and dry storage. Add blue sticky traps for thrips monitoring, insecticidal soap or neem for thrips and aphids, horticultural oil for mites, and a suitable fungicide (for rust or Botrytis) only when pressure is high. A corm dust/dip protects valued stock in storage.