

Plant Profile & Key Characteristics
Overview: A deciduous spring-flowering bulb 10–30 cm tall, grown as an ornamental and cut flower. It needs a dry summer dormancy and cold winter; bulbs can be lifted and chilled.
Quick Specifications
| Specification | Attribute |
|---|---|
| Plant Type / Life Cycle | Perennial (deciduous geophyte) |
| Foliage Type | Deciduous |
| Mature Size | 10–30 cm H (4–12 in) |
| Growth Rate | Moderate |
| Root System | Bulbous geophyte |
| Toxicity | Toxic if eaten — bulbs contain tulipalin; handling can irritate skin |
| Hardiness | USDA zones 3–11 |
Growth Form & Structure
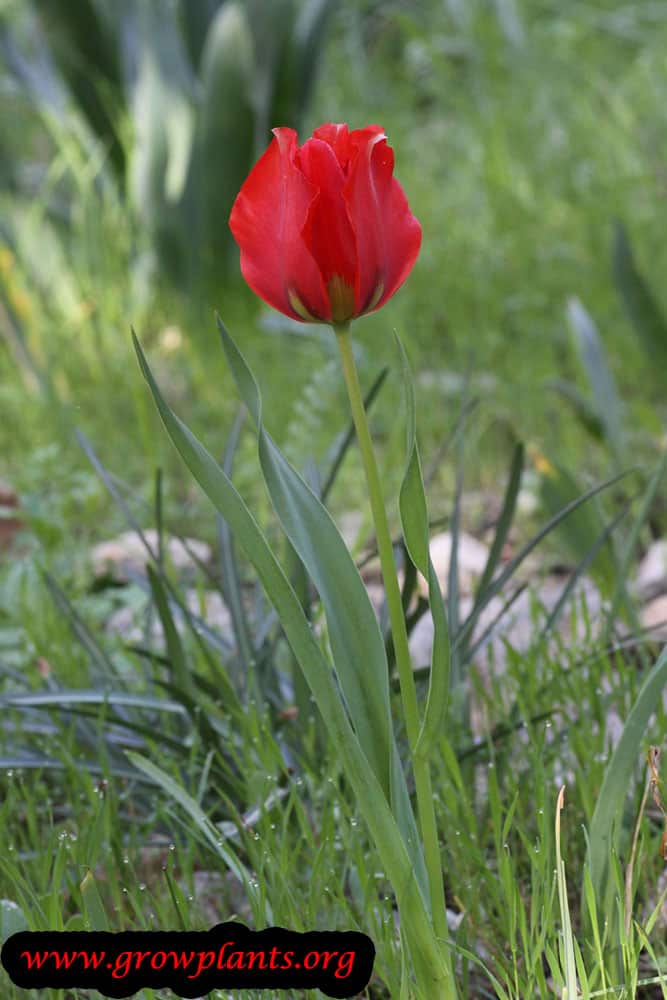
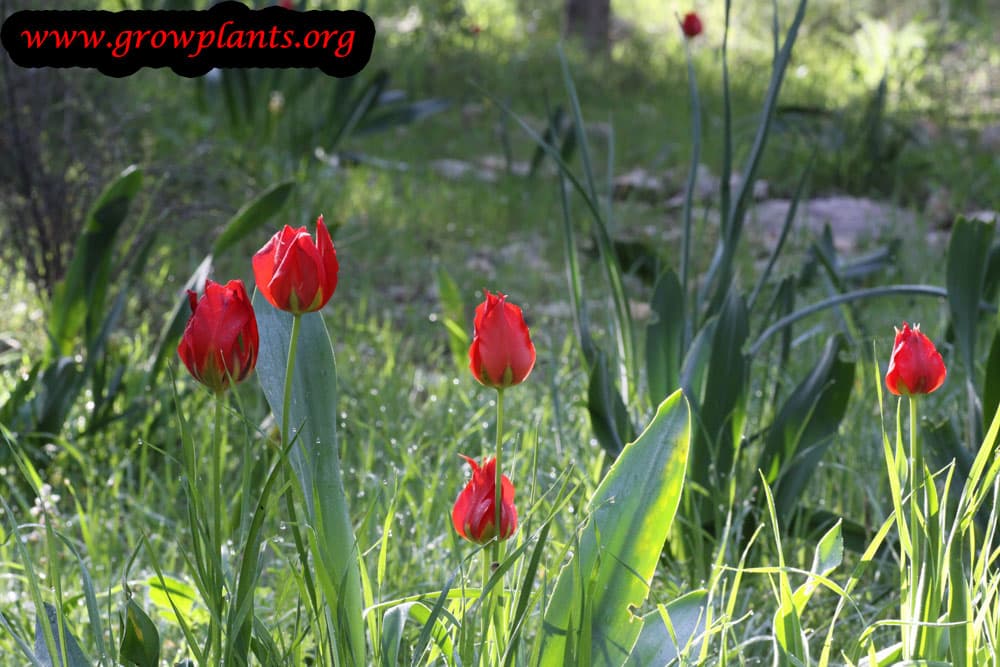
- Height & Spread: Upright stems 10–30 cm tall from a single bulb; grows well in planters and containers.
- Growth Habit & Form: Upright, single-stemmed bulb with basal leaves; needs a dry summer dormancy and cold winter.
- Lifespan & Maturity: Perennial bulb; increases by offset bulbs and is best lifted and stored dry over summer.
Anatomy & Physical Features
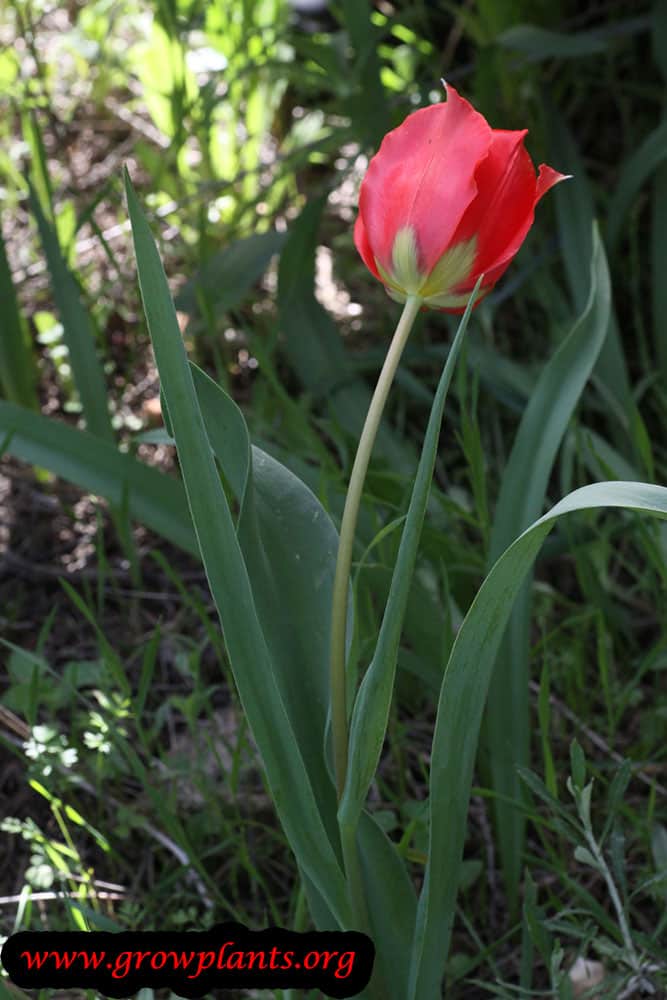
- Leaves & Foliage: Green, lance-shaped leaves rising from the bulb.
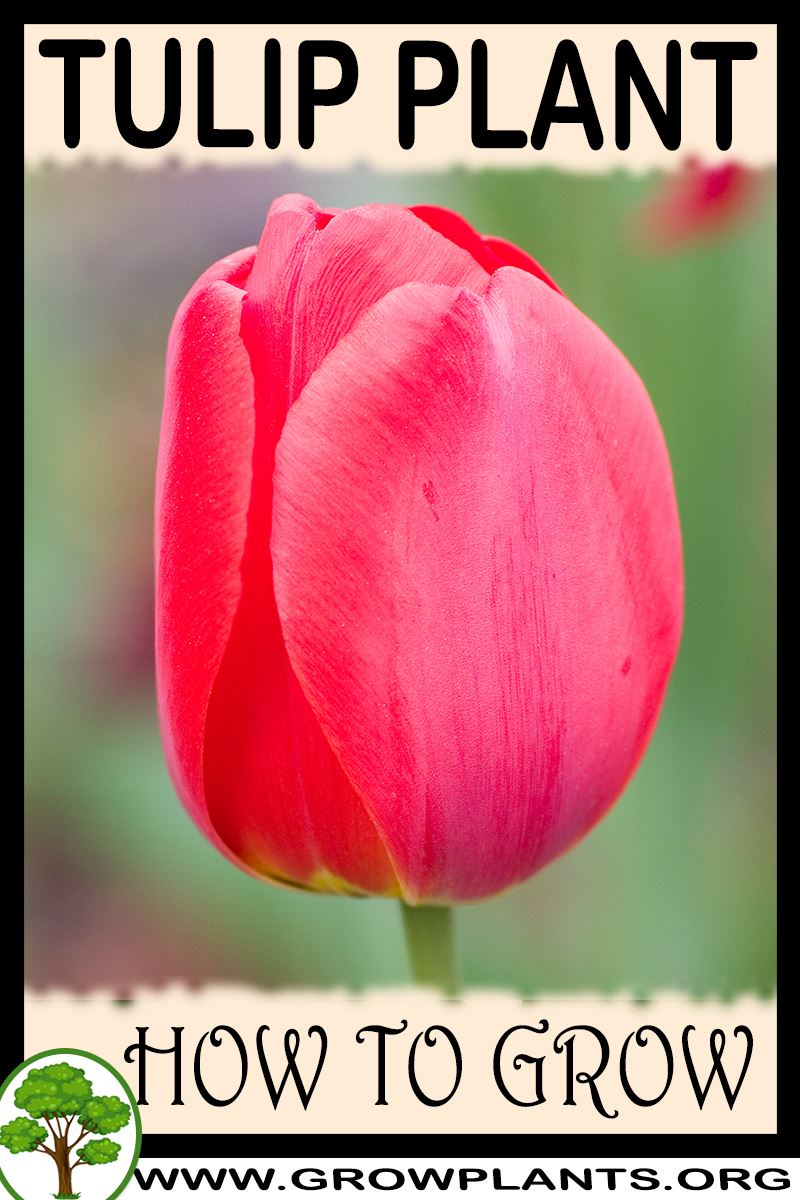
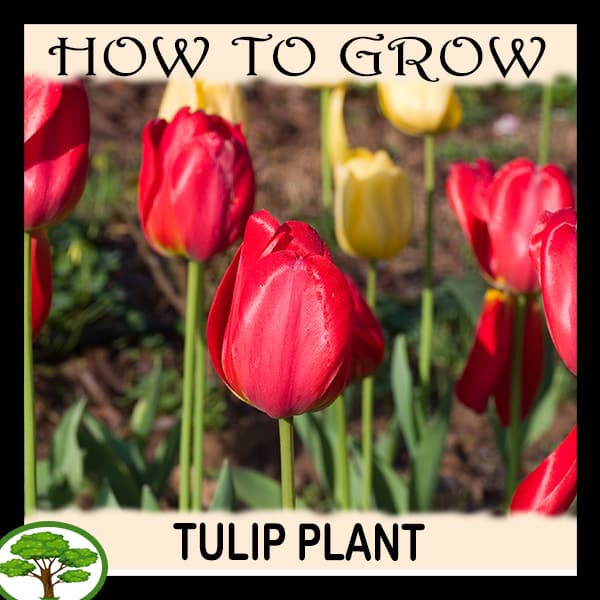
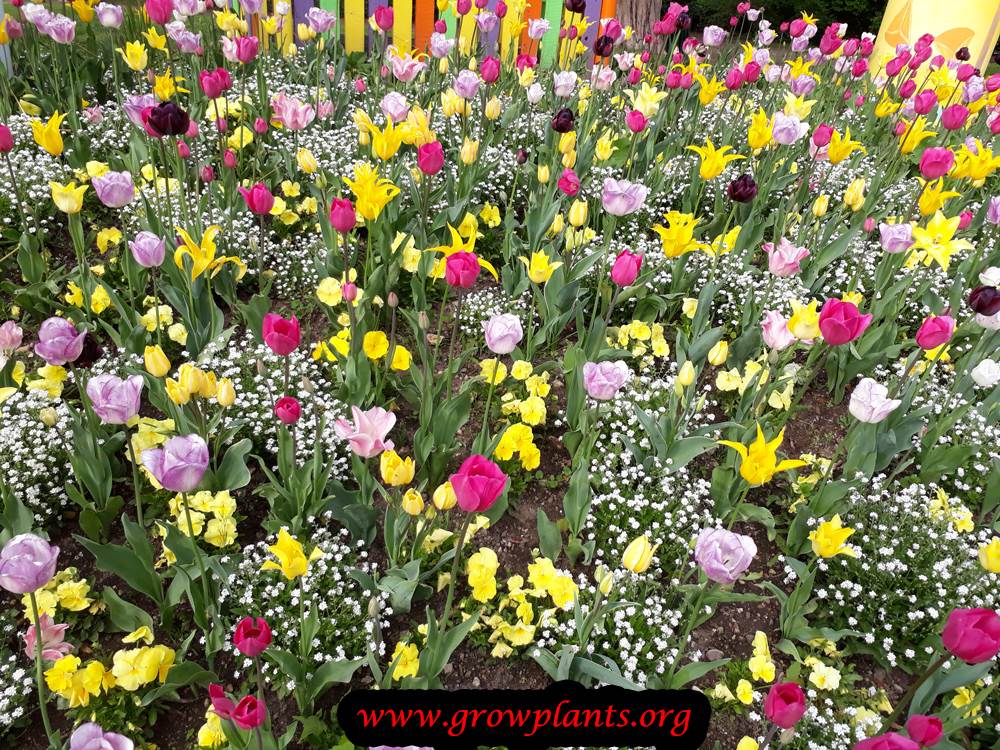
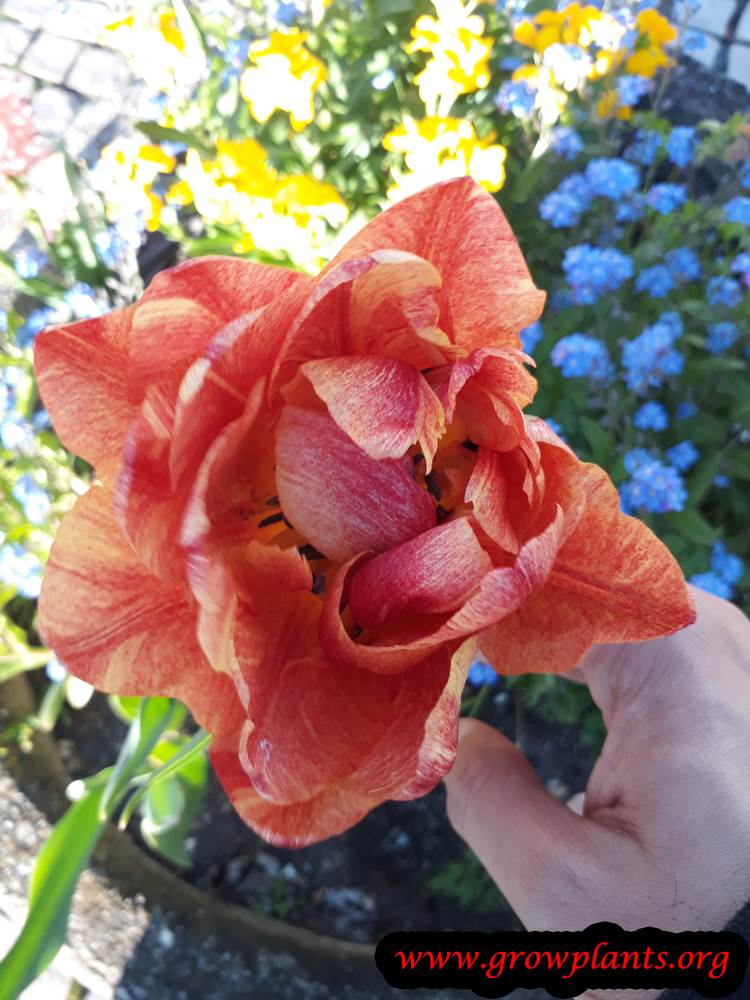
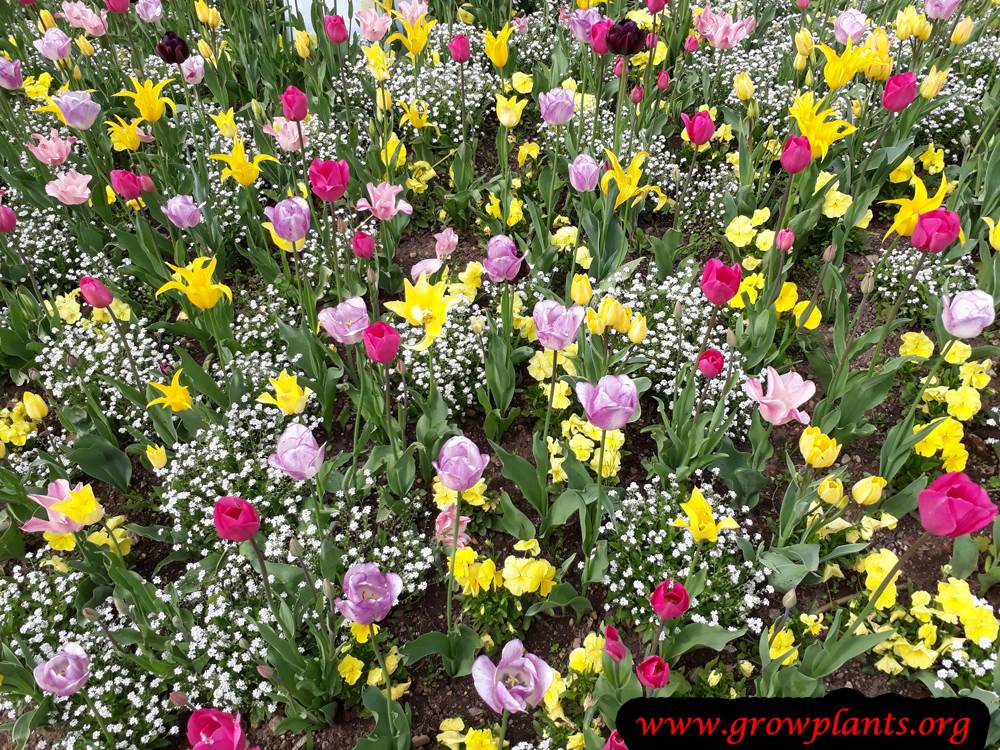
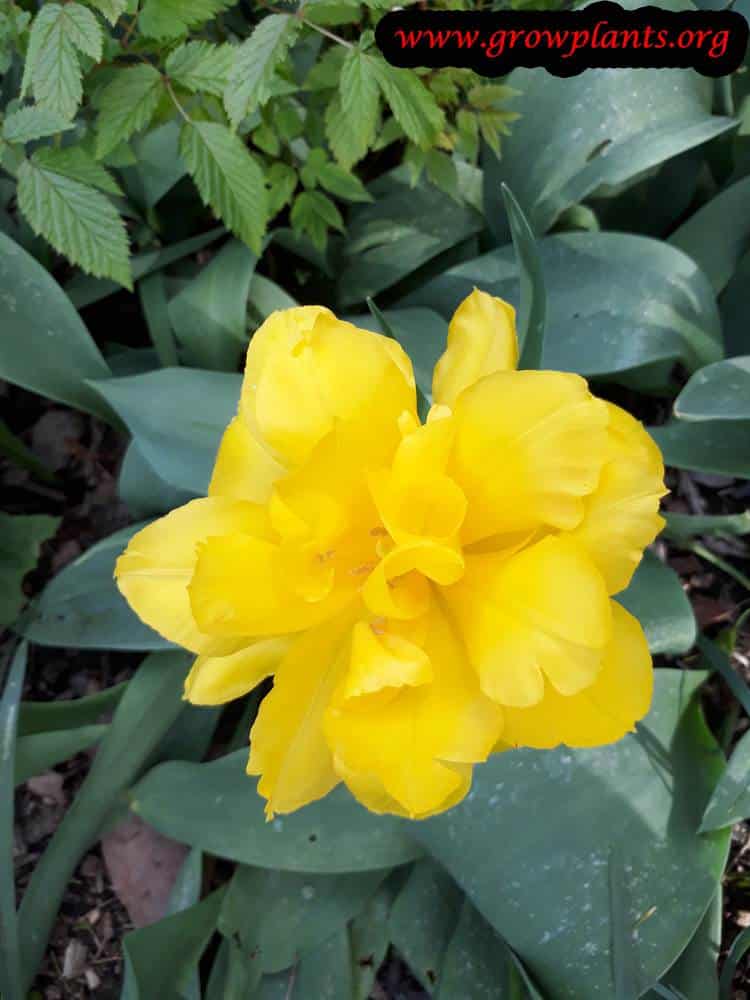
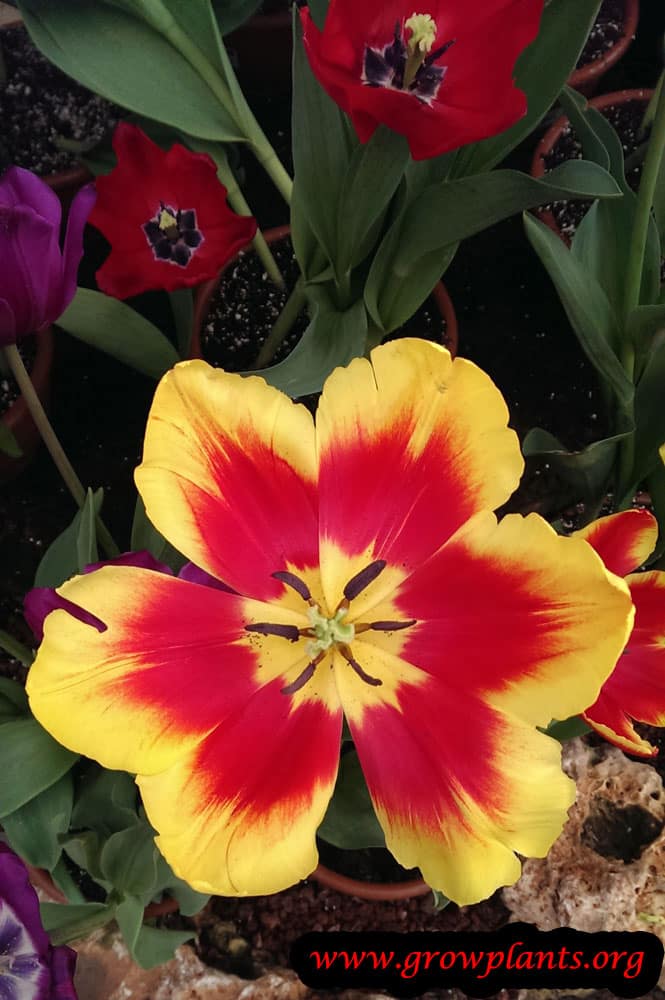
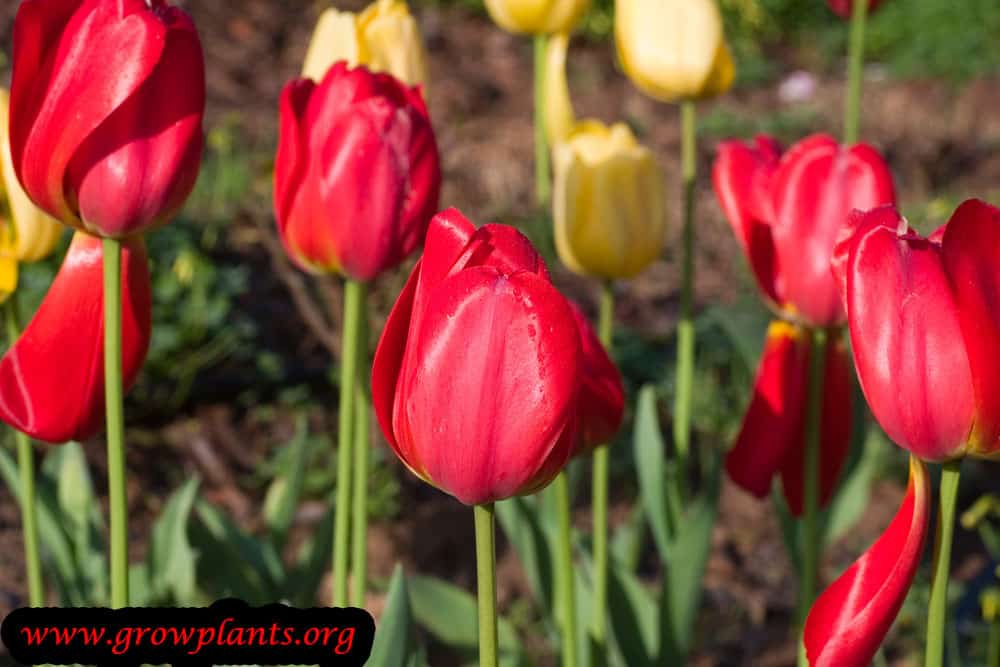
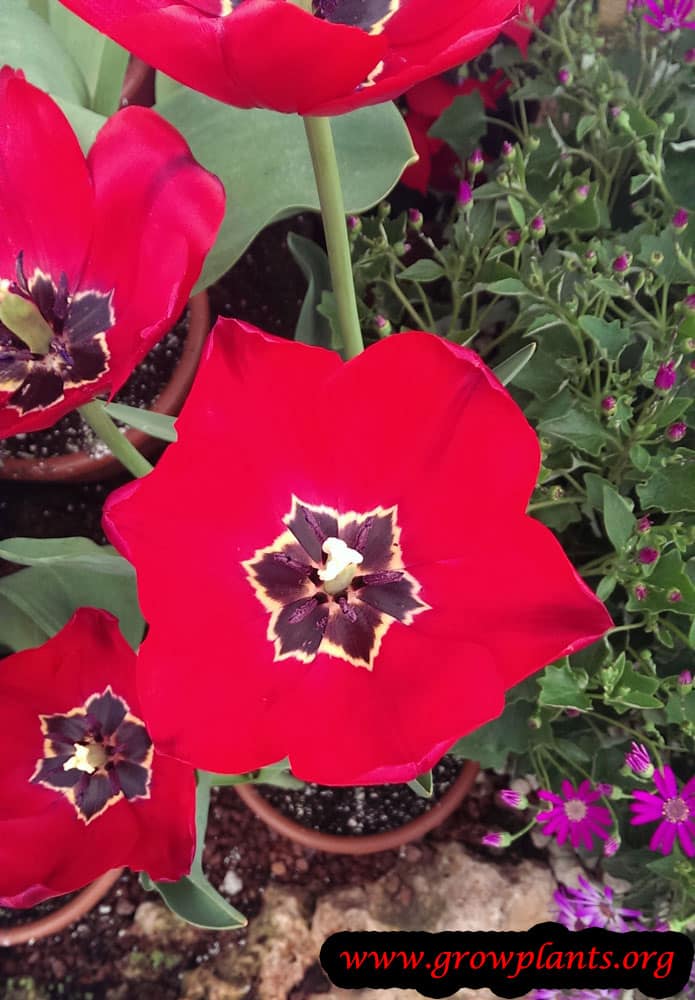
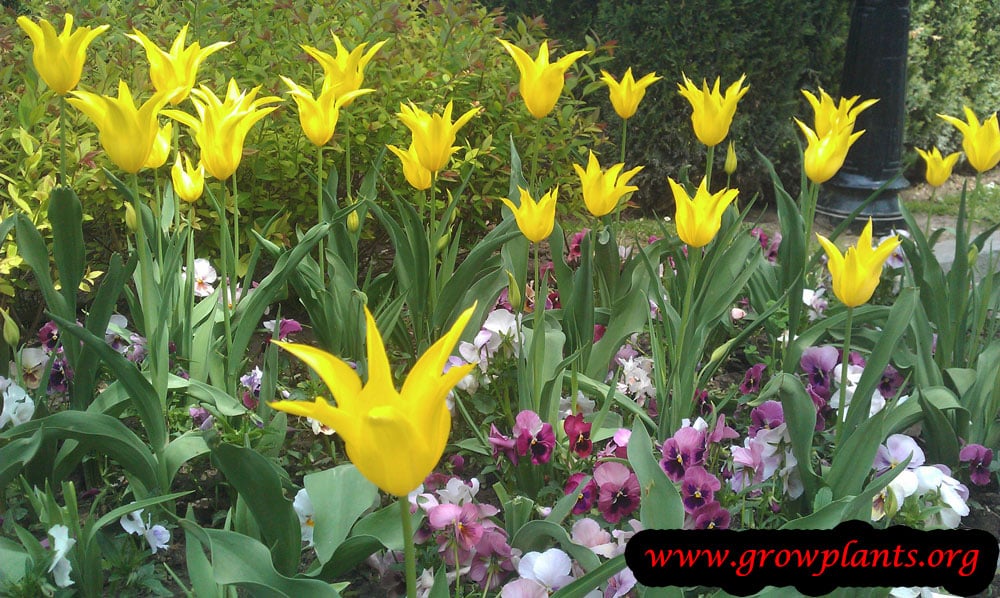
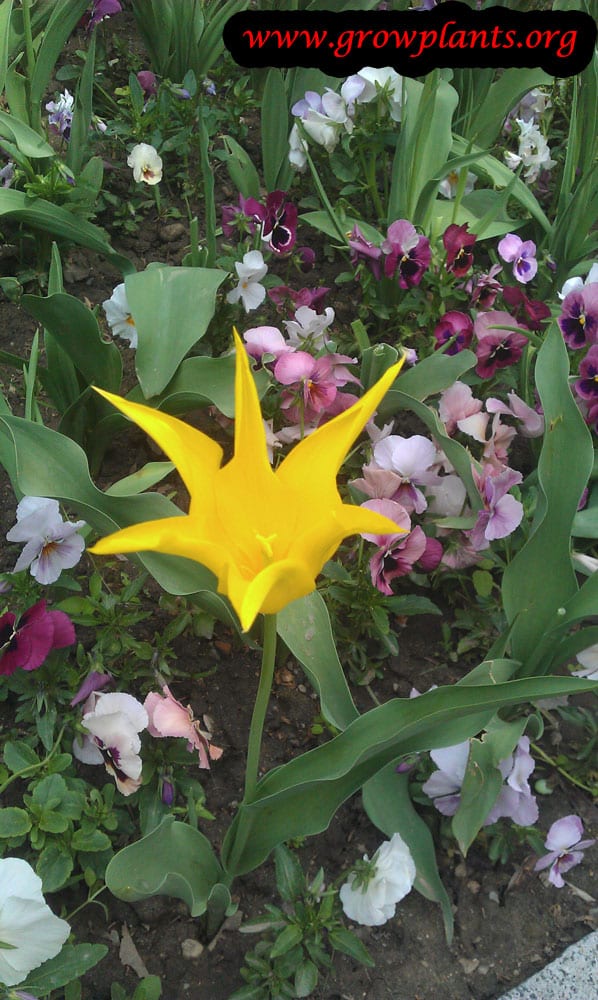
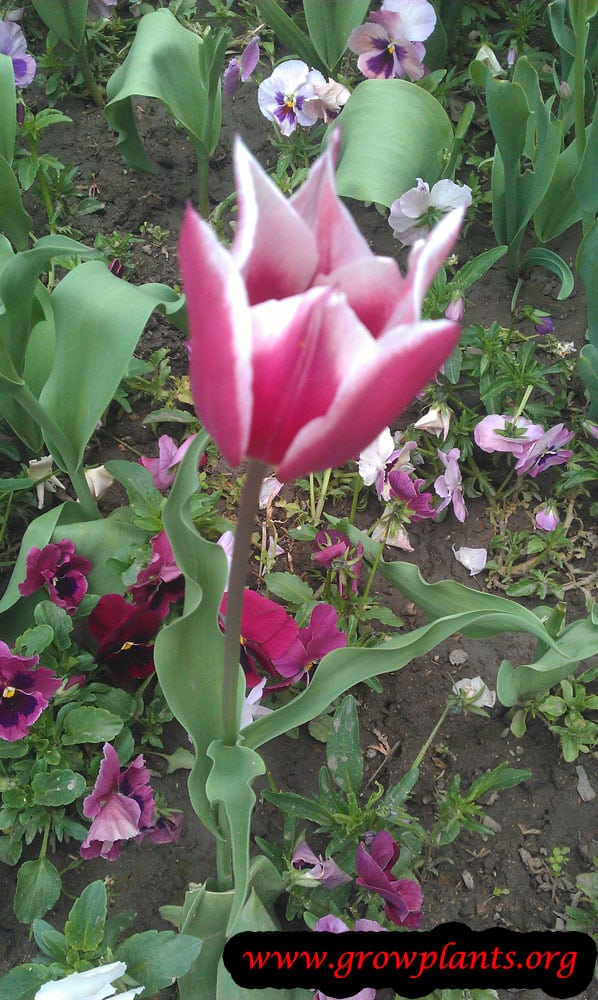
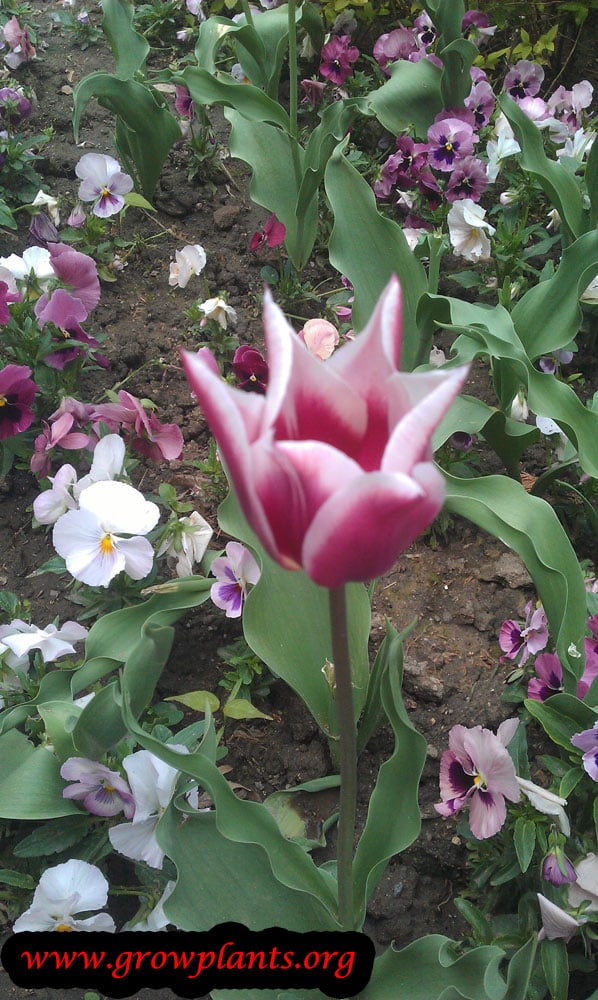
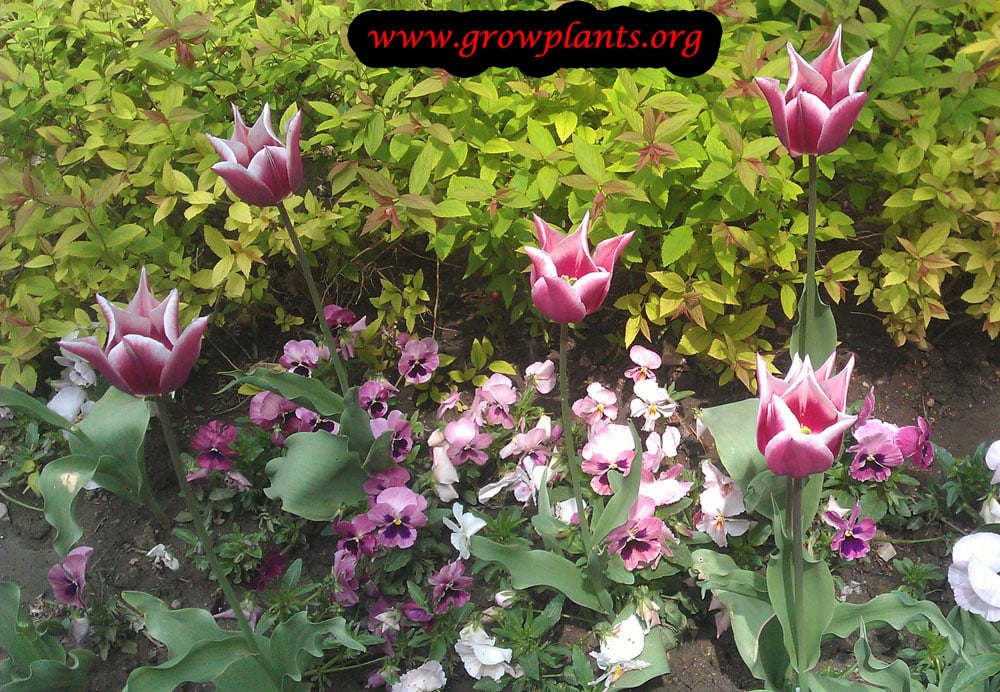
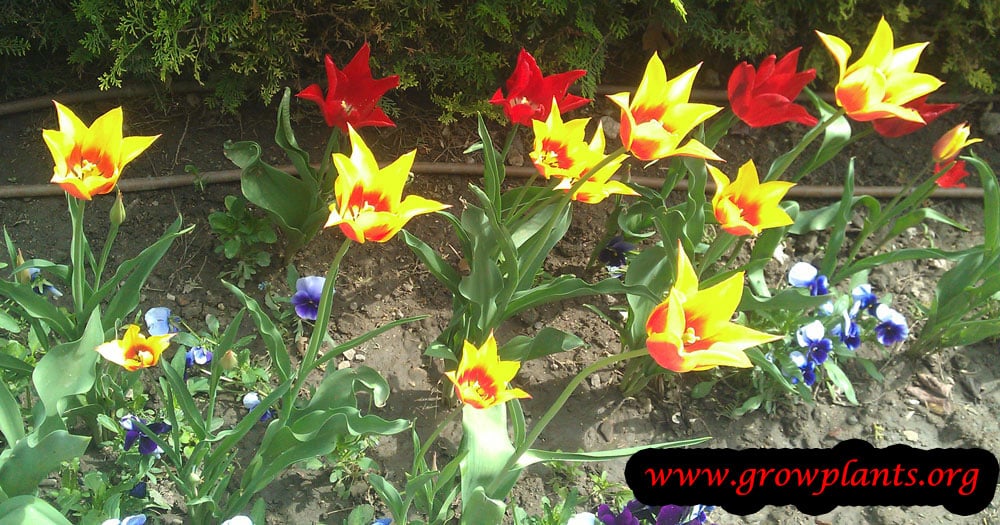
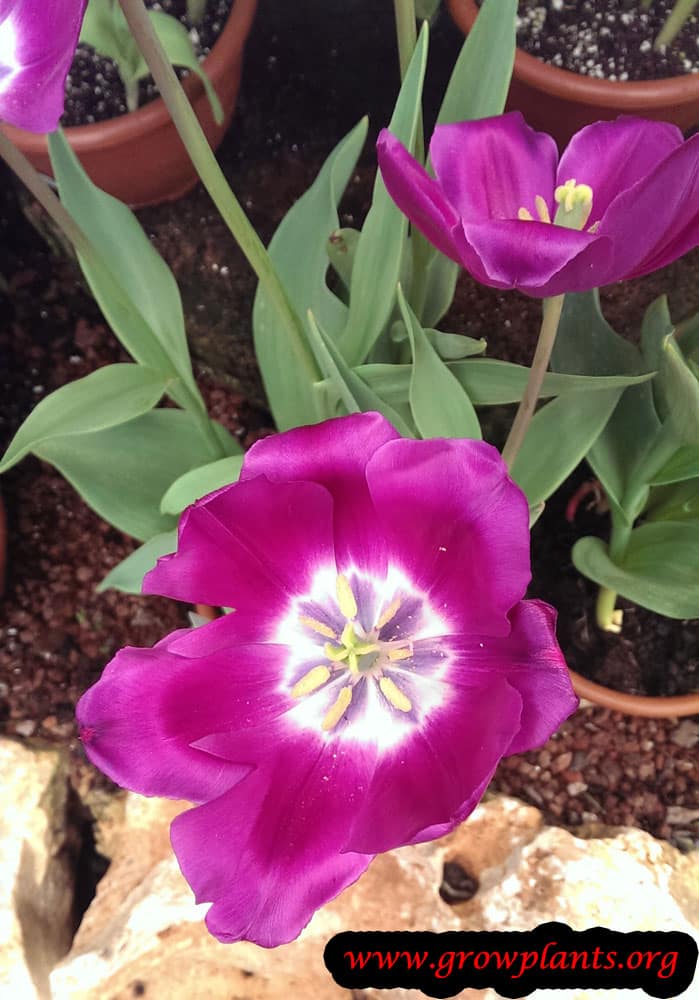
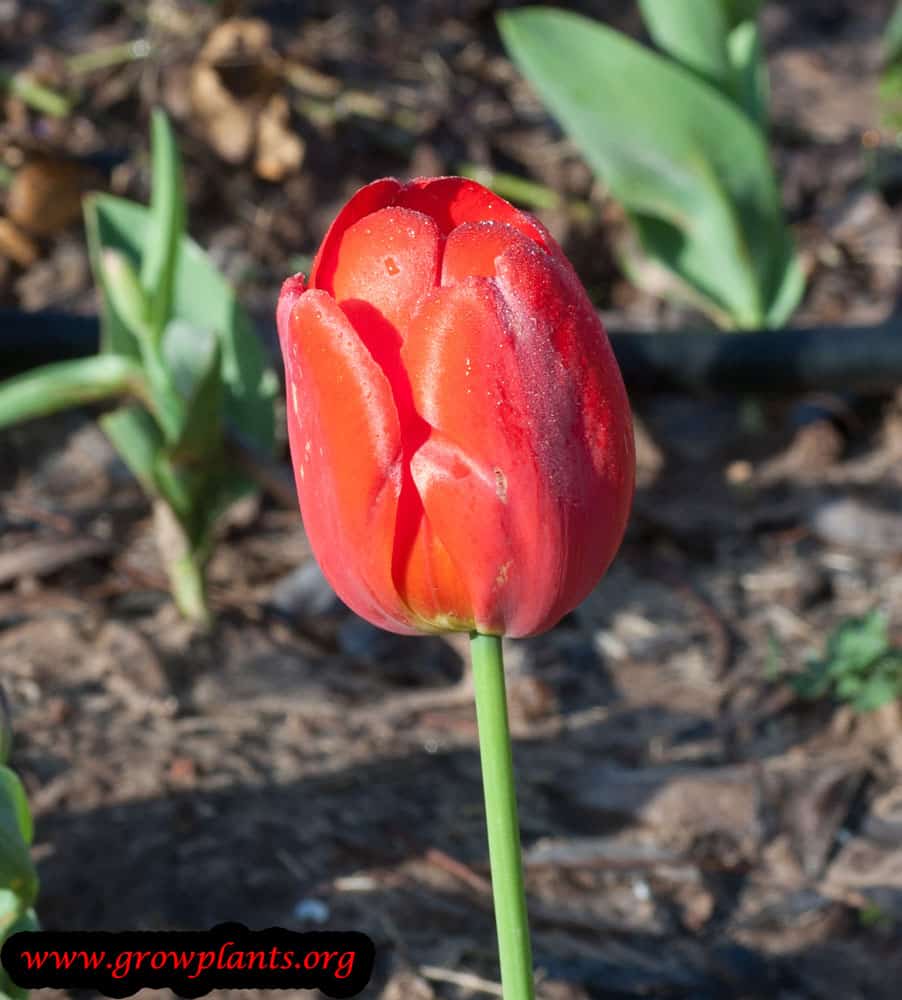
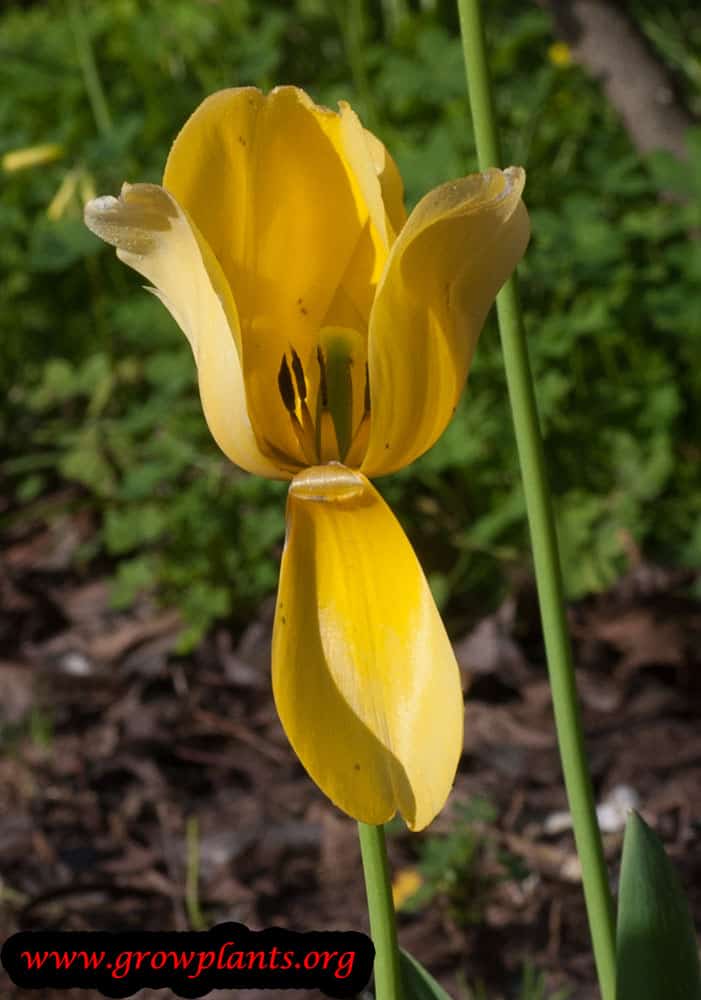
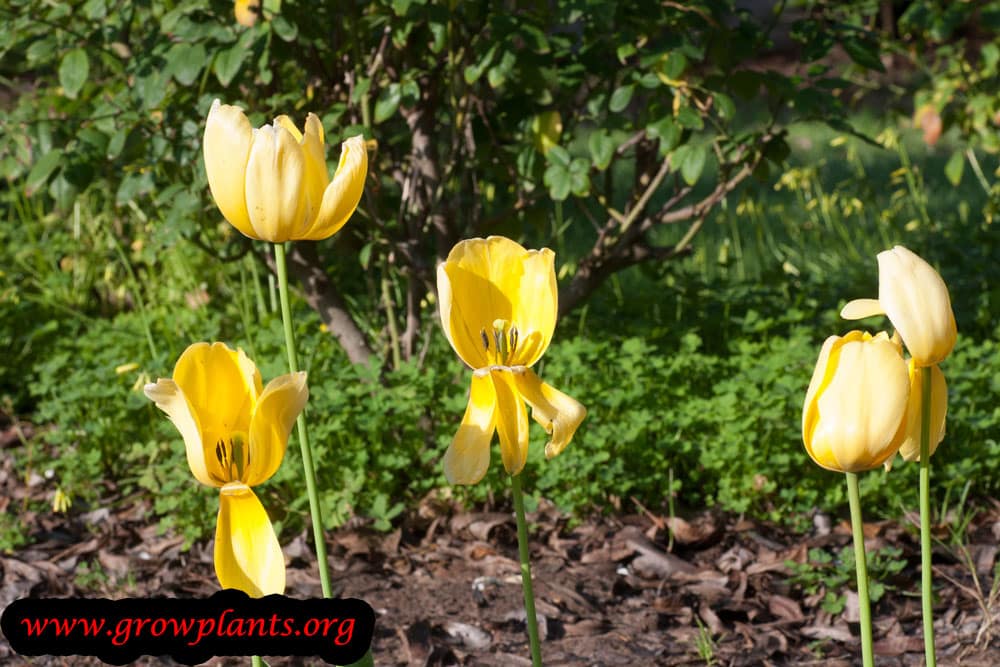
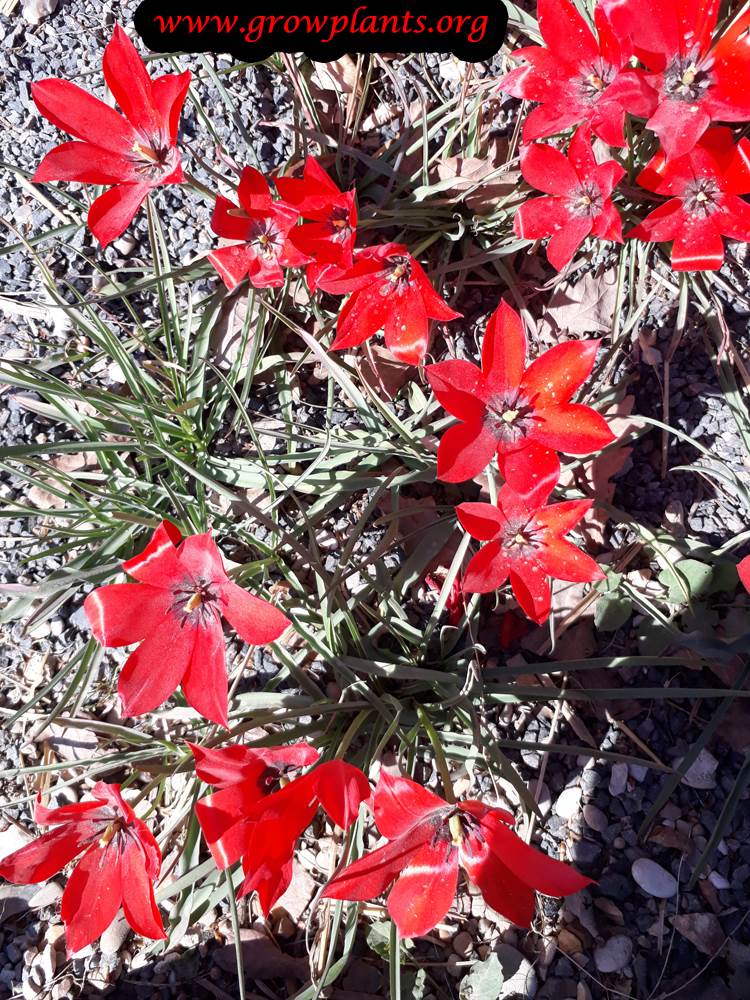
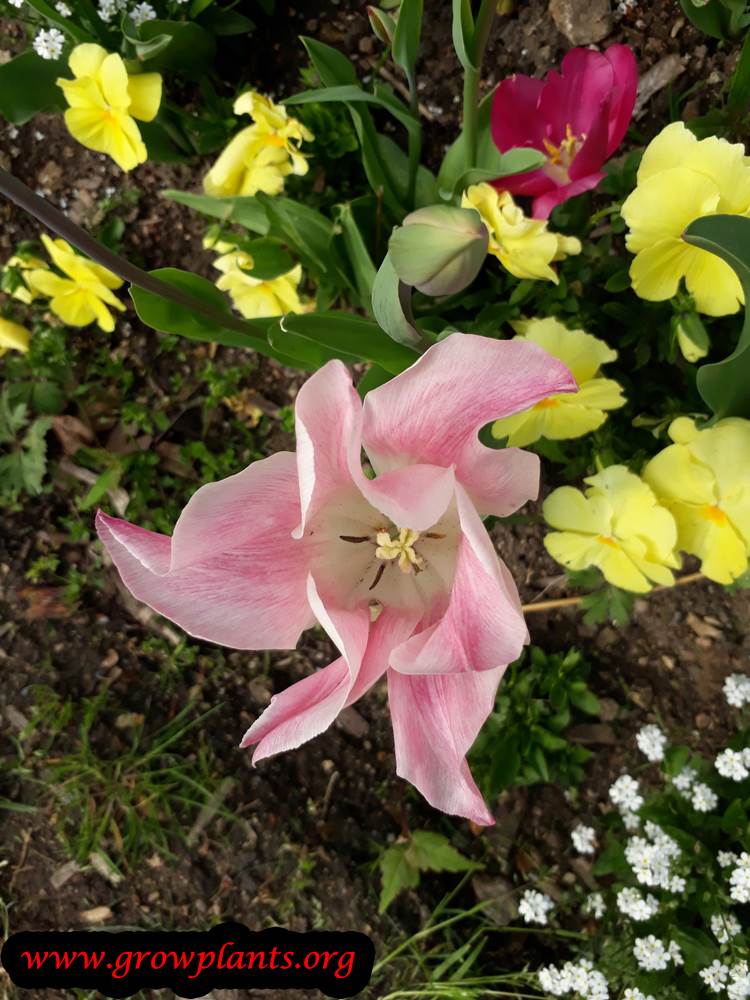
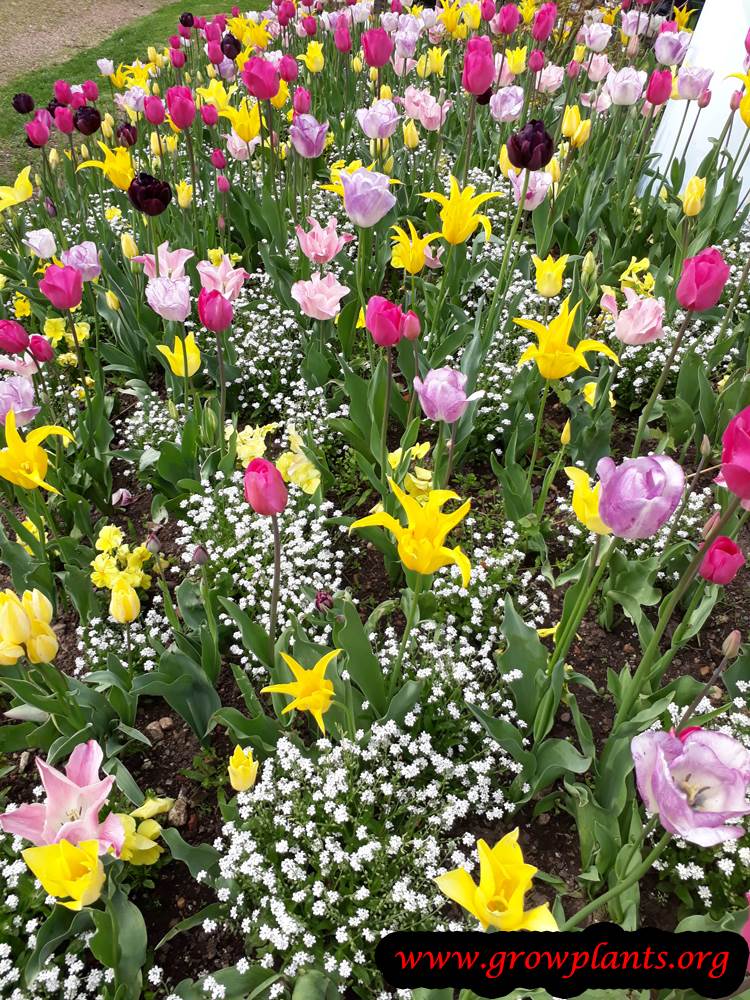
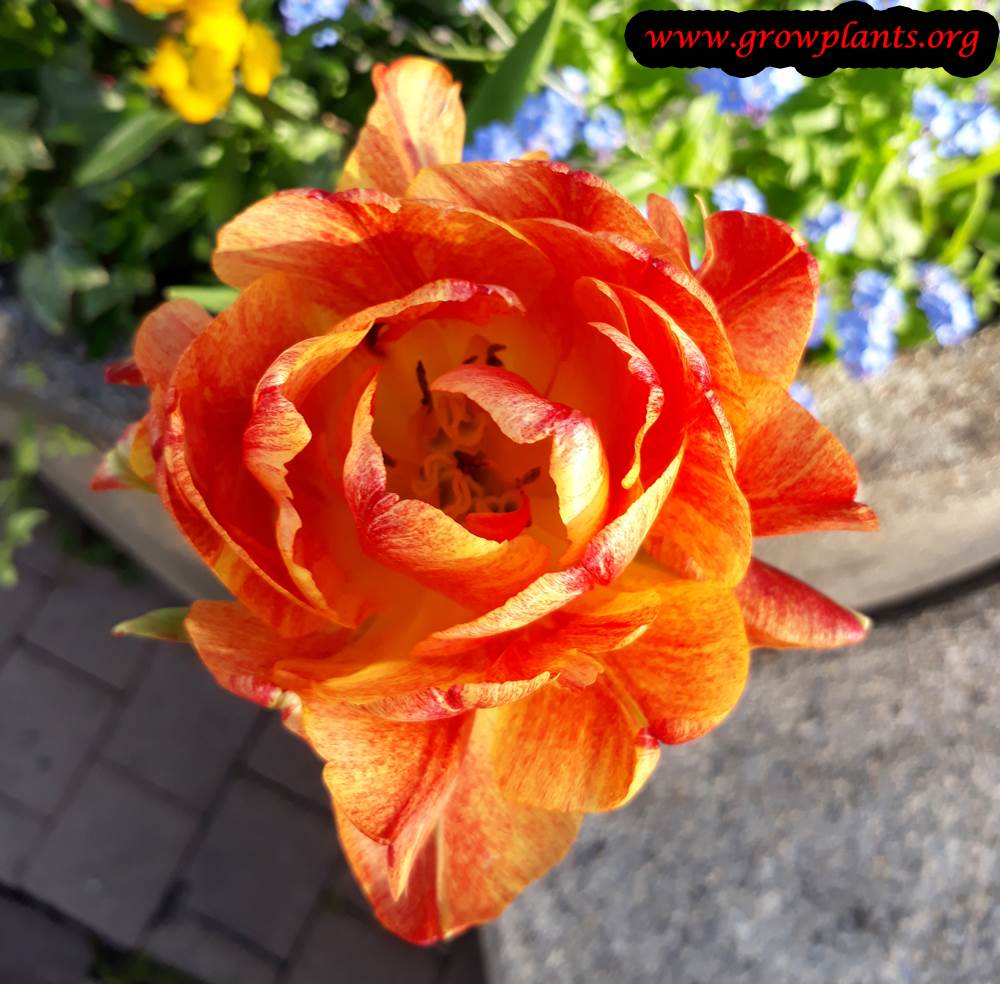
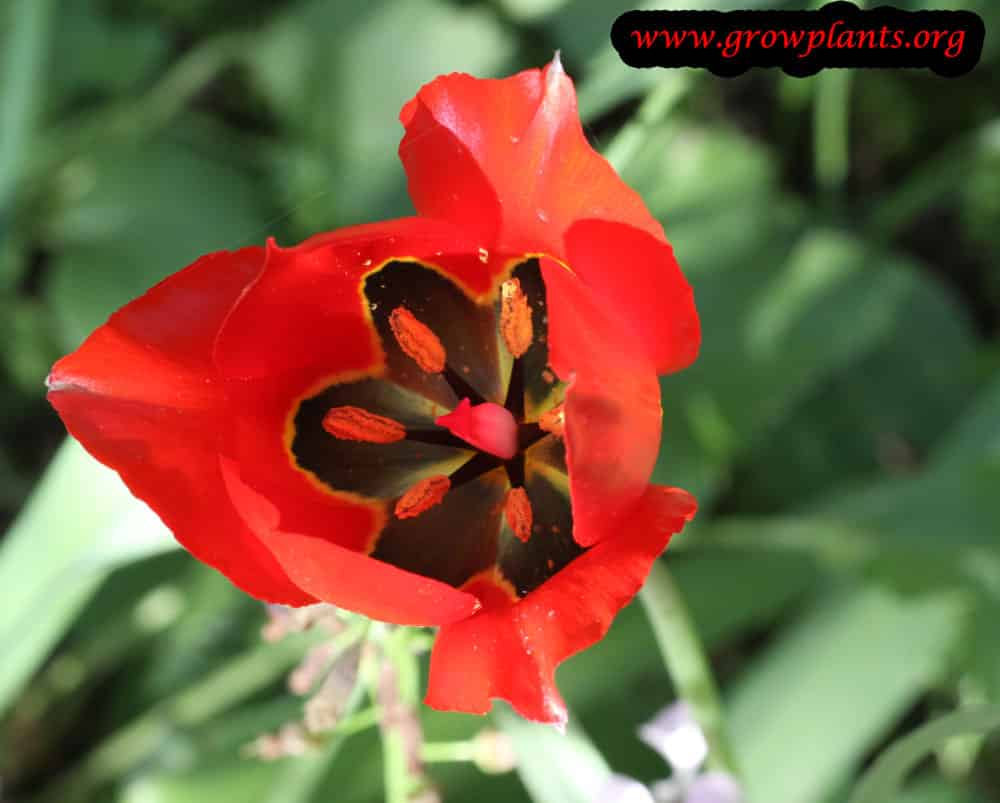
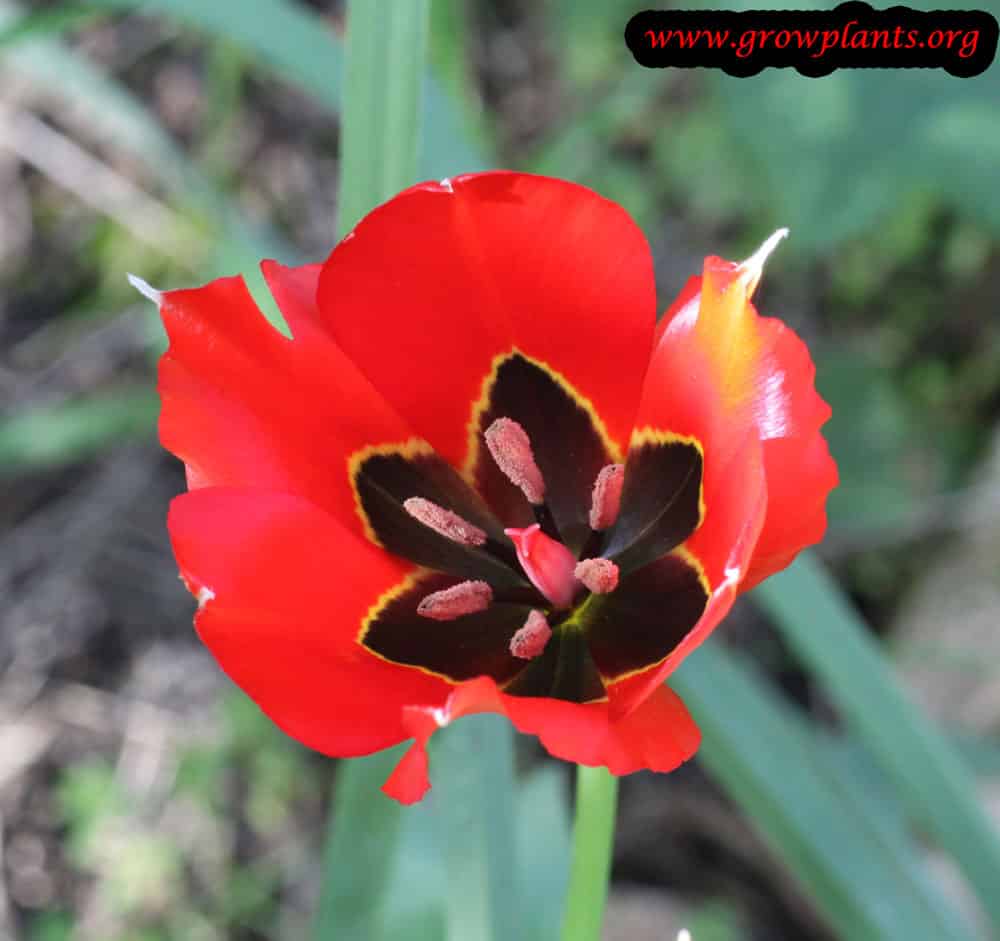
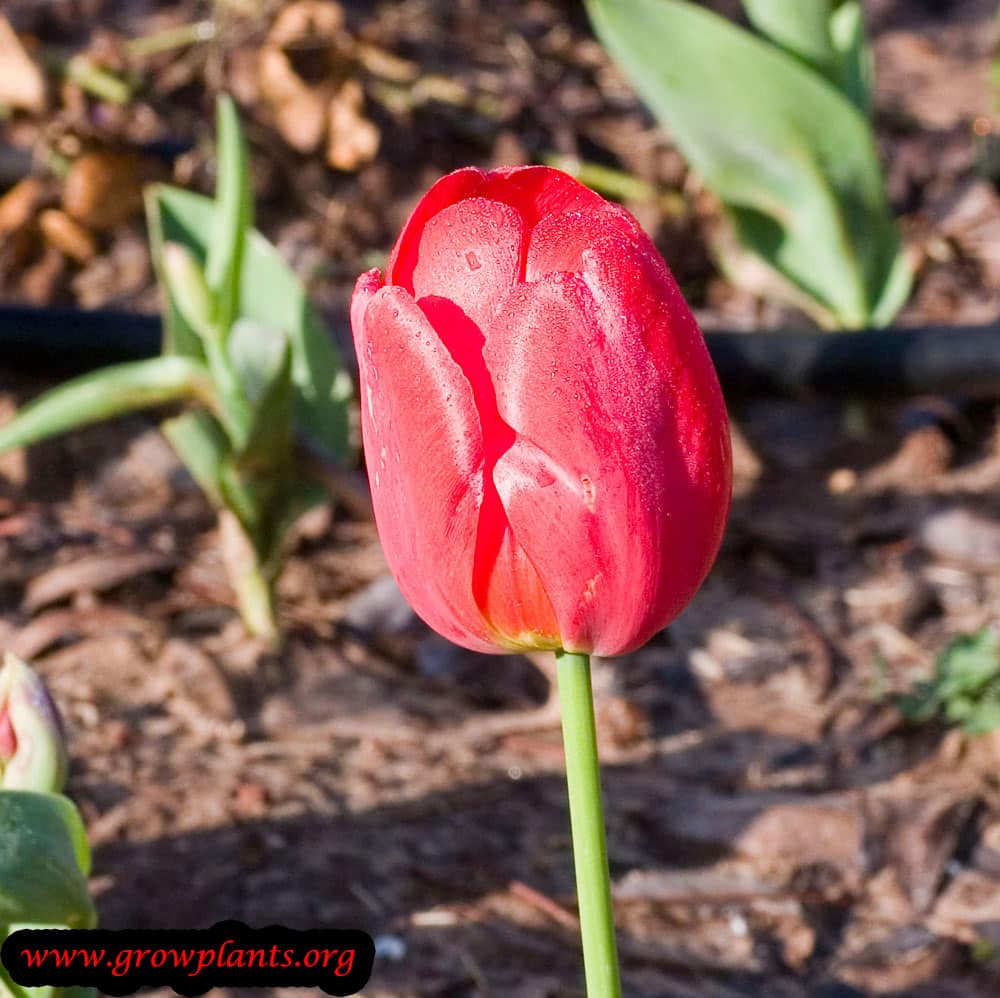
- Flower Characteristics: Flowers in red, pink, black, purple, orange, white, yellow or multicolour, opening from a drop-shaped bud (full detail in the Bloom accordion).
Primary Uses & Landscape Value
- Functional & Ornamental Roles: Ornamental spring bedding, border and container bulb, and cut flower.
Care Guide: Planting, Soil & Watering
Overview: The tulip is a hardy autumn-planted bulb that needs a cold winter to trigger its spring bloom and sharp drainage year-round. It grows best in sandy, free-draining soil in full sun to light shade, staying dry through its summer dormancy.
Quick Care Requirements
| Requirement | Ideal Condition |
|---|---|
| Planting Season | Autumn |
| Growth Rate | Moderate |
| Soil Type | Sandy, well-draining |
| Water Need | Low to Moderate; moist in growth, dry in summer dormancy |
Planting & Establishment
- Best Planting Season: Plant the bulbs in autumn so they receive their winter chilling; in the coldest zones (3-11) plant in spring instead. Where winters are mild, pre-chill the bulbs in a fridge above 5 C before planting.
- How to Plant:
- Hole Preparation: Dig a hole about two to three times the height of the bulb, in soil that drains freely.
- Soil Amendments: On heavy ground, mix in sand or grit so the bulb never sits in wet soil.
- Planting Depth: Set the bulb pointed-end up, roughly two to three times its own height deep.
- Growth Speed & Expectations: A moderate grower reaching about 10-30 cm (4-12 in), with foliage emerging first and flowers following in spring.
Soil, Watering & Drainage Care
- Soil Mix & Drainage Needs: Keep it in sandy, free-draining soil and avoid wet ground, which rots the bulb; container growing works well with a gritty mix and open drainage.
- Watering Schedule & Technique:
- Young / Newly Planted: Water in after autumn planting to settle the soil, then let winter rain do the work.
- Established: Keep lightly moist during active growth and flowering, never waterlogged.
- Seasonal Adjustments: Withhold water through the summer dormancy; the bulb can be lifted and stored dry, and given a cold spell before replanting.
Climate, Light & Hardiness
Tulips are cold-climate bulbs that need a distinct chilly winter dormancy followed by a dry, warm summer rest; they perform best in full sun to light shade. Cold hardiness is excellent while the bulb is dormant, but emerging foliage and open flowers are more vulnerable to hard late frosts.
Quick Climate Specifications
| Climate Zones | Mediterranean, subtropical, temperate |
| USDA Hardiness Zones | 3–11 (dormant bulb; in mild-winter zones bulbs are typically pre-chilled) |
| Optimal Temp Range | Cool, approximately 7–18°C (45–64°F) during active growth and bloom |
| Frost Tolerance | High (dormant bulb) / Moderate (emerging shoots and open flowers) |
| Light Conditions | Full Sun / Half Shade |
| Wind Tolerance | Moderate |
Sunlight & Light Exposure
Optimal Light Setup
Full sun gives the strongest stems and best flower color; half shade is tolerated, especially toward the warmer end of the range.
Direct Sun Requirement
More direct sun generally produces more abundant flowering.
Temperature Extremes & Hardiness
USDA Hardiness & Regional Limits
The wide zone 3–11 range reflects the bulb's dormant-season cold tolerance rather than active-growth conditions. In warm-winter areas (roughly zone 8 and up) tulips do not reliably experience enough natural winter chill, so bulbs are commonly refrigerated near 5°C (41°F) for several weeks before planting, or the bulbs are treated as single-season plantings.
Cold Damage & Winter Protection
A hard, late frost after shoots emerge can damage foliage and buds; a protective mulch layer helps buffer freeze-thaw swings in colder zones.
Frost Sensitivity
Dormant bulbs are very frost-tolerant; actively growing shoots and open flowers are frost-sensitive.
Extreme Heat Tolerance
Tulips dislike prolonged heat during active growth, which shortens bloom life, though the dry summer dormancy period itself is meant to be warm.
Chilling Requirement
Tulips need a cold dormancy period to flower reliably the following year. In mild-winter climates, growers commonly refrigerate bulbs near 5°C (41°F) before planting to substitute for natural winter chill.
Wind, Humidity & Microclimate
Dry-Air Tolerance
A dry atmosphere during the summer dormancy period is beneficial - it mimics the bulb's natural rest.
Wind Tolerance
Moderate; taller-stemmed cultivars can benefit from a sheltered spot.
Rainfall & Seasonal Moisture
Tulips need a distinctly dry summer rest and are prone to bulb rot where summers are wet and soil stays moist; autumn-to-spring moisture supports rooting and growth.
Microclimate Recommendations
Well-drained, sandy soil (or raised beds/containers in summer-rainfall climates) helps keep the dormant bulb dry and reduces rot risk.
Growing in Pots, Balconies & Indoors
Tulips are not everyday houseplants, but as short, spring bulbs they are among the easiest to force in pots – after a cold chill they will bloom on a bright, cool windowsill, and they grow well in containers for a patio or balcony. The grower confirms they are grown in pots but not as a permanent indoor plant.
Quick Details
- Container Size: A shallow, wide pot of about 2-5 L (0.5-1.3 gal); plant the bulbs close together, almost shoulder to shoulder
- Indoor Suitability: Not a lasting houseplant, but easy to force for a temporary bloom on a bright, cool sill
- Best Spot: Full sun to half shade; cool conditions keep the flowers standing longer
- Soil & Drainage: Free-draining mix; moist in growth, then allowed to dry as leaves fade
- Watering in Pots: Water moderately in growth; keep the dormant bulbs dry
Indoors & On the Windowsill
- Houseplant limits: The grower marks them as not indoor plants – in a warm room they stretch and flop and won’t rebloom.
- Windowsill / forcing: Treat them as forced pot bulbs: chill first, then bring the pot to a bright, cool sill for the display; keeping it cool makes the flowers last.
- Overwintering: These hardy bulbs need a cold dormant period to flower; give potted bulbs that chill, then move them into light and gentle warmth.
- Safety: Tulip bulbs are toxic to cats and dogs – keep pots and stored bulbs out of their reach.
On a Balcony or Patio
- Light & wind: A sunny, sheltered balcony is ideal for spring pots; reflected heat and wind dry containers fast, so keep the mix just moist while growing.
- Practicalities: Allow for the weight of a filled pot and for drainage runoff onto the balcony below – stand pots on feet or a tray you can empty.
Choosing the Pot, Soil & Long-Term Care
- Pot & drainage: A wide 2-5 L pot with strong drainage; no standing saucer. Use strong drainage holes and skip a standing water saucer, which invites root rot; terracotta breathes and dries fast, while glazed or plastic pots hold moisture longer.
- Potting mix: A light, aerated mix – potting compost, or peat/coir with added perlite or vermiculite for drainage.
- Feeding: A light feed as leaves grow supports the bulb; let the foliage die down naturally afterwards.
- Repotting: Lift and store the bulbs dry once foliage fades, replanting into fresh mix for the next season; many gardeners treat forced tulips as one-season.
Fertilizing & Feeding
A light feeder: a balanced fertilizer during active leaf growth is enough to support the bloom and help the bulb recharge, then feeding stops as the foliage yellows and the bulb goes dormant.
Quick Fertilizing Specs
| Feeding Level | Light feeder |
|---|---|
| Main Nutrient Priority | Balanced feeding to support leaf growth and bloom color |
| Best Feeding Period | From emergence through active leaf growth and bloom |
| Organic Options | Compost worked into well-drained, sandy soil at planting |
| Reduce/Stop Feeding | Stop feeding once bloom finishes and the foliage begins to yellow |
| Micronutrients | A balanced bulb fertilizer covers routine trace needs for most plantings |
| Soil pH | Near neutral, well-drained sandy soil |
Feeding by Growth Stage
Active leaf growth through bloom
Support healthy leaf growth and full, well-colored blooms.
| Nutrient direction | A balanced complete fertilizer, kept light, worked into well-drained soil. |
|---|---|
| Timing | From emergence through active leaf growth and flowering. |
| Frequency | Light feeding during active growth. |
| Fertilizer types | A balanced complete fertilizer, Compost worked into well-drained soil |
| Precautions | Keep feeding light; well-drained, sandy soil matters as much as fertilizer for healthy bulbs. |
Post-bloom and dormancy
Let the bulb finish storing energy for next year and go dormant without pushing new growth.
| Nutrient direction | None – withhold fertilizer as the foliage yellows and dies back. |
|---|---|
| Timing | After flowering finishes, as leaves yellow and the plant prepares for its dry summer rest. |
| Frequency | No feeding at this stage. |
| Fertilizer types | No feeding at this stage; do not fertilize a bulb that is going dormant. |
| Precautions | Do not fertilize once foliage yellows; let the bulb dry down and rest naturally. |
Nutrient Deficiency Signs & Corrections
Leaves fade to pale green and overall growth looks weak and thin.
| Possible causes | low available soil nitrogen, poor, sandy soil low in organic matter, nitrogen leaching from watering |
|---|---|
| Appears first on | older leaves |
| What to check | recent feeding history, soil organic matter, overall leaf color |
| Possible correction | Apply a balanced fertilizer and work compost into the planting area. |
Young leaves show yellowing between the veins while the veins stay green.
| Possible causes | high soil alkalinity limiting iron availability, waterlogged or poorly drained soil, naturally low iron in sandy soils |
|---|---|
| Appears first on | new, young leaves |
| What to check | soil pH and alkalinity, drainage of the planting site, whether new leaves are affected first |
| Possible correction | Improve drainage and correct soil alkalinity; apply a chelated iron product only if needed. |
Leaf tips brown or scorch and growth stalls despite regular watering.
| Possible causes | fertilizer salt buildup in the soil or container, under-watering that concentrates salts, excessive or too-frequent feeding |
|---|---|
| Appears first on | leaf tips and margins |
| What to check | recent fertilizer amounts, watering consistency, drainage of the planting site |
| Possible correction | Ease off feeding and water thoroughly to flush salts, then resume only light feeding. |
Pruning, Training & Seasonal Maintenance
Tulip is a bulb geophyte, not a woody plant, so there is no branch or structural pruning here at all – the entire task is managing the foliage life cycle around a single autumn-planted bulb. The leaves must be left to photosynthesize and die back completely on their own after flowering, since this is what recharges the bulb for next year, and the spent flower stem is the only thing worth cutting off promptly. That makes the safe window very specific: deadhead right after the petals fade in late winter–spring, then wait for the leaves to yellow and collapse on their own before removing them, which lines up with the plant’s own recorded pruning window of summer.
Quick Pruning & Maintenance Specs
| Pruning Tolerance | N/A as structural pruning – foliage must be left intact until it dies back naturally |
| Primary Pruning Window | Immediately after bloom (late winter–spring) – deadhead the spent flower stem only |
| Secondary Maintenance Window | Summer, once foliage has fully yellowed – remove all the old leaves |
| Typical Frequency | Twice per bloom cycle (deadhead, then clear dead foliage) |
| Main Objective | Conserve the bulb’s stored energy for next year’s bloom; tidy the bed once foliage is spent |
| Young Plant Priority | Newly planted bulbs (autumn) – no cutting of any kind until after the first bloom |
| Mature Plant Priority | Established clumps – deadhead, let foliage die back fully, then clear it and consider lifting/dividing crowded bulbs |
| Best Tool Type | Fingertips or precision snips |
| Avoid Heavy Pruning During | Any time the leaves are still green – cutting green foliage starves the bulb |
Pruning by Plant Age & Size
Newly Established
A newly planted (autumn) or first-season bulb needs no cutting at all – let it flower and build leaf mass undisturbed.
Young / Formative
There is no formative training for a bulb – the only “shaping” decision is whether to deadhead the flower stem, worth doing every year to stop the plant diverting energy into seed production.
Mature / Established
Established clumps get the same annual cycle – deadhead after bloom, leave the leaves fully in place through spring into summer, then clear them once collapsed. Every few years, lifting and dividing an overcrowded clump once foliage is gone is the closest thing this plant has to a rejuvenation cut.
Seasonal Pruning Schedule
Post-Flowering (late winter–spring): cut the spent flower stem back to where it emerges from the foliage. Do not touch the leaves. This stops seed formation from draining the bulb, with no effect on the leaves’ ability to recharge it.
Foliage Die-Back (summer): once every leaf has yellowed and gone limp on its own, remove all the leaves at the base, matching the plant’s own recorded pruning window. Removing leaves any earlier, while still green, cuts off the photosynthesis the bulb needs to flower again next year.
Special Growth to Remove
The spent flower stem after bloom, and the fully dead, yellowed leaves once they have collapsed – nothing else. There are no suckers, watersprouts or side shoots on a bulb.
Container & Small-Space Pruning
In pots, the same rule applies even more strictly because there is no surrounding bed to hide fading foliage in – resist the temptation to clear the pot early for tidiness. Once leaves are fully spent, the bulb itself can be lifted from the container and stored dry over summer rather than left in wet potting mix.
Tools
Fingertips or precision snips are all that is ever needed – for a soft flower stem and collapsed leaves, no larger cutting tool is relevant.
Tool Hygiene & Disease Risk
Routine. No significant tool-borne disease risk on tulip; keep snips clean, and avoid handling foliage that shows slug or snail damage (the plant’s known pest) with the same tool used elsewhere without a quick wipe.
Cut Placement & Technique
Cut the flower stem cleanly just above the topmost leaf. When clearing dead foliage, cut or gently pull the leaves at the base once they detach easily – do not tug on leaves that are still green and attached.
Post-Pruning Care
Cut back watering once foliage is removed and through summer dormancy – the plant’s own care notes call for a dry summer, and wet soil around a leafless bulb risks rot rather than helping it.
Common Pruning Mistakes
- Cutting or braiding/tying down green leaves for tidiness – this is the single most common tulip mistake and directly reduces next year’s flower.
- Removing foliage right after the flower fades instead of waiting for it to die back on its own.
- Deadheading late enough that the plant has already put energy into forming seed pods.
When NOT to Prune
Never remove leaves while they are still green, however untidy they look – this is the one hard rule for tulip. Wait for full yellowing and collapse before cutting.
Recommended Tools (by task)
- precision_snips – deadheading the spent flower stem, and trimming away fully dead leaves once they have collapsed.
Propagation Guide
Tulips are most reliably increased by separating the small bulb offsets that form beside the mother bulb, which keeps the exact flower color and form of a named variety; raising new tulips from seed is possible but slow and mainly used for species tulips or breeding, since hybrid seedlings vary and take years to reach flowering size. Propagation is easy by bulb offsets and difficult (slow) by seed.
Quick Propagation Specs
| Best Propagation Method | Bulb offset division |
| Alternative Methods | Seed (mainly for species tulips or breeding) |
| Propagation Difficulty | Easy (offsets) / Difficult (seed, slow to flowering size) |
| Seed True-to-Type | Variable – named/hybrid tulips do not come true from seed |
| Vegetative True-to-Type | Yes |
| Best Propagation Season | Lift and divide bulbs in summer once foliage dies back; replant offsets in autumn |
| Seed Germination Time | Slow and irregular; seedlings typically need several years to reach flowering size |
| Germination Temperature | Cool, roughly 10–15°C (50–59°F) |
| Seed Sowing Depth | Shallow, just covered |
Growing from Seed
Seed Handling & Viability
Ordinary viability for a dry bulb-flower seed; used mainly for species tulips or breeding rather than maintaining named varieties.
Sowing Season
Autumn, matching the site’s recommended bulb-planting season.
Sowing Depth & Orientation
Sow shallowly, just covering the seed.
Germination Conditions
Cool conditions, roughly 10–15°C (50–59°F); germination can be slow and staggered.
Germination Time
Often slow, sometimes not until the following growing season; seedlings then need several more years in a nursery bed before they reach flowering size.
Seedling Care
Grow seedlings on undisturbed in a nursery bed for a few seasons, lifting and transplanting only once dormant.
Rhizomes, Tubers, Bulbs & Corms
Best done as Bulb Division. Lift bulbs once the foliage has died back in the dry summer period (per the site’s own care notes) and separate the small offset bulbs that form naturally beside the mother bulb. Replant offsets in well-drained, sandy soil in autumn. Larger offsets may flower the following season; smaller ones often need a season or two to bulk up first. In climates without a sufficiently cold winter, the site recommends storing lifted bulbs refrigerated at 5°C (41°F) or below, which also helps ensure both new and divided bulbs receive the chilling needed to flower well.
Bloom & Flower Guide
Quick Details
- Bloom Season: Late winter to spring
- Time to First Bloom: Autumn-planted bulbs flower the first spring
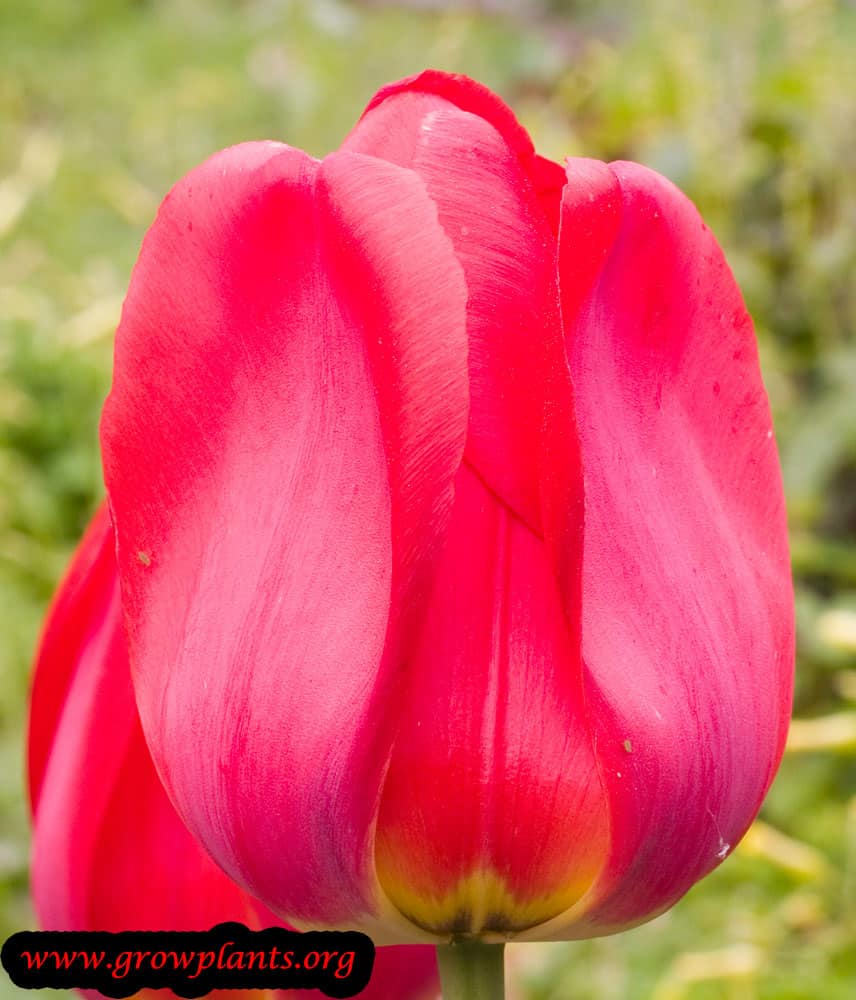
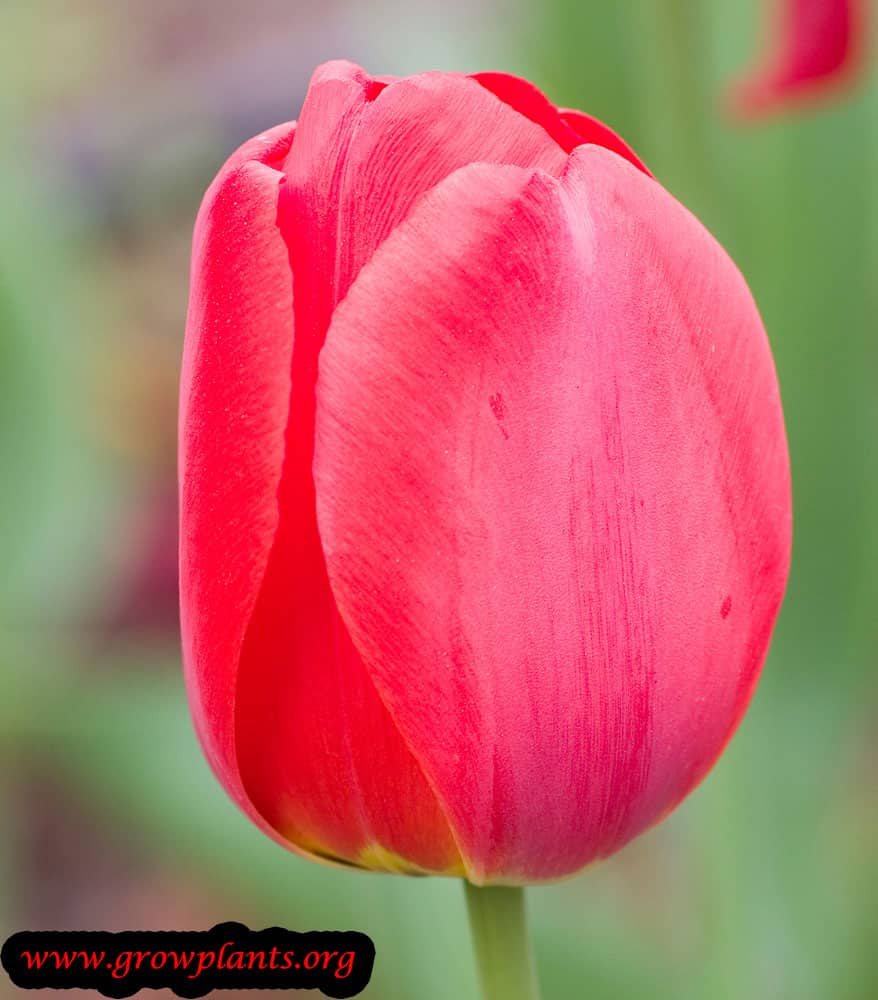
- Flower Appearance: Classic cup-shaped flowers opening from a teardrop bud, in a very wide colour range
- Edibility: Ornamental – the bulbs are toxic if eaten
Detailed Blooming Overview
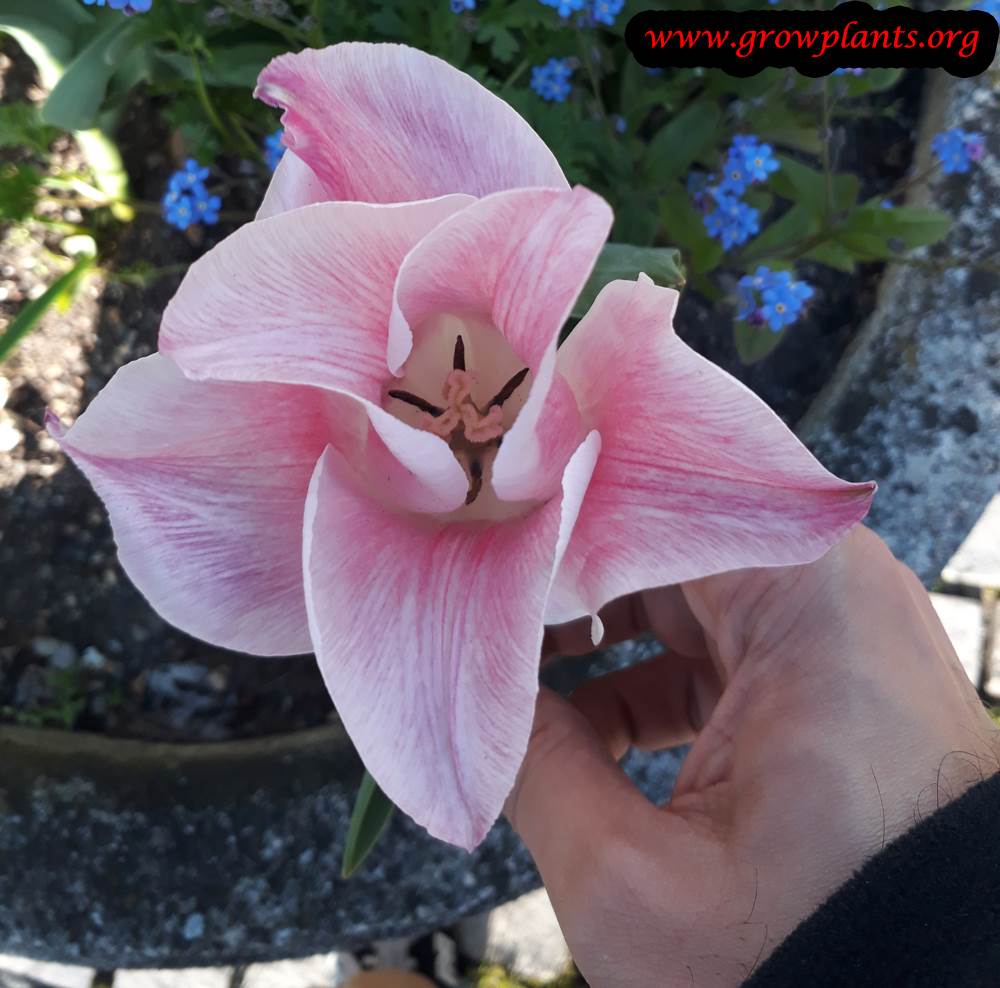
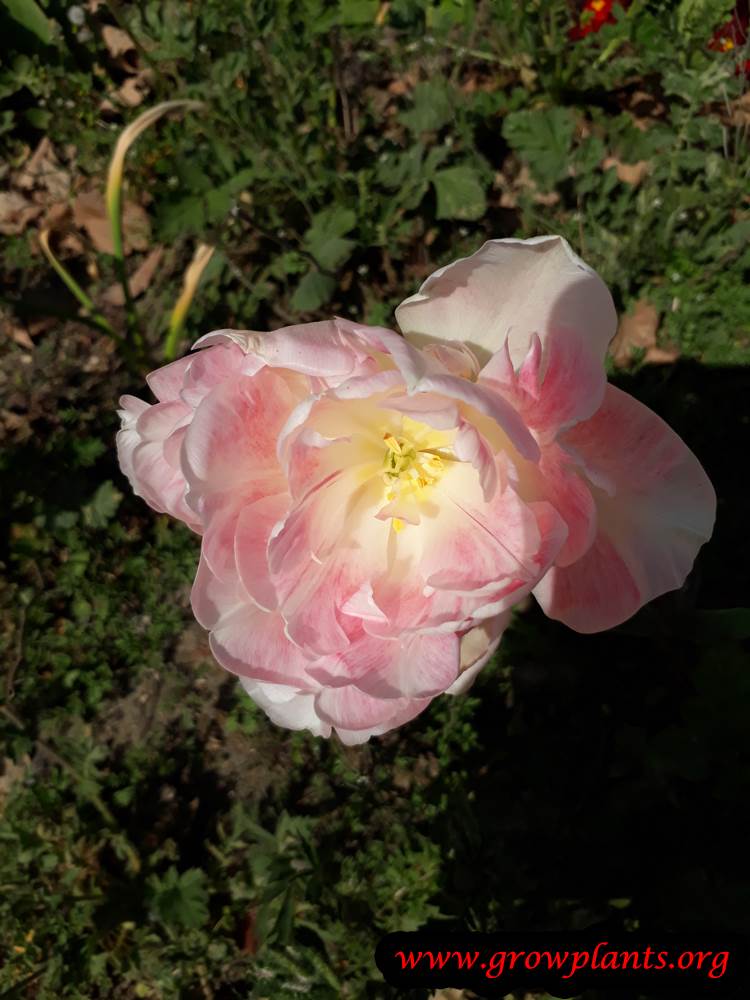
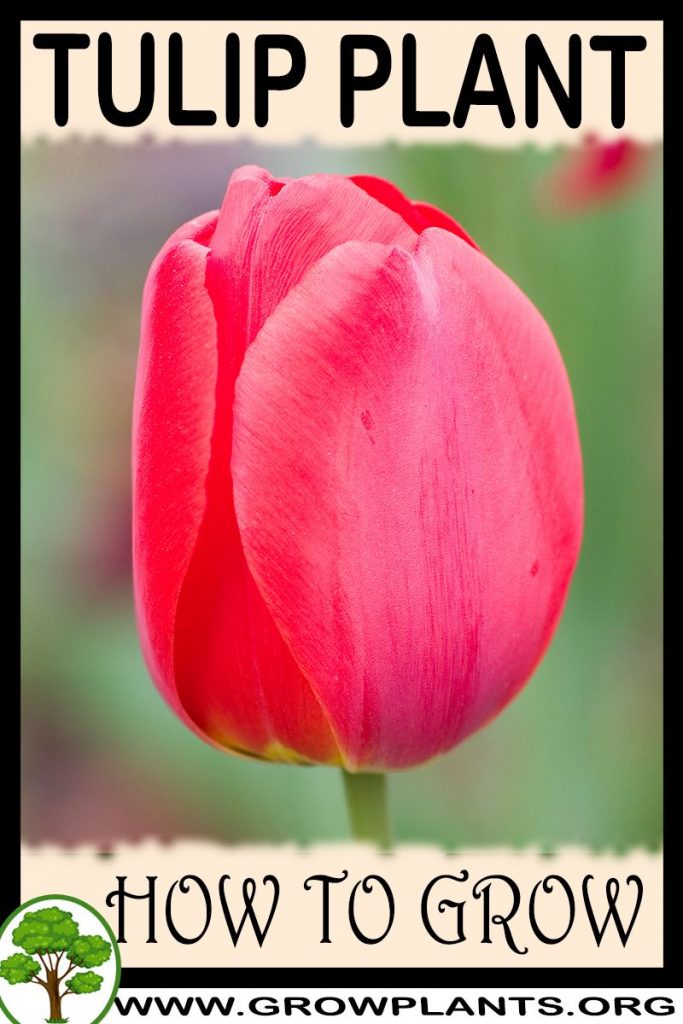
The garden tulip is one of spring’s signature flowers, rising from a neat teardrop bud into a rounded, cup-shaped bloom. It comes in nearly every colour – red, pink, black, purple, orange, white and yellow, as well as bicolours.
Flower Characteristics
- Cup-shaped flowers opening from a drop-shaped bud.
- Colours include red, pink, black, purple, orange, white, yellow and multicolour.
Bloom Care & Thinning
- After flowering: Deadhead spent blooms but leave the foliage to die back to feed the bulb.
- In mild climates: Often grown as an annual and replanted, as bloom is strongest in the first year.
Bloom Health & Protection
- Tulip fire (Botrytis tulipae): Scorches buds and petals with brown spotting – remove affected growth, avoid overhead watering and use a suitable fungicide if needed.
- Aphids: Keep them off the buds with a water jet or insecticidal soap.
Fruit & Uses
Across all of this tulip’s colour forms, only the flower petals have an established edible use, taken fresh in small amounts as a garnish. The bulb is not a safe food regardless of flower colour or variety and should not be eaten.
Quick Edible Specs
| Edible Parts | Flower petals only, in small quantities |
|---|---|
| Main Use(s) | Edible garnish / decorative addition to salads and plates |
| Eaten Raw or Cooked | Raw, fresh, as a garnish |
| Preparation Required | Remove petals from the stamens/base before eating; use only unsprayed blooms |
| Harvest Season | Winter/Spring bloom, depending on climate (see Blooming) |
| Time to First Harvest | Petals can be taken from any open bloom on a flowering-size bulb; not a repeat or bulk harvest |
| Storage | Best used fresh, immediately after picking; does not store |
| Safety/Toxicity Caveat | Bulbs, leaves and stems are NOT food – they contain irritant compounds (tuliposides) that can cause nausea, vomiting and skin irritation (‘tulip fingers’); eat petals only, sparingly, and avoid if prone to flower/pollen allergies |
Flowers & Flower Buds
Once a bloom has fully opened – in any of this tulip’s colours, from white and yellow through to purple and near-black (see Blooming) – individual petals can be separated from the flower’s base and eaten fresh as a garnish, with a mild, faintly sweet-to-bland flavour. The bitter pale base of each petal and the central stamens/pollen should be discarded rather than eaten. This remains a decorative, occasional-use edible part rather than a food crop, and taking petals for eating ends that bloom’s display.
Preparation, Uses & Safety
Use only petals, rinsed and taken from unsprayed plants, with the bitter base trimmed away before serving. Do not eat the bulb: despite historical accounts of tulip bulbs being eaten during famine conditions after extensive processing, this is not a safe or recommended food source today, and bulbs, leaves and stems should be kept away from both people and pets. Anyone with known flower or pollen allergies should avoid eating tulip petals.
Pests, Diseases & Troubleshooting
Overview: Tulips are spring-flowering bulbs whose signature problems are the fungal disease tulip fire (Botrytis tulipae) and bulb rots in wet soil, alongside bulb-digging rodents and the tulip bulb aphid that hides in stored bulbs. Above ground slugs, aphids and the streaking of tulip breaking virus are the main callers. The whole management philosophy is dry, well-drained soil, clean bulbs, crop rotation and good airflow.
Quick Troubleshooting Overview
| Issue / Pest | Main Symptom | Primary Solution |
|---|---|---|
| Tulip fire (Botrytis) | Scorched, spotted, twisted shoots and flowers | Rotate, remove infected plants, airflow, fungicide |
| Tulip bulb aphid | Colonies on stored/sprouting bulbs | Inspect bulbs, brush off, insecticidal soap |
| Slugs & snails | Grazed shoots and flowers | Handpick, grit barriers, iron-phosphate bait |
| Rodents / squirrels | Dug-up, eaten bulbs | Wire baskets, gravel, deterrents |
| Basal rot | Bulbs fail to sprout, soft and mouldy | Plant firm bulbs, sharp drainage, no summer wet |
| Tulip breaking virus | Streaked, broken flower colour | Remove plants, control aphids |
Common Pests & Management
- Tulip bulb aphid (Dysaphis tulipae):
- Symptoms: Grey-green aphid colonies clustered under the papery tunic of stored bulbs and on emerging shoots, weakening growth and spreading tulip breaking virus.
- Prevention & Control: Inspect bulbs at planting and rub off colonies, store bulbs cool and airy, encourage lady beetles and lacewings on growing plants, and use insecticidal soap or neem on infested shoots.
- Slugs and snails (Gastropoda):
- Symptoms: Grazed, ragged emerging shoots, holed leaves and chewed flowers with slime trails in damp spring weather.
- Prevention & Control: Handpick at night, clear debris and hiding places, use grit or copper barriers around plantings, and apply pet-safe iron-phosphate bait where shoots are being damaged.
- Bulb mites (Rhizoglyphus spp.):
- Symptoms: Tiny pale mites infesting already damaged, diseased or rotting bulbs in storage or wet soil, accelerating breakdown.
- Prevention & Control: Plant only firm, undamaged bulbs, store them cool and dry, discard soft or injured bulbs, and keep growing soil free-draining so healthy bulbs are not invaded.
- Rodents and squirrels (Rodentia):
- Symptoms: Newly planted bulbs dug up and eaten, disturbed soil, and clumps that fail to emerge in spring – tulips are a favourite target.
- Prevention & Control: Plant bulbs inside wire mesh baskets, cover beds with chicken wire until growth starts, add sharp gravel around bulbs, and use humane deterrents; deep, firm planting also helps.
- Aphids on foliage and flowers (Aphidoidea):
- Symptoms: Green aphids on stems, buds and flowers causing honeydew, distortion and virus spread.
- Prevention & Control: Wash off with water, encourage natural enemies, remove badly virused plants, and use insecticidal soap or neem for persistent colonies.
Diseases & Fungal Issues
- Tulip fire (Botrytis tulipae):
- Symptoms: The signature tulip disease: distorted, scorched-looking emerging shoots, brown spots with grey mould on leaves and petals, twisted growth and rotting buds, spreading fast in cool wet springs. Bulbs may carry black sclerotia.
- Treatment & Management: Remove and destroy infected plants immediately, never replant tulips in the same soil for at least three years, space for airflow, avoid overhead watering, discard bulbs with black sclerotia, and apply a protectant fungicide in high-value plantings during wet weather.
- Basal rot and bulb rots (Fusarium oxysporum / Pythium spp.):
- Symptoms: Bulbs that fail to sprout or produce weak plants, with soft, browned, sometimes pink-mouldy basal plates; driven by warm, wet or poorly drained soil.
- Treatment & Management: Plant only firm healthy bulbs in free-draining soil, avoid waterlogging and summer irrigation of dormant bulbs, rotate planting sites, and lift and store bulbs cool and dry in wet climates.
- Tulip breaking virus (Tulip breaking virus (Potyvirus)):
- Symptoms: Feathered or streaked ‘broken’ flower colour and mottled foliage; historically prized but a sign of a debilitating, aphid-spread virus that weakens bulbs over time.
- Treatment & Management: There is no cure – remove and destroy affected plants, control the aphids that spread it, keep virus-prone tulips away from lilies, and buy virus-free stock.
- Grey mould and Pythium root rot (Botrytis cinerea / Pythium spp.):
- Symptoms: Fuzzy grey mould on flowers and foliage in cool damp still air, and soft, brown, poorly rooted plants in wet soil.
- Treatment & Management: Improve airflow and drainage, remove faded flowers and dead foliage, avoid overwatering, and keep beds free of debris.
Growing Difficulties & Abiotic Problems
- Poor or declining flowering:
- Cause & Symptoms: Warm winters that fail to chill the bulbs, cutting foliage too early, or leaving bulbs in hot wet summer soil all reduce or end flowering; many hybrid tulips naturally weaken after the first year.
- Correction Strategy: Give a proper cold dormancy (pre-chill bulbs in mild climates), let foliage die down naturally to recharge the bulb, keep bulbs dry over summer, and treat many hybrids as annuals or choose perennialising and species types.
- Frost and weather damage to flowers:
- Cause & Symptoms: Late frosts scorch buds and foliage, and heavy rain or wind flatten the tall stems.
- Correction Strategy: Site in a sheltered spot, cover during hard late frosts, and choose sturdier or shorter cultivars in exposed gardens.
What Helps – Products & Tools
Tulip care centres on prevention: sharp drainage and rotation against tulip fire and basal rot, wire baskets and gravel against rodents, iron-phosphate bait for slugs, and insecticidal soap or neem for the bulb aphid and foliar aphids that spread virus. Keep a protectant fungicide (for example chlorothalonil-type or copper) only for tulip fire in wet springs on valued displays.