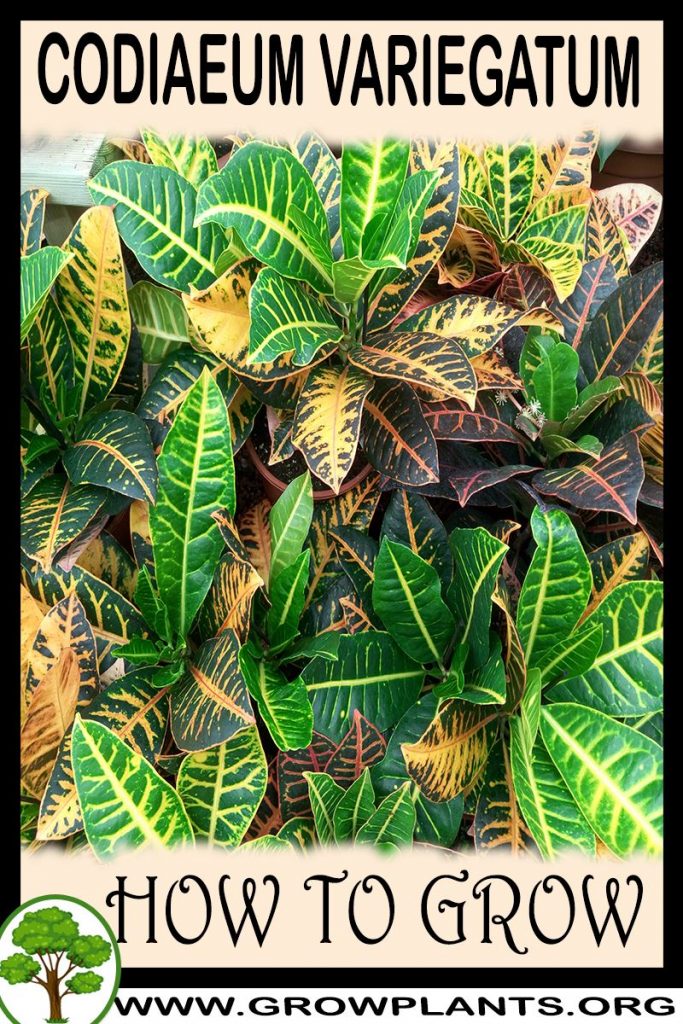
Plant Profile & Key Characteristics
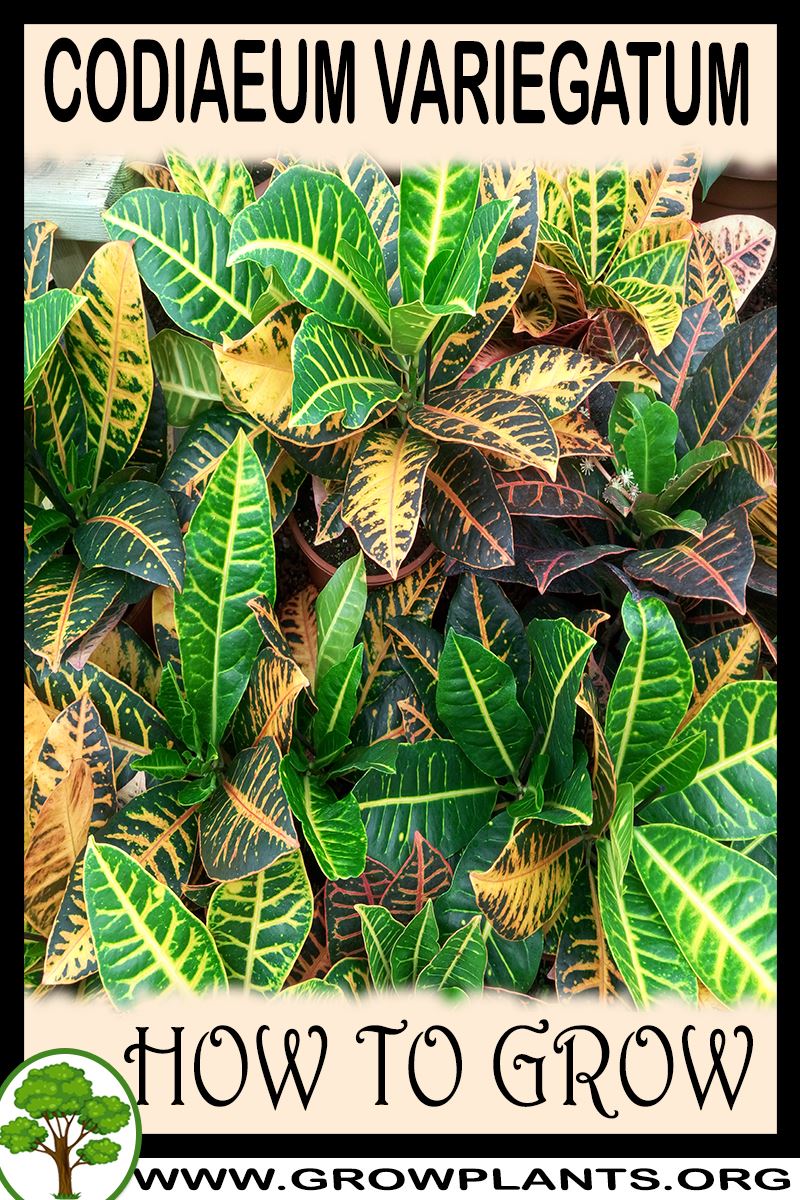
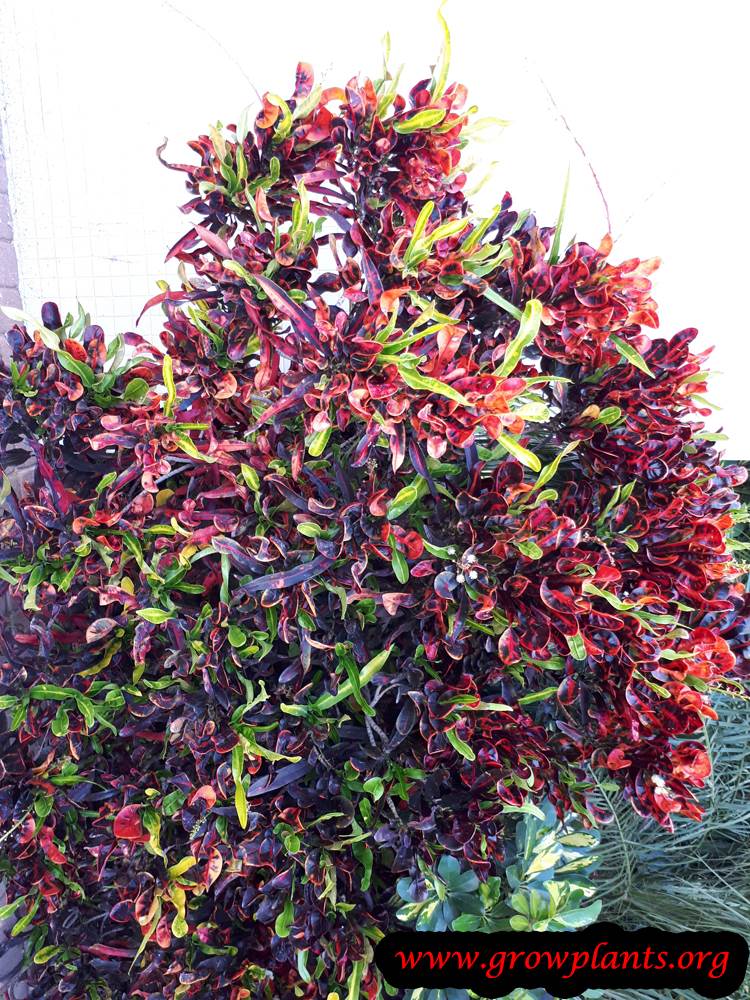
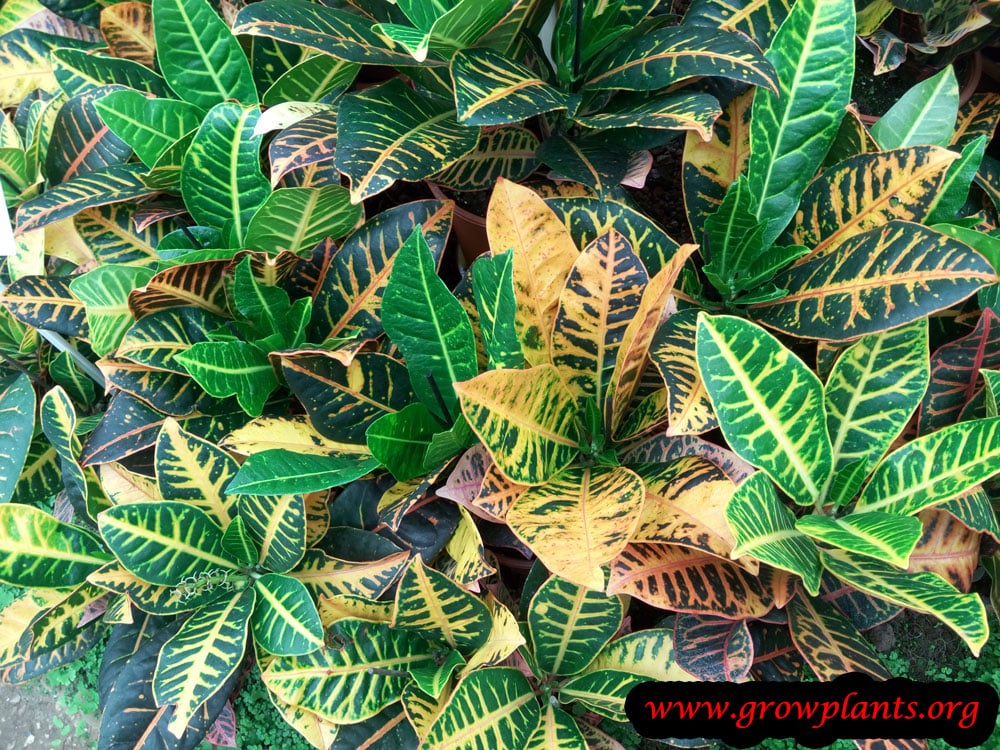
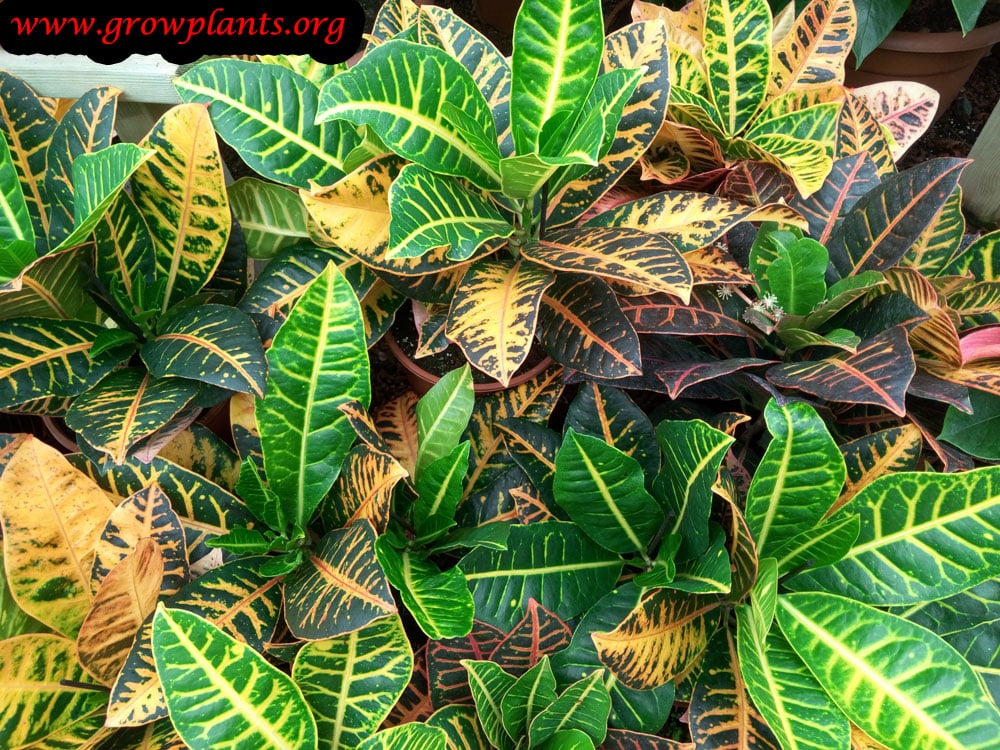
Overview: A bushy evergreen shrub reaching about 0.5-3 m, grown for its thick, glossy, boldly multicoloured foliage. It is a warm-climate ornamental also popular as a container and house plant.
Quick Specifications
| Specification | Attribute |
|---|---|
| Plant Type / Life Cycle | Perennial (evergreen shrub) |
| Foliage Type | Evergreen |
| Mature Size | 0.5-3 m (20-120 in) |
| Growth Rate | Moderate |
| Toxicity | Toxic — milky sap (Euphorbiaceae) irritates skin and is poisonous if ingested; toxic to pets |
| Hardiness | USDA zone 10+ |
Growth Form & Structure
- Height & Spread: 0.5-3 m (20-120 in) outdoors; commonly grown in containers and as a houseplant
- Growth Habit & Form: Bushy evergreen shrub with erect stems
- Lifespan & Maturity: Long-lived evergreen reaching size at a moderate pace
Anatomy & Physical Features
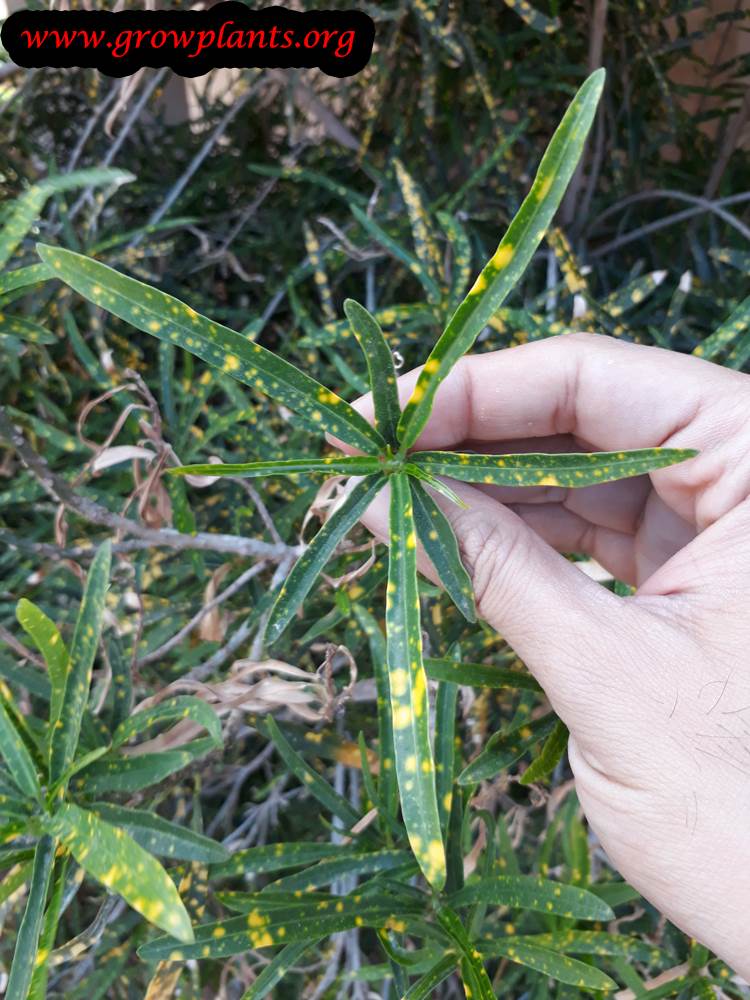
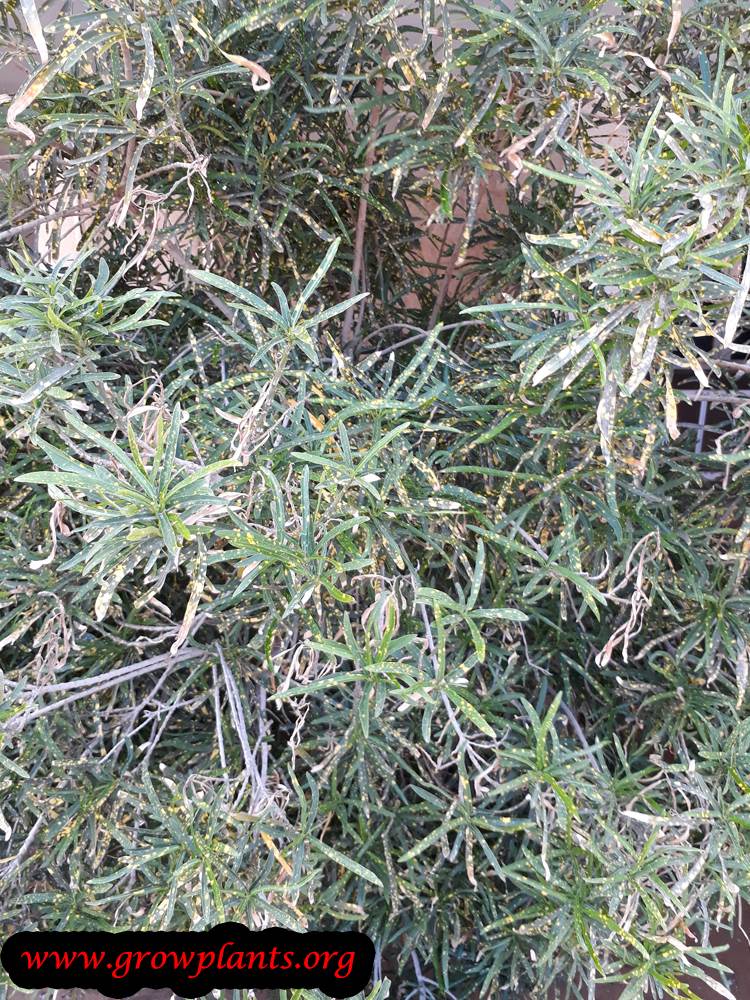
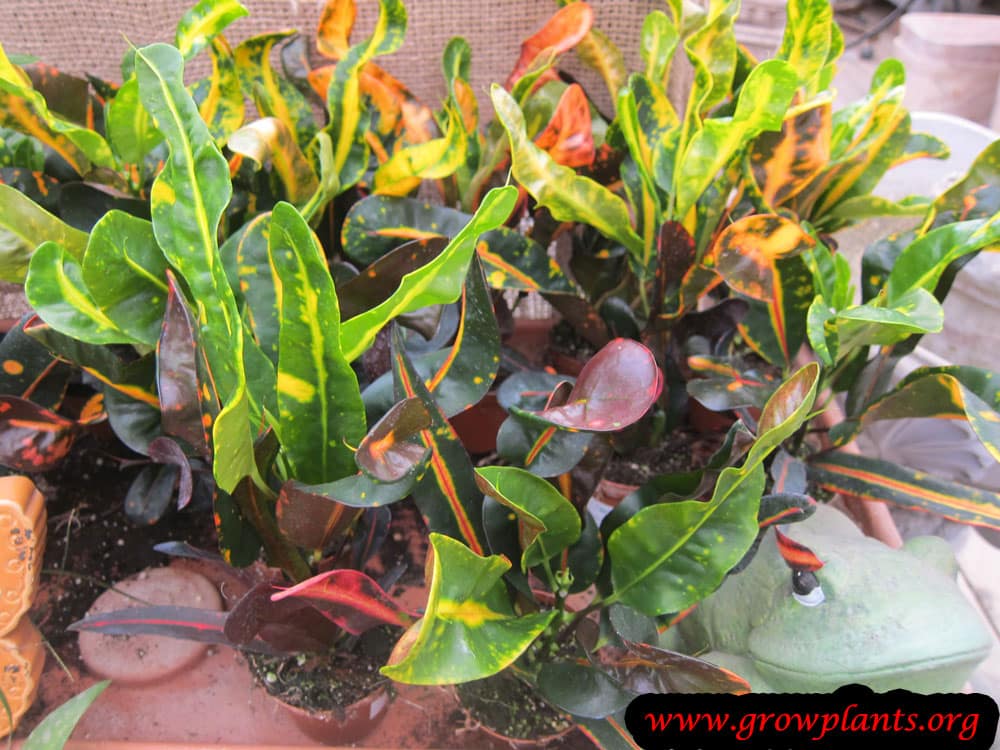
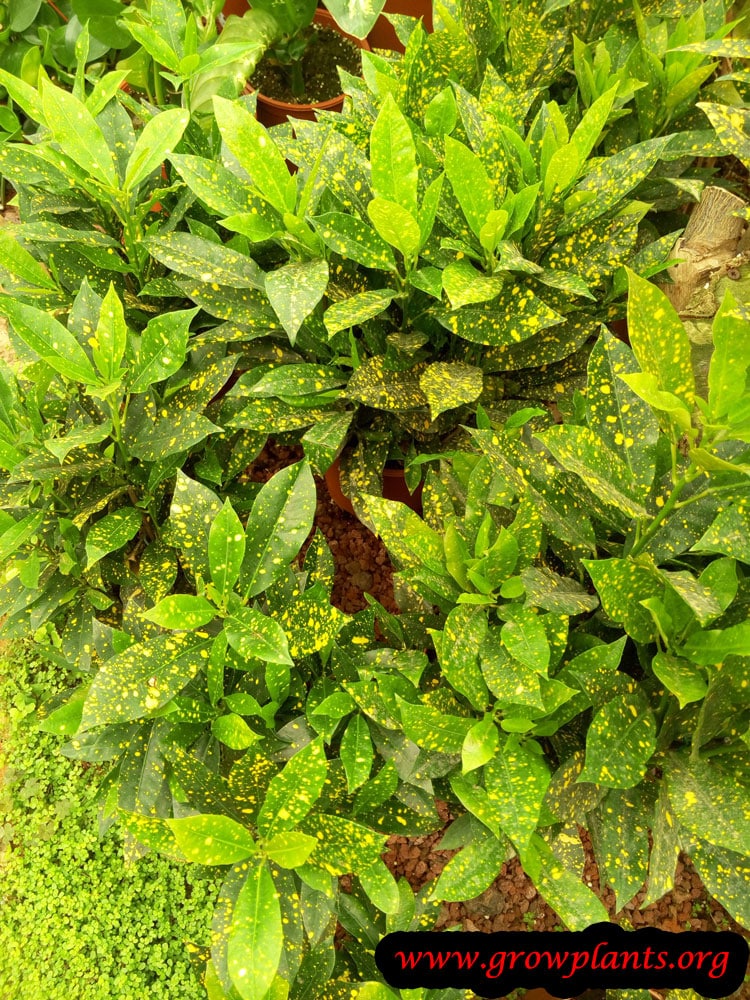
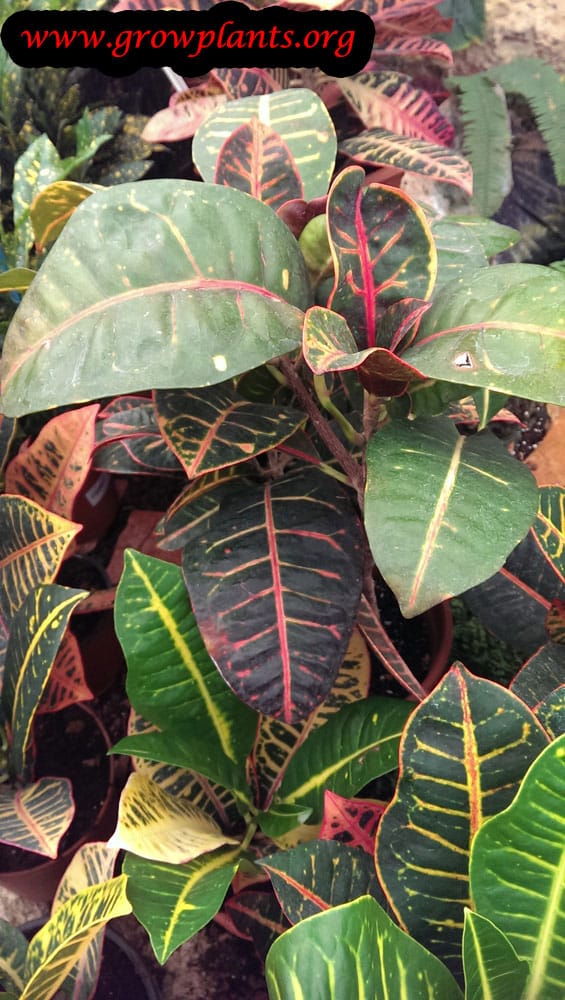
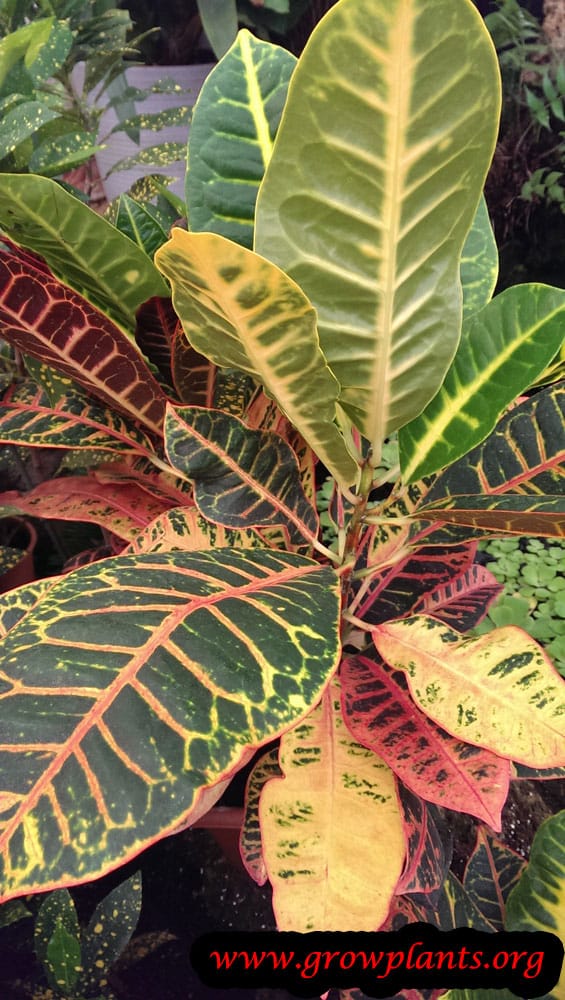
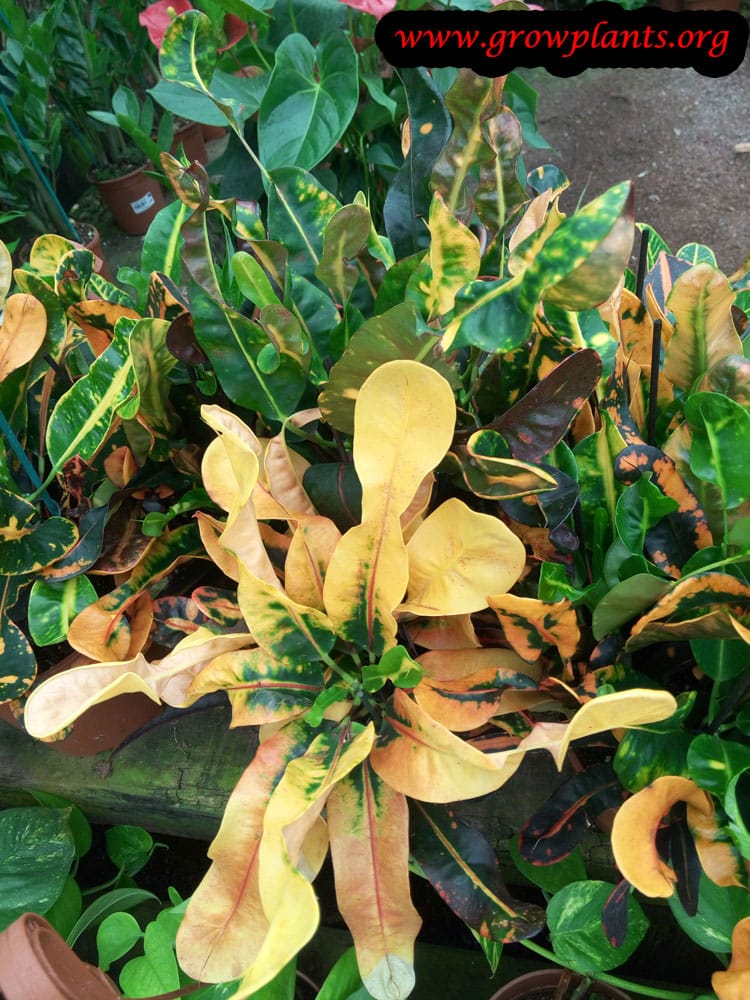
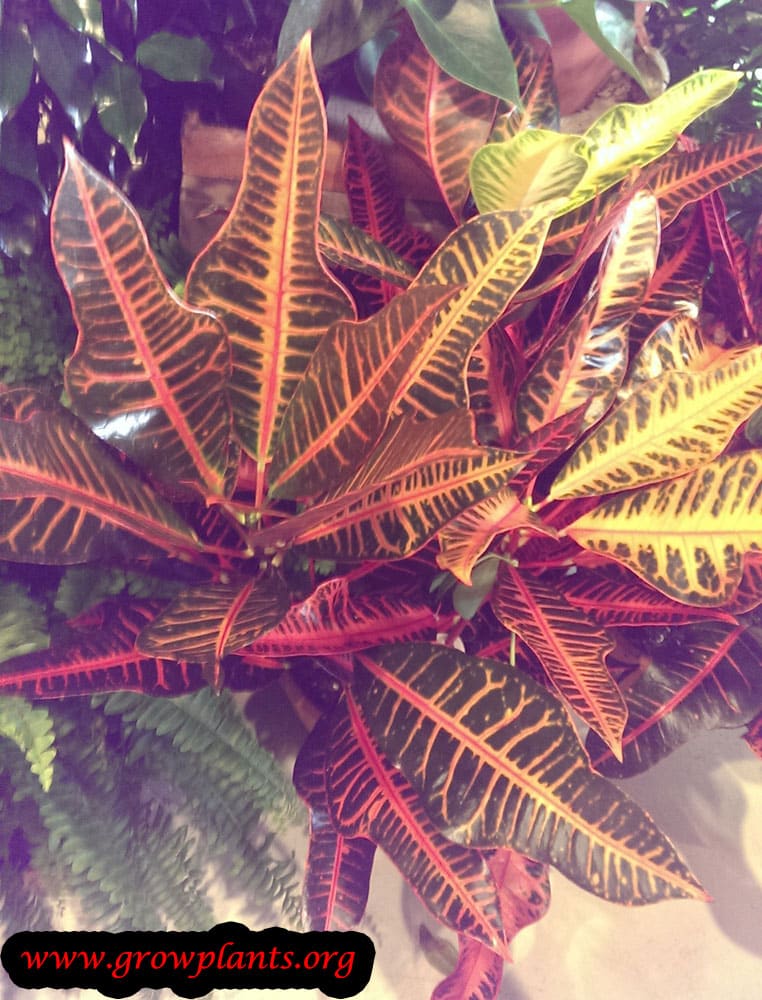
- Leaves & Foliage: Large, thick, glossy leathery leaves boldly variegated in red, yellow, purple, orange and white as spots, stripes, splashes or patterns — the plant’s ornamental highlight
- Flower Characteristics: Insignificant small flowers on stalked inflorescences (yellowish female, white male)
Primary Uses & Landscape Value
- Functional & Ornamental Roles: Grown for its vivid foliage as a landscape shrub, informal hedge, container plant and houseplant
Care Guide: Planting, Soil & Watering
Overview: Codiaeum variegatum (garden croton) is a moderate-growing tropical shrub (hardy to about zone 10, elsewhere a houseplant) that keeps its bright leaf colour in strong light with some shade. It wants rich, well-draining soil kept evenly moist and warmth above about 10 °C.
Quick Care Requirements
| Requirement | Ideal Condition |
|---|---|
| Planting Season | In spring, summer or autumn |
| Growth Rate | Moderate |
| Soil Type | Rich, well-draining, moisture-retentive |
| Water Need | Moderate – keep evenly moist, not soggy |
Planting & Establishment
- Best Planting Season: Plant in spring, summer or autumn when it is warm; protect it from cold below about 10 °C.
- How to Plant:
- Hole Preparation: Dig a hole a little wider than the root ball and loosen the sides.
- Soil Amendments: Work in compost and organic matter for a rich, moisture-retentive yet free-draining soil.
- Planting Depth: Set the root collar level with the soil surface.
- Growth Speed & Expectations: A moderate grower reaching 0.5–3 m (20–120 in); it needs consistent warmth to keep growing and colouring well.
Soil, Watering & Drainage Care
- Soil Mix & Drainage Needs: Use a rich but free-draining mix; sharp drainage prevents root rot, and indoors a quality potting mix with good aeration works well.
- Watering Schedule & Technique:
- Young / Newly Planted: Keep newly planted crotons evenly moist while they establish.
- Established: Water when the top of the soil begins to dry, keeping it lightly moist but never waterlogged.
- Seasonal Adjustments: More in warm, active growth; less in cool winter months, and raise humidity indoors.
Climate, Light & Hardiness
Garden croton is a tropical foliage shrub suited to tropical climates outdoors and widely grown as a houseplant elsewhere, preferring half to full shade rather than direct sun. It is distinctly cold-sensitive, generally needing temperatures to stay above about 10°C (50°F).
Quick Climate Specifications
| Climate Zones | Tropical climates; widely grown indoors as a houseplant elsewhere |
|---|---|
| USDA Hardiness Zones | 10 and warmer |
| Approx. Survival Minimum | Site data indicates it generally needs temperatures above approximately 10°C (50°F) |
| Frost Tolerance | None |
| Light Conditions | Half shade or full shade |
Sunlight & Light Exposure
Optimal Light Setup
Bright, filtered light in half to full shade brings out the best leaf coloration without scorching.
Shade & Heat Management
Full shade with good ambient light is tolerated; harsh direct sun, especially indoors behind glass, can scorch the colorful foliage.
Temperature Extremes & Hardiness
USDA Hardiness & Regional Limits
Reliable outdoors only in zone 10 and warmer, true tropical conditions; elsewhere it is grown strictly as an indoor or seasonal container plant.
Cold Damage & Winter Protection
Site guidance indicates it generally needs temperatures above roughly 10°C (50°F) to avoid cold damage, so keep it away from cold drafts, unheated rooms, or cold windowsills in winter.
Frost Sensitivity
Frost-sensitive with essentially no cold tolerance; grow indoors or in a heated greenhouse outside true tropical zones.
Wind, Humidity & Microclimate
Humidity Preferences
As a tropical foliage plant, it appreciates higher ambient humidity, especially when grown indoors in dry heated air.
Microclimate Recommendations
A warm, humid, brightly lit but shaded spot indoors or in a tropical garden suits croton best; avoid cold drafts and sudden temperature drops.
Growing in Pots, Balconies & Indoors
Croton is a genuine houseplant – the grower confirms it grows both indoors and in containers. Prized for its brilliantly coloured foliage, it makes a superb potted plant indoors, on a bright balcony or on a shaded patio.
Quick Details
- Container Size: A medium pot; pot up as it grows toward 0.5-3 m
- Indoor Suitability: Yes – a well-known, colourful houseplant
- Best Spot: Bright, warm and draught-free; half to full shade outdoors
- Soil & Drainage: Rich, well-aerated, free-draining mix
- Watering in Pots: Average – keep evenly moist, not soggy
Indoors & On the Windowsill
- Houseplant care: Give it bright, indirect light indoors for the strongest leaf colour, steady warmth and some humidity; avoid cold draughts, which can drop leaves.
- Windowsill: A bright sill out of scorching midday sun keeps colours vivid; too little light fades the variegation.
- Safety: The milky sap is a toxic irritant to people and pets – keep it out of reach of children and animals and wash hands after handling.
On a Balcony or Patio
- Light & warmth: A warm, sheltered balcony or shaded patio suits it in frost-free weather; it needs half to full shade outdoors and protection from cold. Pots on a balcony or patio dry fast – walls, railings and paving reflect heat – so check moisture often and water more in warm, windy spells. Remember a full pot is heavy and sheds run-off when watered.
- Move it in: Bring the pot indoors before any cold snap – it is frost-tender.
Choosing the Pot, Soil & Long-Term Care
- Pot & drainage: Use a pot with strong drainage holes and skip a standing-water saucer so the roots never sit wet – that is the fastest route to root rot. Terracotta breathes and dries faster, while glazed or plastic pots hold moisture longer.
- Potting mix: A rich but well-aerated mix – good potting mix, or peat/coir with perlite or vermiculite.
- Watering in pots: Keep evenly moist through the growing season; ease off when cooler.
- Feeding: Potted plants need feeding a little more often than those in the ground, as regular watering steadily leaches nutrients away – feed lightly through the growing season.
- Repotting: Refresh the mix and pot up about every couple of years, lightly trimming roots and top growth to keep it in balance.
Fertilizing & Feeding
A moderate feeder during active indoor growth: regular light balanced feeding supports its colorful foliage in the growing season, while feeding is held off right after repotting and during low-light slowdowns.
Quick Fertilizing Specs
| Feeding Level | Moderate feeder |
|---|---|
| Main Nutrient Priority | Balanced feeding with adequate nitrogen to support foliage growth |
| Best Feeding Period | The warmer months of active indoor growth |
| Organic Options | Not typically fed with bulk organic matter; a complete liquid feed is more common indoors |
| Reduce/Stop Feeding | Held off right after repotting and again during darker, cooler low-light periods |
| Micronutrients | Routine iron and manganese from a complete fertilizer usually suffice; correct only a diagnosed issue |
| Soil pH | Prefers slightly acidic potting mix |
Feeding by Growth Stage
Recovery after repotting
Let the plant recover and root into fresh potting mix after repotting or a move to a new container, without adding fertilizer stress on top of transplant stress.
| Nutrient direction | No feeding is needed right after repotting; fresh potting mix typically carries enough nutrients to support initial recovery. |
|---|---|
| Timing | For the first several weeks after repotting or transplanting into new potting mix. |
| Frequency | No feeding during this recovery window; resume once new growth confirms the plant has settled in. |
| Fertilizer types | No feeding at this stage; hold off fertilizing until the plant shows new growth in its new pot. |
| Precautions | Feeding right after repotting can stress a plant that is still recovering from root disturbance; wait for clear signs of new growth first. |
Active indoor growing season
Support this plant’s colorful, patterned foliage during its main indoor growing season.
| Nutrient direction | A balanced, complete fertilizer with adequate nitrogen supports steady foliage growth; routine trace nutrients help maintain even leaf color. |
|---|---|
| Timing | Through the warmer months when the plant is actively producing new leaves. |
| Frequency | Light, regular feedings through the active growing season, scaled back if growth visibly slows. |
| Fertilizer types | A balanced, complete fertilizer for foliage houseplants, A dilute liquid feed applied with regular watering |
| Routine trace nutrients | iron, manganese |
| Precautions | This plant’s leaf color depends heavily on bright light; feeding will not substitute for insufficient light, and overfeeding can cause salt buildup and leaf-tip burn, especially in a container. |
Low-light slowdown
Match feeding to this plant’s naturally slower growth during shorter, dimmer days indoors.
| Nutrient direction | No feeding is needed while growth has clearly slowed in low light or cooler indoor conditions. |
|---|---|
| Timing | During the darker, cooler part of the year indoors, when new growth largely stops. |
| Frequency | No feeding during this slowdown; resume light feeding only once active new growth returns. |
| Fertilizer types | No feeding at this stage; withhold fertilizer until active growth resumes with brighter, longer days. |
| Precautions | Feeding a plant that has slowed for the season mostly builds up salts in the potting mix rather than helping the plant, and can worsen leaf-tip burn. |
Nutrient Deficiency Signs & Corrections
Older lower leaves fade toward pale green or yellow and overall growth slows.
| Possible causes | low nutrient reserves in old, unfed potting mix, infrequent feeding relative to how often the plant is watered, insufficient light limiting overall vigor |
|---|---|
| Appears first on | older, lower leaves |
| What to check | feeding history and potting mix age, light levels, watering frequency relative to feeding |
| Possible correction | Resume a balanced, complete fertilizer during the active growing season and consider refreshing old potting mix. |
The normally bold red, yellow, or patterned leaf coloring turns mostly green or dull.
| Possible causes | insufficient bright light, which is the main driver of this plant’s leaf color, general nutrient stress from irregular feeding making color look duller, natural color change as older leaves mature |
|---|---|
| Appears first on | whole-plant leaf color rather than one specific spot |
| What to check | how much bright, indirect light the plant receives, how long since the plant was last in strong light, whether newest leaves also lack color, versus just older ones |
| Possible correction | Move the plant to brighter, indirect light first; extra fertilizer will not restore color caused by insufficient light. |
Leaf tips and margins turn brown and crisp while the rest of the leaf stays healthy.
| Possible causes | fertilizer salt buildup in the potting mix from regular feeding without occasional flushing, low indoor humidity, which this tropical plant is sensitive to, under-watering that concentrates salts in the root zone |
|---|---|
| Appears first on | leaf tips and margins |
| What to check | how long since the potting mix was last flushed with plain water, indoor humidity levels, watering consistency |
| Possible correction | Flush the potting mix with plain water to clear built-up salts, ease off feeding rate, and raise humidity around the plant. |
New leaves emerge pale or yellowish between the veins while the veins themselves stay green, and older leaves look normal.
| Possible causes | high potting mix pH limiting iron or manganese availability, waterlogged, poorly drained potting mix, root stress from a pot that has been overdue for repotting |
|---|---|
| Appears first on | newest leaves |
| What to check | potting mix pH if testable, drainage and how quickly water moves through the pot, how long since the plant was last repotted |
| Possible correction | Improve drainage and consider a potting-mix pH check; apply a chelated iron or manganese product per its label if the pattern persists. |
Pruning, Training & Seasonal Maintenance
Garden croton is grown entirely for its brightly colored foliage – the small yellow/white flower spikes are inconspicuous and irrelevant to pruning decisions. Left unpinched it tends to grow as a single leggy cane topped with a tuft of leaves, so pruning here is mostly about breaking that apical dominance to build a full, multi-branched shrub and about controlling size on indoor or container specimens. It can be pruned through the active warm growing season, but should be left alone whenever it is cold-stressed, since the plant’s own data flags sensitivity below about 10°C (50°F).
Quick Pruning & Maintenance Specs
| Pruning Tolerance | Moderate |
| Primary Pruning Window | Active warm-season growth (spring–autumn, or year-round indoors above 10°C) |
| Typical Frequency | Light ongoing pinching, plus occasional cutback of leggy canes |
| Main Objective | Break apical dominance for bushiness; control legginess and size |
| Young Plant Priority | Repeated tip pinching to build a multi-stemmed framework |
| Mature Plant Priority | Staggered cutback of bare/leggy canes to refresh colorful new foliage |
| Best Tool Type | Precision snips for pinching; bypass secateurs for older canes |
| Avoid Heavy Pruning During | Any period the plant is cold-stressed (below roughly 10°C), or right after transplant/relocation |
Pruning by Plant Age & Size
Newly Established
Minimal – remove only damaged leaves; begin pinching once the young plant has several leaf pairs and is settled in.
Young / Formative
Pinching, not formal leader/vase training: repeatedly pinch the growing tip over the first couple of growing seasons to force branching low, since an unpinched croton naturally grows as one leggy stem.
Mature / Established
Renewal cutback of individual bare or overly long canes back to a lower leaf node or side shoot, staggered across the plant rather than all at once so it isn’t stripped of color display in a single pass.
Structural Pruning & Training
The main lever is canopy density and legginess: shorten or remove bare canes to keep the plant full, and rotate container specimens periodically so growth and color develop evenly rather than leaning toward the light source.
Special Growth to Remove
All-green reversion shoots: variegated crotons occasionally throw a shoot with plain green, non-variegated leaves that grows more vigorously than the colorful growth around it. Left alone it will outcompete and eventually dominate the plant, so remove any reverted shoot at its base as soon as it’s noticed.
Container & Small-Space Pruning
Croton is commonly grown as a houseplant/container specimen. Indoor light is usually lower than outdoors, which makes legginess more likely and more visible in a confined space – favor regular light pinching over infrequent hard cuts. Avoid drastic cutback on a low-light or recently stressed indoor plant, since regrowth is slower without brighter conditions.
Tools
- Precision snips – pinching tips and most routine shaping cuts on the soft-to-semi-woody stems.
- Bypass secateurs – thicker cane renewal cuts on mature specimens.
Tool Hygiene & Disease Risk
Routine: clean, sharp tools are sufficient. Croton sap is a mild skin/eye irritant (a Euphorbiaceae-family trait), so wear gloves and wipe blades after use to prevent sap buildup on the cutting edge.
Cut Placement & Technique
Pinch just above a leaf node/bud to direct the next flush of growth; cut leggy canes back to just above a lower leaf or visible bud so regrowth resumes from a live point rather than a bare stub.
Heavy Pruning & Rejuvenation
Tolerated in moderation on an established, warm, well-lit plant – a leggy or bare specimen can be cut back by up to about a third and will usually reflush from lower nodes. Recovery is slower on low-light indoor specimens, and hard cutback should be avoided on an already cold- or transplant-stressed plant.
Post-Pruning Care
Keep the plant warm (above 10°C) and in bright light to support regrowth and color development; don’t fertilize immediately after a hard cutback; watch new tender growth for the aphids and spider mites already documented as this plant’s common pests.
Common Pruning Mistakes
- Never pinching a young plant, which leaves it as a single leggy cane with foliage only at the top instead of a full shrub.
- Leaving all-green reversion shoots in place, letting them outgrow and eventually dominate the variegated growth.
- Hard-pruning a cold-stressed or newly relocated plant.
When NOT to Prune
Skip pruning during any cold snap or period below about 10°C, and avoid major cutback immediately after transplanting or relocating the plant while it’s still adjusting.
Recommended Tools (by task)
- Pinching young growth / removing reversion shoots – precision_snips: clean small cuts on soft stems without crushing tissue.
- Mature cane renewal cutback – bypass_secateurs: handles the firmer, thicker canes of an established plant.
Propagation Guide
Garden croton is propagated by stem cuttings, and air layering for older, leggy plants, since the site confirms vegetative propagation is needed to reproduce the same plant – the distinctive leaf coloration and pattern are cultivar-specific traits that seedlings do not reliably inherit. Difficulty is Moderate, mainly because the milky sap and humidity needs make cuttings slower and fussier to root than average.
Quick Propagation Specs
| Best Propagation Method | Stem (tip) cuttings |
| Alternative Methods | Air layering for leggy or bare-based plants |
| Propagation Difficulty | Moderate |
| Seed True-to-Type | No – seedlings do not reliably reproduce the parent’s leaf coloration and pattern |
| Vegetative True-to-Type | Yes |
| Best Propagation Season | Warm months, spring through summer, matching the site’s active planting season |
| Cutting Rooting Time | Often several weeks to a couple of months |
| Germination Temperature | Warm indoor/greenhouse conditions, roughly 24–29°C (75–84°F), if rooting cuttings under cover |
Stem Cuttings
Cutting Type
Tip cuttings with two to three leaves and at least one node, or leafless cane sections with a bud; a leaf alone without a node or bud will not root.
Best Timing
Warm months during active growth.
Cutting Preparation
Cut ends exude milky latex; let the sap dry slightly or rinse the cut before inserting it, to reduce the chance of rot.
Rooting Setup
Warm, humid, brightly lit but indirect location in a well-drained mix; cuttings can also be started in water.
Rooting Hormone
Optional – may improve consistency but is not required.
Rooting Time
Often several weeks to a couple of months.
Air & Ground Layering
Used mainly to rejuvenate older plants that have dropped their lower leaves.
- Choose a semi-mature, woody stem section.
- Wound or lightly girdle the bark at the chosen point and apply rooting hormone to encourage root formation.
- Wrap the wounded area in moist sphagnum moss covered with plastic to hold humidity.
- Best done during the warm growing season.
- Rooting typically takes a couple of months; once roots fill the moss, sever the new plant below the root ball and pot it on.
Bloom & Flower Guide
Quick Details
- Bloom Season: Summer
- Flower Appearance: Small, insignificant flowers on a long hanging stalk – creamy-white males and yellowish females, both borne on the same spray
- Edibility: Not edible – the sap is irritant and the plant is toxic if eaten
Detailed Blooming Overview
Croton is grown for its bold, multicoloured leaves, not its flowers – the bloom is a quiet affair by comparison. In summer a mature plant may send out a slender, dangling stalk (a raceme) strung with many tiny flowers: the little puffball-like male flowers are creamy-white, while the females are plainer and yellowish. Many growers trim the flower stalks off to keep the plant’s energy in the foliage.
Flower Characteristics
- Small and understated, strung along a long hanging stalk.
- Male flowers are creamy-white with many stamens; female flowers are yellowish and plainer.
- Both sexes appear on the same inflorescence.
Bloom Care & Thinning
- Managing the bloom: If you grow croton for its leaves, you can remove the flower stalks as they appear to keep the plant bushy and the foliage vivid.
- Encouraging good colour: Bright light and warmth keep the leaves richly coloured, whether or not the plant flowers.
- Safety: Wear gloves when cutting – the milky sap irritates skin – and keep all parts away from children and pets.
Pests, Diseases & Troubleshooting
Overview: Croton’s biggest enemy indoors and out is the spider mite, which thrives in the warm, dry air crotons otherwise love; mealybugs, scale and thrips follow close behind, all drawn to the lush, colourful foliage. Steady humidity, regular leaf inspection and quick action on the first stippling keep crotons clean – while sudden leaf drop from cold drafts is the classic abiotic complaint.
Quick Troubleshooting Overview
| Issue / Pest | Main Symptom | Primary Solution |
|---|---|---|
| Spider mites | Fine stippling, bronzing and webbing under leaves | Raise humidity, hose, horticultural oil/miticide |
| Mealybugs | White cottony masses in axils and undersides | Alcohol dab, insecticidal soap, oil |
| Scale | Brown or waxy bumps on stems/leaves; honeydew | Scrape off, horticultural oil |
| Thrips | Silvery scarring, black frass, distorted new leaves | Blue sticky traps, insecticidal soap |
| Leaf drop | Sudden loss of leaves | Avoid cold drafts/moves; steady warmth and moisture |
| Anthracnose | Brown leaf spots with yellow halos | Remove leaves, airflow, copper |
Common Pests & Management
- Two-spotted spider mite (Tetranychus urticae):
- Symptoms: Signature pest: fine pale stippling, a dull bronzed cast and fine webbing on leaf undersides in warm, dry indoor air; heavy attack yellows and drops leaves.
- Prevention & Control: Raise humidity and rinse foliage regularly; horticultural or neem oil and insecticidal soap on undersides, repeated; predatory mites in enclosed spaces; keep plants from drying out.
- Mealybugs (Planococcus citri / Pseudococcus spp.):
- Symptoms: White cottony tufts in leaf axils, along veins and undersides, with honeydew, sooty mold and stunted growth.
- Prevention & Control: Spot-treat with an alcohol-dipped cotton bud; insecticidal soap or oil for wider infestations; isolate and inspect new plants.
- Brown soft scale (Coccus hesperidum):
- Symptoms: Flat brown bumps on stems and leaf veins with sticky honeydew and sooty mold.
- Prevention & Control: Scrape off, wipe leaves, and apply horticultural oil; prune out heavily encrusted stems.
- Greenhouse thrips (Heliothrips haemorrhoidalis):
- Symptoms: Silvery scarring and speckling with black varnish-like frass on leaves, and distorted new growth.
- Prevention & Control: Blue sticky traps to monitor; insecticidal soap or spinosad; remove badly damaged leaves and encourage predatory mites/lacewings.
- Whitefly (Trialeurodes vaporariorum):
- Symptoms: Tiny white flies under leaves with honeydew, mainly under glass.
- Prevention & Control: Yellow sticky traps, insecticidal soap or oil in the evening.
Diseases & Fungal Issues
- Anthracnose (Colletotrichum):
- Symptoms: Brown, sometimes sunken leaf spots often with yellow halos, in warm, humid, wet conditions.
- Treatment & Management: Remove affected leaves, keep foliage dry, improve airflow; copper fungicide if persistent.
- Crown gall (Agrobacterium tumefaciens):
- Symptoms: Rough, tumour-like galls on stems and at the base, from bacterial infection of wounds.
- Treatment & Management: Prune out and destroy galled tissue, disinfect tools, avoid wounding, and discard severely affected plants; no chemical cure.
- Bacterial/fungal leaf spot (Xanthomonas / Cercospora):
- Symptoms: Angular or round dark spots, sometimes water-soaked, spreading in wet conditions.
- Treatment & Management: Avoid overhead watering, improve airflow, remove affected leaves; copper products for bacterial spot.
- Root rot (Pythium / Phytophthora):
- Symptoms: Wilting, yellowing and collapse from soggy soil; roots dark and mushy.
- Treatment & Management: Use free-draining mix, water only when the surface dries, and never leave pots in standing water.
Growing Difficulties & Abiotic Problems
- Leaf drop from cold/drafts:
- Cause & Symptoms: Signature complaint: crotons drop leaves after cold drafts, sudden temperature swings or being moved.
- Correction Strategy: Keep in steady warmth (above ~15°C/60°F), away from doors, vents and cold glass; avoid moving during establishment and keep moisture even.
- Loss of colour:
- Cause & Symptoms: Insufficient light fades the vivid reds, oranges and yellows to plain green.
- Correction Strategy: Give bright light (some direct sun); the more light, the stronger the pigmentation, but acclimate to avoid scorch.
- Oedema:
- Cause & Symptoms: Overwatering, especially in cool, humid conditions, causes corky bumps and blisters on leaf undersides.
- Correction Strategy: Water more evenly and less often, improve drainage and airflow, and avoid cold wet soil.
- Leaf-tip/edge browning:
- Cause & Symptoms: Low humidity, salt build-up or fluoride/hard water browns tips and margins.
- Correction Strategy: Raise humidity, flush pots occasionally, feed lightly, and use low-salt water where possible.
What Helps – Products & Tools
Prevention centres on humidity, light and clean foliage. When needed, horticultural/neem oil and insecticidal soap manage spider mites, mealybug and scale, blue sticky traps and spinosad address thrips, and a copper fungicide handles anthracnose and bacterial leaf spot. Note the milky latex sap can irritate skin – wear gloves.